
 Owen Bradley
 Fabric upholstery is comfortable, breathable and forgiving on the back, but it is also a sponge. Coffee, ink from a leaking pen, hand cream, sweat and the slow grey haze of everyday dust all sink into the weave and stay there. The good news is that almost every mark you will meet on a desk chair responds to household products if you treat it correctly and quickly. This guide shows you how to clean fabric office chair upholstery step by step, how to match the right solution to each type of stain, and how to finish the job without leaving the water rings that make an amateur cleaning attempt look worse than the original mess.
Check the Upholstery Cleaning Code First
Before any liquid touches the seat, find the manufacturer’s cleaning code. It is usually printed on a tag under the seat pan or on the underside of the backrest, and it tells you what the fabric can safely tolerate. Ignoring it is the fastest route to a permanent watermark or a shrunken, puckered seat.
- W — water-based cleaners are safe. This covers most polyester, nylon and mesh-backed office fabrics.
- S — solvent only. Water will stain it. Use a dry-cleaning solvent or a purpose-made upholstery solvent spray.
- WS — both water-based and solvent cleaners are acceptable, which gives you the widest choice of methods.
- X — vacuum and brush only. No liquid at all. Any wet cleaning must go to a professional.
If the tag is missing or unreadable, assume the fabric is delicate and test everything on a hidden area, such as the underside of the seat or the back of the backrest, before working on the visible surface.
Gather Your Tools and Cleaning Supplies
You do not need a professional extractor for routine stains. A small kit covers almost everything a desk chair throws at you.
- Vacuum with an upholstery brush and a crevice tool
- Two or three clean white microfibre cloths — white so no dye transfers into the fabric
- A soft-bristled brush, an old toothbrush works well for seams
- Washing-up liquid, white vinegar and baking soda
- Isopropyl alcohol (70 percent or higher) for ink and marker
- Enzyme cleaner for sweat, food and other organic stains
- A spray bottle of clean warm water for rinsing
- A fan or hairdryer on a cool setting to speed up drying
Work with a window open or a fan running. Alcohol and solvent products need airflow, and ventilation also shortens drying time.
Step-by-Step: Removing a Stain From Fabric Upholstery
- Roll the chair somewhere you can work. Move it onto a hard floor or lay an old towel underneath. Raise the seat to its highest position so you are not stooping and can reach the sides and the underside of the seat edge.
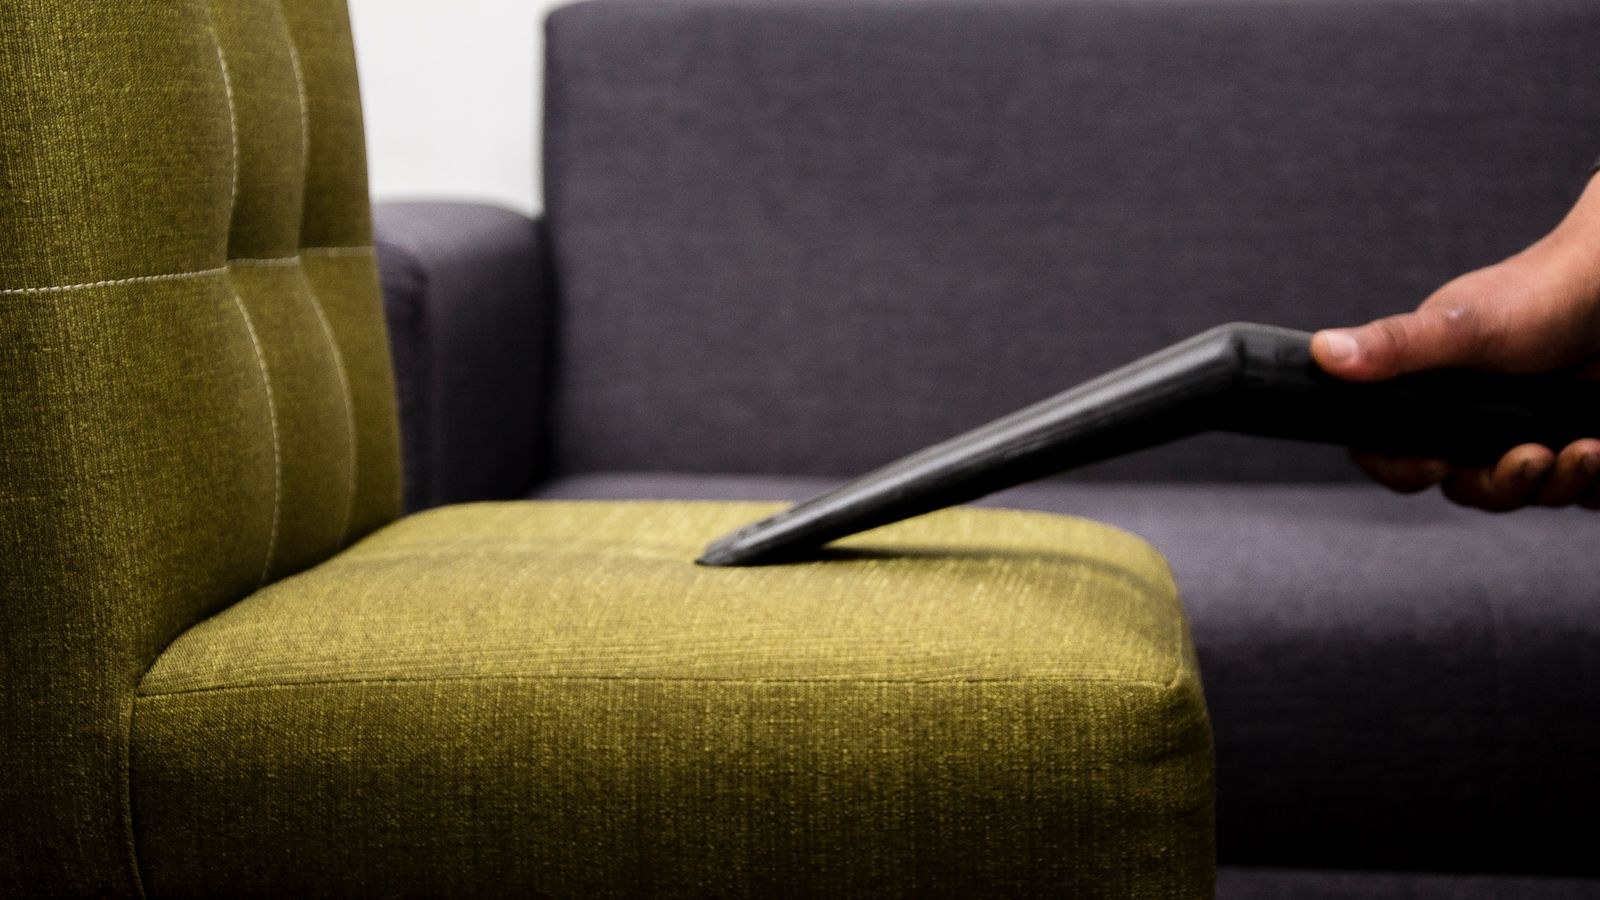
- Vacuum thoroughly before you wet anything. Use the upholstery brush across the seat, backrest and armrest pads, then the crevice tool along every seam and around the seat pan edge. Loose grit turns into mud the second it gets damp, so this step genuinely matters.
- Blot fresh spills immediately. Press a dry white cloth straight down onto the wet area and lift. Repeat with a clean part of the cloth until no more liquid transfers. Never rub a fresh spill — rubbing drives the liquid deeper into the foam and spreads the edge of the stain outward.
- Mix a mild cleaning solution. For a W or WS code, one teaspoon of washing-up liquid in about 500 ml of warm water is enough for the majority of marks. For odour and sweat, use an enzyme cleaner instead. For a strictly S-code fabric, skip water entirely and use a solvent upholstery spray.
- Test on a hidden patch. Dab a little solution on the back of the backrest or the underside of the seat, wait ten minutes, and check for colour lifting or a stiff, changed texture. If the cloth picks up dye, stop and treat the fabric as professional-clean only.
- Work the stain from the outside in. Dampen a cloth — do not soak it — and blot from the outer edge of the mark toward its centre. Working inward stops the stain from growing a wider halo. Change to a fresh section of cloth as soon as it picks up colour.
- Agitate stubborn spots gently. Use the soft brush in small circles on set-in marks, then blot again. Let the solution sit for three to five minutes on tough stains rather than scrubbing harder for longer.
- Rinse the area. Lightly mist clean water over the spot and blot it dry with a fresh cloth. Skipping the rinse leaves detergent residue that attracts dirt and turns into a dark patch within weeks.
- Dry it fast and completely. Blot out as much moisture as you can, then aim a fan across the seat or use a hairdryer on cool. Damp foam breeds mildew and smells, so do not sit on the chair until the padding feels dry all the way through, which can take several hours.
- Brush and vacuum once dry. A final pass with the upholstery brush lifts the pile back up and blends the cleaned area into the rest of the fabric so there is no visible clean patch.
Matching the Treatment to the Stain
Different messes need different chemistry. Using the wrong product can set a stain permanently, so identify what you are dealing with first.
Coffee, Tea and Soft Drinks
Blot immediately, then treat with washing-up liquid solution. If a brown tint remains, mix equal parts white vinegar and water, blot it in, wait five minutes, then rinse. Vinegar breaks down the tannins that give coffee its staining power.
Ink and Marker
Dab, never wipe, with isopropyl alcohol on a cotton pad. The ink lifts onto the pad, so keep moving to a clean section constantly or you will simply smear it back into the weave. Follow with a light water rinse and dry quickly.
Grease, Food and Hand Cream
Sprinkle baking soda or cornflour over the mark and leave it for at least fifteen minutes to draw the oil out. Vacuum the powder away, then treat any remaining shadow with washing-up liquid solution, which is formulated to cut grease.
Sweat, Body Oils and Odour
The headrest and the front edge of the seat absorb the most body oil. An enzyme cleaner digests the proteins responsible for both the yellowing and the smell. Spray lightly, let it dwell for ten minutes, blot and dry. Vinegar solution also neutralises lingering odour once the fabric is clean.
How to Avoid Water Rings and Patchy Results
The classic mistake is cleaning one small spot with a lot of water. As the moisture spreads outward and evaporates, it carries dissolved dirt to the edge of the wet zone and leaves a visible ring. Three habits prevent it: use a damp cloth rather than a soaking one, feather the edges of the treated area outward so there is no hard boundary, and dry the area quickly with airflow. If a ring does form, lightly dampen the whole panel and dry it evenly so the tone is consistent.
Deep Cleaning the Whole Chair
Once or twice a year, treat the chair to a full clean rather than a spot fix. Vacuum every surface, then wipe the plastic and metal parts with a mild all-purpose cleaner. Sprinkle baking soda over the whole seat and backrest, leave it for thirty minutes to absorb odours, and vacuum it off. If the fabric is W or WS rated, a small handheld upholstery extractor will pull out embedded grime that surface cleaning cannot reach. Use the minimum water setting and pass the suction head over the fabric repeatedly with no spray to remove moisture. Finish by flipping the chair over to vacuum the underside and clean the casters.
Set a Simple Maintenance Routine
A vacuum every two weeks and an immediate blot on every spill will keep an office chair looking presentable for years. Machine-washable seat covers are worth considering if you eat at your desk. Our companion tutorial on how to clean and maintain a mesh or fabric office chair covers the wider maintenance schedule, including lubricating the mechanism and checking the gas lift.
Common Mistakes That Ruin Upholstery
- Rubbing instead of blotting. Rubbing frays the fibres, creates a fuzzy patch and pushes the stain deeper into the foam.
- Using bleach or harsh multi-surface sprays. These strip colour and destroy the factory stain-resistant treatment on the fabric.
- Over-wetting the seat. Soaked foam takes days to dry and often develops mildew and a musty smell.
- Applying heat to an unknown stain. Hot water or a hot hairdryer sets protein and dye-based stains permanently.
- Skipping the patch test. Two minutes of testing prevents a bleached patch you cannot undo.
When to Clean and When to Replace
Cleaning solves surface problems. It cannot fix a collapsed seat cushion, a torn seam, a broken gas lift or foam that has compressed to the point where you feel the seat pan through it. If the padding no longer springs back when you press it, or you finish a working day with numbness and lower-back ache, the chair has reached the end of its useful life regardless of how good the fabric looks.
When it is time to shop, decide on the material first. If you liked the breathability and softness of your current seat, the roundups of the best fabric chairs and the best mesh office chairs compare how each material handles heat, spills and long sitting sessions. For broader options across price points, the general guides to the best office chairs and the best desk chairs cover support, adjustability and build quality together.
Frequently Asked Questions
Can I use a steam cleaner on a fabric office chair?
Only on a W or WS coded fabric, and only briefly. Steam is very effective on sweat and odour, but excessive heat can shrink synthetic fibres and soften adhesives holding foam to the seat pan. Keep the head moving and never hold it in one place.
How long does the chair take to dry?
A lightly treated spot dries in one to two hours with a fan. A fully extracted seat can take six to twelve hours. Always let the foam dry completely before sitting, because compressing damp padding pushes moisture back to the surface.
What about old stains that have been there for months?
Set-in stains often need two or three cycles of treat, blot and dry rather than one aggressive attempt. Let the fabric dry fully between attempts so you can judge the real result.
Is a fabric protector spray worth applying?
Yes, on a freshly cleaned and fully dried chair. It buys you a few minutes to blot a spill before it soaks in.
Final Thoughts
Removing stains from a fabric office chair is far more about method than about buying an expensive product. Read the cleaning code, vacuum before you wet anything, blot from the outside in with a barely damp cloth, rinse the detergent out, and dry the fabric fast with airflow. That sequence handles coffee, ink, grease and sweat on almost every office upholstery you will meet. Build a habit of a fortnightly vacuum and an immediate blot on any spill, and a good fabric chair stays presentable for years of daily use.









