
 Owen Bradley
 The case is the one PC component you look at every single day, yet it is often the last thing people research and the easiest to get wrong. Order the wrong chassis and you discover the hard way that your graphics card is an inch too long, your CPU cooler scrapes the side panel, or your shiny build runs hot and loud because the airflow was an afterthought. This PC case buying guide walks through the measurements and design decisions that actually matter, so nothing you order arrives too big, too small, or too cramped for the parts you already own.
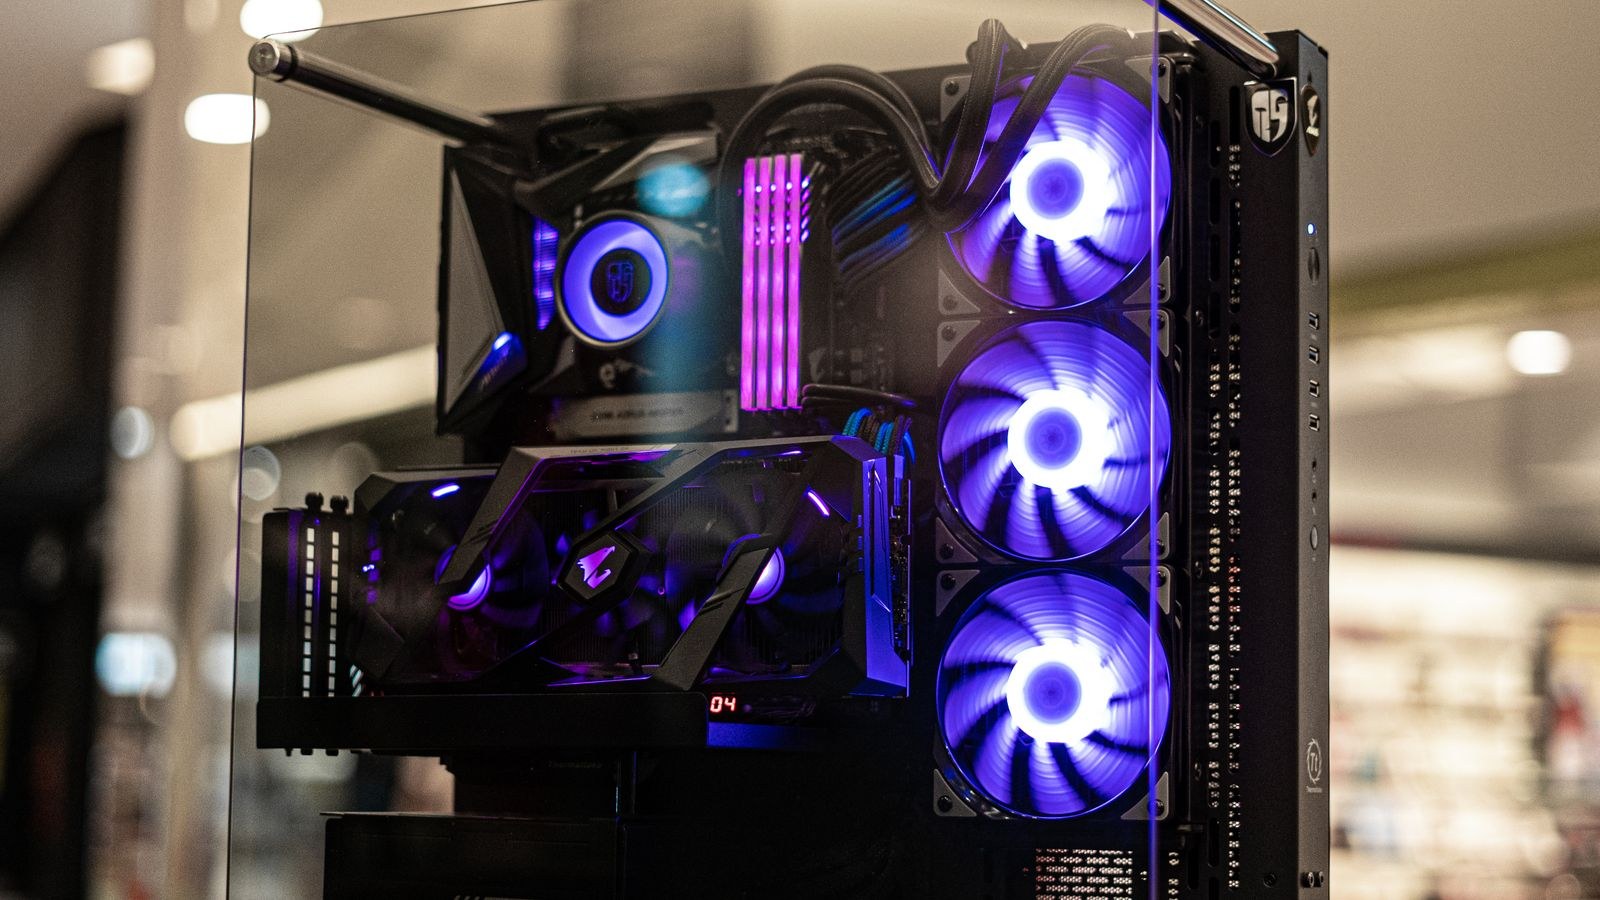
Start With the Form Factor
Everything about a case flows from the motherboard size it is built to hold. Cases are grouped into loose size classes, and picking the right class first narrows your search dramatically.
- Full tower: The largest common size, built for E-ATX and standard ATX boards, huge coolers, multiple radiators, and lots of drives. Spacious and easy to build in, but heavy and desk-dominating.
- Mid tower: The default choice for most builds. It fits standard ATX and smaller boards, handles the vast majority of graphics cards and coolers, and balances room with a reasonable footprint.
- Mini tower and Micro-ATX: Smaller cases for Micro-ATX boards, good for compact desktops that still take a full-size GPU in many models.
- Mini-ITX / small form factor: The tiniest builds, using Mini-ITX boards. Incredibly compact but demanding to build in, with strict clearance limits.
Match the case class to your motherboard first. A Micro-ATX board fits happily in a mid tower, but an ATX board will never fit in a Mini-ITX case. If you are torn between the two most popular sizes, our comparison of the best mid-tower PC cases shows what that class does well.
Clearance: The Three Numbers That Make or Break a Build
More builds are ruined by clearance than by anything else. Before you buy, check three measurements against your parts, all of which reputable manufacturers list on the spec sheet.
GPU length
Modern high-end graphics cards are enormous, often exceeding 320mm and sometimes pushing past 350mm with their coolers. The case will list a maximum GPU length; make sure your card fits with a little room to spare for the power connectors that stick out the end. Front-mounted radiators or fans can eat into this space, so read the fine print.
CPU cooler height
Tall air coolers are the classic side-panel killer. Cases specify a maximum cooler height in millimeters. If your chosen tower cooler is 165mm and the case allows 160mm, the panel will not close. This measurement is the number one reason a first build stalls halfway through.
Radiator and PSU length
If you plan on liquid cooling, confirm which radiator sizes the case supports and where they can mount. Also check the maximum power supply length, especially in compact cases where a long modular PSU can crowd out drive cages or cable routing space.
Airflow: How Your Case Breathes
A case is fundamentally a box that moves air across hot components. Good airflow keeps temperatures and fan noise down; poor airflow bakes your parts no matter how good they are. There are a few design principles to watch for.
Front intake matters most. Cases with a mesh front panel pull in cool air freely, while solid glass or steel fronts choke intake and force air through narrow side gaps. If you care about temperatures, a mesh or heavily ventilated front is worth prioritizing over a sleek closed look.
Aim for balanced or slightly positive pressure. A common layout is two or three intake fans at the front and bottom, and one exhaust fan at the rear and top. Running slightly more intake than exhaust creates positive pressure, which pushes air out through gaps and keeps dust from settling inside through unfiltered openings.
Filters keep it clean. Removable dust filters on the front, top, and bottom intakes make maintenance far easier and keep your components from clogging with dust over time. For builds where cooling is the top priority, our picks for the best PC cases for airflow highlight chassis designed around moving air efficiently.
Drive Bays and Storage Flexibility
Storage needs have shrunk as M.2 SSDs mount directly on the motherboard, but you should still confirm the case supports the drives you plan to use. Look at how many 2.5-inch SSD mounts and 3.5-inch hard drive bays are included, and whether they are removable. Builders with large media libraries need multiple 3.5-inch bays, while a gaming rig running purely on M.2 and a single SSD needs almost none.
Many modern cases use modular drive cages that can be removed to free up space for a front radiator or to improve airflow. That flexibility is handy, but do a quick count before you buy if you have specific storage requirements, because the trend has been to include fewer bays by default.
Build Quality, Cable Management, and Living With the Case
Once function is sorted, the details determine how pleasant the case is to build in and own. These quality-of-life factors separate a frustrating chassis from one you enjoy working inside.
- Material and rigidity: Thicker steel and aluminum panels resist flex and vibration. A flimsy case rattles and feels cheap; a solid one dampens fan and drive noise.
- Cable management space: Room behind the motherboard tray, plus tie-down points and routing channels, makes for a clean build and better airflow. Look for at least 20mm or so of clearance behind the tray.
- Tool-less panels and drive trays: Thumbscrews, latching side panels, and snap-in trays speed up assembly and future upgrades.
- Front I/O: Check for the ports you need, such as USB-C, plenty of USB-A, and audio jacks positioned where you can reach them.
A tempered glass side panel shows off your build, but remember it adds weight and can slightly reduce airflow compared to a vented panel. Decide whether you value the display or the cooling more. Gamers who want a case that looks the part while still performing should see the best PC cases for gaming.
Matching the Case to Your Budget
Case prices span an enormous range, and spending more does not always buy better cooling. Budget cases can offer excellent mesh airflow with basic looks, while premium cases add thicker materials, better cable management, tempered glass, and refined details. The key is to decide which qualities you actually value.
If you are building a full-size ATX system, the mid tower class offers the best balance of price and capability for most people, which is why our roundup of the best ATX PC cases focuses there. And if you want strong features without overspending, the best PC cases under $150 prove you do not need to pay a fortune for a great chassis.
A Quick Buyer’s Checklist
Before you click buy, run through these questions to catch the common mistakes:
- Does the case fit my motherboard size?
- Is my graphics card shorter than the maximum GPU length?
- Is my CPU cooler shorter than the maximum cooler height?
- Does it support my radiator size and mounting location if I am liquid cooling?
- Does the front panel allow real airflow, or is it a restrictive solid design?
- Are there enough drive mounts for my storage plan?
- Is there room and structure behind the tray for clean cable management?
- Does the front I/O have the ports I use?
Frequently Asked Questions
Do I need a full tower or is a mid tower enough?
For most builds, a mid tower is more than enough. It fits standard ATX boards, the vast majority of graphics cards and coolers, and even 360mm radiators in many models. Full towers make sense only for very large boards, multiple radiators, or lots of drives.
How important is a mesh front panel?
Very, if you care about temperatures. A mesh front lets the intake fans breathe freely, while solid glass or steel fronts restrict airflow and raise component temperatures and fan noise. It is one of the biggest single factors in cooling performance.
Does a bigger case always cool better?
Not automatically. Cooling depends on fan placement, front panel restriction, and pressure balance more than raw volume. A well-designed compact case with good airflow can outperform a large case with a choked front panel.
Will my graphics card fit in any case?
No. Modern GPUs can exceed 320mm and will not fit in smaller or compact cases. Always compare your card’s length against the case’s stated maximum GPU clearance before buying.
Final Thoughts
Choosing a case comes down to fit first, airflow second, and everything else after that. Confirm the form factor matches your motherboard, then check the three clearance numbers for your graphics card, cooler, and radiator so nothing arrives too big for the box. Prioritize a front panel that actually breathes, plan a simple intake-heavy fan layout, and make sure there is room to route cables cleanly. Get those fundamentals right and the finer points of materials, glass, and lighting become a matter of taste rather than a source of regret. A little measuring up front turns the case from the part people overlook into the foundation of a cool, quiet, good-looking build.









