
 Owen Bradley
 Installing a graphics card is one of the easiest hardware upgrades you can make, and also one of the easiest to get subtly wrong. The card itself drops into a slot in about thirty seconds, but the decisions around it, which slot to use, whether your power supply has the right connectors, whether the card physically clears your drive cage, and how you handle the old driver stack, are what determine whether you end up with a smooth new GPU or a black screen and a night of troubleshooting. This guide walks through the whole job in order, from clearance checks before you buy to the first-boot driver steps that make a new card behave, so you can install a graphics card safely and get straight to using it.
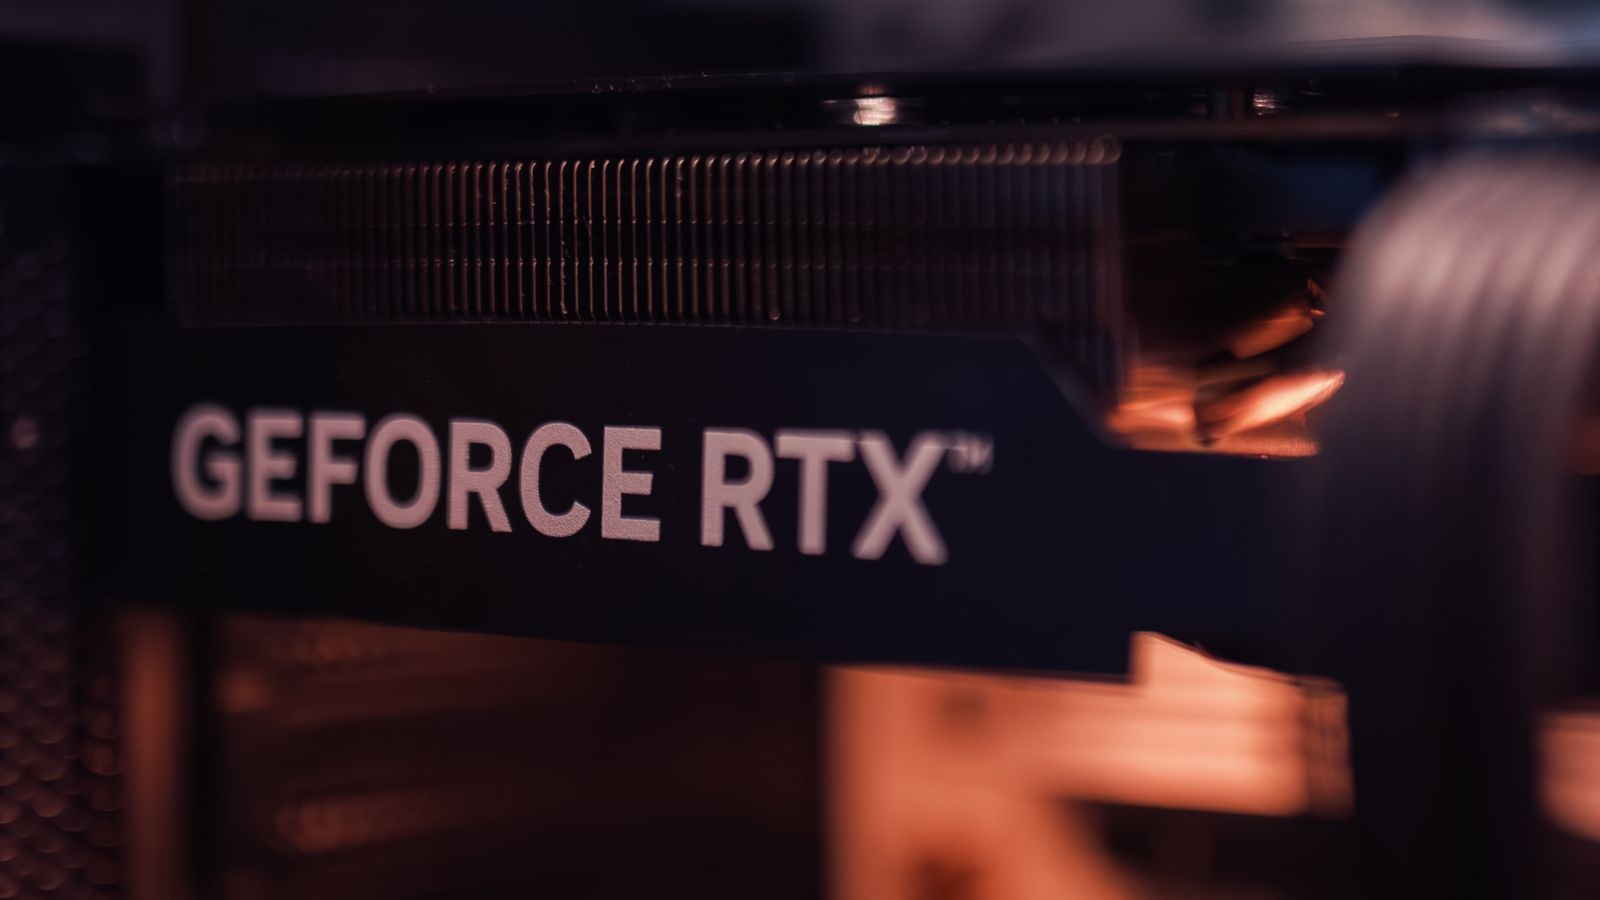
Checks to Run Before You Buy
Three measurements decide whether a card will work in your machine, and all three are published on the manufacturer’s spec page.
- Length. Compare the card’s length in millimetres against your case’s stated maximum GPU clearance. Front radiators and drive cages eat into that figure, so measure the actual space if you are close.
- Slot thickness. Modern cards are often 2.5 or 3 slots thick. Count the free expansion slots below your top PCIe slot, and check nothing important sits in the slot the cooler will cover.
- Power. Note the card’s total board power, its recommended PSU wattage, and its connector type: 6-pin, 8-pin, or the newer 12-pin style. Then check what your power supply actually provides on native cables.
If you are still choosing hardware, our guide to the best GPUs for gaming groups cards by the resolution and frame rate they realistically hit, while the best GPUs under 500 covers strong mid-range value. Match the power side of the equation with the best PSUs for high-end GPUs, since an undersized or old supply is the single most common cause of instability after an upgrade.
Tools and Preparation
You need very little: a Phillips #2 screwdriver, a clear well-lit workspace, and somewhere to set the old card down safely. An anti-static wrist strap is ideal, but touching a bare metal part of the chassis after unplugging the system works in practice. Avoid working on thick carpet in dry conditions.
Before opening the case, do the software half of the job. Note your current driver situation and download the correct driver package for the new card onto the desktop or a USB stick, because a fresh card with no driver may only produce a low-resolution display, which is an awkward time to discover your network adapter also needs attention.
Step-by-Step Graphics Card Installation
- Uninstall the old display driver. If you are switching brands, remove the existing driver through Windows first, or use a dedicated display driver removal utility in safe mode. Staying within the same brand usually allows a clean install over the top.
- Shut down and cut power. Turn the PC off, flip the power supply switch to off, and unplug the mains lead. Press and hold the case power button for five seconds to discharge the capacitors.
- Open the case and ground yourself. Remove the left side panel, lay the case on its side, and touch bare chassis metal before handling components.
- Remove the old card. Unplug its PCIe power connectors by pressing the small latch on each plug. Undo the one or two bracket screws at the rear. Press the retention clip at the end of the PCIe slot, which usually needs a firm push down or sideways, then lift the card straight out without rocking it.
- Prepare the slot and brackets. Remove the correct number of rear expansion covers for the new card’s thickness. Blow or brush dust out of the PCIe slot and check the retention clip springs back freely.
- Choose the right slot. Use the top full-length PCIe slot nearest the CPU. On most boards that is the only slot wired for the full number of lanes directly to the processor; lower slots often run at reduced bandwidth through the chipset.
- Seat the card. Hold the card by its edges and bracket, line the gold contacts up with the slot, and press straight down with even pressure across the length of the card until the retention clip clicks shut on its own. It should not need force, only firmness.
- Secure the bracket. Screw the rear bracket to the case. This is not optional, because it carries the weight and stops the card sagging out of the slot over time.
- Connect PCIe power. Use separate native cables from the power supply for each connector where possible, rather than daisy-chaining one cable into two plugs on a high-draw card. Push each plug until the latch clicks fully home. If your card uses a 12-pin connector with an adapter, seat it completely and avoid tight bends near the plug.
- Check clearance and support. Confirm the card is not resting against a drive cage, front fan, or cable bundle. Heavy cards benefit from a support bracket or anti-sag stand to protect the slot.
- Close up and reconnect. Refit the side panel, plug the monitor cable into the graphics card’s own outputs, not the motherboard’s, then reconnect mains power and switch the PSU on.
- Boot and install drivers. Power on, let Windows load at whatever resolution it manages, then run the driver installer and reboot. Verify the card is detected correctly in Device Manager or the vendor control panel.
Airflow and Thermal Considerations
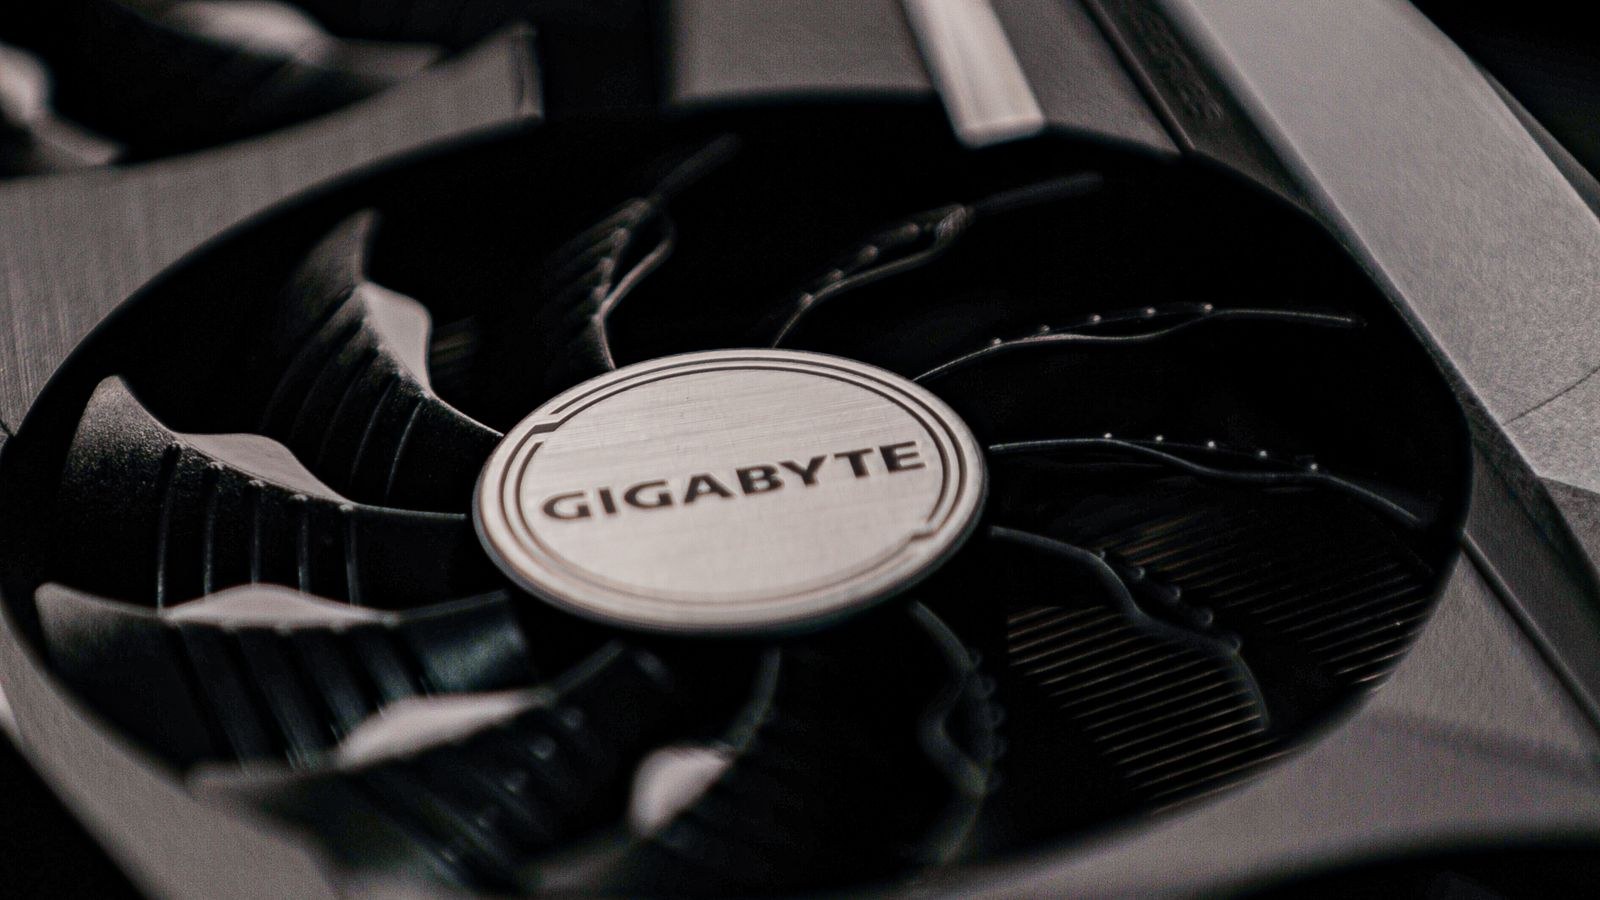
A modern GPU dumps most of its heat into the case, so the chassis has to move that air out. Cards with open coolers push warm air onto the motherboard and CPU cooler, which is fine in a well-ventilated case and unpleasant in a sealed one. If your GPU runs hot after an upgrade, the fix is usually more intake at the front and exhaust at the rear or top rather than anything on the card itself.
Keep at least a couple of centimetres of breathing room in front of the card’s fans; a drive cage sitting directly against the intake can raise temperatures noticeably. Glass-fronted cases with limited ventilation are a common bottleneck. If your current chassis restricts airflow, our roundup of the best PC cases for airflow covers layouts that give a large card room to breathe. Anyone approaching this as part of a wider project will find the sequencing in our walkthrough on how to build your first gaming PC step by step useful, since GPU installation is best done near the end of a build.
Safety Rules Worth Following
- Always unplug the mains cable. A soft shutdown still leaves the board powered in standby.
- Never force a card into a slot. If it will not seat, something is misaligned or a bracket is catching. Check rather than push harder.
- Handle only the edges and bracket. Avoid touching the gold contacts or exposed circuitry.
- Do not skip the retention clip. Breaking it by yanking the old card out can make the slot unreliable permanently.
- Keep the old card in an anti-static bag if you plan to sell or reuse it.
Troubleshooting a New Card
No display at all
Confirm the monitor cable is in the graphics card, not the motherboard, since almost every no-signal report traces back to this. Then check that both PCIe power connectors are fully latched and that the card is seated deeply enough for the clip to close.
System powers off under load
This points to the power supply. Either total wattage is too low for the new card’s transient spikes, or connectors are daisy-chained on a single cable. Use independent cables and consider whether an older supply still delivers its rated output.
Artifacts, crashes, or driver errors
Usually a driver conflict from the previous card. Do a clean removal in safe mode and reinstall. If artifacts persist across a clean install, reseat the card and test in another slot before assuming a hardware fault.
Coil whine or new noise
A high-pitched buzz under high frame rates is coil whine, which is normal on many cards and not a defect. Capping frame rates, especially in menus, usually reduces it significantly.
Mistakes That Cause Most Failed Installs
The first is buying before measuring, then discovering the card is 30mm too long for the case. The second is trusting a PSU’s headline wattage without checking its age, rail quality, and native connector count. The third is daisy-chaining power connectors on a card that draws heavily, which produces crashes that look like a faulty GPU. Fourth is leaving the old driver in place and then blaming the hardware for the resulting instability. Finally, many people forget to move the monitor cable to the new card and conclude the install failed when nothing is wrong at all.
Frequently Asked Questions
Do I need to update my BIOS first?
Usually not, but very old motherboards paired with new cards can require a BIOS update for support such as resizable BAR or basic detection. Check the board maker’s compatibility notes before upgrading a system that is several generations old.
Can I install a card in the second PCIe slot?
It will generally work, but lower slots often run fewer lanes and route through the chipset, which can cost a little performance. Use the top slot unless a cooler or clearance issue forces otherwise.
Should I disable the integrated graphics?
No. Modern systems handle both automatically, and leaving integrated graphics enabled gives you a useful fallback display output if the card ever fails.
Final Thoughts
A graphics card upgrade goes smoothly when you do the thinking before you pick up the screwdriver. Measure length and slot thickness, confirm your power supply has native connectors and real headroom, clear the old driver, then seat the card firmly in the top slot and screw the bracket down. Plug the monitor into the card, install fresh drivers, and check temperatures once under load. Handle those steps in order and the actual installation is a ten-minute job that reliably delivers every frame you paid for in 2026.









