Owen Bradley
 A gallery wall looks effortless when it is done well and slightly chaotic when it is not. The difference is almost never taste, it is planning. Frames that drift off level, gaps that grow wider as the arrangement travels across the wall, and a cluster that floats too high above the sofa are all symptoms of hanging by instinct rather than by measurement. The good news is that a gallery wall is one of the most forgiving projects in the house once you commit to a method. This guide walks through how to hang a gallery wall that stays straight, from laying the arrangement out on the floor to choosing hardware that holds without shredding your drywall.
Tools and Materials You Will Need
Gather everything before you put a single hole in the wall. Stopping halfway to hunt for a pencil is how arrangements drift.
- Tape measure and a pencil with a soft lead that erases cleanly.
- Level — a 24-inch spirit level is ideal, though a torpedo level works for small frames.
- Kraft paper or newspaper plus painter’s tape for templates.
- Hammer, and a drill if you are using anchors.
- Hardware: picture hooks, drywall anchors, or adhesive strips rated above the weight of each frame.
- Stud finder for anything over about 20 pounds.
- Felt bumpers for the bottom corners of each frame.
Choose Your Layout Style First
Before measuring anything, decide which of two families your arrangement belongs to, because they are hung by different rules.
The Grid
Identical or near-identical frames in even rows and columns. Grids read as calm and architectural, and they are the most demanding on precision because any error is immediately visible against its neighbours. Use a consistent gap, usually 2 to 3 inches, on every side.
The Salon Cluster
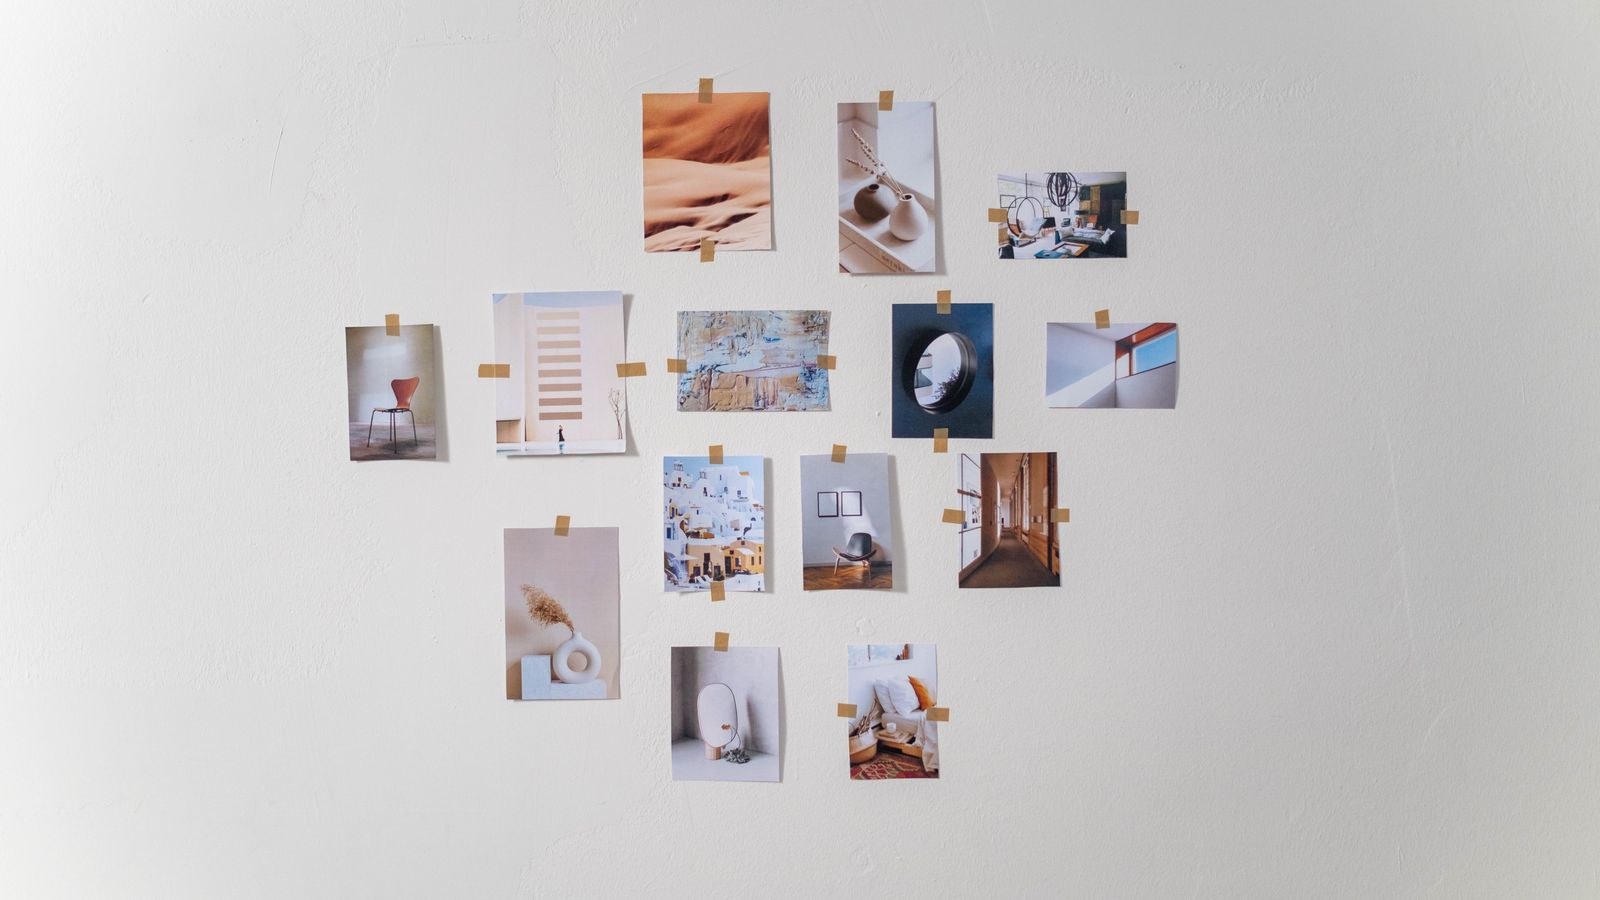
Mixed frame sizes, orientations and finishes arranged organically around a strong central piece. Clusters hide small imperfections, but they still need discipline: keep the outer edges of the whole group inside an invisible rectangle, and keep gaps roughly consistent so the eye reads it as one object rather than scattered pieces.
Sizing the Arrangement to the Wall
The most common gallery wall mistake is building an arrangement that is too small for its wall. As a working rule, the whole cluster should span roughly two-thirds to three-quarters of the width of the furniture beneath it. Above a sofa, that means a group measuring 60 to 70 inches wide for a standard 84-inch sofa. If you are still choosing the furniture the wall will sit above, it helps to settle that first — browsing the best sofas for your room size gives you a fixed width to design around instead of guessing.
Height matters as much as width. Leave 6 to 10 inches between the top of the sofa back and the bottom edge of the lowest frame. Any more and the art disconnects from the furniture; any less and it feels cramped. In a hallway or on a blank wall with nothing beneath it, centre the arrangement on the standard eye-line instead, which brings us to the single most useful number in the project.
The Center Line Rule That Keeps Everything Honest
Museums and galleries hang art so that the centre of the piece sits about 57 inches from the floor, roughly average standing eye level. For a gallery wall, apply that number to the centre of the entire arrangement, not to any individual frame. Find your 57-inch line, mark it lightly in pencil at both ends of the wall, and treat it as the horizontal spine of the whole project. Every measurement afterward is taken up or down from that line, which is what stops the group from creeping upward as you work outward.
Adjust the line down an inch or two if your household is shorter than average, or if the room is used mostly seated — a den or reading corner reads better with art hung slightly lower. Rooms with tall ceilings tempt people to raise everything; resist it. Art belongs at human height, not ceiling height.
Step-by-Step: Hanging the Gallery Wall
- Lay it out on the floor first. Clear a floor area the same size as your wall space and arrange the frames there. Move pieces until the visual weight feels even — dark or dense frames spread out rather than clumped on one side. Photograph the final layout from directly above so you have a reference.
- Trace paper templates. Lay each frame face down on kraft paper, trace around it, and cut out the shape. Write the frame’s name on each template so you do not mix them up.
- Mark the hanger point on every template. This is the detail most people skip. Pull the hanging wire taut upward on the back of the frame and measure the distance from the top edge of the frame down to the peak of the taut wire. Transfer that measurement onto the template and mark it with an X. That X is where the nail goes, not the top of the paper.
- Tape the templates to the wall. Using painter’s tape, position all the paper shapes according to your floor layout, centred on the 57-inch line. Keep gaps consistent, typically 2 to 3 inches for a tight modern look or 3 to 4 inches for a looser cluster. Use the level on the templates, not just your eye.
- Live with it for a few hours. Walk past the wall, view it from the doorway, look at it from the sofa. Paper is free to move; nail holes are not. Adjust anything that feels heavy on one side.
- Install hardware through the paper. Drive the nail, hook or anchor directly through the X on each template. The paper holds your measurement in place while you work and keeps drywall dust off the floor.
- Tear the templates away. Pull each paper shape off the wall — it rips cleanly around the hardware — and peel off the tape.
- Hang from the centre outward. Start with the central or largest piece and work out in both directions. This way any accumulated error lands at the edges of the arrangement where it is least noticeable.
- Level and stick. Check each frame with the level, then press felt bumpers onto the two bottom rear corners. Bumpers stop frames sliding out of level every time someone closes a door or vacuums nearby.

Choosing Hardware by Weight
Match the fastener to the load, not to whatever is in the drawer. Under 5 pounds, a simple picture nail driven at a 45-degree angle into drywall is fine, and removable adhesive strips are an excellent no-hole option. Between 5 and 20 pounds, use a rated picture hook, which spreads the load across a wider bearing surface than a bare nail. Between 20 and 50 pounds, move to a self-drilling threaded drywall anchor or a toggle. Above 50 pounds, hit a stud or use heavy-duty toggle bolts, and use two hanging points rather than one so the load is shared.
Whatever you choose, check the rating on the packet and give yourself margin. Frames with two D-rings should always be hung on two hooks set level with each other, which also makes the frame far harder to knock crooked.
Lighting the Wall Properly
An unlit gallery wall disappears after dark, which wastes half of its life. You have three practical options: picture lights mounted to the frames or the wall above them, ceiling-mounted directional spots angled at roughly 30 degrees to the art, or ambient lamps placed nearby that graze the wall with soft light. The lamp route is the simplest for renters and the easiest to change later — a pair of table lamps flanking a console below the arrangement does a lot of work. Our roundup of the best lamps for living rooms covers shapes that throw light upward as well as down, and the broader living room lighting guide explains how to layer lamps with overhead fixtures so the art is lit without glare bouncing off the glass.
Common Mistakes to Avoid
- Measuring from the top of the frame. The nail height depends on where the taut wire sits, which can be 2 to 4 inches below the frame top. Ignore this and every frame hangs lower than planned.
- Inconsistent gaps. The eye detects a half-inch variation instantly in a grid. Cut a spacer block of scrap wood or card to your chosen gap and use it between every frame.
- Hanging too high. The single most common error in the house. When in doubt, drop it an inch.
- Ignoring the wall’s shape. Light switches, thermostats and sockets are part of the composition whether you like it or not. Plan around them rather than pretending they are invisible.
- Skipping the level on templates. Taping paper by eye and then measuring only the frames reintroduces the error you were trying to avoid.
Making the Wall Work With the Room
A gallery wall is a backdrop, not a standalone exhibit, so it should echo something already in the room. Pick up one colour from the upholstery in a mat or a frame finish, and keep frame materials to two finishes at most. Seating placement matters too: if the main viewing position is a chair rather than the sofa, sight-line the arrangement from that chair before you commit. Whether the room is anchored by comfortable living room chairs or a single sculptural piece from a range of accent chairs, the seat you actually use should be the one you check the layout from.
Frequently Asked Questions
How much space should I leave between frames?
Two to three inches for a tight, contemporary grid and three to four inches for a mixed salon cluster. Whatever you choose, keep it identical throughout the arrangement — consistency reads as intentional far more than the specific number does.
Can I hang a gallery wall in a rental without damaging the walls?
Yes. Rated adhesive strips handle frames up to roughly 16 pounds with no holes at all, and they release cleanly when pulled straight down. For heavier pieces, small picture nails leave holes that fill with a dab of spackle in seconds.
Should every frame match?
Not necessarily. Matching frames create a formal grid; mixed frames create a collected look. The reliable middle ground is to vary the frames but keep the mats a single consistent colour, which ties disparate pieces together without looking rigid.
Do I need a stud for a gallery wall?
Usually not. Most framed prints and photographs weigh well under 20 pounds, which drywall anchors handle comfortably. Studs matter for large canvases, heavy timber frames and anything with thick glass.
Final Thoughts
Hanging a gallery wall that stays straight comes down to three habits: plan on the floor before you touch the wall, mark hanger points on paper templates rather than trusting the top edge of a frame, and anchor the whole arrangement to a 57-inch centre line so it cannot creep upward. Add hardware rated above the actual weight of each piece and a felt bumper on every bottom corner, and the wall will hold its alignment for years rather than weeks. Take the extra hour that the template stage costs you — it is the cheapest insurance against a wall full of holes you have to fill and drill again.