Owen Bradley
 Most desk organization advice starts in the wrong place. It tells you to buy trays, sort cables, and clear the surface until it photographs well, then leaves you with a workspace that looks calm and works badly. A desk is not a display shelf. It is a tool you reach into hundreds of times a day, and the only layout worth building is one that matches how your hands and eyes actually move. This guide shows you how to organize your desk around your real workflow using reach zones, so the things you touch every hour stay within arm’s length and everything else stops stealing surface area you need.
What You Need Before You Start
This is a rearranging job, not a shopping trip. Do the work first, then buy only the containers your finished layout proves you need. Have these on hand:
- Two empty boxes or laundry baskets, one for storage and one for items leaving the room entirely.
- A cloth and surface cleaner, because you will have a bare desk for the first time in months.
- A tape measure to check your usable depth and the reach arc from your seated position.
- Adhesive cable clips, hook-and-loop straps, or reusable ties for the cable pass at the end.
- A notepad to log what you actually touch during the audit day described below.
Resist buying organizers up front. Bought-first containers dictate a layout instead of serving one, and half-empty trays consume more prime desk space than the items inside them ever would.
Understanding the Three Reach Zones
Every seated workspace divides into three concentric zones, and the entire method rests on assigning items correctly. Zone one is the primary work area: roughly the arc your forearm sweeps with your elbow at your side, about 10 to 14 inches out. Reaching here costs nothing. Zone two is the secondary area, the arc your full extended arm covers without your shoulder leaving the chair back, roughly 14 to 24 inches. Reaching here costs a small movement. Zone three is everything requiring you to lean, stand, or turn, and it should hold nothing you need more than a few times a day.
The common failure is putting zone-three items in zone one. A printer or a stack of books parked at your dominant hand pushes your keyboard off-center and forces your mouse into an awkward reach.
Step-by-Step: Rebuild Your Desk Around Your Workflow
- Run a one-day touch audit. Before you move anything, work a normal day and keep a tally of every object you physically pick up and how many times. Pens, headphones, a specific notebook, a charging cable, a mug. Most people are startled to find they touch six or seven items repeatedly and ignore two-thirds of what is on the surface.
- Clear the desk completely. Take everything off, including the monitor and keyboard if you can lift them safely. Wipe the surface down. An empty desk resets your assumptions and reveals how much usable depth you actually have, which is often less than you think once a monitor stand is accounted for.
- Sort into three piles. Daily items from your audit, weekly items, and everything else. Be honest: “I might need it” belongs in the everything-else pile. That third pile goes into a drawer, a shelf, or out of the room, not back on the desk.
- Set your monitor and keyboard first. These anchor the layout because your body position depends on them. Center the primary monitor on your torso, top of the screen at or just below eye level, roughly an arm’s length away. Place the keyboard directly in front of it with your forearms parallel to the floor. Nothing else gets placed until these two are correct.
- Claim the mouse arc. Give your mouse a clear rectangle beside the keyboard on your dominant side, wide enough for a full low-sensitivity sweep. This space is non-negotiable and is the single most commonly stolen area on a cluttered desk.
- Place daily items in zone one. Only the handful of objects from your touch audit earn this space. A pen, your phone if you use it for work, headphones, a notepad. Put frequent-use items on the non-dominant side so your mouse hand stays unobstructed.
- Push weekly items to zone two. A reference binder, a second notebook, a desk lamp base, a small speaker. These live at the back corners and along the far edge where they are visible but never in the way.
- Move bulk storage off the surface. Everything from pile three goes into drawers, a rolling cabinet, or a shelf behind you. Surface area is the scarcest resource at a desk, and storage volume is the cheapest thing to add elsewhere.
- Run the cables. Route power and peripheral cables down one back leg, bundled with straps, and mount a power strip under the desk rather than behind it. Leave enough slack for a sit-stand desk to travel its full range if you have one.
- Work for a week, then adjust. Note anything you reached for and could not find, and anything you never touched. Promote and demote accordingly. The layout is finished when a full week passes with no reaching frustration.
Matching Storage to Your Layout
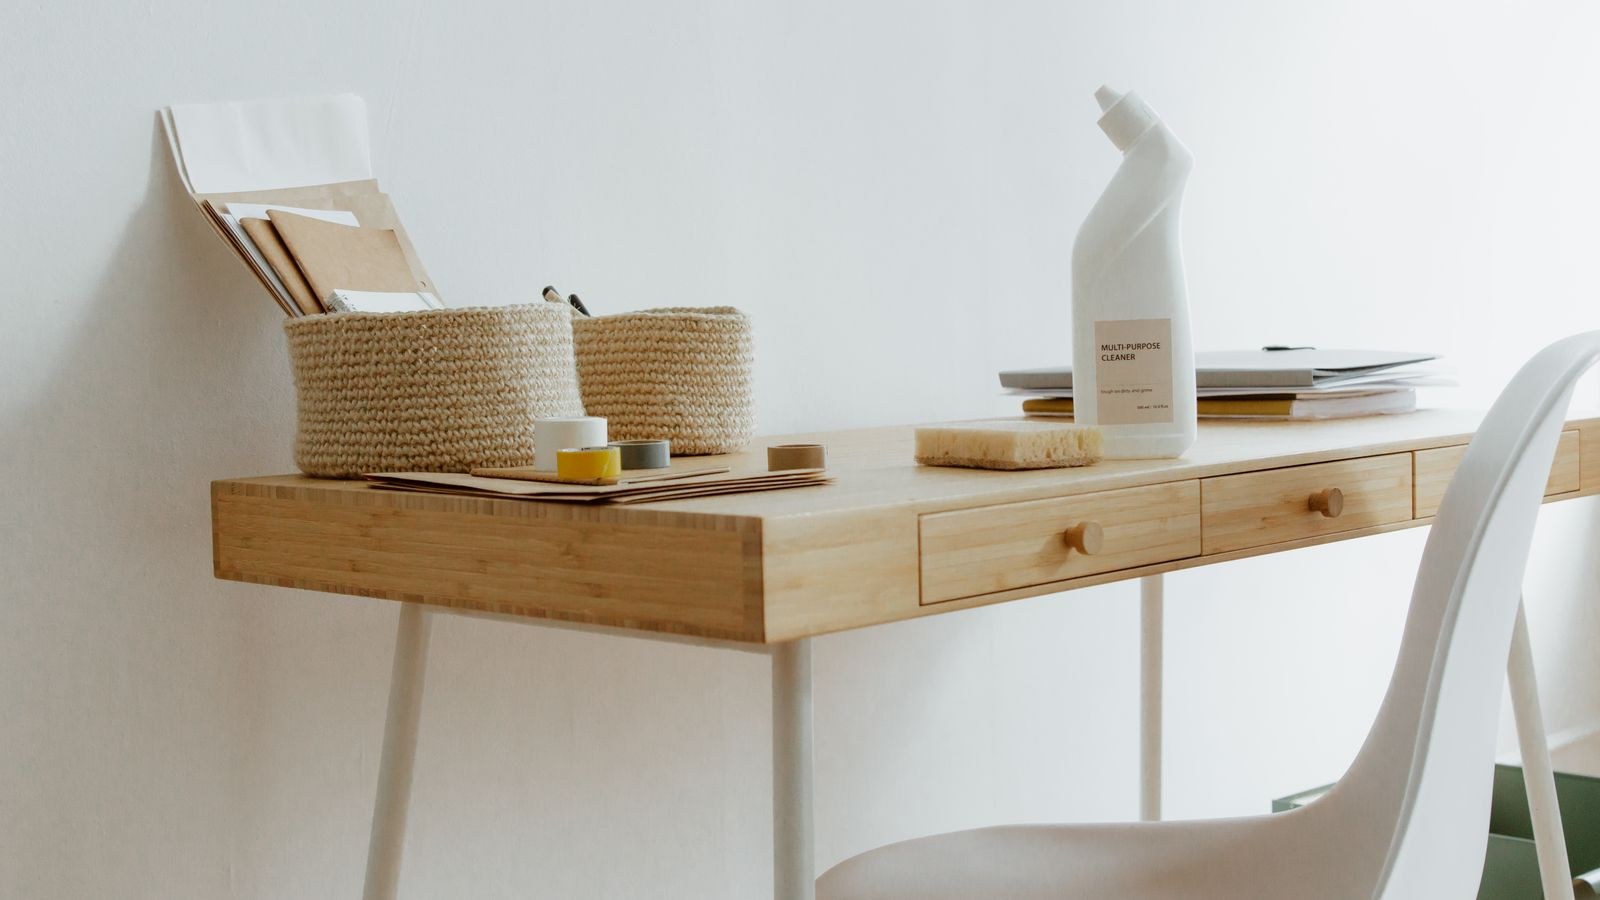
Once the zones are set, you will know exactly what storage you are missing. If your audit produced a large weekly pile, built-in drawers solve it more cleanly than surface trays, and browsing the best desks with drawers is a faster route than bolting aftermarket organizers to a bare slab. Gaming setups tend to accumulate controllers, headsets, and spare peripherals that all need a home, which is where the best gaming desks with storage earn their footprint.
If your touch audit came back short and you genuinely work from a laptop and a notebook, the opposite approach fits. The best minimalist desks deliver clean depth without drawers you would only fill with clutter. And if you are still choosing the desk itself, our roundup of the best desks for home office setups covers the width and depth ranges that leave room for a proper zone-one arc.
Choosing Accessories That Earn Their Space
A monitor arm is the highest-value accessory in most layouts because it returns the entire footprint of a stand, often 10 to 12 inches of prime depth, while letting you fine-tune height. A keyboard tray reclaims surface area and improves wrist angle if your desk sits high. Under-desk drawers add storage without touching the surface. Our guide to desk accessories for building an ergonomic workstation covers how these pieces work together. Skip anything decorative that occupies zone one: it is charging rent on your most valuable real estate.
Layouts for Different Kinds of Work
Reach zones are universal, but what fills them is not. If you write or code all day, your desk should be nearly empty: monitor, keyboard, mouse, one notepad. Deep work benefits from a surface with no visual competition. If you handle paperwork, reserve a clear landing rectangle to the non-dominant side, sized for the documents you actually spread out, and keep a vertical sorter in zone two rather than letting stacks migrate inward.
Creative work inverts the rule. Tools you use constantly, such as a tablet or a second input device, legitimately belong in zone one, which often means moving the keyboard to a tray. Setups that switch between tasks should organize by mode: keep one clean default state and one small tray that swaps in the second mode’s tools in a single motion.
Safety and Comfort Notes
Organizing changes your posture whether you intend it or not, so check a few things after the rebuild. Confirm your monitor distance is roughly an arm’s length; pulling it closer to make room for something else is a common side effect that causes eye strain. Verify that nothing under the desk blocks your legs, since a relocated tower or storage box often ends up in the knee clearance zone and forces you to sit twisted.
Watch cable safety too. Keep cables off the floor where a chair caster can roll over and strip them, and do not daisy-chain surge protectors. If you moved a heavy monitor, lift from the base rather than the panel, and check that any clamp-mounted arm is torqued onto a solid section of the desk.
Troubleshooting Common Problems
Clutter comes back within two weeks. This nearly always means an item has no assigned home, so it defaults to the nearest flat surface. Identify the repeat offenders and give each one a specific place in zone two, not a general “misc” tray, which is just clutter with a lid.
Your mouse keeps running out of room. Either the keyboard is too far toward your dominant side or something has crept into the mouse rectangle. Recenter the keyboard on your torso first, then clear the arc again.
The desk feels too shallow. Measure from the front edge to the monitor. If it is under 20 inches, a monitor arm will usually fix it instantly by removing the stand base. A corner or L-shaped placement can also buy depth without a bigger room.
Mistakes That Undo a Good Layout
- Buying organizers before auditing. Containers should follow the item list, never lead it.
- Organizing for photos instead of hands. A symmetrical, decorative surface usually puts the wrong things in reach.
- Treating the desk as storage. Anything used less than daily belongs in a drawer or on a shelf.
- Letting the monitor drift off-center. This forces a twisted neck posture that compounds over hours.
- Keeping the printer on the desk. It is the largest single-use object most people own and belongs on a side surface.
Frequently Asked Questions
How much clear desk space do I actually need?
Aim for a clear working rectangle roughly 24 inches wide and 16 inches deep in front of you, plus a mouse arc of about 10 by 10 inches. Anything beyond that is useful but not essential. If you cannot achieve that, the problem is storage volume rather than desk size.
Should frequently used items go on my dominant side?
Generally no. Your dominant side is already committed to the mouse. Put grabbed-and-released items such as a pen, phone, or notepad on the non-dominant side so your mouse hand never has to navigate around them.
Do I need a standing desk to organize well?
No. Reach zones apply identically whether you sit or stand. A sit-stand desk does demand tidier cable management, since every cable must tolerate the full height range without pulling anything off the back edge.
What is the single fastest improvement?
Remove everything you did not touch in the last week. Most desks lose half their clutter to that one rule, and the layout underneath is usually close to correct already.
Final Thoughts
Organizing your desk around how you work is less about tidiness than about spending your attention well. Every object in zone one is a small claim on your focus, and every item you have to stand up to retrieve is a small interruption. Run the touch audit, set the monitor and keyboard before anything else, defend the mouse arc, and push the rest outward until the surface holds only what your hands genuinely need. Do that once and the desk stops fighting you, so the only maintenance left is a brief weekly reset rather than another full rebuild.