
 Owen Bradley
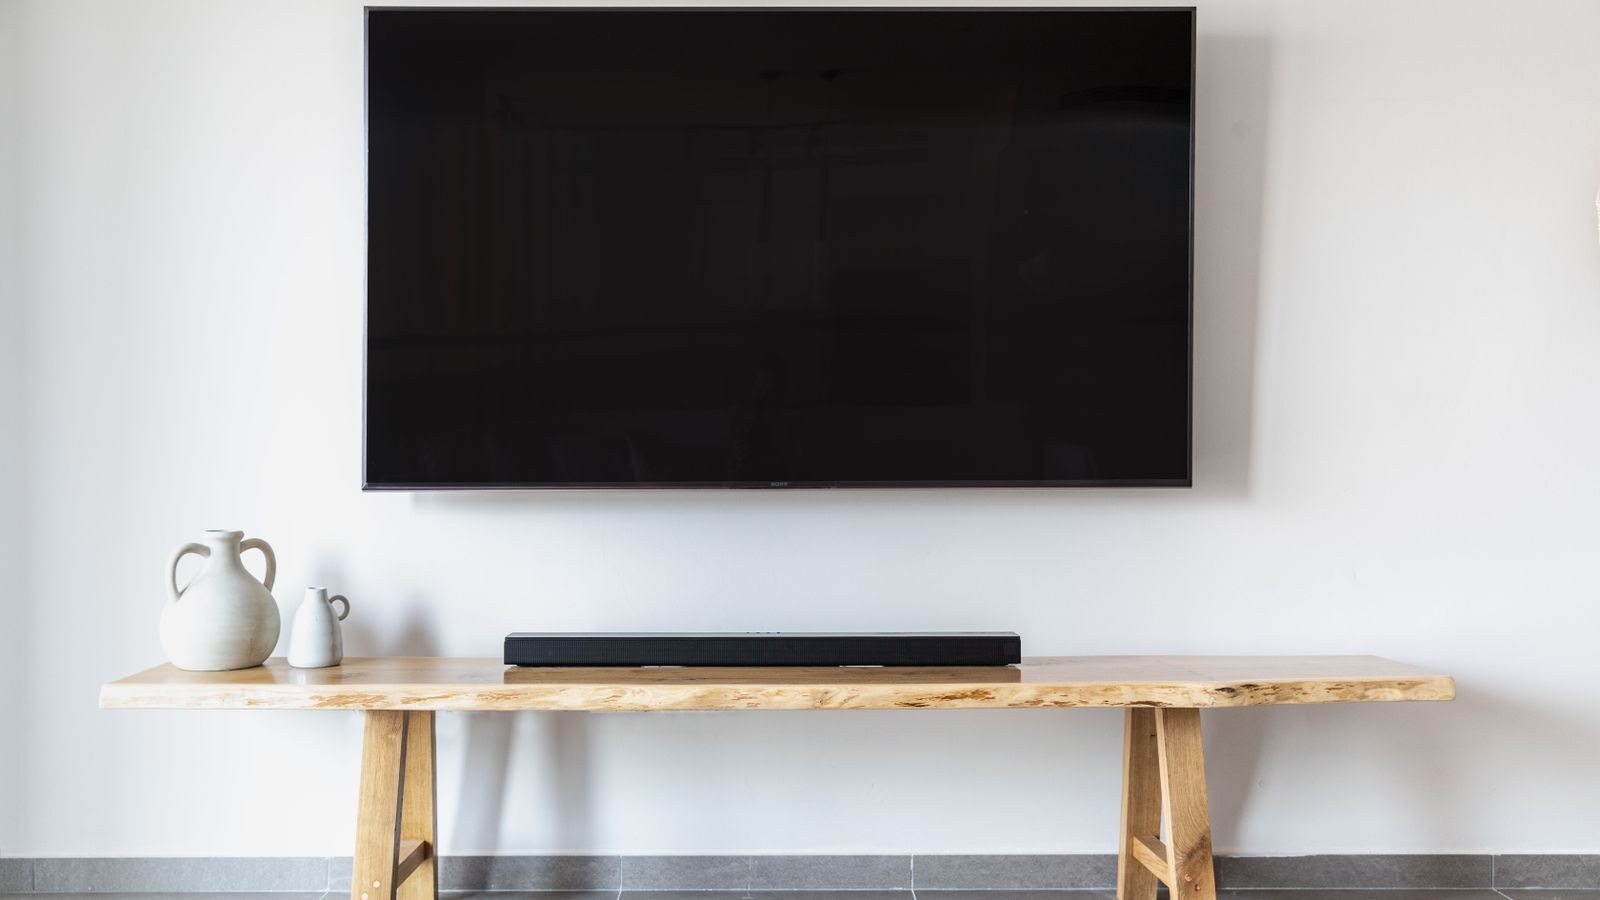
 A wall-mounted television looks sharp right up until you notice the tangle of black cables dangling beneath it. Running those cables inside the wall is the cleanest fix, and it is a project most confident homeowners can finish in an afternoon with basic tools. The catch is that you cannot simply shove a standard power cord into a wall cavity and call it done. Electrical codes treat in-wall wiring differently from the cords that ship with your gear, and ignoring that distinction creates a genuine fire risk. This guide walks through how to hide TV wires inside the wall the safe way, using in-wall rated cable, recessed outlets and low-voltage brackets so your setup looks completely wire free and still passes inspection.
Understand What Can and Cannot Go Inside a Wall
Before you cut a single hole, get this rule straight: the power cord attached to your TV, soundbar or console is not rated to be concealed inside a wall cavity. Those cords are flexible, unrated, and designed to sit in open air where heat can escape and damage is visible. Burying one behind drywall violates electrical code in most regions and can void your homeowners insurance after a fire.
What you can run in the wall falls into two categories. The first is in-wall rated low-voltage cable, marked CL2 or CL3 on the jacket. HDMI, optical, speaker wire, coaxial and network cable all come in these ratings, and they are approved to sit inside a stud bay. The second is permanent electrical wiring installed by a qualified electrician, or a code-compliant recessed power kit that transfers existing outlet power up to the TV through rated in-wall cable.
The most common consumer solution is a two-piece recessed power relocation kit. It pairs a receptacle box behind the TV with an inlet box near your existing outlet, joined by a length of rated wire. You plug the TV into the upper box and plug the lower box into the wall outlet with a short cord that stays outside the wall. If you are choosing hardware for that lower connection, a quality receptacle matters more than people assume, and our roundup of the best power outlets covers what separates a solid unit from a loose one.
Tools and Materials You Will Need
- Stud finder with deep scan or edge detection, ideally one that flags live wiring
- Drywall saw or oscillating multi-tool for clean rectangular cuts
- Recessed in-wall power kit rated for your region, or a pair of low-voltage mounting brackets if you are only routing signal cable
- Fish tape or a flexible glow rod to pull cable through the cavity
- CL2 or CL3 rated HDMI cable long enough for the full run plus 18 inches of slack at each end
- Pencil, level, tape measure and painter’s tape for marking
- Non-contact voltage tester to confirm nothing live sits in your cut zone
- Drill with a spade bit if you need to pass through a horizontal fire block
- Shop vacuum to catch drywall dust as you cut
Buy your HDMI cable at least three feet longer than you think you need. Pulling a taut cable through a cavity stresses the connector, and a short run leaves you no room to reposition the TV later.
Step-by-Step: Routing the Cables Inside the Wall
- Confirm the wall is safe to cut. Scan the full area between your planned TV position and the outlet below. Mark every stud, and use a voltage tester to check for hidden wiring. Avoid exterior walls where insulation and vapor barriers complicate the pull, and never cut into a wall carrying plumbing or gas lines without confirming their exact path.
- Mark both openings inside one stud bay. The cable has to travel straight down a single cavity, so both holes must sit between the same pair of studs. Hold the TV bracket at your chosen height, mark the upper box location where the TV will conceal it, then drop a plumb line down to a point roughly 12 inches above the floor for the lower box. Trace both cutouts with the template supplied in the kit.
- Cut the openings cleanly. Score the outline first, then saw slowly with the vacuum nozzle held nearby. Cut just inside your pencil line so the box faceplate covers the edges. If you hit a fire block partway down, cut a small access hole at that level, drill through the block with a spade bit, then patch the access hole once the cable is through.
- Fish the cable from top to bottom. Feed fish tape or a glow rod down from the upper opening until it appears at the lower one. Tape the cable securely to the end, wrapping the joint smoothly so it does not snag on insulation or nail plates, then pull it back up through the cavity in one steady motion.
- Install the recessed boxes. Slot each box into its opening and tighten the wings until they grip the back of the drywall. Do not overtighten, since crushed drywall leaves a box that rattles and sits proud of the surface.
- Terminate the power kit according to its instructions. Most consumer kits are plug-and-play: the rated cable is already attached to both boxes, and you simply seat them. If your kit requires hardwiring into a junction box, stop and hire an electrician. That step is not a place to improvise.
- Connect and test before mounting. Plug the lower inlet into your wall outlet with the supplied cord, connect the TV to the upper receptacle and HDMI port, and power everything on. Verify picture, sound and any network connection while the back of the TV is still accessible.
- Mount the TV and dress the slack. Hang the screen on the bracket, coil the extra cable neatly behind it, and confirm nothing is pinched between the panel and the wall. A pinched HDMI connector is the single most common cause of intermittent signal dropouts after a clean install.
Planning Your Outlets Before You Close the Wall
The moment the drywall is open is the moment to think ahead. Adding a second HDMI run costs almost nothing now and saves a repeat project when you add a console or streaming box later. Pull one spare cable alongside your primary run and leave it coiled in the lower box.
The same logic applies to power and charging. Many people mount a TV, then discover they want a charging point nearby for a controller or remote. Swapping the feeding receptacle for one with integrated charging ports is far easier before the TV goes up, and our guide to the best USB wall outlets explains which configurations actually deliver useful charging speed. If you are replacing faceplates or upgrading tired receptacles across the room at the same time, comparing the best wall sockets helps you match finish and quality throughout.
Alternatives When You Cannot Cut the Wall
Renters, masonry walls and finished basements sometimes rule out in-wall routing entirely. A paintable cord raceway is the next best option: it adheres to the surface, hides the full cable bundle in a low-profile channel, and disappears once painted to match the wall. Fabric cable sleeves gather multiple cords into one tidy column, which reads far better than five separate wires. On brick or concrete, a slim surface conduit run behind the media console is often the only practical route. For a broader look at safe cord management options that do not involve opening a wall, our wall plug and extension guide covers what to use and what to avoid.
Safety Rules You Should Not Bend
Kill power at the breaker before working near any existing outlet, and verify with a tester rather than trusting the switch label. Never run an ordinary extension cord or power strip inside a wall cavity, even temporarily. Keep low-voltage cable a few inches away from parallel electrical runs to reduce interference, and cross them at right angles when they must meet. If your home was built before modern wiring standards, or you find aluminum wiring, unbox nothing and call a licensed electrician instead.
Troubleshooting Common Problems
The fish tape will not reach the lower opening
Something is blocking the cavity, usually a fire block or a horizontal brace. Feel for the obstruction with the rod, cut a small access hole at that height, drill through the block and patch afterward.
The picture flickers or drops after mounting
Almost always a pinched or over-bent HDMI cable behind the panel. Pull the TV forward, free the slack and re-seat the connector. If the run is long, a cable rated for higher bandwidth may be needed to carry a 4K signal reliably.
The recessed box wobbles in the opening
The cutout is oversized or the mounting wings are overtightened and have crushed the drywall edge. A slightly larger faceplate or a repair patch behind the box restores a firm grip.
Mistakes That Cost People Money
The three expensive errors are cutting before scanning, which can slice a live wire or a water line; burying an unrated cord, which creates a hazard and a code violation; and cutting the two openings in different stud bays so the cable cannot travel between them. Each is avoidable with ten minutes of measuring. Choosing a mount height purely for looks is a fourth mistake, and it becomes obvious the first time you watch a full film. Setting the screen at the right level for your seating position deserves as much thought as the wiring itself, particularly for large panels such as the best living room gaming TVs where a high mount causes real neck strain.
Frequently Asked Questions
Can I put my TV’s own power cord in the wall?
No. Standard appliance cords are not rated for concealment and violate electrical code inside a wall cavity. Use a recessed power relocation kit that connects through in-wall rated wire instead.
What does CL2 or CL3 on a cable mean?
Those markings certify the jacket meets fire-resistance standards for in-wall installation. Any signal cable you conceal should carry one of them printed along its length.
Do I need an electrician for this project?
Not for a plug-in recessed kit and low-voltage cable, which are designed for homeowner installation. You do need one for any work that involves hardwiring a new circuit or tying into a junction box.
How high above the floor should the lower box sit?
Around 12 to 16 inches keeps it hidden behind most media consoles while staying clear of baseboard trim and any existing outlet wiring.
Will this work on a brick or concrete wall?
Not without masonry channeling, which is a much larger job. On solid walls, a paintable surface raceway gives you a tidy result with far less effort and no structural risk.
Final Thoughts
Hiding TV wires in the wall is less about carpentry skill and more about respecting one rule: only rated cable and code-compliant kits go inside the cavity. Scan carefully, keep both openings in the same stud bay, pull a spare cable while the wall is open, and test everything before the TV goes up. Do that and you get the floating-screen look that makes a room feel finished, without leaving a hazard sealed behind the drywall. It is a genuinely satisfying upgrade that costs little and lasts for as long as you own the wall.









