
 Owen Bradley
 Plug-in under-cabinet lighting is easy, but it always leaves you with a cord snaking down to an outlet and a switch you have to reach behind the toaster to find. Hardwiring solves both problems. The driver lives inside a cabinet or a junction box, the fixtures connect with hidden low-voltage cable, and the whole run answers to a proper wall switch or dimmer beside the kitchen door. It is a bigger job than sticking on a battery strip, and it involves working on house wiring, but for a homeowner comfortable with basic electrical work it is a very achievable weekend project. This guide walks through planning the circuit, running the cable, connecting the fixtures, and adding a dimmer that will not make your LEDs flicker.
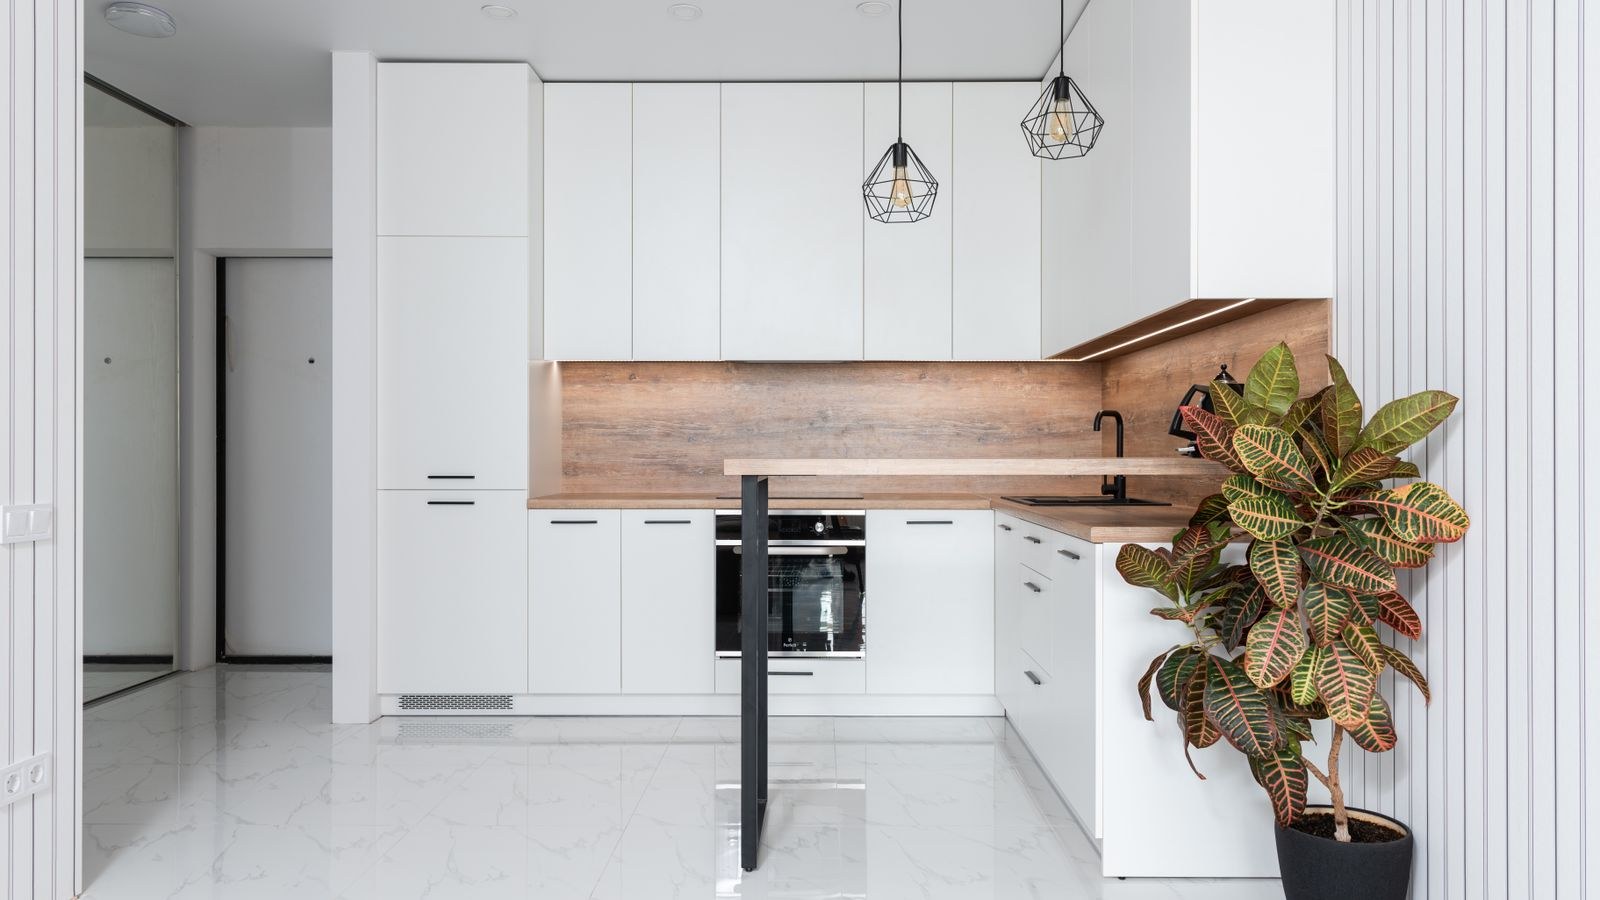
Know What You Are Taking On
Hardwiring means tapping an existing circuit or running a new one, which is regulated work in most jurisdictions. Check local rules before you start. Many areas allow a homeowner to do the work in their own residence but still require a permit and an inspection, and kitchens have specific requirements about which circuits lighting may share.
Two things are non-negotiable. Lighting should not be tapped from a small-appliance countertop receptacle circuit, because those circuits are reserved for outlets in most modern codes. And every splice must land inside an accessible junction box, never buried behind drywall or taped inside a cabinet. If either of those points is a problem in your kitchen, hire an electrician for the rough-in and do the fixture mounting yourself.
Choosing the Fixtures
Hardwired under-cabinet lighting comes in three broad forms. Linear light bars are rigid aluminium fixtures that link end to end and give the most even output with the least fuss. LED tape is a flexible strip you cut to length and mount in a channel, which suits odd-shaped runs and gives a very slim profile. Puck-style fixtures create pooled accent light rather than continuous task light.
For a kitchen work surface, linear light bars or tape in a diffused channel almost always look better than pucks. Compare the fixtures built for permanent installation in the guide to the best hardwired LED strip lights, and if you plan to use flexible tape, the roundup of the best LED tape lights covers density, diffusion, and channel compatibility. For a wider view of what fits a kitchen specifically, the best LED strip lights for kitchen cabinets list is a good starting point.
Whatever you choose, aim for 2700K to 3000K for warm kitchens or 3500K for a crisper look, a colour rendering index of 90 or higher so food looks right, and enough length to cover at least two-thirds of each cabinet run. Short fixtures under long cabinets are the most common source of disappointing results.
Tools and Materials
- Non-contact voltage tester and a multimeter
- Drill with long flexible bit or auger for fishing through studs
- Drywall saw, fish tape, and a stud finder
- Wire strippers, lineman’s pliers, and screwdrivers
- 14/2 or 12/2 cable to match the circuit, plus low-voltage fixture cable
- Old-work junction box, cable clamps, and UL-listed wire connectors
- Low-voltage LED driver rated above your total fixture load
- Adhesive cable clips or wire channel, and a spirit level
Planning the Circuit and Cable Route
Sketch the kitchen and mark each cabinet run, the switch location, and where the driver will live. The usual layout feeds line voltage from the switch to a junction box inside a cabinet or in the wall behind it, where the driver converts to low voltage. From there, low-voltage cable runs to each fixture.
Keep the low-voltage runs short. Voltage drop is the reason the last fixture in a long chain glows dimmer than the first, and it gets worse fast on thin cable. If a run exceeds roughly 15 to 20 feet, split it into two runs from the driver or step up to heavier gauge cable.
Plan where the line-voltage cable will travel before you cut any drywall. Running it inside the cabinet cavity, up through the soffit, or through the wall above the backsplash all work; what matters is that you can get from the switch box to the driver without drilling through a plumbing stack or a cabinet you cannot reach.
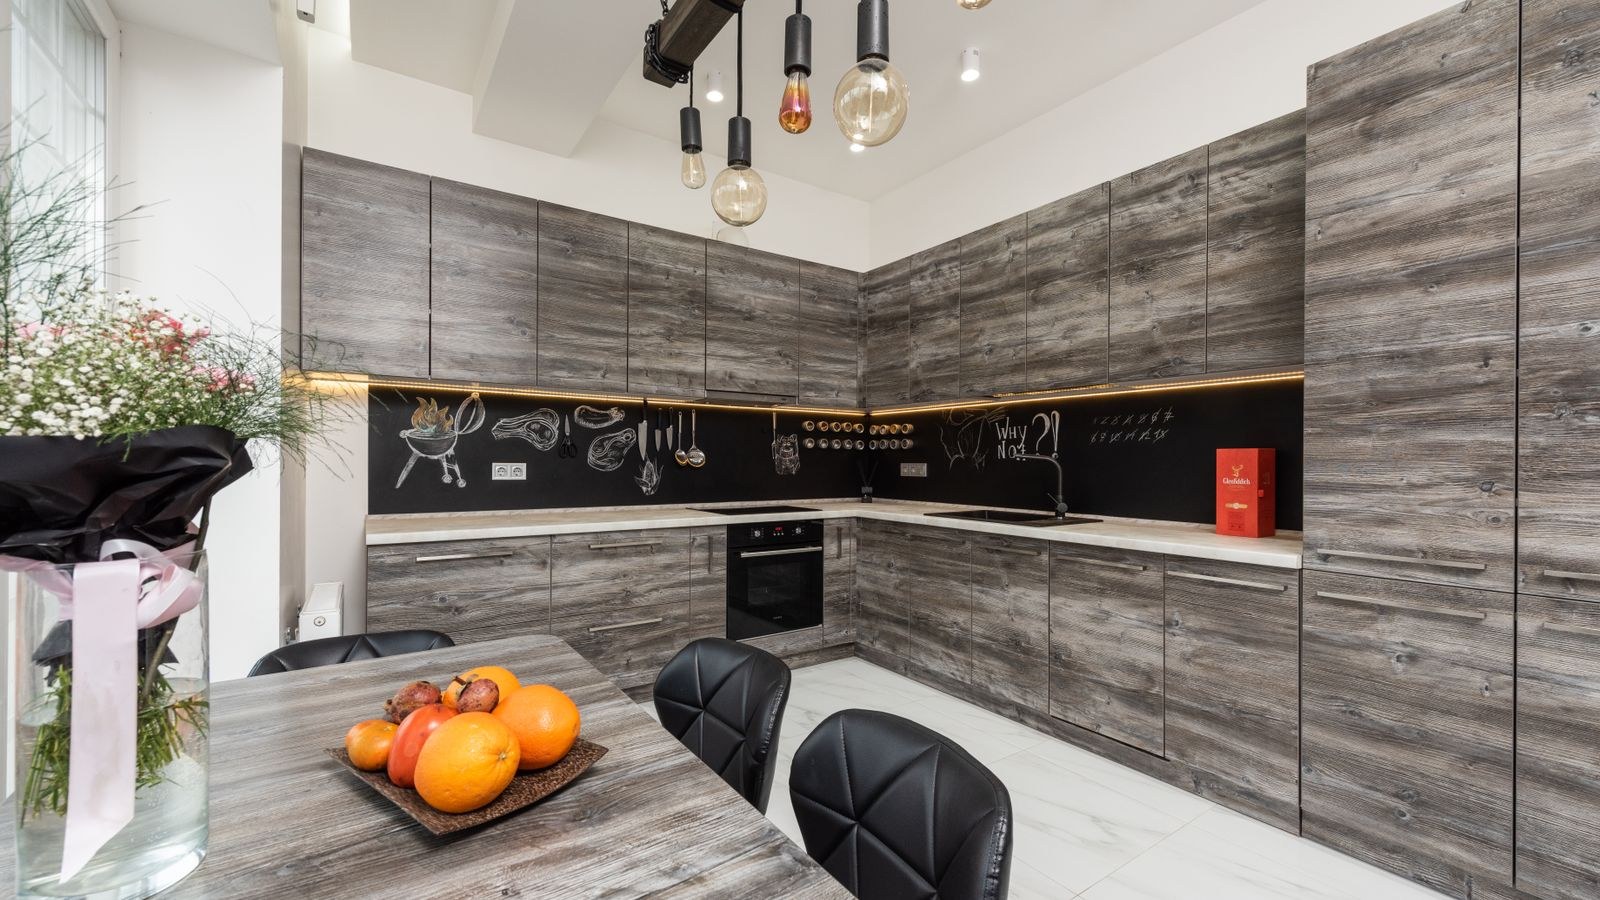
Step-by-Step Installation
- Shut off and verify the power. Switch off the breaker feeding the circuit you plan to tap, then test every conductor at the source box with a non-contact tester and confirm with a multimeter if you have one.
- Identify a legal power source. A general lighting circuit or a switch box already serving kitchen lights is usually the right tap. Confirm the box has enough volume for extra conductors before adding to it.
- Cut in the switch box. Locate the switch position beside the room entry, check for studs and pipes, and install an old-work box at a comfortable height.
- Run the line-voltage cable. Fish the cable from the source to the switch box and on to the driver location, keeping it at least 1.25 inches back from stud faces or protecting it with nail plates where it passes through framing.
- Mount the driver. Fix the low-voltage driver inside a cabinet or in an accessible junction box with airflow around it. Never seal a driver behind finished drywall.
- Mount the fixtures. Hold each light bar or channel against the cabinet bottom, about one-third back from the front edge, and mark the screw holes. Pilot-drill, then fasten, checking screw length against cabinet thickness. Keep every fixture the same distance from the front edge so the light line is straight.
- Link the fixtures together. Use the supplied jumper cables between fixtures in a run, and drill small pass-through holes in cabinet side walls where a run crosses a gap. Leave a service loop at each fixture.
- Connect low voltage to the driver. Land the fixture leads on the driver’s output terminals, watching polarity carefully — reversed polarity will simply leave the run dark on most LED fixtures.
- Wire the line-voltage side. Connect the driver’s input to the switched hot and neutral, and bond every ground. Make the ground connections first, then neutral, then hot.
- Install the switch or dimmer. Connect the switch per its diagram, tuck the conductors neatly, and fasten the device and plate.
- Restore power and test. Turn the breaker on, operate the switch, and check that every fixture lights at full brightness with no flicker and no dim tail at the end of a run.
- Dress and close up. Clip all cable neatly along the shadow line at the back of the cabinet bottoms, patch and paint any drywall you opened, and label the breaker.
Adding a Dimmer That Actually Works
A dimmer transforms under-cabinet lighting from a task light into something you can leave on softly all evening, but LED loads are fussy. Two rules cover most failures. First, match the dimming method to the driver: a triac or forward-phase dimmer needs a driver marked as triac-dimmable, while 0-10V drivers need a matching 0-10V control. Second, respect the minimum load. Under-cabinet LEDs draw very little power, and a dimmer with a 40-watt minimum will flicker or drop out driving a 15-watt run.
Look for a dimmer with adjustable low-end trim so you can tune out flicker at the bottom of the range, and check the manufacturer’s compatibility list against your specific driver. The roundup of the best dimmer switches for LED lights covers models built for these low loads.
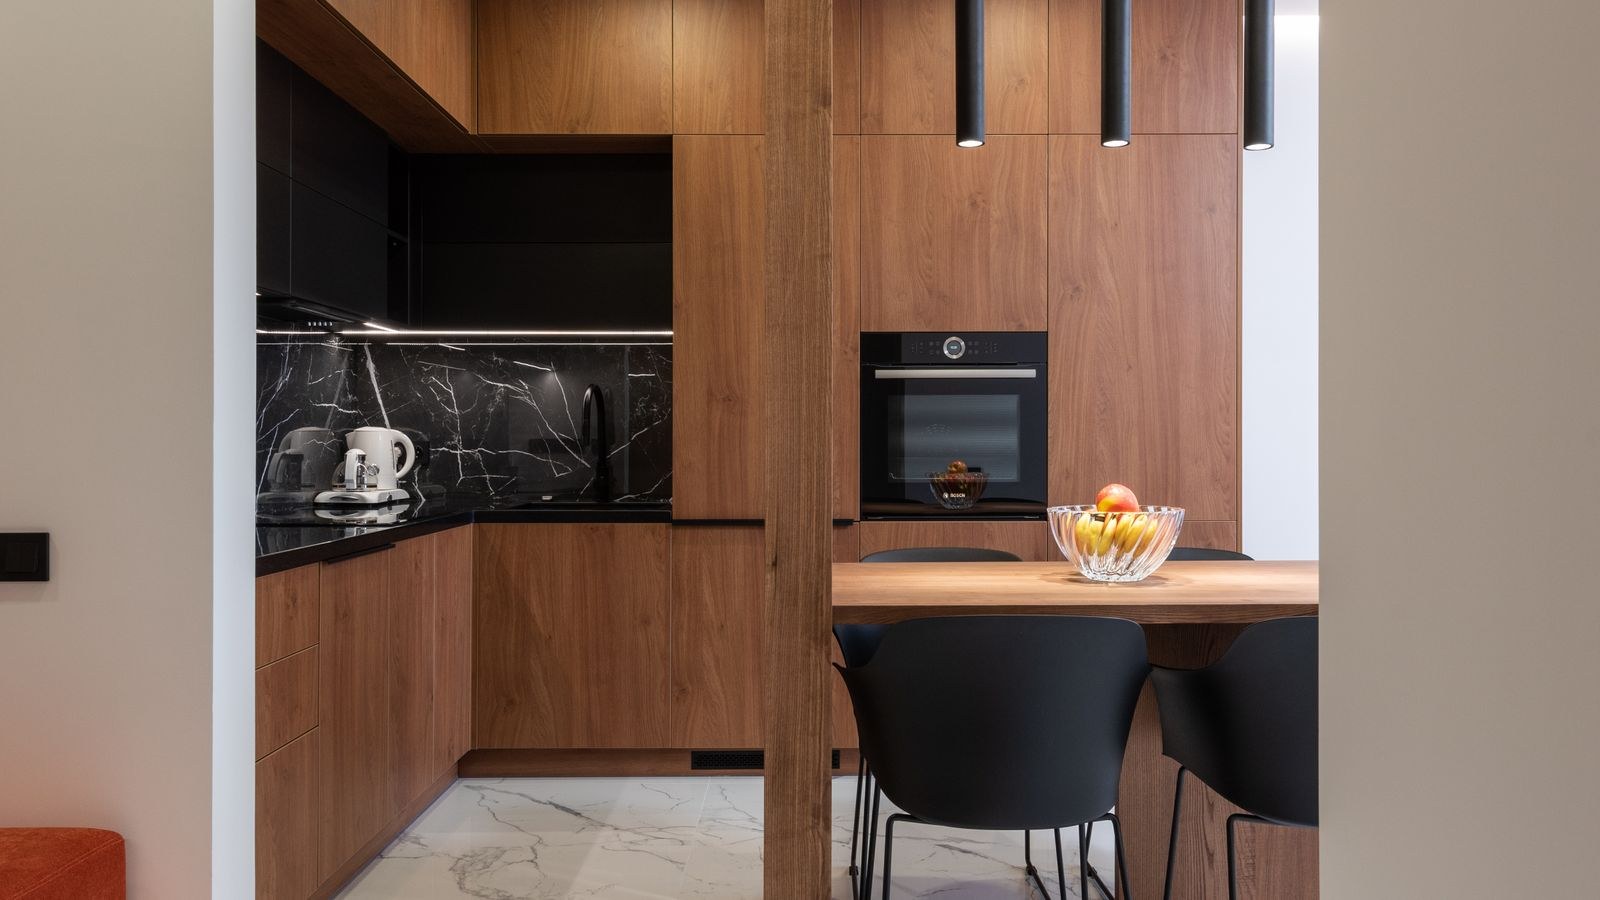
Common Mistakes
- Tapping a countertop receptacle circuit. It is a code violation in most areas and can overload a circuit already serving appliances.
- Burying splices. Every connection needs an accessible box, full stop.
- Undersizing the driver. Running a driver at its absolute limit shortens its life and causes dimming under load.
- Mounting fixtures too far back. Light hits the backsplash and reflects into your eyes instead of lighting the counter.
- Pairing a legacy dimmer with LED drivers. Flicker, buzz, and dropout at low settings follow almost every time.
- Forgetting nail plates. Cable near a stud face will eventually meet a screw from a backsplash or cabinet install.
Troubleshooting
If nothing lights, check the breaker, then the switch wiring, then the driver’s input voltage with a meter. If the driver has power but the fixtures are dark, the usual causes are reversed low-voltage polarity or a jumper cable that is not fully seated.
A run that fades toward the far end is voltage drop, solved by splitting the run or using heavier cable. Flicker points at the dimmer and driver combination. Buzzing from inside a cabinet is usually the driver itself, and moving it away from a cabinet wall that acts as a sounding board often quiets it noticeably.
Frequently Asked Questions
Do I need a permit to hardwire under-cabinet lighting?
Often yes. Many jurisdictions require a permit and inspection for any new branch circuit wiring, even when homeowners are allowed to do the work themselves.
Can I hardwire lights into an existing outlet?
Not into a kitchen countertop receptacle. A general lighting circuit is the appropriate source, and the connection must be made in a proper junction box.
Where should the driver be mounted?
Inside a cabinet, in a soffit, or in an accessible junction box with airflow around it. Drivers generate heat and eventually need replacing.
How bright should under-cabinet lighting be?
Roughly 175 to 300 lumens per linear foot of counter suits most kitchens, with a CRI of 90 or above for accurate colour.
Final Thoughts
Hardwiring under-cabinet lighting takes a weekend and a careful plan, and it produces a result that plug-in kits simply cannot match: no cords, a real wall switch, and even light across every work surface. Confirm your power source is legal, keep every splice accessible, mount the fixtures forward on the cabinet bottom, and match the dimmer to the driver. Get those right and the lighting will look like it was there when the kitchen was built.









