Owen Bradley
 Most people who buy fast memory never actually use it. Out of the box, a motherboard runs every stick at the conservative JEDEC baseline written into the module, which can be far below the speed printed on the box. If you paid for a 6000 MT/s kit and your system reports 4800, nothing is broken and nothing is faulty: you simply have not turned on the performance profile yet. Learning to enable XMP in BIOS, or EXPO on AMD platforms, takes about five minutes and is the single highest-value free upgrade available to a desktop owner. This guide walks through the whole process, from checking what your kit supports to verifying the change stuck and stabilising a system that does not like the profile at first.
What XMP and EXPO Actually Do
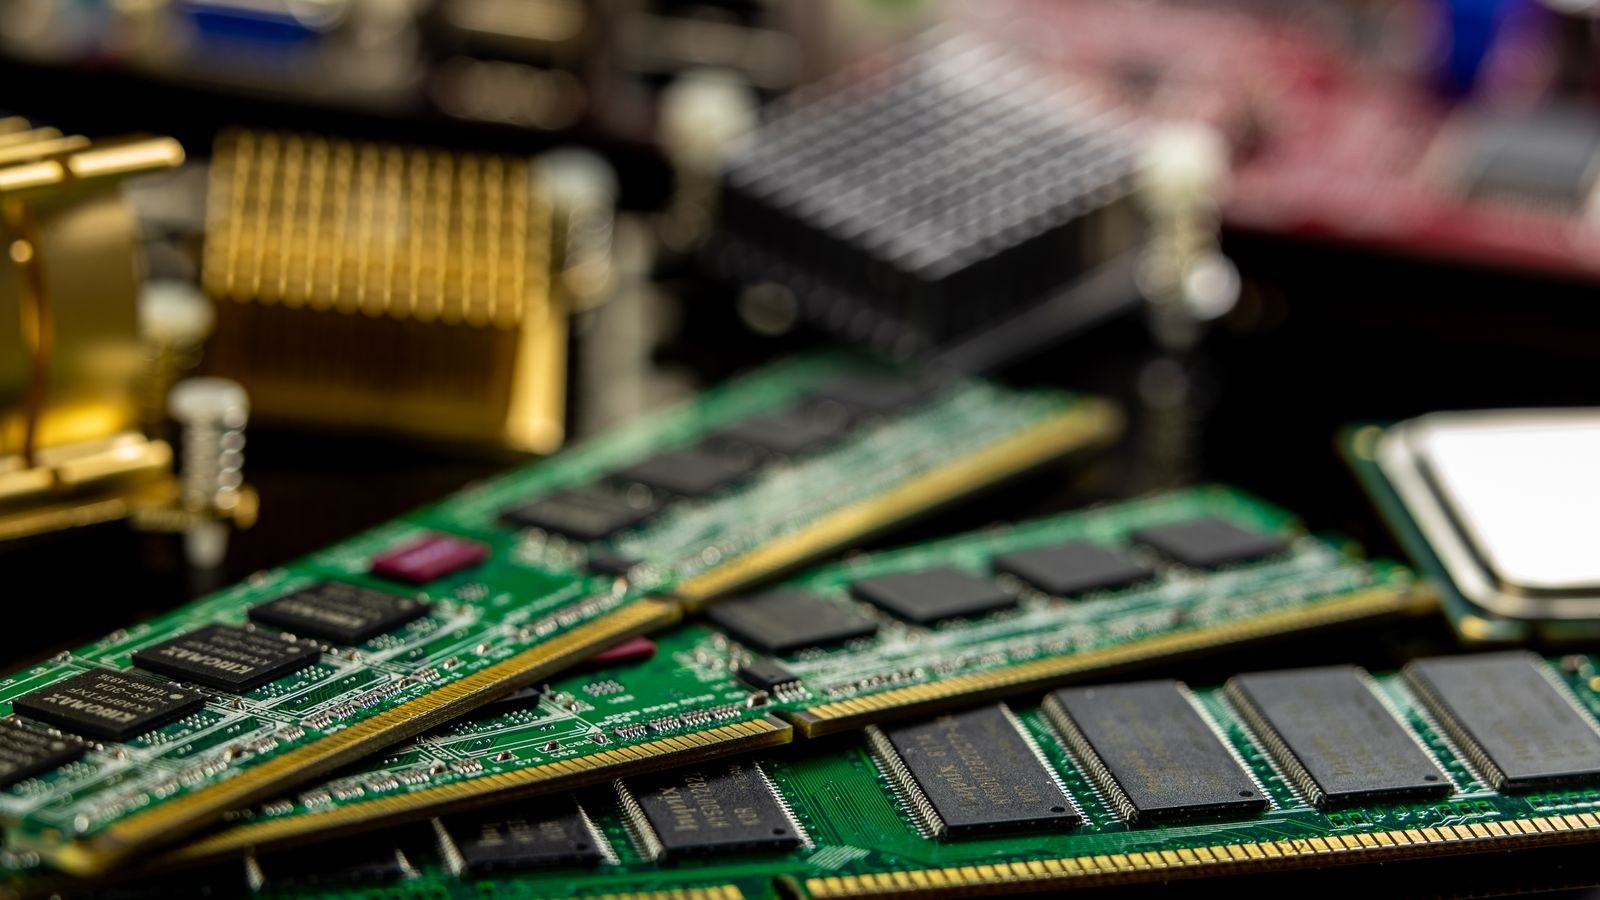
Every memory module carries a small chip called the SPD that stores timing tables. One of those tables is the safe, guaranteed-compatible baseline every motherboard defaults to. Alongside it, the manufacturer stores one or two tuned profiles containing a higher frequency, tighter timings, and a slightly raised voltage that the kit was validated to run at. Intel calls the standard XMP (Extreme Memory Profile). AMD’s equivalent for DDR5 is EXPO (Extended Profiles for Overclocking). Both do the same job: they let you apply a factory-tested overclock with a single menu selection instead of dialling in a dozen values by hand.
The practical gain varies by workload. Games that lean on the CPU, simulation titles, and anything with a lot of background streaming often pick up meaningful frame rate improvements, especially in the 1% lows that make gameplay feel smooth. Compiling, archiving, and integrated-graphics performance also respond well. Purely GPU-bound scenes at high resolution may barely move. Even so, the profile is already paid for, so there is no reason to leave it off.
Before You Start: Check Compatibility
Two things need to line up. First, the memory itself must carry a profile. Budget value RAM sometimes ships with no XMP or EXPO table at all, in which case there is nothing to enable. Kits sold as gaming or enthusiast memory almost always include one, and the specification sheet will list the rated speed and voltage. If you are still shopping, the current crop of best DDR5 RAM kits all ship with validated profiles, and the dedicated best high speed RAM roundup is worth reading if you want the strongest gains rather than the cheapest capacity.
Second, the motherboard must support memory overclocking. Nearly all modern AMD boards do. On the Intel side, support historically depended on the chipset, so entry-level boards may lock the feature. If you are pairing a new kit with a new platform, both the best AM5 motherboards and the best Z790 motherboards handle high-frequency kits comfortably. Also check the board’s qualified vendor list if you bought an unusually fast kit, since not every combination of CPU memory controller and module density reaches the highest advertised speeds.
Step by Step: Enabling the Profile
- Note your current speed first. In Windows, open Task Manager, choose the Performance tab, and click Memory. The Speed figure is what your system is running right now. Write it down so you can confirm the change later.
- Save your work and restart. Nothing here needs a full shutdown, but you will lose anything unsaved, so close applications properly.
- Enter the BIOS. As the machine restarts, tap the setup key repeatedly. It is usually Delete on desktop motherboards, sometimes F2. If Windows boots past it, restart and start tapping earlier.
- Switch to advanced mode. Many boards open in a simplified dashboard. Look for an Advanced Mode option, often bound to F7, which exposes the full menu tree.
- Find the memory section. Depending on the vendor this lives under Extreme Tweaker, AI Tweaker, Overclocking, OC Tweaker, or Advanced Frequency Settings. You are looking for a line reading XMP, EXPO, Memory Profile, D.O.C.P., or A-XMP.
- Select the profile. Change it from Disabled or Auto to Profile 1. If two profiles are listed, Profile 1 is normally the full rated speed and Profile 2 a slightly relaxed fallback. Start with Profile 1.
- Confirm the values populated. The frequency, the four primary timings, and the memory voltage should all update automatically. If the frequency still reads the old number, the profile did not apply and you may be in the wrong menu.
- Save and exit. Press F10 or use the Save Changes and Reset entry. Confirm when prompted.
- Expect a slow first boot. The board retrains memory when timings change. A blank screen for fifteen to thirty seconds, or two or three automatic power cycles, is completely normal on the first restart after applying a profile.
- Verify in Windows. Reopen Task Manager and check the Memory speed. Because DDR is double data rate, the tool may report half your rated figure, so a 6000 MT/s kit can show as 3000 MHz. That is correct. A free system information utility such as CPU-Z will show both the clock and the active timings if you want the full picture.
Testing for Stability
A profile that boots is not automatically a profile that is stable. Memory errors are sneaky: they can show up as a random application crash, a corrupted download, or a blue screen hours into a session rather than as an obvious failure. Spend half an hour proving the configuration before you trust it.
The most thorough check is a dedicated memory test run from a bootable USB stick, left going for at least four full passes, ideally overnight. Inside Windows, a memory-focused stress test from a stability suite for twenty to thirty minutes catches most issues quickly. Follow that with something real, such as a demanding game or a large file compression job, since mixed CPU and memory load exposes weaknesses that a synthetic loop can miss. Zero errors across all of it means you are done.
If the System Will Not Boot or Crashes
Nothing you did is permanent, and no memory profile can damage hardware at rated voltages. If the machine fails to POST after applying the profile, most boards will retry two or three times and then fall back to defaults on their own, dropping you into the BIOS with a message about a failed overclock. If it does not recover, clear CMOS using the button on the rear panel, the jumper on the board, or by removing the coin cell for a minute with the power supply switched off.
Once you are back in, work through these in order:
- Try Profile 2 or a lower preset. Many kits offer a second, gentler profile that most systems accept without argument.
- Step the frequency down manually. Keep the profile timings but reduce the speed one notch, for example from 6400 to 6000. This is the most common fix for high-frequency kits on a mid-range memory controller.
- Update the BIOS. Memory compatibility improves substantially over a platform’s life. A newer firmware version frequently makes a stubborn kit work at full speed.
- Check the slots. Two sticks belong in the second and fourth slots from the CPU on almost every board. The manual confirms it. The wrong pair of slots costs speed and stability.
- Nudge the controller voltage. A small increase to SoC or system agent voltage can stabilise a borderline profile, but move in the smallest increments the BIOS offers and stay within the values your CPU vendor publishes.
- Populate fewer sticks. Four modules put far more strain on the memory controller than two. A four-stick set often needs a step down in frequency to run reliably.
If you are assembling a system specifically to push memory hard, starting with components chosen for the job saves a lot of this trial and error. Kits from the best RAM for overclocking shortlist use binned chips that tolerate tighter timings and higher voltages with far less fuss.
Common Mistakes to Avoid
The first is assuming the RAM is faulty when the profile fails. In most cases the limit is the CPU’s integrated memory controller or the board’s trace layout, not the modules, and the same kit will run perfectly a notch slower. The second is mixing kits. Two 16GB sets bought separately are not the same as one 32GB set, even with identical part numbers, because they were never validated together. Buy the capacity you want in a single kit.
Third, do not manually raise memory voltage beyond the profile’s own value hoping for stability. The profile voltage is what the manufacturer validated; going meaningfully higher rarely helps and adds heat for no benefit. Fourth, resist enabling the profile and immediately walking away. Test it. A configuration that is subtly unstable will silently corrupt files long before it announces itself with a crash. Finally, remember that a BIOS update or a CMOS clear resets the profile to Disabled, so re-enable it any time you touch firmware.
Frequently Asked Questions
Does enabling XMP void my warranty?
XMP and EXPO are technically overclocks, and CPU vendors do note that memory overclocking falls outside the processor’s specification. In practice, applying a rated profile at rated voltage is the intended use of an enthusiast kit and is not a realistic warranty concern. Memory manufacturers explicitly warrant their modules at the profile speed.
Why does Windows show half my rated speed?
DDR stands for double data rate, meaning it transfers data twice per clock cycle. Task Manager sometimes reports the base clock rather than the effective transfer rate, so 6000 MT/s appears as 3000 MHz. Both figures describe the same memory running correctly.
Is EXPO different from XMP in practice?
Functionally they behave the same way from the user’s side. EXPO profiles are tuned specifically for AMD platforms and include timing parameters relevant to that memory controller. An XMP-only kit will usually still run on an AMD board via the D.O.C.P. or A-XMP setting, though an EXPO kit is the safer choice there.
Will faster memory improve my frame rate?
It depends on where the bottleneck sits. In CPU-limited situations, competitive titles at high refresh rates, simulation games, and integrated graphics, the improvement is often clearly measurable. In heavy GPU-bound scenes the difference shrinks considerably. The gain to minimum frame rates is usually more noticeable than the gain to averages.
Should I use Profile 1 or Profile 2?
Start with Profile 1, which is the full rated specification. Profile 2, where offered, is a relaxed fallback for systems that cannot sustain the top speed. Only drop to it if Profile 1 proves unstable in testing.
Final Thoughts
Enabling a memory profile is the rare tweak that costs nothing, takes minutes, and delivers performance you have already paid for. Check that your kit carries a profile and your board supports memory overclocking, apply it from the tweaker menu, sit through the retraining reboot, then confirm the speed and prove stability before you get on with your day. If the top profile does not hold, a small step down in frequency or a firmware update almost always resolves it without any deeper tuning. Do it once when you build the system in 2026, redo it after any BIOS update or CMOS clear, and your memory will finally run at the speed on the box.