
 Owen Bradley
 One dead key can make an otherwise perfect keyboard feel useless. Maybe the spacebar only registers half the time, maybe the letter E has gone silent, or maybe an entire row stopped responding after a coffee incident. The good news is that a keyboard key not working is rarely a reason to throw the board away. Most cases trace back to one of four causes: debris under the keycap, a worn or dirty switch, a loose connection inside the board, or a software layer intercepting the keystroke. This guide walks through diagnosis and repair in the order that solves the most problems with the least risk, so you only open the case if the simple fixes fail.
Tools and Supplies You Will Need
Gather everything before you start so you are not hunting for a keycap puller with a half-disassembled board on the desk. Nothing here is expensive, and most of it you probably already own.
- Keycap puller — a wire puller is far safer than fingernails or a screwdriver, which chip keycaps and bend switch stems.
- Switch puller — only needed on hot-swappable boards, but essential if you intend to replace a switch.
- Compressed air or a blower bulb — for lifting loose crumbs and dust out of the switch housing.
- Isopropyl alcohol, 90 percent or higher — evaporates fast and leaves no residue, unlike water or household cleaners.
- Cotton swabs and a soft brush — for the housing walls and plate around the affected key.
- Lint-free cloth and tweezers — for wiping the plate and straightening bent switch pins.
- A small Phillips screwdriver — only if you need to open the case to reach a ribbon cable or daughterboard.
Work on a well-lit, flat surface and put removed keycaps in a bowl or tray. Take a photo of the layout before you pull anything, because it is surprisingly easy to forget whether a key sat in the third or fourth position.
Step-by-Step: Diagnose and Fix the Dead Key
- Confirm the key is truly dead with a key tester. Open an online key-test page or the input-testing utility built into your keyboard software and press the suspect key several times. Watch whether it registers never, intermittently, or repeatedly. Never registering points at the switch or a broken trace; intermittent registration usually means contamination; repeated or stuck-on registration often means debris holding the stem down.
- Rule out software before touching hardware. Plug the keyboard into a different computer, or boot into your system BIOS or firmware setup screen where no operating system drivers are loaded. If the key works there, the fault is software: a remapping profile, a stuck modifier, a language layout mismatch, or an accessibility feature such as filter keys that ignores short presses. If it fails there too, the problem is physical.
- Reseat the cable and try another port. A detachable USB-C cable that is slightly loose can drop signal in odd ways, and a failing hub can cause partial keyboard behavior. Swap the cable for a known-good one, plug directly into the computer rather than a hub or monitor, and retest.
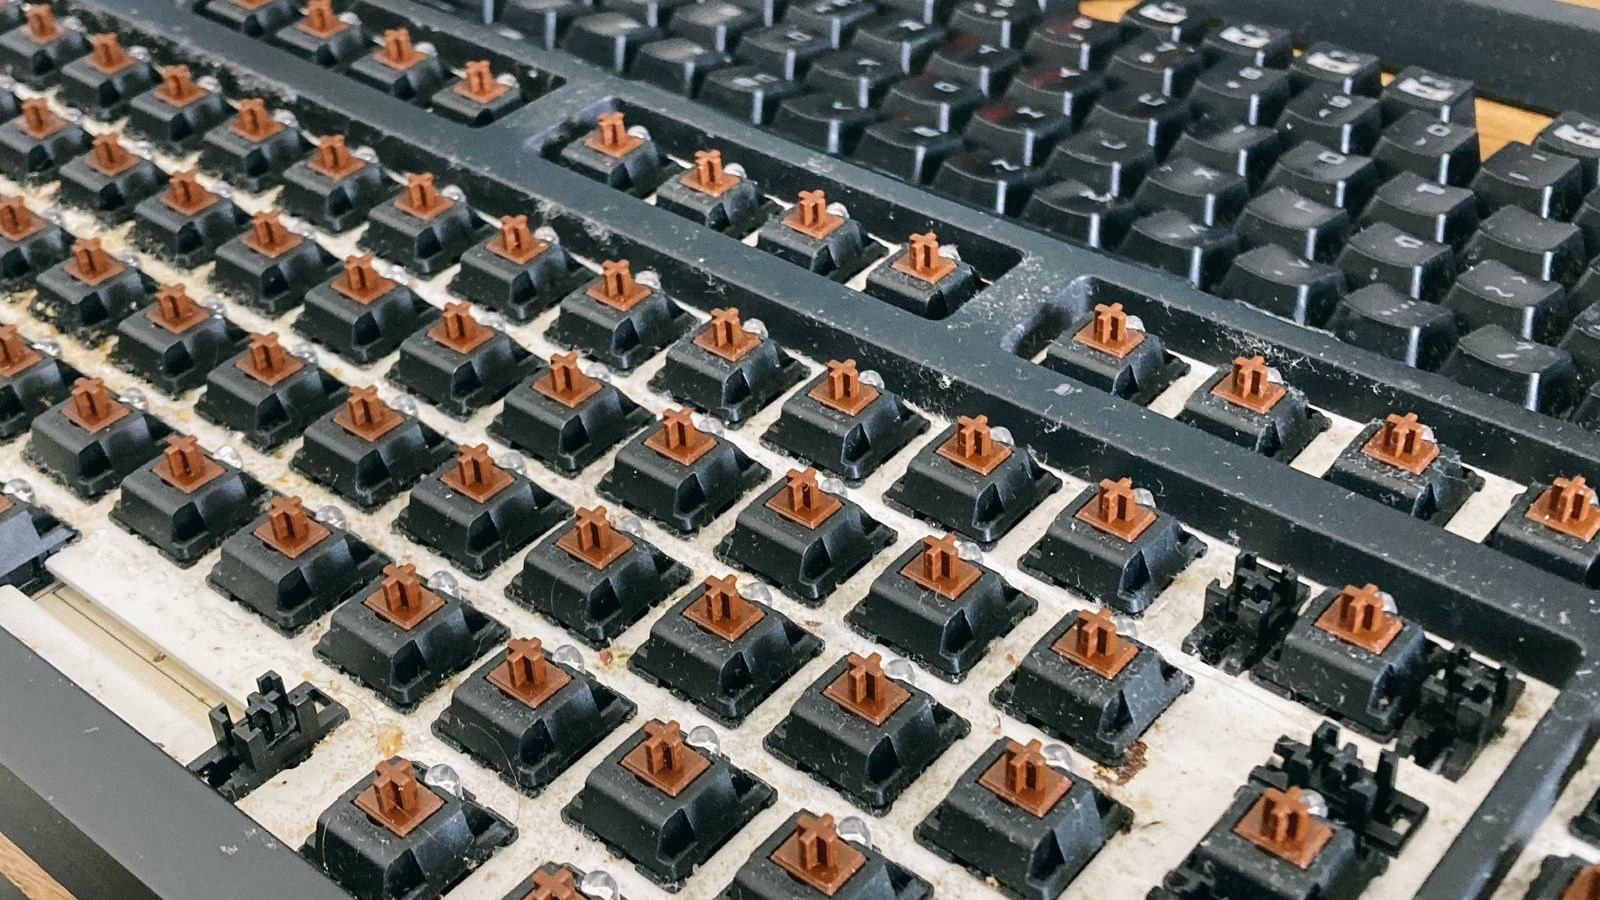
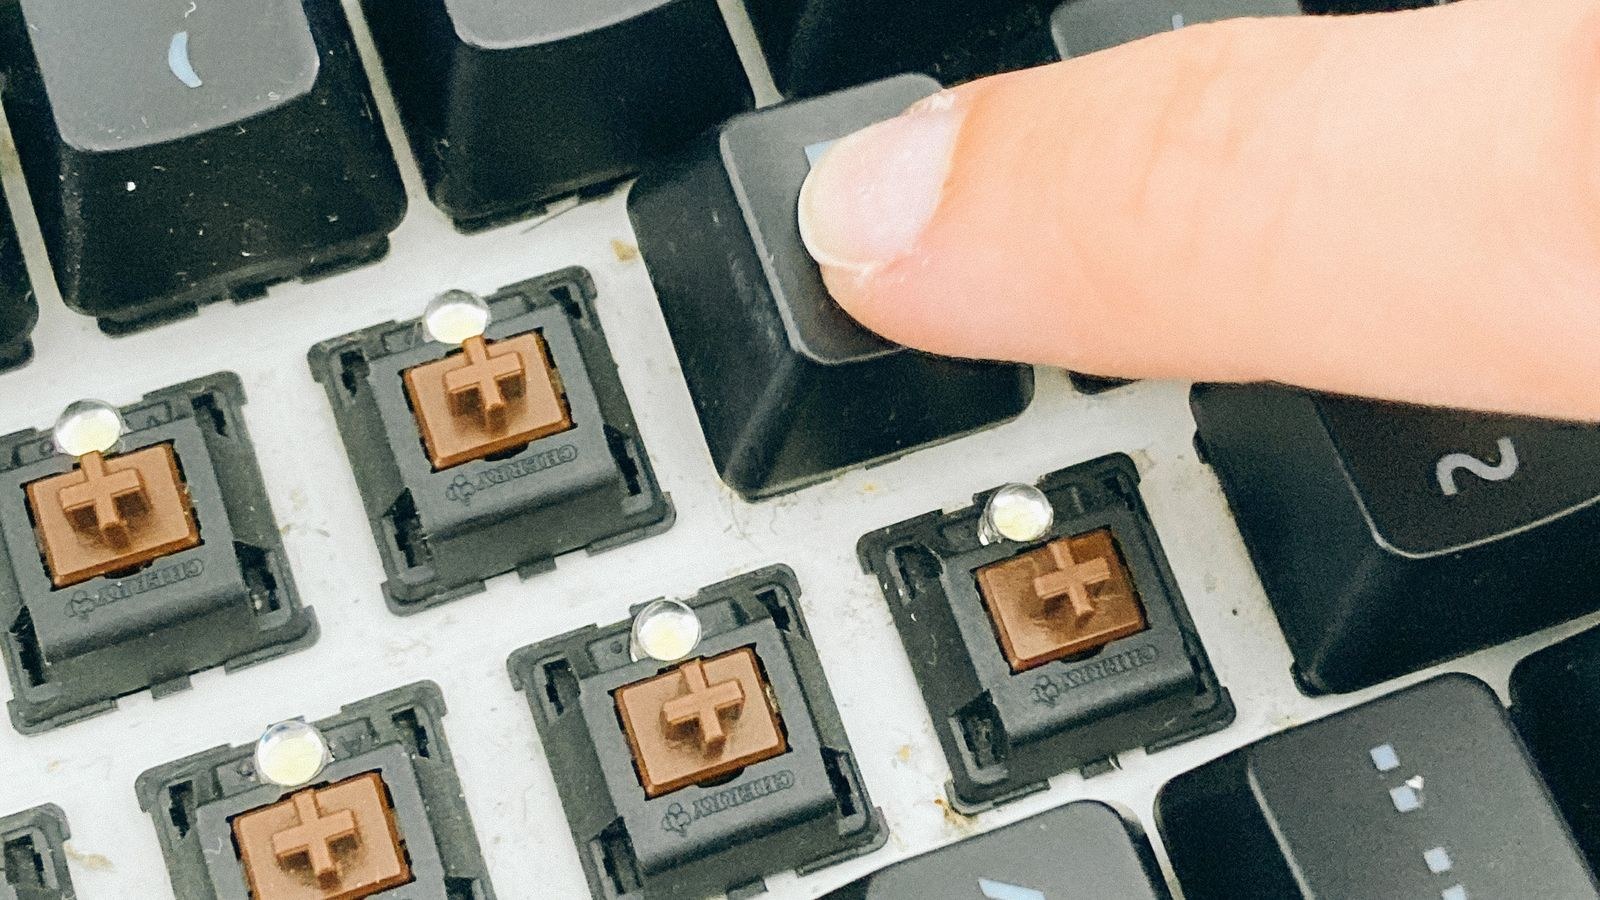
- Remove the keycap and inspect. Slide the keycap puller under two opposite corners, then pull straight up with steady pressure. Look inside the switch housing for hair, crumbs, grit, or dried liquid. On stabilised keys such as the spacebar, shift, or enter, also check whether a stabiliser wire has popped out of its clip, which can prevent the stem from travelling far enough to actuate.
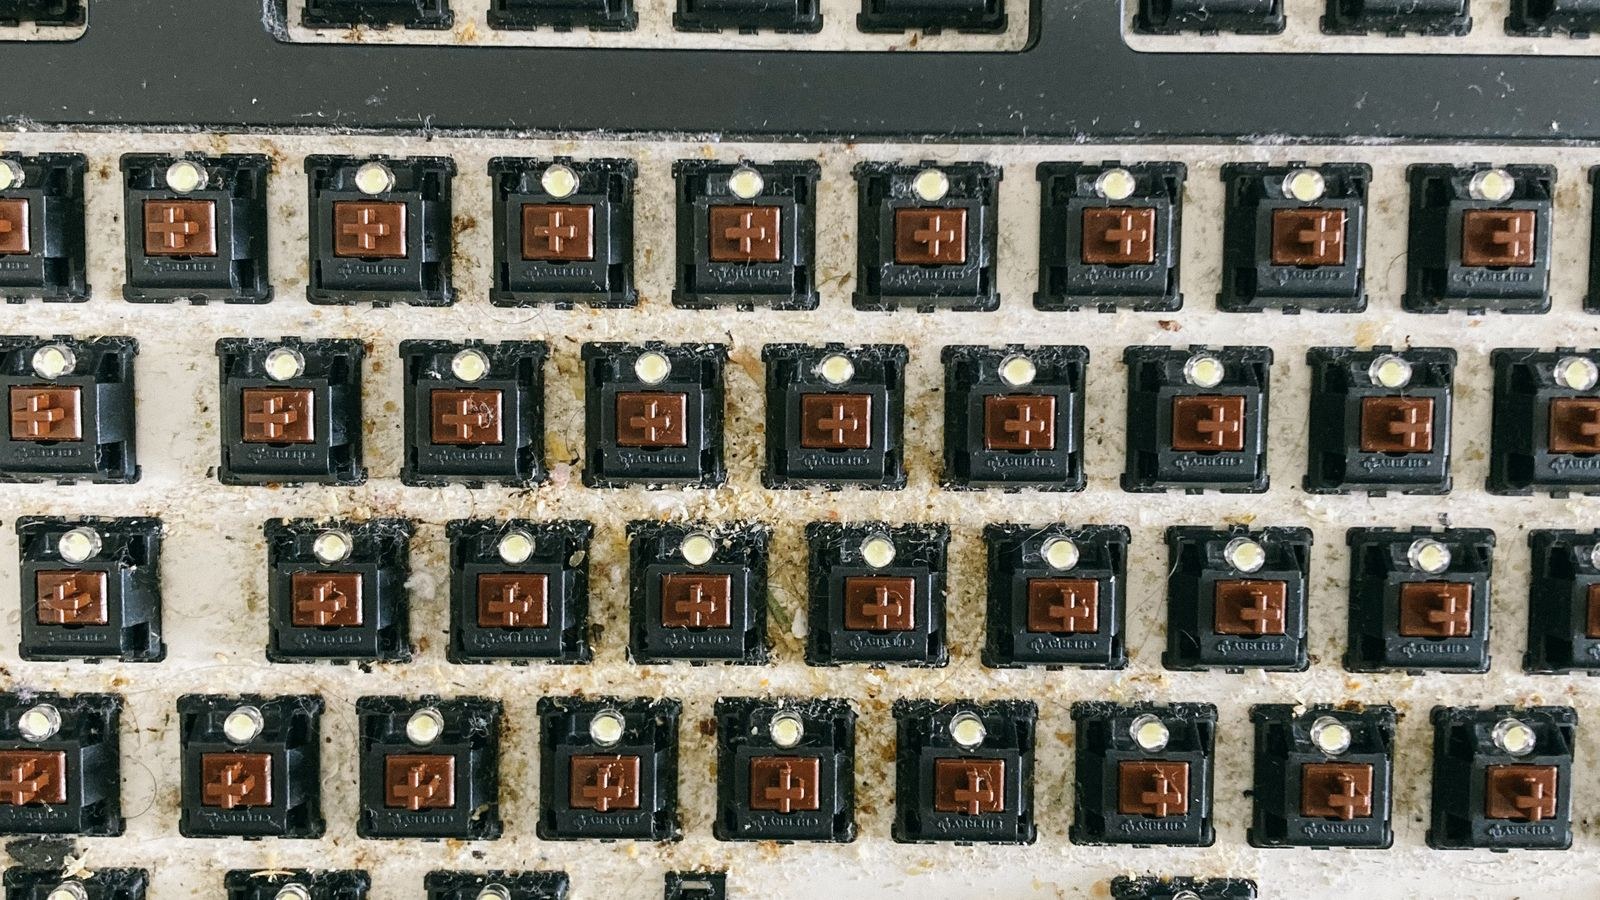
- Blow out debris and clean the housing. Give the open switch several short bursts of compressed air from an angle, then brush the surrounding plate. Press and release the stem twenty or thirty times to work loose particles free, blowing again between rounds. Retest before going further, because this alone resolves a large share of dead keys.
- Flush the switch with isopropyl alcohol. If air did not help, put two or three drops of high-percentage isopropyl into the switch housing with the board tilted so liquid runs out rather than pooling on the circuit board. Actuate the stem repeatedly while the alcohol is wet to scrub the contact leaves, then leave the keyboard upside down to dry completely. Give it a full hour before powering it on again.
- Swap the switch to isolate the fault. On a hot-swappable board, grip the switch with the puller at the top and bottom clips, pull straight up, and install a known-good switch from a key you rarely use, such as scroll lock. If the borrowed switch works in the problem position, the original switch is dead and needs replacing. If the problem follows the position, the socket or the circuit board trace is at fault.
- Check the socket and pins. A very common failure is a switch pin that folded sideways instead of entering the socket. Straighten a bent pin gently with tweezers and reinsert, pressing evenly until the switch clicks flush against the plate. If the socket itself looks loose or lifted from the board, stop; that repair needs soldering.
- Reinstall keycaps and retest everything. Line each keycap over the stem and press straight down until it seats. Run the key tester one final time across the whole board, not just the repaired key, so you catch anything you disturbed during disassembly.
Software Causes That Look Like Hardware Faults
Before you blame the hardware, remember how many layers sit between a switch closing and a character appearing on screen. Gaming and productivity keyboards ship with configuration software that can remap or disable individual keys, and a profile that loaded automatically with a game may still be active. Open your keyboard software, check which profile is live, and reset it to the default layout to see whether the key returns.
Operating system accessibility settings cause similar confusion. Filter keys deliberately ignores brief or repeated presses, so a light typist can appear to have a dead key. Sticky keys can leave a modifier latched so ordinary letters produce shortcuts instead of characters. A mismatched keyboard layout, such as a system set to a different regional layout than the printed legends, makes some keys output the wrong symbol entirely, which people often misread as a fault.
Driver and Firmware Refreshes
If the key works in firmware setup but not in the operating system, uninstall the keyboard device in Device Manager and reboot so the generic driver reinstalls cleanly. On boards running open firmware such as QMK or VIA, reflash the layout and confirm the key is mapped rather than assigned to a transparent or no-operation code.
Liquid Spills Need a Different Approach
If the dead key follows a spill, act quickly and differently. Unplug the keyboard immediately, or power off and disconnect a wireless board, then turn it upside down over a towel so liquid drains away from the circuit board rather than into it. Do not press keys while it drains and do not apply heat from a hair dryer, which can warp plastic and drive residue deeper.
Sugary drinks are worse than water because the sticky residue that dries on the contacts keeps causing problems long after the board looks dry. Those boards usually need the affected switches flushed with isopropyl and at least twenty-four hours of drying before power is reapplied. Membrane and rubber-dome keyboards fare worst here because liquid spreads across the shared membrane sheet, which is why a spill often kills a cluster of neighbouring keys at once.
When Replacing the Keyboard Makes More Sense
Repair stops being worthwhile at a predictable point. If the circuit board trace is damaged, if multiple sockets have lifted, if the board is soldered and you do not solder, or if a membrane sheet is torn, the labour and parts cost more than a replacement. Age matters too: a board that has already had several keys fail is usually telling you the whole switch set is worn.
If you are shopping, buy for repairability. A hot-swappable board lets you fix a dead key in under a minute for the price of a single switch, which is why our roundup of the best hot-swappable keyboards is the first list worth reading. Pair it with a spare set from our guide to the best switches so you always have a replacement on hand. For general durability and typing feel, the best mechanical keyboards hold up far longer than membrane boards, while competitive players will find fast-actuating options in the best gaming keyboards. On a tighter budget, the best keyboards under 100 still include serviceable models with removable switches.
Safety and Handling Notes
- Always unplug the keyboard before cleaning with liquid, and remove batteries from wireless models.
- Never use water or household spray cleaners inside a switch; only high-percentage isopropyl alcohol evaporates cleanly.
- Do not pry keycaps with a screwdriver. The tip slips, gouges the plate, and bends switch stems that then bind.
- Pull switches straight up, never at an angle, or the pins will fold and the socket may tear from the board.
Common Mistakes to Avoid
The first mistake is jumping straight to disassembly. Many people pull twenty keycaps before discovering that filter keys was enabled or that a game profile had disabled the key. Test in firmware setup first; it takes two minutes and tells you which half of the problem you are in.
The second is over-applying liquid: a generous pour of alcohol runs down onto the circuit board and carries contamination somewhere harder to clean. The third is reinstalling a switch without checking pin alignment, which turns a working switch into a second dead key and convinces people the whole board is failing. Finally, do not ignore the stabilisers on large keys; a dislodged stabiliser wire is a mechanical problem that no amount of cleaning will fix.
Frequently Asked Questions
Why does one key work only sometimes?
Intermittent registration almost always means contamination on the switch contacts or a partially seated switch pin. Flush the switch with isopropyl alcohol first, and if the behaviour persists, pull the switch and check that both pins are straight and fully inserted in the socket.
Can I fix a dead key on a soldered keyboard?
Cleaning fixes many cases regardless of construction. Replacing the switch, however, requires desoldering the old one and soldering a new one in place. If you do not have a soldering iron and desoldering pump, a repair shop or a hot-swappable replacement board is the practical route.
Why did several keys stop working at once?
A cluster failing together points at a shared connection rather than individual switches: a loose ribbon cable inside the case, a damaged membrane sheet, or a broken row or column trace on the circuit board. Reseat internal cables first, then consider replacement if a trace is damaged.
Final Thoughts
Fixing a keyboard key that stopped working is a process of elimination, and the order matters more than the tools. Test in firmware setup to separate software from hardware, try a different cable and port, then clean before you disassemble, and only pull switches once simpler steps have failed. Most dead keys turn out to be debris or a disabled mapping, and both are free to fix in a few minutes. Keep a couple of spare switches in a drawer, clean your board every few months, and a single failed key will never again be the reason you shop for a new keyboard in 2026.









