
 Owen Bradley
 Pendant lights over a kitchen island are doing two jobs at once. They are task lighting for chopping, reading a recipe, and helping with homework, and they are the visual anchor of the whole room. That double duty is why the same fixture can look great in a showroom and wrong in your kitchen: the height, the spacing, and the bulb inside matter more than the shade. This guide covers how to hang pendant lights over an island so the counter is genuinely bright, the bulbs never shine into anyone’s eyes, and the spacing looks deliberate from every angle in the room.
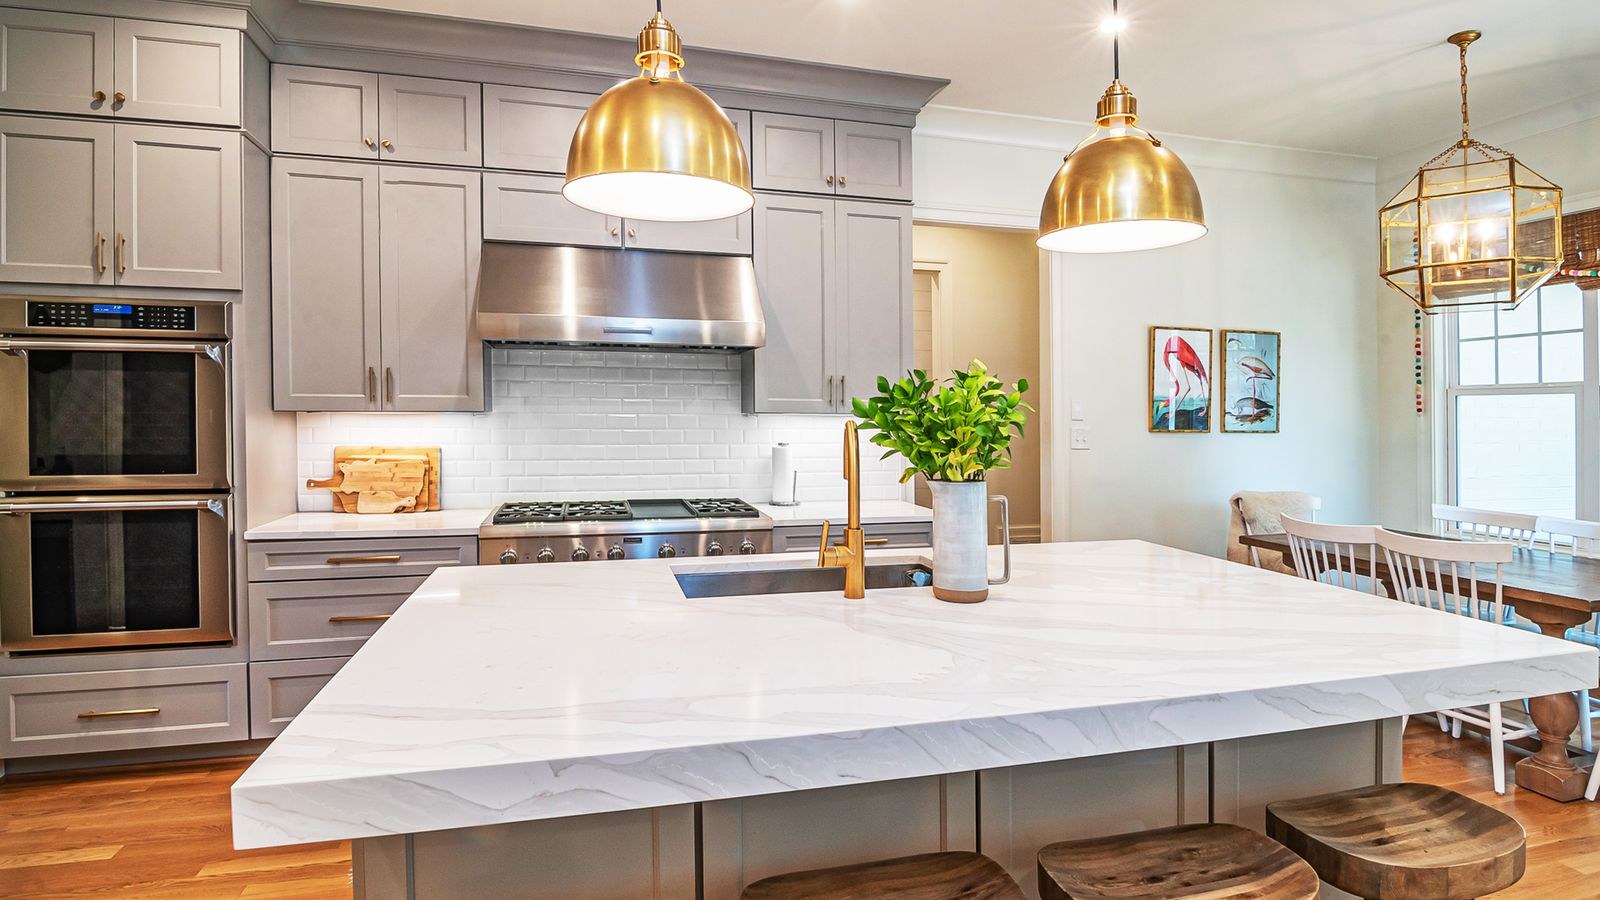
Decide How Many Pendants You Need
Start by measuring the island. The rule most designers work from is one pendant for every 24 to 30 inches of island length, with a minimum of about 6 inches of clear space between the edge of one shade and the next. A 6-foot island typically takes three small pendants or two larger ones; an 8-foot island usually reads best with three.
Odd numbers look more relaxed than even numbers, but the more important constraint is where people sit. If the island has stools, plan the pendants so none of them lands directly in front of a face at seated eye height. Sketch the island on paper, mark the stool positions, and place the fixtures in the gaps between them.
Shade diameter also drives the count. Wide drum or dome shades over a narrow island crowd the space fast; slim cone or globe pendants can be spaced more tightly. As a general check, the combined width of all your shades should not exceed about half the island’s length.
Get the Hanging Height Right
Aim for 30 to 36 inches between the countertop and the bottom of the pendant. That range keeps the light source above the working area but below the line of sight of anyone standing across the island, which is what prevents glare. On a standard 8-foot ceiling with a 36-inch counter, 32 to 34 inches is a safe default.
Adjust for three things. Taller ceilings allow you to raise the pendants a few inches so the proportions still read correctly. Open-bottom shades that expose the bulb should hang slightly higher, or use a bulb that hides the filament. If the island doubles as a serving surface for tall items, hang toward the upper end of the range so nothing knocks the glass.
Test the height before you commit. Cut cardboard circles the diameter of your shades, tape them to strings, and hang them at your intended height for a day. Stand where you actually cook, sit on the stools, and look across the island from the far side of the room.
Tools and Materials
- Non-contact voltage tester
- Step ladder and a helper to hold fixtures
- Wire strippers, pliers, and screwdrivers
- UL-listed wire connectors and electrical tape
- Tape measure, pencil, laser level, and painter’s tape
- Fixture-rated ceiling boxes, plus a brace bar if you are relocating one
- Drywall saw and patching compound if new boxes are needed
Marking the Layout
Pendants should center on the island along its long axis, not on the room. Find the island’s centerline, snap a chalk line or set a laser line on the ceiling directly above it, then measure out from the island’s midpoint in both directions to mark each fixture position.
For three pendants, place one at the center and the others equidistant on either side. For two, divide the island into quarters and set the pendants at the first and third marks. Put a small piece of painter’s tape at every mark and step back to check the spacing by eye. Ceilings and islands are rarely perfectly square to each other, so trust the island’s centerline over the ceiling’s joists or the wall behind it.
Step-by-Step Installation
- Cut the power. Switch the breaker off, then verify with a non-contact tester at every box you plan to open. Test the tester on a live outlet first.
- Open or install the boxes. If you are reusing existing boxes, remove the old fixtures and confirm each box is metal, fixture-rated, and firmly attached. If you are adding boxes, cut the openings at your marks and mount them on brace bars between joists.
- Set the cord or rod length. With the fixture on the counter, shorten the cord, chain, or down rods so the shade will land at your tested height. Measure from the ceiling to the bottom of the shade, not to the socket.
- Fit the mounting strap. Screw the crossbar supplied with the pendant to the box and check that the canopy will sit flush against the ceiling before the fixture is hanging.
- Support the fixture. Hook the pendant on a stiff wire or hand it to your helper. Never let the fixture hang from its electrical conductors while you work.
- Connect the wires. Black to black, white to white, ground to the box’s grounding screw and the fixture’s ground lead. On lamp-style cord, the ribbed conductor is neutral and the smooth one is hot. Twist each joint with pliers before capping.
- Close the canopy. Fold the conductors neatly into the box, raise the canopy, and tighten the retaining nut until the trim seats against the ceiling with no gap.
- Repeat and align. Install the remaining pendants the same way, then measure the drop of each one from the ceiling with a tape and adjust until every shade hangs at exactly the same height.
- Add bulbs and test. Fit the bulbs, restore power, and check the switch. Look at the row of pendants from the far side of the kitchen and from each end of the island.
- Fine-tune. Rotate cone or asymmetrical shades so the seams face away from the main sightline, and dress any excess cord neatly inside the canopy.
Choosing Bulbs for Pendants
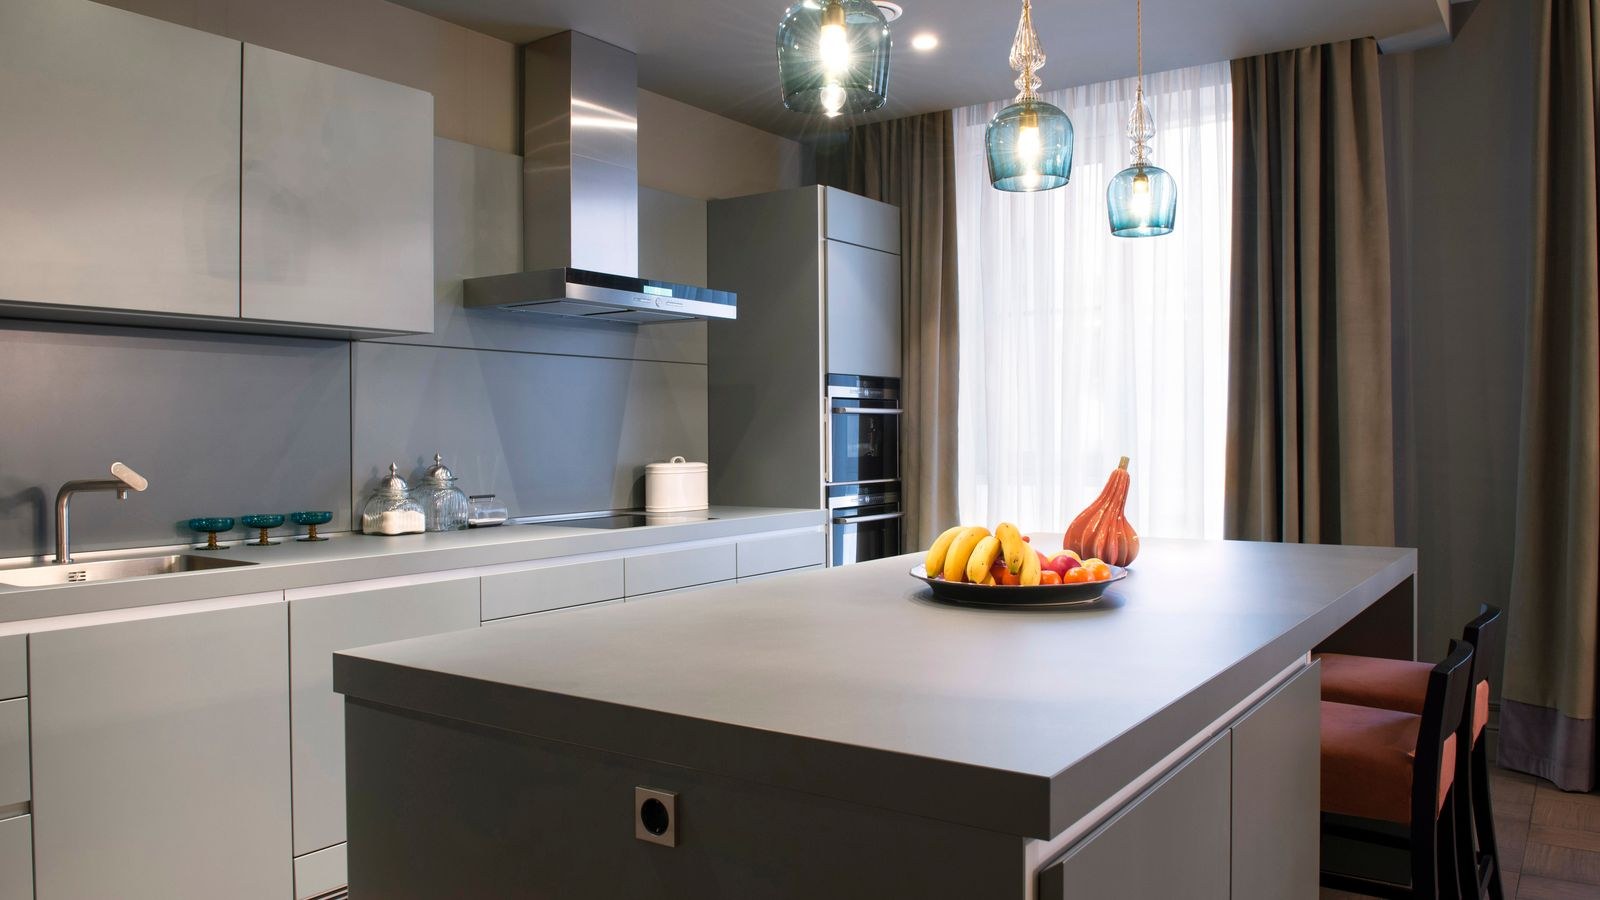
The bulb determines whether a pendant is comfortable to work under. For task lighting over an island, aim for roughly 700 to 900 lumens per fixture in a three-pendant layout, and choose a color temperature between 2700K and 3000K so food and wood tones look natural. Anything above 4000K tends to feel like a commercial kitchen.
If the shade is open at the bottom, pick a bulb with a frosted or opal finish, or a shaped filament bulb designed to be looked at. A bare, high-output bulb hanging at eye level is the single most common cause of pendant glare. Our roundup of the best light bulbs for pendant lights compares shapes and diffusion, and the broader list of the best LED light bulbs for kitchen fixtures helps you match color temperature across the room.
Dimmability is worth checking twice. Confirm the bulbs are dimmable and that your wall dimmer is rated for LED loads, or you will get flicker and buzz at low settings.
Pendants Are Not Your Only Light
Pendants alone rarely light a kitchen well. They pool light on the island and leave the perimeter counters in shadow, which is why most good kitchen lighting plans layer pendants with recessed cans and under-cabinet lighting. If you are planning the full scheme, the guide to the best recessed lighting for kitchen ceilings covers beam angles and spacing, and our general best lighting overview is a useful starting point for balancing ambient, task, and accent layers.
Common Mistakes to Avoid
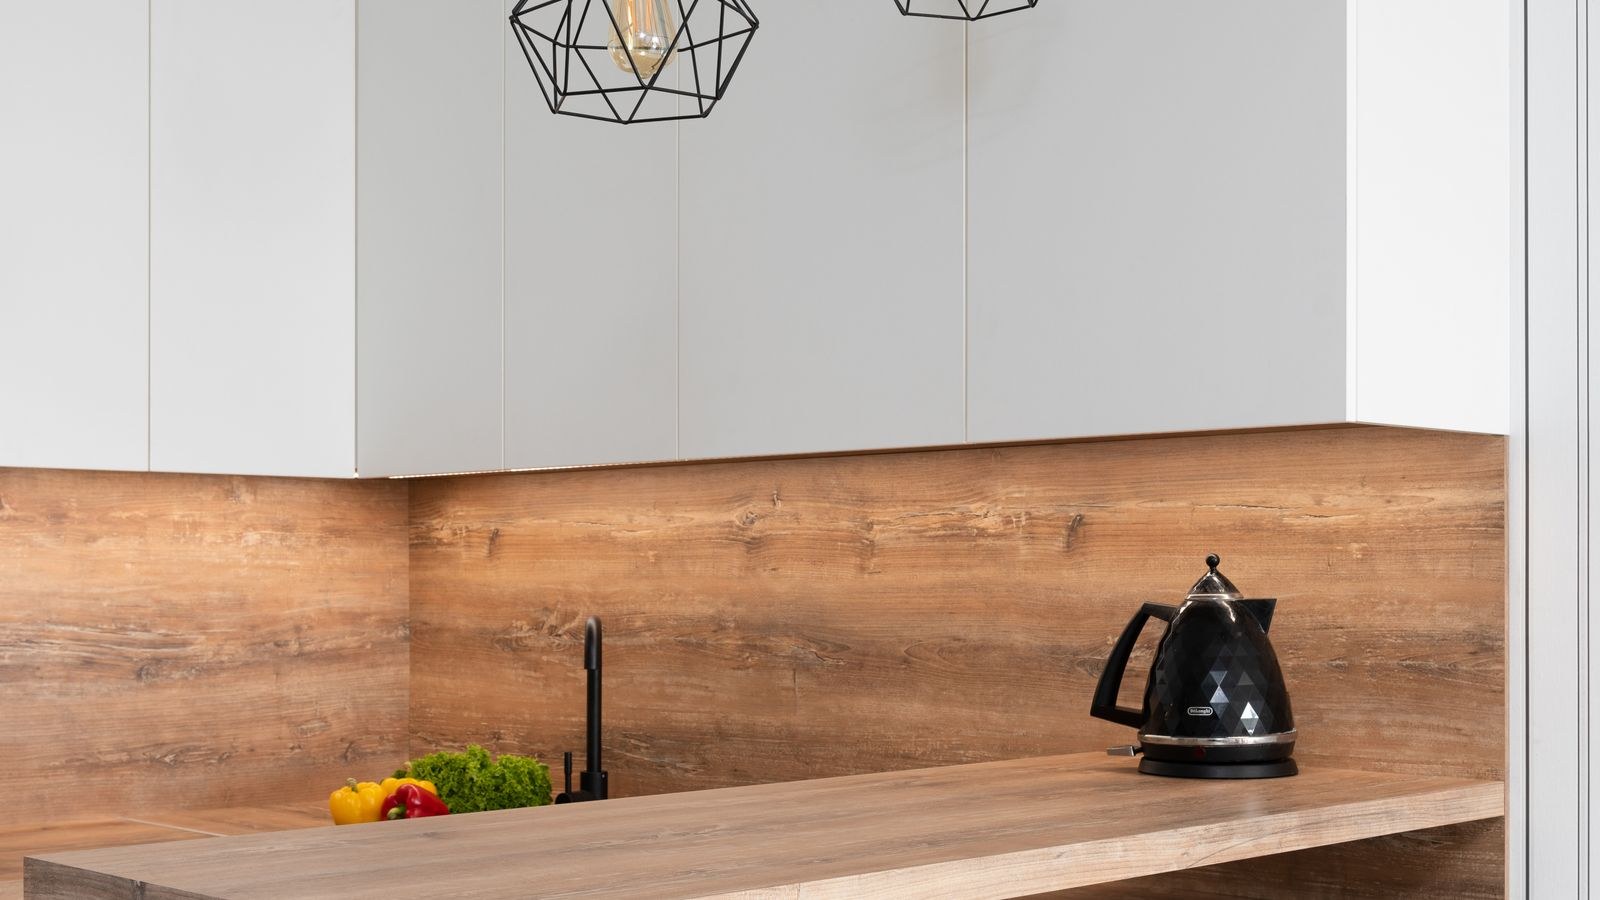
- Hanging too low. Pendants below 30 inches block conversation across the island and get bumped when someone leans in.
- Centering on the room. The pendants must line up with the island, even if that puts them off-center to the ceiling.
- Uneven drops. A half-inch difference between adjacent pendants is visible from across the room. Measure each one.
- Oversized shades. Big shades on a narrow island crowd the space and cast heavy shadows on the counter edges.
- Bare bulbs at eye level. Exposed high-output bulbs cause glare that no amount of dimming fully fixes.
- Ignoring stool positions. A pendant directly in front of a seated person is uncomfortable every meal.
Keeping Pendants Easy to Live With
Kitchen pendants collect grease film faster than any other fixture in the house, because they hang directly in the path of steam and cooking vapour. Plan for that from the start. Glass and metal shades wipe clean in seconds with warm water and a drop of dish soap; fabric and paper shades trap odours and yellow within a year or two above a busy range.
Access matters too. If the island sits under a high ceiling or a cord that is hard to reach, choose fixtures with bulbs you can change from a step stool rather than a full ladder, and avoid designs where the shade must be fully disassembled to reach the socket. Long-life LED bulbs reduce how often you climb up, but every fixture needs cleaning several times a year regardless.
Finally, note the bulb type and colour temperature somewhere — inside a cabinet door works well. When one bulb fails in two years, you will want an exact match rather than a near miss that makes one pendant visibly cooler than its neighbours.
Troubleshooting
If one pendant will not light, check the bulb first, then the socket tab, then the wire connectors in that fixture’s box. If all of them are dead, confirm the breaker and whether the circuit runs through a switch you have not turned on.
Flicker at low dimmer levels usually means the total LED load is below the dimmer’s minimum wattage, which is common with three small bulbs. An LED-specific dimmer with adjustable low-end trim solves it. If the pendants swing when the HVAC runs, add a small amount of weight inside the canopy or shorten the cord slightly.
Frequently Asked Questions
How far apart should pendant lights be over an island?
Roughly 24 to 30 inches between fixture centers, with at least 6 inches of clear space between adjacent shades.
Should pendants be centered over the island or the room?
Always over the island. The eye reads the fixtures relative to the counter below them.
Can I install pendants without cutting new ceiling boxes?
Yes, if there is an existing box on the island centerline. A multi-light linear pendant on one box, or plug-in swag pendants, both avoid drywall work.
How bright should island pendants be?
Around 700 to 900 lumens each for a set of three, adjusted up if they are the only light source over the counter.
Final Thoughts
Hanging pendant lights over an island is a measuring job first and a wiring job second. Count the fixtures from the island’s length, land them 30 to 36 inches above the counter, line them up on the island’s centerline, and finish with warm, diffused, dimmable bulbs. Layer in recessed and under-cabinet light so the pendants are not carrying the whole room, and the result will look intentional rather than improvised.









