
 Owen Bradley
 Two outdoor fixtures can produce the same 1800 lumens and give completely different results. One washes an entire driveway in usable light; the other puts a tight, dramatic column of brightness up a single tree trunk and leaves everything around it dark. The difference is beam angle, and it is the specification most buyers skip because lumens and watts are printed larger on the box. Understanding floodlight vs spotlight behaviour turns outdoor lighting from guesswork into something you can calculate before ordering. This guide explains what the beam angle numbers actually mean, how to work out the coverage a given angle produces at a given height, and which fixture belongs on driveways, trees, signs, walls and wide backyards.
The Basic Definition
Beam angle describes how widely light spreads from the fixture, measured as the cone within which output stays above half of the maximum centre intensity. The industry convention is straightforward:
- Spotlight: narrow beam, generally under 45 degrees, and often 10 to 25 degrees for accent work.
- Floodlight: wide beam, generally 45 degrees and above, commonly 90 to 120 degrees for area lighting.
Because the same amount of light is spread over a smaller area, a spotlight produces far higher intensity at the centre of its beam. A 1000-lumen spot at 15 degrees can look several times brighter on the surface it hits than a 1000-lumen flood at 120 degrees, even though the lumen figure is identical. This is why comparing fixtures on lumens alone is misleading and why professionals talk about candela and footcandles rather than raw output.
Lumens Versus Candela
Lumens measure total light produced. Candela measures intensity in a particular direction. Two fixtures with equal lumens but different beam angles have wildly different candela figures, and candela is what determines whether a distant surface actually looks lit. If a specification sheet lists centre beam candlepower, it is telling you something useful about reach that the lumen number cannot.
Coverage Math You Can Do in Your Head
The width of the lit circle depends on beam angle and distance. The exact relationship is beam diameter equals twice the distance multiplied by the tangent of half the beam angle, but in practice a set of multipliers is easier to remember. Multiply the distance from fixture to surface by:
- 15 degrees: about 0.26 — a 10-foot throw lights roughly a 2.6-foot circle.
- 25 degrees: about 0.44 — a 10-foot throw lights roughly a 4.4-foot circle.
- 40 degrees: about 0.73 — a 10-foot throw lights roughly a 7.3-foot circle.
- 60 degrees: about 1.15 — a 10-foot throw lights roughly an 11.5-foot circle.
- 90 degrees: about 2.0 — a 10-foot throw lights roughly a 20-foot circle.
- 120 degrees: about 3.46 — a 10-foot throw lights roughly a 35-foot circle.
Two consequences follow. First, wide beams cover ground very quickly as mounting height increases, which is why a single 120-degree fixture at 12 feet can wash an entire driveway. Second, intensity falls off with the square of distance, so doubling the mounting height quarters the brightness on the ground. A wide flood mounted very high covers a huge area with light too weak to be useful.
When to Use a Spotlight
Spotlights are for objects, not areas. Their job is to make one thing stand out from a darker surround, which is exactly what accent lighting means.
Use a narrow beam of 10 to 20 degrees for tall, slim targets: a single columnar tree, a chimney, a flagpole, a statue or an architectural column. The beam should be roughly as wide as the object at the height you want lit, so a 3-foot-wide trunk lit from 15 feet away wants something near 12 to 15 degrees.
Use 25 to 35 degrees for medium targets: a spreading ornamental tree, a large shrub, a garage door panel or a house number sign. This is the most generally useful accent range.
Spotlights are also the right tool for long throws. Because their intensity holds up with distance, a spot can light a tree 40 feet from the fixture where a flood at the same wattage would produce nothing but a faint grey wash. Aimable, stake-mounted spot fixtures are the backbone of most garden lighting schemes, and the range of beam options available in that format is covered in our roundup of the best landscaping lights.
Uplighting Technique
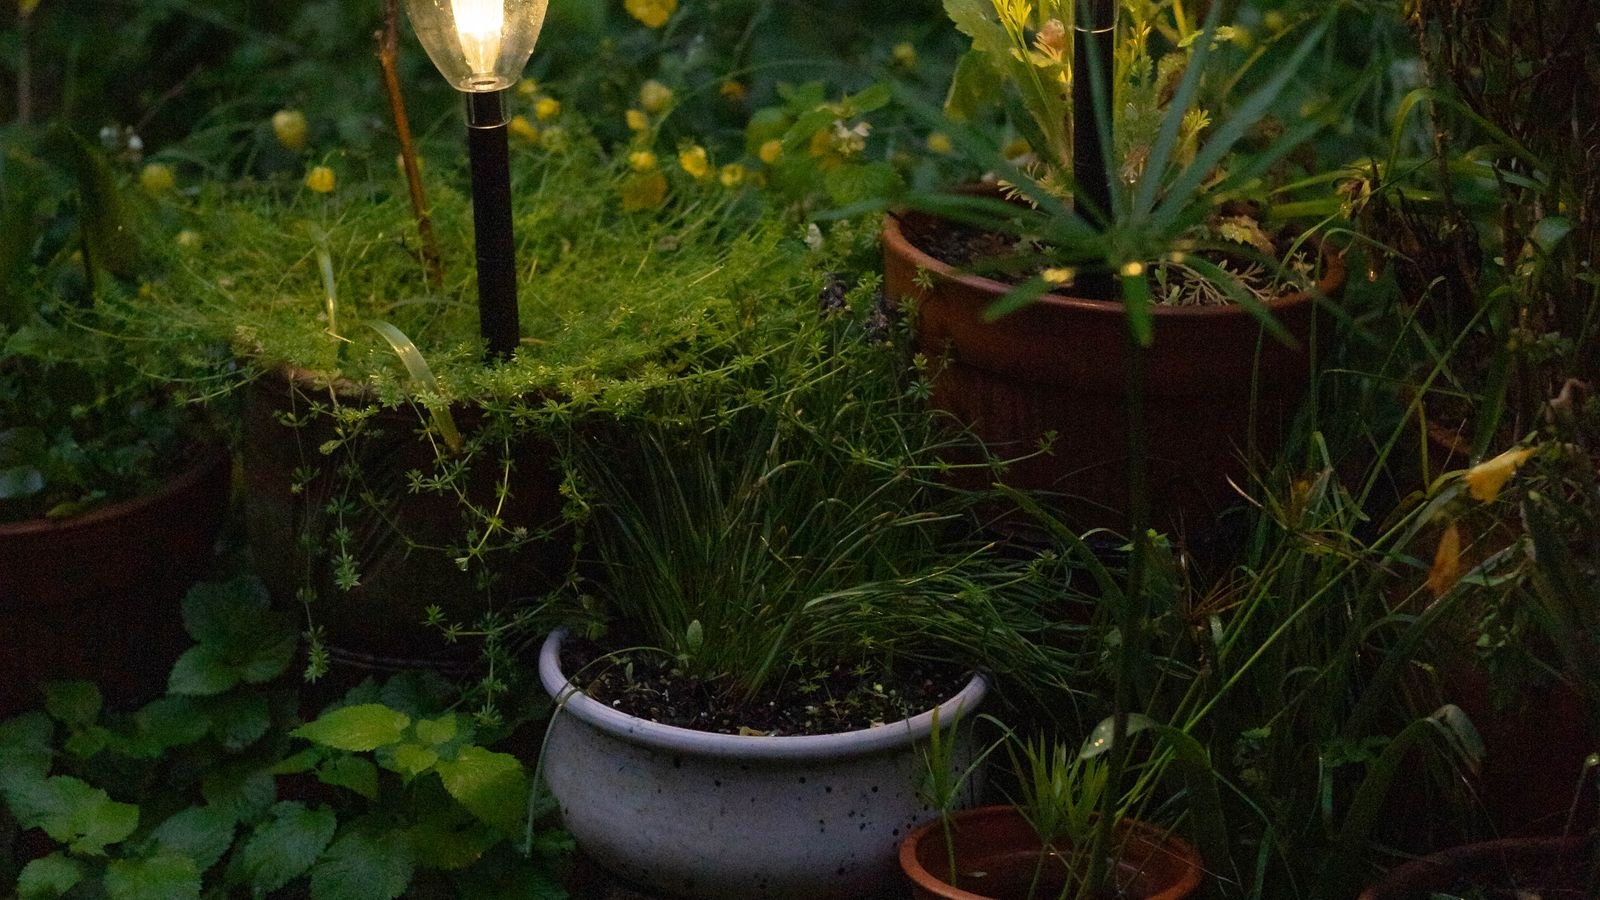
Place a spot 12 to 24 inches from the base of a tree and aim it up through the canopy. Move it closer for a dramatic, high-contrast grazing effect and further away for a softer, fuller wash. Two spots at roughly 120 degrees around a trunk read as more natural than a single one, which flattens the subject. Always add a glare shield or a hood, because an unshielded uplight seen from a window is genuinely unpleasant.
When to Use a Floodlight
Floodlights are for areas and surfaces. Their job is even coverage rather than emphasis.
Use 90 to 120 degrees for security and utility lighting: driveways, parking areas, rear yards, work zones and building perimeters. At a typical 9 to 10 foot mounting height, one 120-degree fixture covers a generous circle, and two overlapping fixtures cover most residential driveways completely.
Use 60 to 90 degrees for wall washing, where you want an even sheet of light across a broad flat surface like a fence, a garage front or a stucco elevation. Mount the fixture back from the wall by roughly a third of the wall’s height for the most even result; mounting tight to the wall produces a hot streak at the top and darkness below.
Use 40 to 60 degrees for wide hedges and low, broad plantings, where a spot would produce a single bright patch in a long row.
Motion-activated area lighting is almost always a flood application, since the point is to reveal an entire zone at once rather than one object. The output and beam options across that fixture category are compared in the best outdoor LED motion sensor lights guide.
Choosing by Location
Driveway: flood, 90 to 120 degrees, 1800 to 3000 lumens, mounted 9 to 12 feet and aimed 30 to 45 degrees downward. Two fixtures with overlapping coverage beat one very bright one.
Specimen tree: spot, 15 to 30 degrees depending on canopy width, 300 to 700 lumens, mounted at ground level and aimed up.
House number or sign: spot, 20 to 30 degrees, low output around 200 to 400 lumens, aimed to avoid reflecting glare back at the viewer.
Back patio or seating area: flood, 60 to 90 degrees, 1000 to 1500 lumens, mounted high on the wall and shielded so nobody sitting there looks into the source.
Wide backyard: two or three floods at 120 degrees with overlapping edges rather than one central fixture, which always leaves shadowed corners.
Fence or wall wash: flood, 60 to 90 degrees, set back from the surface, multiple fixtures spaced at roughly the same interval as their mounting distance from the wall.
Adjustable and Multi-Head Fixtures
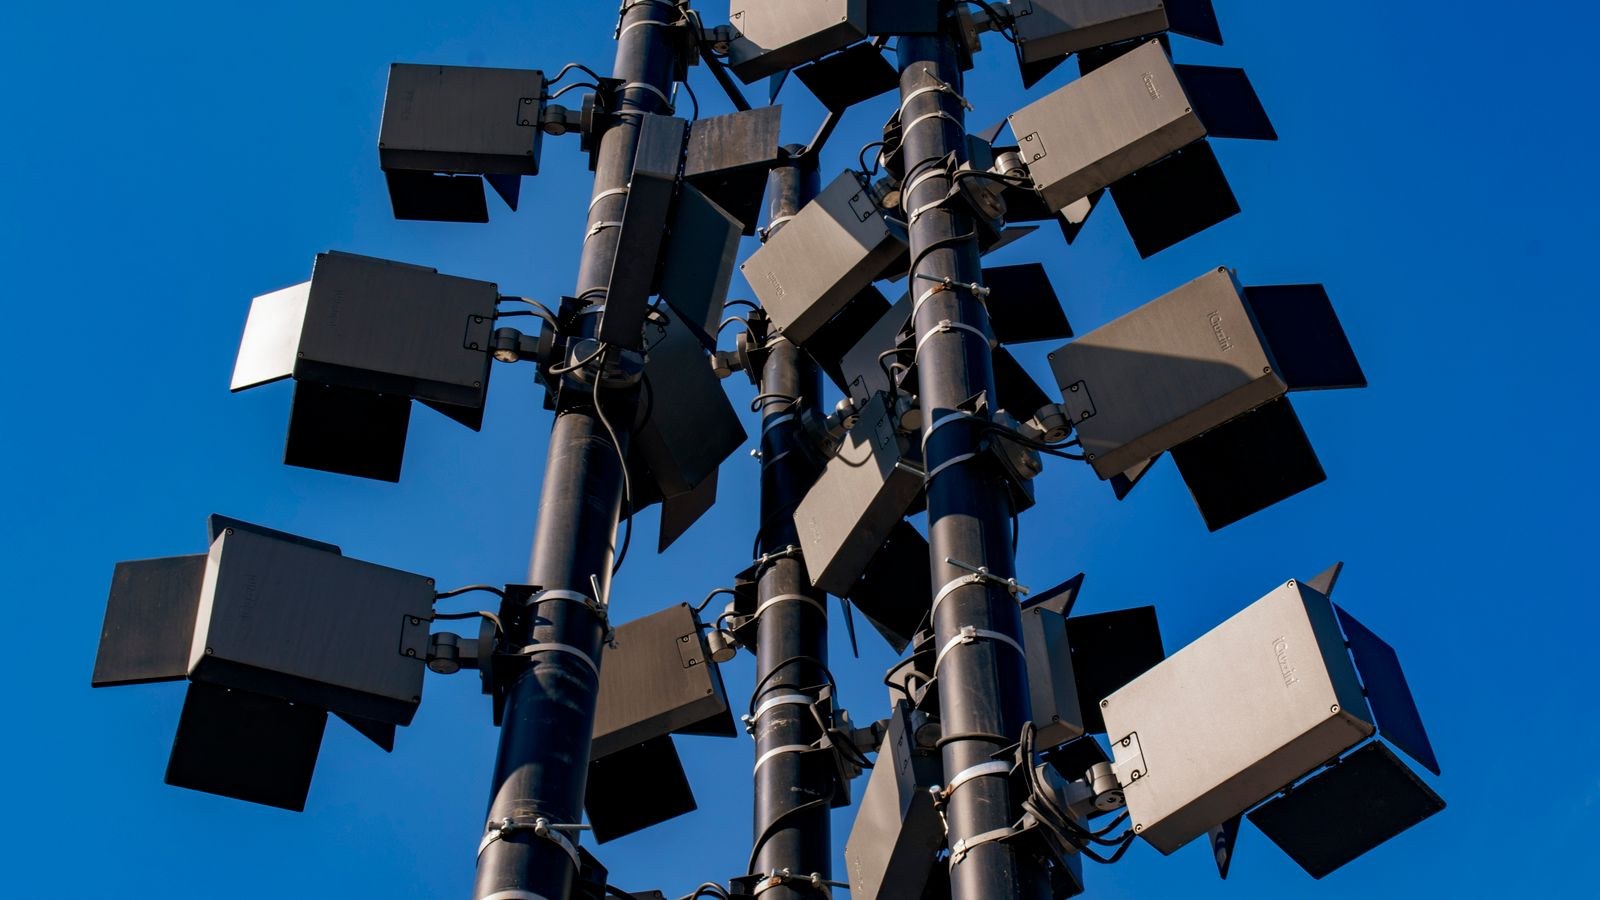
Some fixtures let you change beam behaviour after installation, which is worth paying for when you are not certain of the final layout. Interchangeable lens or reflector inserts convert the same body between spot and flood in seconds. Adjustable-head fixtures with two or three independently aimable panels let you cover a wide zone with one wiring run while directing each head where it is needed, effectively combining flood coverage with spot placement.
Multi-head units are particularly useful on garages and rear corners, where one head can cover the driveway approach and another can be angled along a side passage. Look for heads that lock firmly, because cheap swivels drift out of aim after a few seasons of wind and thermal cycling. Bulb-based fixtures give similar flexibility more cheaply, since PAR and BR lamps come in defined beam angles and you can simply change the lamp; the spread and output options in that format are compared in the best LED flood light bulbs roundup.
Smart Fixtures and Beam Choice
Connected floodlights add scheduling, dimming, camera integration and zone control, all of which change how you should think about beam angle. If a fixture can sit at 20 percent output all night and jump to full on motion, a wider beam becomes more attractive because the low-level state provides ambient coverage without glare. The current feature sets in that category are covered in the best smart flood lights comparison.
Reading a Spec Sheet Properly
- Find the beam angle in degrees. If it is absent, the manufacturer is hiding something; treat unspecified fixtures as wide and uncontrolled.
- Check whether the figure is the beam angle or the field angle. Field angle is measured at 10 percent of centre intensity and is always a larger, more flattering number.
- Look for centre beam candlepower on accent fixtures, which tells you real reach.
- Confirm the mounting height the coverage claims assume. Marketing coverage figures are often quoted at heights nobody uses residentially.
- Check the cutoff or shielding description, because an unshielded wide flood will throw light well outside its nominal beam.
Common Mistakes to Avoid
- Comparing fixtures on lumens alone while ignoring the beam angle that determines actual brightness on target.
- Using a wide flood to light a tall tree, which wastes most of the output on the sky and neighbouring properties.
- Using a narrow spot for area security lighting, creating one bright disc surrounded by darkness.
- Mounting a wide flood very high and wondering why the ground looks dim.
- Placing wall-wash fixtures tight against the surface, producing a scalloped hot streak instead of even light.
- Skipping glare shields on uplights, so every window in the house looks straight into an LED array.
- Buying one oversized fixture where two modest ones with overlapping beams would give better coverage.
Frequently Asked Questions
What beam angle is best for a driveway?
Between 90 and 120 degrees, mounted 9 to 12 feet up and aimed downward. That combination covers the full width of a typical residential driveway with one or two fixtures.
Can I use a floodlight to light a tree?
You can, but a narrow spot does the job far better. A wide flood spills most of its output past the canopy into the sky and onto neighbouring property, while a 15 to 25 degree spot puts the light where you actually want it.
What is the difference between beam angle and field angle?
Beam angle is measured where intensity drops to 50 percent of centre; field angle is measured at 10 percent. Field angle numbers are always larger, so compare like with like when reading two different manufacturers’ specifications.
How many floodlights do I need for a backyard?
Enough for their coverage circles to overlap at the edges. For a typical 40 by 30 foot yard, two or three 120-degree fixtures at around 1800 lumens each placed at different corners usually beat one central high-output unit.
Are higher lumens always better outdoors?
No. Excess output creates glare and hard shadows that reduce what you can actually see. Getting the beam angle and aiming right matters more than adding lumens, and moderate fixtures are far easier to live with.
Final Thoughts
Beam angle is the specification that decides whether outdoor lighting looks designed or accidental. Ask what you are lighting before you ask how bright it should be: objects want narrow beams and areas want wide ones. Run the coverage multiplier for your mounting height so you know the size of the lit circle before anything is installed, favour several moderate fixtures with overlapping beams over one intense unit, and shield everything so the light lands on your property and not in anyone’s eyes. Get that right and a modest fixture at 1000 lumens will outperform a harsh one at three times the output.









