Owen Bradley
 Two BIOS settings have quietly become mandatory for modern PC users: TPM and Secure Boot. Windows 11 refuses to install without both, several major multiplayer titles now require Secure Boot for their kernel-level anti-cheat, and full disk encryption depends on the TPM to store its keys. The frustrating part is that almost every motherboard already has this hardware built in, yet ships with it disabled, hidden behind a vendor-specific name, buried three menus deep. This tutorial shows you how to check what is already active, find the right setting on both AMD and Intel boards, enable it safely, and recover if the machine refuses to boot afterwards.
What These Two Settings Actually Do
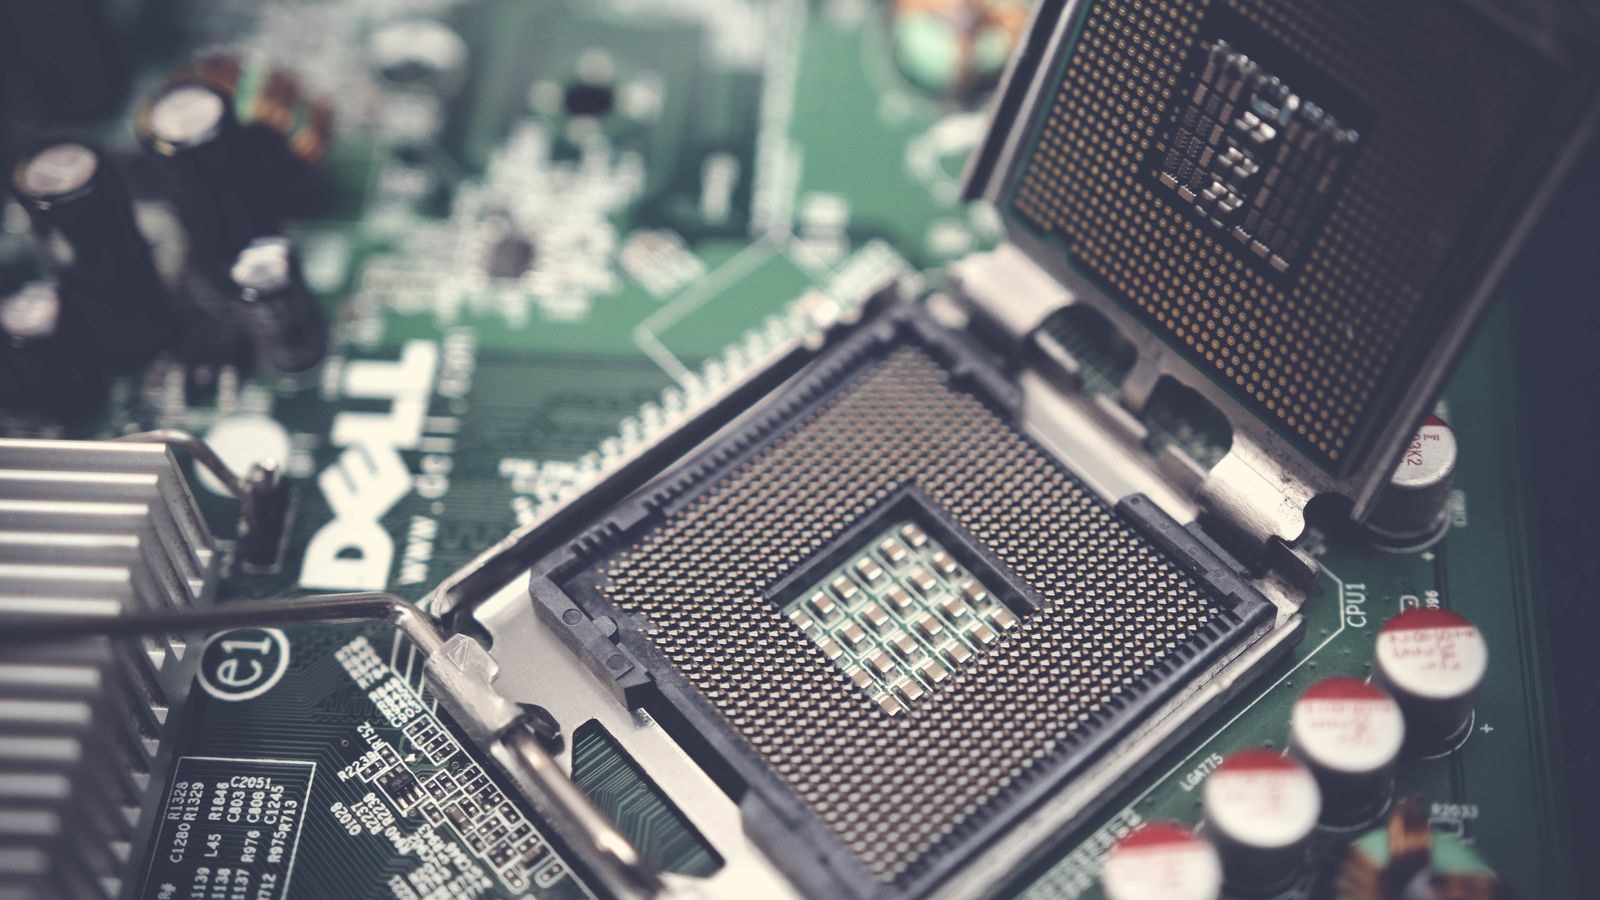
TPM, the Trusted Platform Module, is a small secure processor that generates and stores cryptographic keys in hardware, where software cannot read them. It backs BitLocker drive encryption, Windows Hello sign-in, and integrity measurements that detect tampering with the boot process. Almost every processor made in the last several years includes a firmware TPM built into the chip, so no separate module is needed.
Secure Boot is a UEFI feature that checks the digital signature of every component loaded during startup, from the bootloader to early drivers. Anything unsigned or signed by an untrusted key is refused, which blocks bootkits and rootkits that would otherwise load before the operating system and its defences.
They are independent features, but Windows 11 and most anti-cheat systems want both, and enabling them together is a single trip into the firmware.
Check What You Already Have
- Press Windows and R, type tpm.msc, and press Enter. If a management console opens showing a ready TPM with a specification version of 2.0, that half is done.
- Press Windows and R, type msinfo32, and look at the System Summary. Secure Boot State should read On and BIOS Mode should read UEFI.
- If BIOS Mode says Legacy, Secure Boot cannot be enabled until the disk is converted from MBR to GPT and the firmware switched to UEFI. That is a separate job and must be done before anything else.
Before You Change Anything
- Back up your BitLocker recovery key. If BitLocker is already active, changing TPM or Secure Boot settings can trigger a recovery prompt on the next boot. Without the key you will be locked out.
- Suspend BitLocker from the Control Panel before entering the BIOS, then resume it afterwards. This avoids the recovery prompt entirely.
- Note your current BIOS version. Very old firmware may lack a usable firmware TPM option, in which case an update comes first.
- Know your BIOS key. Delete works on most desktop boards; F2 is common on others. The key flashes briefly during startup.
- Have a bootable Windows USB available as insurance if the machine will not start afterwards.
Step-by-Step: Enable TPM and Secure Boot
- Enter the BIOS. Restart and tap the Delete or F2 key repeatedly as the logo appears. Alternatively, hold Shift while clicking Restart in Windows, then choose Troubleshoot, Advanced options, and UEFI Firmware Settings.
- Switch to Advanced mode. Most boards open in a simplified dashboard. Press F7 or click the Advanced option, because the settings you need are not exposed in the basic view.
- Find the TPM setting on an AMD board. Look under Advanced, then CPU Configuration or Trusted Computing, for an entry called fTPM or AMD fTPM switch. Set it to Enabled, or to the firmware TPM option rather than the discrete one.
- Find the TPM setting on an Intel board. The equivalent is called PTT, for Platform Trust Technology, and usually sits under Advanced, then PCH-FW Configuration, or under Security, then Trusted Computing. Set it to Enabled.
- Set the firmware to UEFI only. Under the Boot menu, find CSM, the Compatibility Support Module, and disable it. Secure Boot cannot function while legacy CSM is active. This is the step people miss most often.
- Locate Secure Boot. It lives under Boot, then Secure Boot, or under a Security tab depending on the vendor. Set OS Type to Windows UEFI mode rather than Other OS.
- Restore factory keys. Open Key Management and choose Restore Factory Keys or Install Default Secure Boot Keys. Without valid platform keys loaded, Secure Boot will report itself as disabled no matter what the toggle says.
- Set Secure Boot to Enabled. Once the keys are installed the state should change from Setup Mode to User Mode, which means it is genuinely active.
- Save and exit. Press F10, confirm, and let the machine restart. The first boot after enabling CSM changes can take noticeably longer than usual, so give it time before assuming something is wrong.
- Verify in Windows. Run msinfo32 again and confirm Secure Boot State reads On. Run tpm.msc and confirm the TPM is ready for use with specification version 2.0. Resume BitLocker if you suspended it.
Where Different Boards Hide These Options
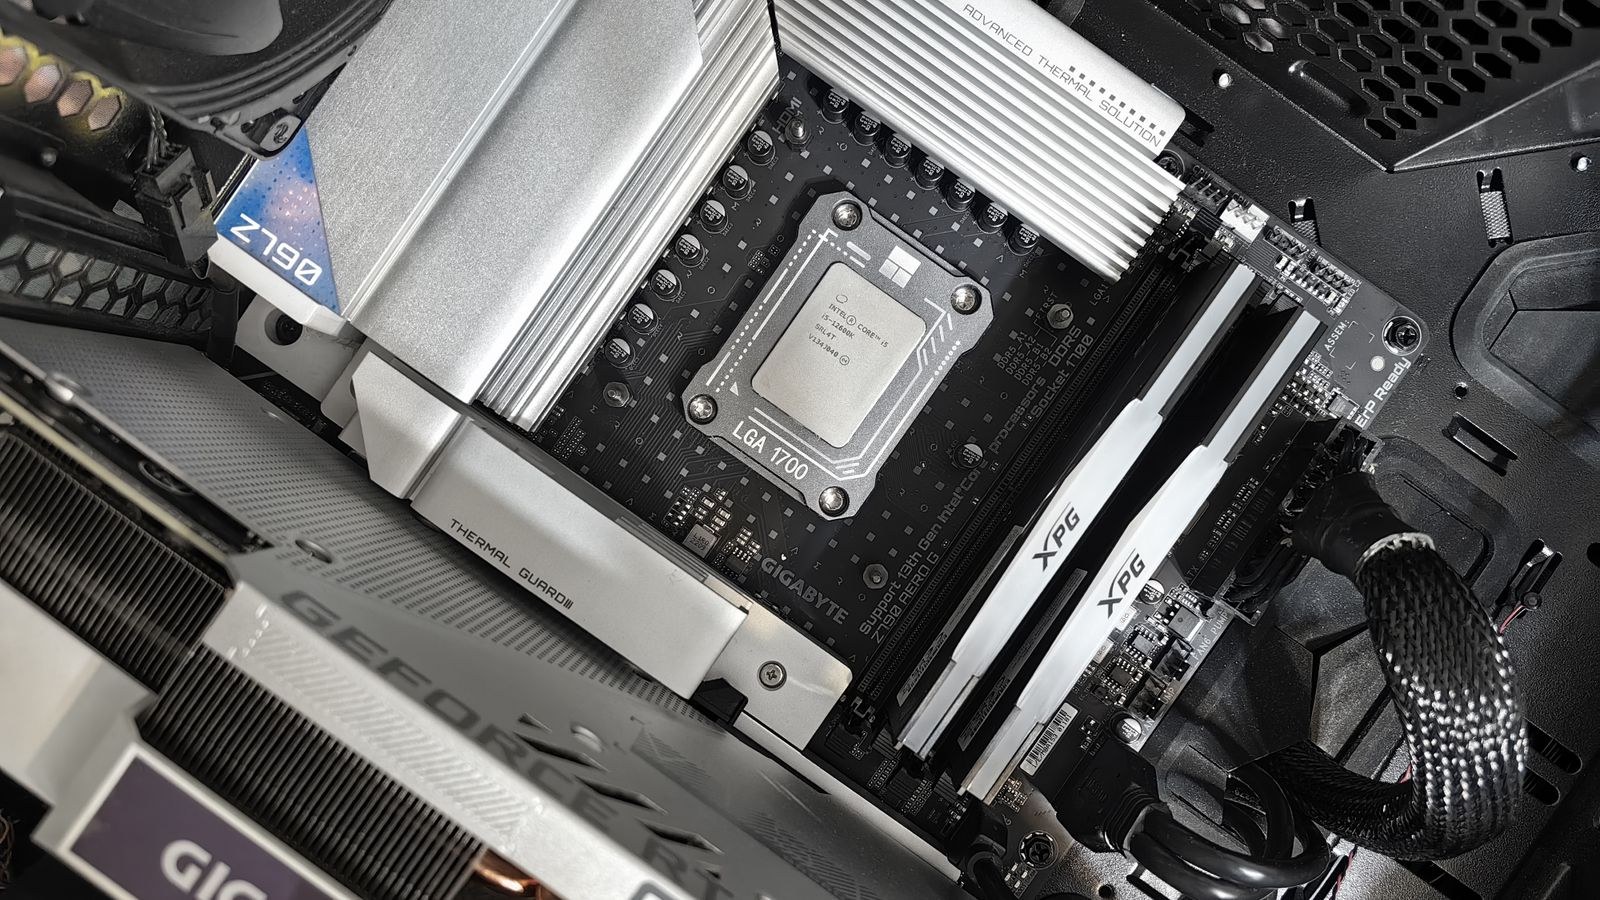
Vendors name the same features differently, which is the main source of confusion. On ASUS boards, look under Advanced then PCH-FW Configuration for PTT, and Boot then Secure Boot for the rest. On MSI, the path runs through Settings, Security, Trusted Computing. On Gigabyte, check Settings then Miscellaneous for the trusted computing entries. On ASRock, Security holds both Intel Platform Trust Technology and Secure Boot. If you cannot find an entry at all, search the exact model number plus fTPM or PTT in the manual, and check whether a BIOS update adds the option, since many boards gained clearer menus specifically to support Windows 11.
If your board turns out to be too old to offer a firmware TPM, replacing it is often the practical answer rather than hunting for a discrete module. Our overview of the best motherboards for gaming covers current options with these features enabled by default. For AMD systems, compare the best B650 motherboards against the wider best AM5 motherboards range. Intel builders should look at the best Z790 motherboards for enthusiast chipsets or the broader best Intel motherboards selection for mainstream builds.
Safety Notes
The genuine risk here is losing access to encrypted data. If BitLocker or device encryption is active and the TPM configuration changes, Windows sees a different boot environment and demands the recovery key. Retrieve that key from your Microsoft account or a printed copy before you touch anything. Clearing the TPM is even more serious: it destroys the stored keys permanently, so any data encrypted with them becomes unrecoverable without the recovery key. Never clear the TPM as a casual troubleshooting step.
Disabling CSM can also make an existing installation unbootable if the disk uses an MBR partition table. Check the disk style in Disk Management first; converting MBR to GPT with the built-in mbr2gpt tool must happen before CSM is switched off, not after.
Common Mistakes to Avoid
- Leaving CSM enabled. Secure Boot will never activate while legacy support is on.
- Skipping the factory key restore. The toggle can read Enabled while the state remains Setup Mode and Windows still reports it off.
- Enabling fTPM with BitLocker active. Suspend encryption first or expect a recovery prompt.
- Clearing the TPM to fix a problem. It destroys keys irreversibly and rarely solves anything.
- Setting OS Type to Other OS. That option deliberately relaxes signature checks and defeats the purpose.
- Assuming old hardware needs a physical module. Almost every recent CPU has a firmware TPM already present.
Troubleshooting After Enabling
If the PC will not boot, re-enter the BIOS and check the boot priority list, since disabling CSM can reorder entries and leave a stale legacy device at the top. If Windows demands a BitLocker recovery key, enter it and the system will resume normally, after which you can suspend and resume BitLocker to re-seal it against the new configuration. If Secure Boot still reports as off in msinfo32, the keys were not installed correctly, so return to Key Management and restore defaults again. Some AMD users have experienced brief stuttering after enabling fTPM on older firmware; a BIOS update from the vendor resolves it.
Frequently Asked Questions
Do I need to buy a TPM module?
Almost certainly not. Intel processors provide PTT and AMD processors provide fTPM in firmware. Both satisfy the TPM 2.0 requirement without any additional hardware.
Will enabling Secure Boot slow my PC down?
No. It only verifies signatures during startup, which adds a fraction of a second to boot time and has no effect on running performance.
Can I still dual boot Linux?
Yes. Major distributions ship signed bootloaders that Secure Boot accepts. Custom kernels or unsigned third-party drivers may need you to enrol your own key or temporarily disable the feature.
Does enabling TPM erase my data?
Enabling it does not. Clearing it does destroy stored keys, which makes BitLocker-encrypted data unrecoverable without the recovery key. Enable and clear are very different actions.
Final Thoughts
Enabling TPM and Secure Boot is a ten-minute job that unlocks Windows 11, modern anti-cheat, and hardware-backed encryption on hardware you already own. Save your BitLocker recovery key, suspend encryption, switch on fTPM or PTT depending on your platform, disable CSM, restore the factory Secure Boot keys, and verify the result in msinfo32 before you resume anything. Follow that order and the two settings that block so many upgrades in 2026 stop being an obstacle and start doing the security work they were designed for.