
 Owen Bradley
 Holiday decorations left on all night waste electricity, shorten the life of the lights, and mean somebody has to crawl behind the tree twice a day. A timer plug solves all of it for the price of a couple of coffees. You plug the timer into the outlet, plug the decorations into the timer, set an on and off schedule, and forget it until January. The only real decisions are which type of timer suits your setup, whether the load is indoors or outdoors, and how to stay inside the timer’s electrical rating. This guide covers choosing the right timer, calculating your load safely, programming both mechanical and digital models, weatherproofing an outdoor install, and troubleshooting.
Types of Timer Plugs and Which to Choose
- Mechanical dial timers. A rotating dial with pins or tabs you push down for each 15- or 30-minute block. Dead simple, no programming, no batteries, and they keep their schedule through a power cut only if the outage is brief. The dial clicks audibly, which some people dislike indoors.
- Digital timers. A small display with buttons, offering multiple on/off events per day, weekday and weekend schedules, countdown modes, and often a random mode that varies the timing slightly for a lived-in look. They need a backup battery to retain settings through an outage.
- Photocell timers. A light sensor turns the load on at dusk. Usually paired with a countdown — on at dusk, off after six hours — which is ideal for outdoor decorations because it tracks the changing sunset automatically.
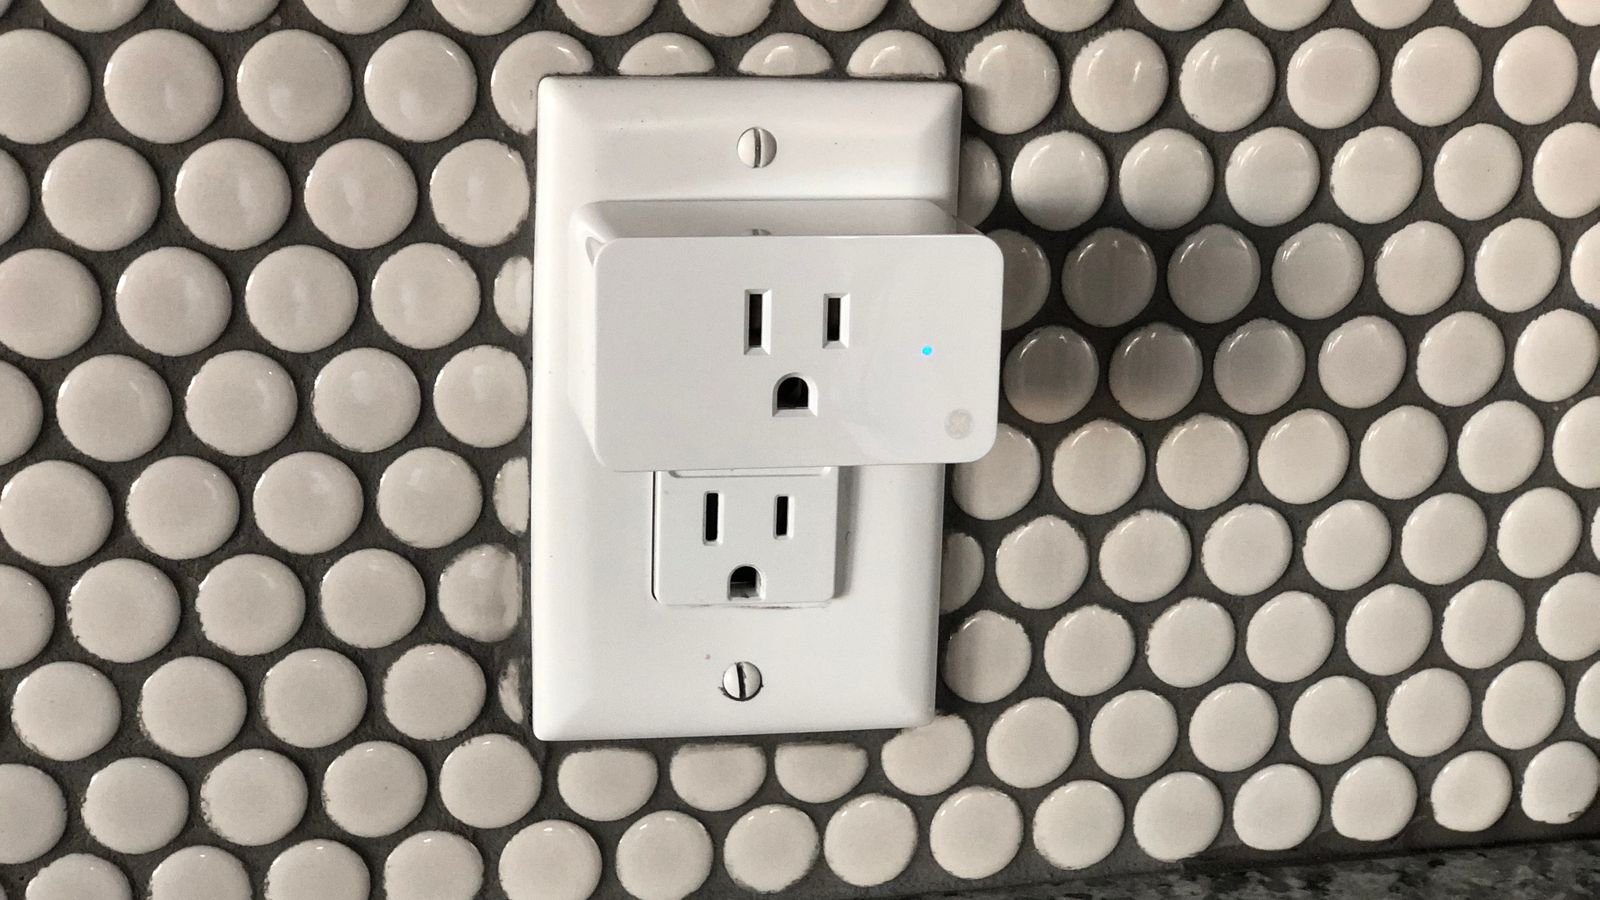
- Smart Wi-Fi plugs. App scheduling, voice control, sunset-tracking astronomical schedules, remote override, and energy monitoring on some models. The most flexible option, and the easiest to adjust from the sofa.
For a tree indoors, a simple mechanical or digital timer is plenty. For outdoor displays, a photocell or astronomical smart plug is meaningfully better because sunset moves by more than an hour across a typical holiday season. Comparing ratings, outdoor certification, and scheduling features among the best timer plugs is a good first step, particularly to confirm the amperage rating suits your display.
Calculate Your Load Before You Buy
This is the step almost everyone skips and it is the one that matters for safety. Every timer has a maximum rating, typically expressed in amps and watts. Add up the wattage of everything you intend to plug in — every string of lights, every inflatable’s blower motor, every projector.
A few practical points:
- Incandescent light strings draw far more than LED strings. A single old-style string can pull more than an entire LED display.
- Inflatable decorations contain a continuously running blower motor, which draws a surge on startup well above its running wattage. Motors need generous headroom.
- Never exceed 80 percent of the timer’s rating for a load that runs for hours at a time. If a timer is rated 15A, plan for no more than about 12A continuous.
- Remember the outlet and circuit have limits too. A standard 15A branch circuit shared with other rooms can be overloaded even if the timer is fine.
Step-by-Step: Installing and Programming the Timer
- Test the outlet first. Plug a lamp in and confirm the outlet works, and that it is not controlled by a wall switch. An outlet on a switch is the single most common cause of a timer that “randomly stops working.”
- Set the timer’s clock before plugging anything into it. On a mechanical timer, rotate the dial until the current time aligns with the arrow marker. On a digital timer, set the current time, day of week, and confirm the AM/PM designation. A schedule twelve hours out is almost always an AM/PM error.
- Program the on and off events. Mechanical: push down the pins covering the hours you want the lights on, and leave the rest raised. Digital: enter each on/off pair, then select which days it applies to. A typical holiday schedule is on at dusk, off around 11 p.m., with an optional short morning block.
- Set the master switch correctly. Mechanical timers have a small slider with positions for timer mode and always-on. If it is set to always-on, the schedule will be ignored entirely — check this before assuming the timer is faulty.
- Plug the timer into the wall. Push it fully home. A partially seated plug on a heavy load can arc and heat.
- Plug the decorations into the timer. If you are running several strings, use a single outdoor-rated power strip or splitter into the timer rather than daisy-chaining strings beyond the manufacturer’s stated limit.
- Test the schedule immediately. Do not wait until evening. Temporarily set an on event two minutes ahead and confirm the lights come on and go off on their own. Then set the real schedule.
- Verify battery backup on digital models. Unplug the timer for thirty seconds and plug it back in. If the clock has reset, the backup battery is dead or missing, and your first power flicker will wipe the schedule.
- Label the timer. A small strip of tape saying “Front yard — dusk to 11” saves confusion when you have three of them.
Outdoor Installation and Weatherproofing
Outdoor use adds requirements that indoor use does not.
- Use an outdoor-rated timer. Indoor timers are not sealed and will fail, sometimes dangerously, when exposed to rain or condensation. Look for an explicit outdoor or weather-resistant rating.
- Use a GFCI-protected outlet. Exterior outlets should already be GFCI, but verify by pressing the test button. If it does not trip, do not use it for an outdoor display.
- Fit an in-use weatherproof cover. These are the bubble-style covers that close over a plugged-in cord. A flip-lid cover that cannot close over a cord is not adequate for a seasonal install.
- Create drip loops. Let each cord hang in a downward U before it rises to the connection, so water runs off the low point instead of into the plug.
- Keep connections off the ground. Elevate junctions on a brick or hook, away from puddles and snow accumulation.
- Use outdoor-rated extension cords of adequate gauge. A thin indoor cord running a long display will heat up.
- Do not run cords under rugs, through door jambs, or where they can be walked on.
Sensible Schedules for Holiday Lighting
The obvious schedule is dusk to bedtime, but a little thought improves it. Turning on at sunset plus fifteen minutes avoids the awkward period when the lights are on but it is still bright. Turning off at 10 or 11 p.m. saves a large share of the running hours with almost nobody noticing.
A short morning block — 6 a.m. to 7:30 a.m. — is worthwhile in mid-winter when it is still dark during the school run, and costs very little. If your timer supports weekday and weekend schedules, running an hour later on Friday and Saturday is an easy touch.
For indoor trees, consider a shorter window than you think. Lights on from 4 p.m. to 10 p.m. covers essentially all the time the room is occupied and cuts running hours by more than half compared with dawn-to-midnight operation.
Troubleshooting Common Issues
Lights never come on. Check the master switch is in timer mode, that the outlet is not switch-controlled, and that the pins or events are actually programmed. Then check the GFCI has not tripped.
Lights come on at the wrong time. AM/PM error, or the dial was never aligned to the current time. Reset the clock.
Schedule wipes itself. Dead backup battery on a digital timer. Replace it, or switch to a mechanical model that has nothing to lose.
Timer feels warm or smells hot. Unplug it immediately. You are exceeding the rating. Reduce the load or split the display across two timers on different circuits.
Breaker or GFCI trips repeatedly. Moisture in a connection, a damaged cord, or too much total load. Inspect every connection, dry them out, and reduce the load.
Smart plug loses schedule. Weak Wi-Fi at an exterior outlet. Some smart plugs store schedules locally and keep running offline; many do not. Check the specification or improve coverage.
Frequently Asked Questions
Can I use an indoor timer outside if it is under an eave?
No. Condensation alone is enough to cause problems. Use a timer rated for outdoor use in a weatherproof in-use cover.
How many light strings can I run on one timer?
It depends entirely on wattage, not on the number of strings. Add up the watts and stay under 80 percent of the timer’s rating.
Will the timer keep its schedule during a power cut?
Digital timers with a working backup battery will. Mechanical timers lose time equal to the outage length and need resetting.
Are photocell timers better than programmed ones for outdoor use?
Generally yes, because sunset shifts significantly over the season and a photocell tracks it automatically without you adjusting anything.
Can I plug an inflatable decoration into a timer?
Yes, if the timer’s rating comfortably covers the blower motor’s startup surge. Motors need more headroom than lights of the same running wattage.
Final Thoughts
Installing a timer plug for holiday decorations takes ten minutes and removes a daily chore for the entire season. The parts that matter are checking the outlet is not switch-controlled, setting the clock and AM/PM correctly before programming, adding up your wattage and staying well under the timer’s rating, and using genuinely outdoor-rated equipment with drip loops and an in-use cover for anything exposed. Test the schedule the same day rather than waiting for evening, label each timer, and pick a shorter on-window than instinct suggests. Everything after that happens without you.









