
 Owen Bradley
 A 72-hour home emergency kit is the difference between a stressful night and a genuinely dangerous one. Storms, wildfires, grid failures and water main breaks all share one pattern: outside help takes roughly three days to reach everyone, and the first 72 hours are yours to cover. The good news is that a solid kit is not an expensive prepper bunker. It is a labelled bin, a short list of supplies you probably half own already, and a storage spot you can reach in the dark without hunting. This guide walks through exactly what goes in, how much of each item you need, how to pack it so it can leave the house in one trip, and how to keep it from quietly expiring in a closet.
What “72 Hours” Actually Means
Emergency planners use three days as a benchmark because that is the typical window before utilities are restored, roads are cleared, or relief supplies arrive in a widespread event. Your kit does not need to sustain you indefinitely. It needs to keep everyone in the household hydrated, warm, fed, medicated and informed for three days with zero outside input, including no running water, no electricity, no card payments and no cellular data.
Build for the household you actually have, not an average one. Count every person, every pet, and anyone with medical needs. A house with an infant, an insulin user or an elderly parent has a very different kit from two adults in an apartment. Write the headcount on the lid of the bin so future you does not have to re-derive the quantities.
Tools and Containers to Gather First
Before you buy a single supply, sort out the packaging. The container decides whether the kit is usable under pressure.
- One or two lidded plastic bins, 15 to 20 gallons, with handles. Clear bins let you audit contents at a glance.
- One backpack per adult as a “grab layer” holding the essentials if you have to leave on foot.
- Zip-top bags and a few dry bags to keep documents, matches and electronics dry.
- A permanent marker and printable labels for dating perishables.
- A laminated one-page plan listing meeting points, out-of-area contacts and utility shutoff locations.
Keep the total weight of each backpack under about 25 pounds. A kit nobody can carry is a kit that stays behind.
Step-by-Step: Assembling the Kit
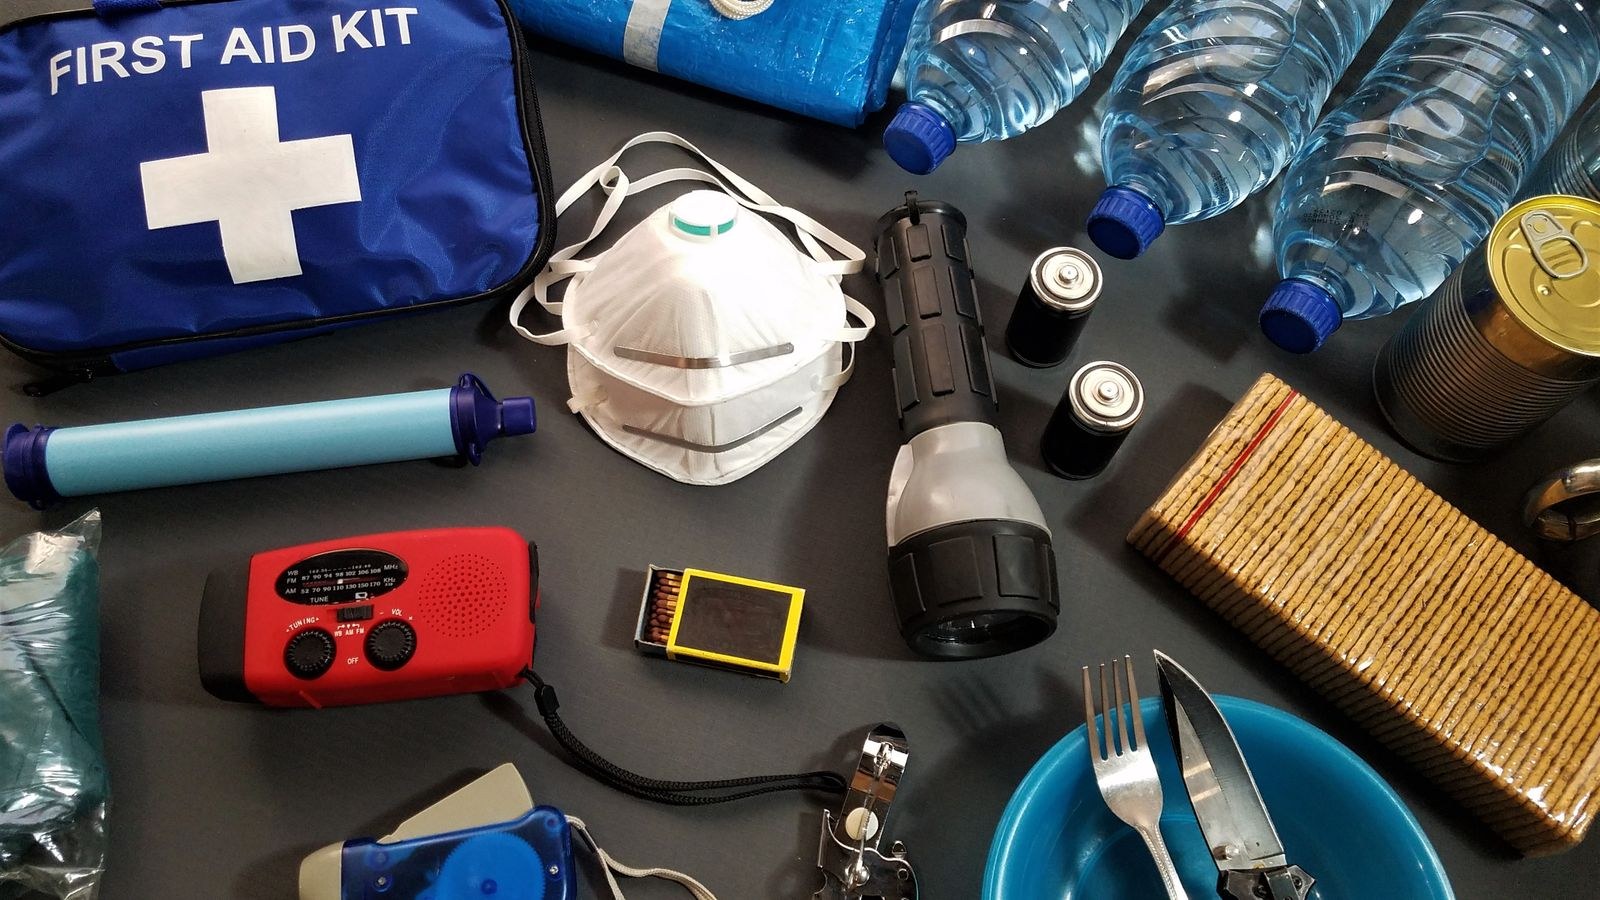
- Store water first, and store more than feels reasonable. Plan on one gallon per person per day, so three gallons each for 72 hours, plus extra for pets and basic hygiene. Commercial sealed water jugs are simplest; if you fill your own food-grade containers, date them and rotate every six months. Add a small bottle of unscented household bleach or water purification tablets as a backup treatment method.
- Add three days of no-cook food. Choose items that need no heat, no water and no refrigeration: canned beans and fish, peanut butter, nut bars, dried fruit, crackers, shelf-stable milk. Include a manual can opener, because an electric one is useless when the power is out. Pack a couple of comfort items too, since morale matters more than people expect on day two.
- Build the light and power layer. Pack at least one LED flashlight or headlamp per person plus a lantern for shared space, and store the batteries taped alongside rather than inside the device so they cannot slowly drain or corrode. Add a power bank of 20,000 mAh or larger, kept charged, and the matching cables for every phone in the house. Never rely on candles as a primary light source with children or pets around.
- Include information tools that work without the internet. A battery or hand-crank radio receiving NOAA weather alerts tells you when to shelter and when to move even if cell towers are down. Households that want continuous local readings often pair this with one of the best home weather stations so they can watch pressure, wind and temperature trends before a storm arrives rather than after.
- Assemble a real first aid kit, not a token one. Beyond adhesive bandages, include gauze pads, medical tape, an elastic wrap, antiseptic wipes, tweezers, scissors, nitrile gloves, a digital thermometer and a supply of pain relievers and antihistamines. Then add the part most kits miss: a seven-day buffer of every prescription in the household, plus written copies of the prescriptions themselves.
- Handle sanitation deliberately. If water service stops, toilets stop. Pack heavy-duty trash bags, a bucket with a snap-on lid, wet wipes, hand sanitizer, toilet paper, soap and feminine hygiene supplies. Sanitation failures cause more illness after disasters than the original event does.
- Layer in warmth and shelter. Add an emergency blanket per person, one wool or fleece blanket, a change of clothing, sturdy shoes and work gloves. Cold is the most common secondary hazard in a winter outage, and a house without heat loses usable warmth within hours.
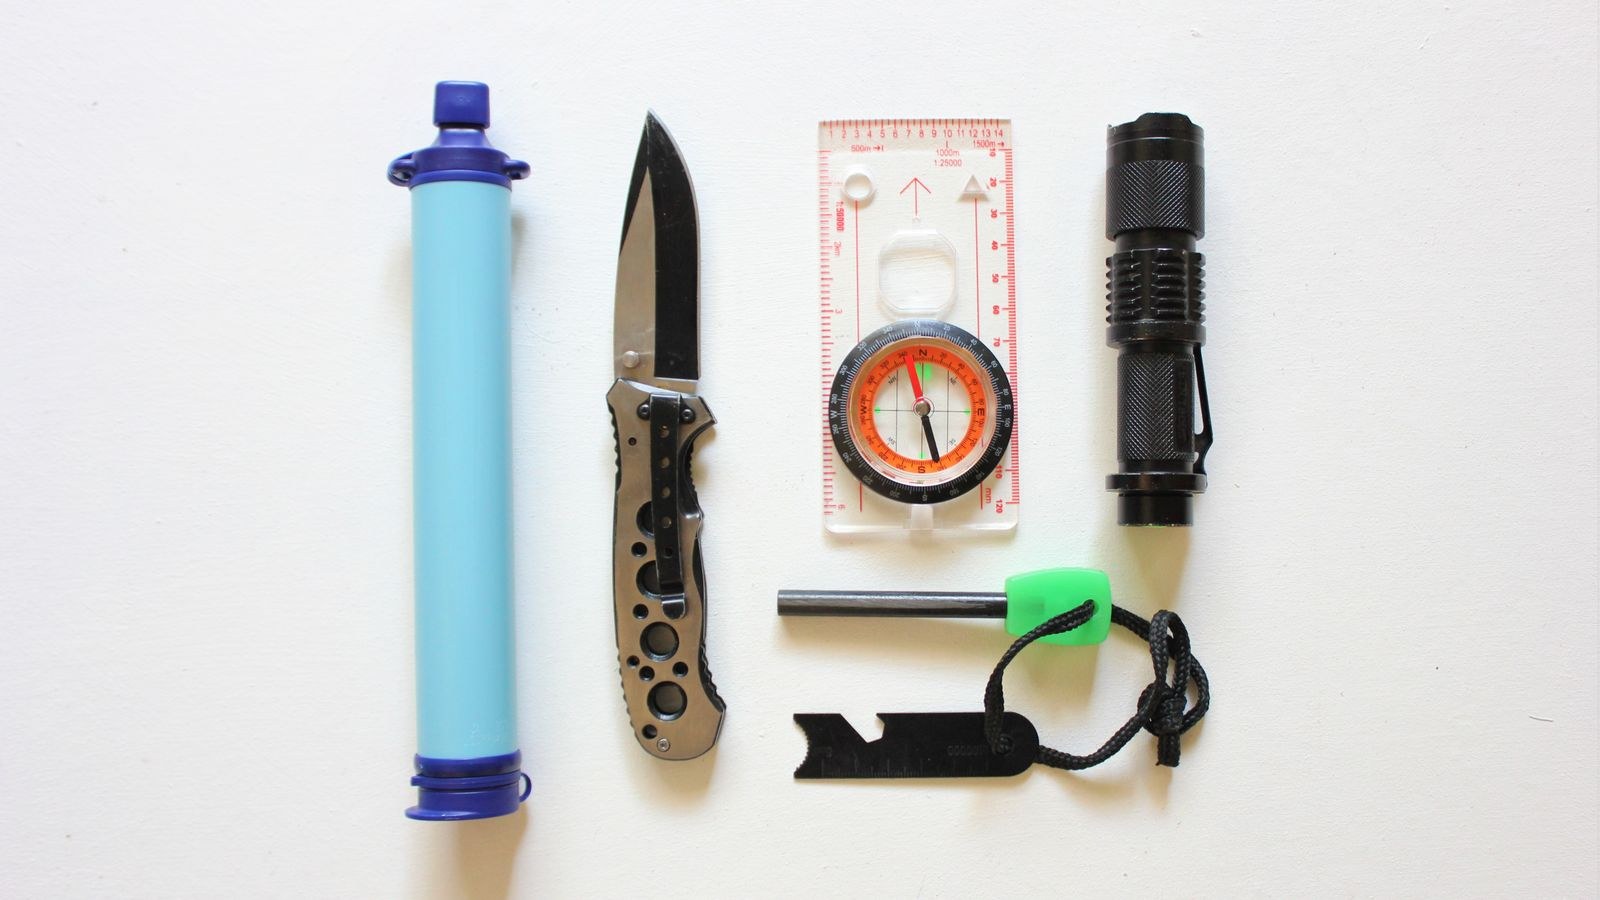
- Pack the tool and safety group. A multi-tool, duct tape, a utility knife, an adjustable wrench sized for your gas meter shutoff, waterproof matches, and N95 masks for smoke or dust. Keep a fire extinguisher rated ABC on the same floor as the kit, not inside it, so it is reachable instantly. If you are not sure which rating suits your kitchen, garage and living areas, our roundup of the best fire extinguishers and the broader fire safety buying guide explain how to place and size them.
- Protect documents and cash. Put copies of IDs, insurance policies, deeds, medical records, prescriptions and account details in a waterproof pouch, and keep an encrypted copy on a USB drive. Include $100 to $200 in small bills, since card readers and ATMs fail with the grid. Originals belong in a fireproof safe rated for both fire and water so they survive the event that made you need them.
- Finish with the personal layer. Spare glasses, hearing aid batteries, baby formula and diapers, pet food and a leash, a paper list of phone numbers, and a small activity for children. These are the items that make a kit feel like yours rather than a checklist.
Where to Store the Kit So You Can Actually Grab It
Storage location fails more kits than contents do. Pick a spot that is on your exit path, reachable without a ladder, and known to every adult in the house. A hall closet near the main door, the bottom of the stairs, or a mudroom shelf all work. Attics get too hot for food and batteries, and basements flood in exactly the scenarios you are preparing for.
Practise the retrieval once, at night, with the lights off and only a flashlight. If you cannot find and lift the bin in under a minute, move it. Keep a second, smaller kit in each vehicle with water, a blanket, a flashlight and a phone charger, because emergencies do not wait until you are home.
Splitting It Into Shelter-In-Place and Grab-and-Go
Most events keep you at home, but some require leaving within minutes. Solve both by packing the bulk supplies in the bin and the critical minimum in backpacks stored right beside it: water bottles, snacks, medications, documents pouch, flashlight, power bank, and a change of socks. If you evacuate, you take the packs and the bin if there is time. If you shelter, everything is already in one place.
Safety Considerations While Building and Using the Kit
Never store fuel, propane or a generator inside living space, and never run a generator, grill or camp stove indoors or in an attached garage. Carbon monoxide poisoning spikes during outages precisely because people bring heat sources inside. Keep a battery-powered detector with the kit as well as on each sleeping floor; the best portable carbon monoxide detectors are small enough to move with you into whichever room you end up occupying.
Store batteries in their original packaging or with terminals taped to prevent short circuits, keep matches and lighters out of children’s reach, and check that anyone who might need to shut off gas knows the direction the valve turns. Label the shutoff with a tag so nobody guesses.
Maintaining the Kit So It Works in 2026
A kit is a subscription, not a purchase. Set two calendar reminders a year, aligned with daylight saving changes so they are easy to remember.
- Rotate water and food that is approaching its date, and replace it immediately rather than “later”.
- Test every light and swap batteries showing corrosion or weak output.
- Recharge power banks to full, then top them off; lithium cells self-discharge over months.
- Refresh medications and update the document pouch after any insurance, address or prescription change.
- Resize the kit when the household changes: a new baby, a new pet or a family member moving in all shift the quantities.
Common Mistakes to Avoid
The most frequent error is underestimating water. People pack a case of small bottles and assume it covers three days when it barely covers one. The second is storing everything so deeply that retrieval requires unpacking a closet. Third is buying a sealed commercial kit and never opening it, which means nobody knows what is inside or whether the contents suit the household.
Two more worth naming: relying entirely on phones for light, information and contact numbers, which collapses the moment the battery dies; and forgetting cash, since a dead payment network makes a full wallet useless. Fix all five and your kit is already better than most.
Frequently Asked Questions
How much does a 72-hour kit cost to build?
Assembled gradually from ordinary shopping, a two-person kit typically lands between $150 and $300, and much of that is items you already own. Buying one component per grocery trip spreads the cost over a couple of months without a noticeable hit.
Can I just buy a pre-made emergency kit instead?
A pre-made kit is a reasonable starting shell, but it will not include your prescriptions, your documents, your pet supplies or enough water. Treat it as a base and add the personal layer yourself.
How often should I check the kit?
Twice a year is enough for most households. Check dates on water, food and medication, test lights and detectors, and recharge power banks. A full audit takes about twenty minutes.
Should the kit live inside or in the garage?
Inside, on your exit path. Garages swing widely in temperature, which shortens battery and food life, and an attached garage can be exactly the area you cannot safely enter during a fire or gas leak.
Final Thoughts
Building a 72-hour home emergency kit is one of the highest-return hours you can spend on your house. Start with water, because it is the one thing you cannot improvise. Add food that needs no cooking, light that needs no grid, information that needs no signal, and medication that needs no pharmacy. Pack it in a bin you can lift, park it where you will trip over it on the way out, and mark two dates a year to keep it honest. Do that once and you have converted a vague worry into a solved problem, ready for whatever 2026 brings without another thought until the reminder pings.









