
 Owen Bradley
 Ceiling fans are one of the last holdouts in an otherwise connected home. The pull chains are awkward, the wall control is often a single switch feeding both the motor and the light, and the obvious solution — swapping in a smart dimmer — is genuinely dangerous. Smart ceiling fan control is achievable in several ways, from a fan-rated wall switch to an in-canopy module to simply making the light bulbs smart. This tutorial explains which approach suits which fan, why motor loads and dimmers must never mix, and how to complete each install without cooking a control or a motor winding.
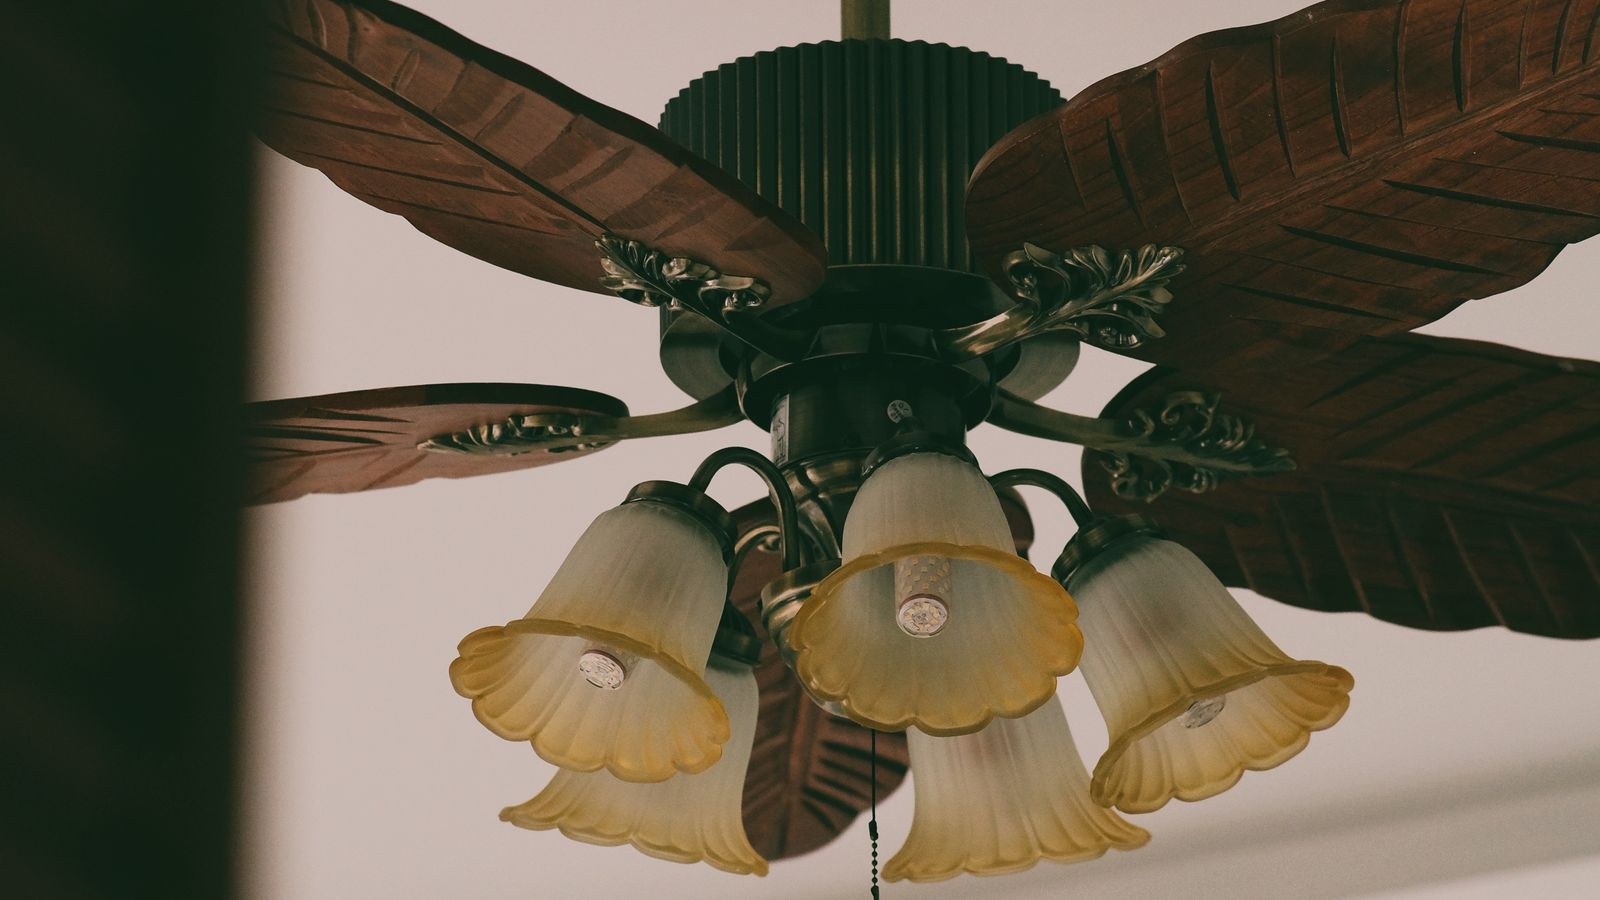
Why a Normal Smart Dimmer Will Not Work
A light dimmer chops the AC waveform to reduce power reaching a resistive or electronic load. A fan motor is inductive, and feeding it a chopped waveform produces humming, overheating and premature winding failure. The dimmer itself also suffers, because inductive loads push energy back into the switching element in a way it was never designed to absorb.
The result is not a subtle performance issue. It is a burnt-out control, a motor that runs hot at low speed, and a genuine fire risk. Any device you put on a fan motor must be explicitly marked as fan-rated or fan-speed-controlled. Never assume a dimmer is acceptable because the fan appears to work at first.
DC Motor Fans Change the Picture
Modern DC-motor fans have their own electronic controller in the canopy and take a constant supply. You must not interrupt or modulate that supply with a wall-mounted speed control. These fans are almost always controlled by their supplied remote or an integrated wireless module, and adding smart control means either buying a model with it built in or using a bridge that emulates the remote signal.
Tools and Materials
- Non-contact voltage tester and a multimeter for confirming line, load and neutral.
- Insulated screwdrivers and a nut driver for canopy screws.
- Wire strippers, lineman’s pliers and wire nuts sized for the conductor bundles.
- A sturdy ladder or step platform — never a chair.
- A fan-rated smart switch, an in-canopy fan module, or smart bulbs depending on the route you choose.
- Electrical tape and a headlamp.
Before buying anything, note whether your fan has one switch or two at the wall, and whether the light is a standard socket or an integrated LED panel. Those two facts determine which options are even available to you.
Choose the Right Approach
Route one: fan-rated smart wall switch. If your fan has separate wall switches for motor and light, replace them with a fan-rated smart speed control and a smart dimmer respectively. Clean, reliable, no batteries, and the wall keeps working normally. It only applies where the fan has a three-wire feed with separate motor and light conductors.
Route two: in-canopy module. A small controller fits inside the fan canopy between the incoming supply and the fan’s own wiring, giving independent motor and light control over a single existing cable. This is the best fix for fans on a single wall switch, which is most of them. It requires working overhead and enough canopy space to house the module.
Route three: smart bulbs. If you only care about the light and are happy pulling a chain for the fan, replace the bulbs and leave everything else alone. This is the fastest, cheapest and most rental-friendly route. Options across the best smart bulbs work in most standard fan sockets, though check the bulb length fits the shade.
Or Replace the Fan Entirely
Where the fan is old, noisy or has an integrated LED panel that resists modification, replacing it is often less work than retrofitting. Models from the best smart ceiling fans ship with the radio and motor controller matched from the factory, and options among the best ceiling fans with lights handle the two loads properly out of the box with no wiring gymnastics.
Step-by-Step: Fitting an In-Canopy Module
- Turn off the breaker and verify at the fan. Prove your tester on a live outlet, then test at the fixture. Do not rely on the wall switch. Note that some fans keep a receiver energised even when the light is off.
- Set up a stable working position. Use a proper ladder positioned so you are not reaching sideways. Have a helper support the fan body if the canopy will need to hang free.
- Lower the canopy. Back out the canopy screws and slide the cover down the downrod to expose the mounting bracket and the wiring. Support it — do not let it hang on the conductors.
- Photograph and identify the wiring. Typically you will find black for the fan motor, blue or red for the light, white for neutral and green or bare for ground. Confirm with a meter rather than trusting colour, especially in older installations.
- Disconnect the fan from the supply. Release the wire nuts joining the ceiling supply to the fan’s conductors, keeping the two sides separate and labelled.
- Wire the module in line. Connect the module’s input hot and neutral to the ceiling supply, then its fan output to the fan motor conductor and its light output to the light conductor. Land all grounds together. Follow the module’s own diagram exactly — terminal naming varies between manufacturers.
- Check the load ratings. Modules state a maximum motor wattage and a separate maximum light wattage. Confirm your fan sits within both. Exceeding the motor rating is the most common cause of module failure.
- Tuck the module into the canopy. Position it clear of the downrod and away from the motor housing so heat can escape. Do not let conductors sit under the canopy screws. Raise and secure the canopy fully.
- Set the wall switch to permanently on. The module needs constant power. If the fan is on a single wall switch, that switch must stay closed, so consider replacing it with a smart switch left on, or fitting a blank plate to prevent accidental use.
- Restore power and commission. Pair the module with your app, test each fan speed and the light independently, and confirm the fan reverse function if your module supports it. Run the fan on high for several minutes and check for unusual noise or heat.
Safety Notes You Cannot Skip
Only fan-rated devices go on a fan motor. This is the single rule that matters most, and it applies to the wall switch, the module and any speed control. A device sold as a smart dimmer, no matter how capable, is not acceptable on an inductive load.
Fan boxes must be rated for the weight and the dynamic load of a moving fan. A standard lighting box is not, and a fan hung from one can work loose over years of vibration. If you are unsure, check for a fan-rated marking inside the box before adding any weight.
Working overhead adds risk. Keep the ladder square, do not overreach, and never hold a torch in your mouth while both hands are occupied. If a canopy conceals scorched insulation, aluminium conductors or a box with no ground, stop and call a licensed electrician.
Troubleshooting
The fan hums at low speed. Either a non-fan-rated control is fitted, or the module’s minimum speed is set too low for the motor. Verify the control is fan-rated first, then raise the minimum speed in the app.
The light flickers when the fan runs. Usually a shared neutral or an undersized module. Confirm the light load is within rating and that the neutral connection is solid.
The fan responds slowly or intermittently. The metal canopy shields the radio. Reposition the module so its antenna sits nearer the canopy edge, or move an access point closer.
The original remote no longer works. Some modules replace the fan’s own receiver entirely. Remove the old receiver rather than stacking two controllers in series, which causes unpredictable behaviour.
Mistakes to Avoid
Putting a dimmer on a motor is the headline error, but running a module beyond its wattage rating is a close second and produces slow, cumulative failure rather than an obvious fault. Third is leaving both the fan’s original receiver and a new module in the circuit. Fourth is forgetting that a single-switch fan needs constant power, so the wall switch must be secured on — a smart on-off unit from the best smart light switches range works well here because you can lock it on in the app. When planning several rooms, choosing one family from the best smart switches for home keeps the app experience consistent.
Frequently Asked Questions
Can I use a smart dimmer for the fan light only?
Yes, provided the light conductor is genuinely separate from the motor. On a three-wire feed with independent switches, a dimmer on the light circuit is perfectly correct.
Do I need a hub?
Wi-Fi modules and switches connect directly to your router. Mesh-protocol devices need a hub. Fans with built-in radios vary, so check the specification before assuming.
Will smart bulbs work in a ceiling fan?
Usually yes, if the socket size and bulb length suit the shade. Keep the wall switch on permanently so the bulbs stay powered and reachable.
Is retrofitting worth it versus a new fan?
Retrofitting suits a good fan in sound condition. If the fan is old, wobbling or has a sealed LED panel, a purpose-built smart fan costs less in time and gives better integration.
Final Thoughts
Adding smart control to a ceiling fan comes down to matching the method to the wiring you already have. Two wall switches means fan-rated switch plus dimmer. One wall switch means an in-canopy module and constant power at the wall. Neither option available, or a rental you cannot modify, means smart bulbs and a remote. Whatever route you take, the non-negotiable rule stays the same: motor loads only ever get fan-rated controls. Respect that, stay within the wattage limits, and your fan will run quietly and answer to an app for years.









