
 Owen Bradley
 Every thermostat has one blind spot: it can only measure the air immediately around itself, and that spot is almost never where you actually live. Hallways run warm, bedrooms at the end of a duct run cold, and a sunlit wall convinces the thermostat the whole house is roasting while you sit shivering in the back bedroom. Thermostat room sensors solve this by giving the system additional temperature readings from the rooms that matter, then letting it decide which ones to act on. Adding them is a fifteen minute job, but placing them well and configuring the averaging logic correctly is what turns a gimmick into a genuinely more comfortable house.
What Room Sensors Actually Change
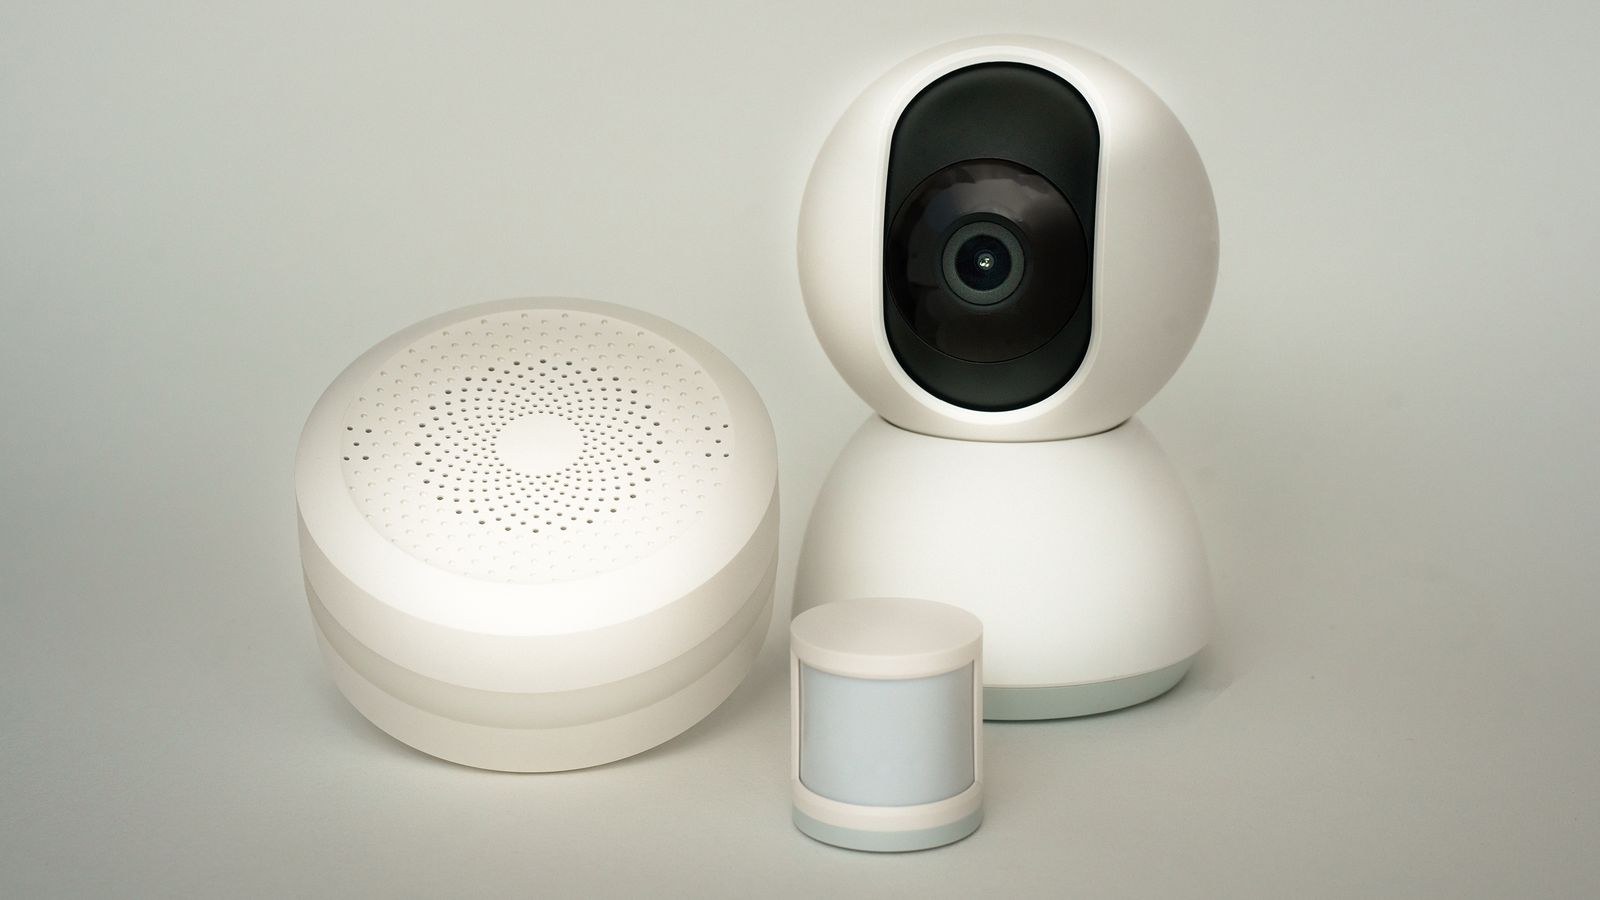
A room sensor is a small battery-powered device containing a thermistor and, on most models, a passive infrared occupancy detector. It reports temperature and, where supported, whether it has seen movement recently, back to the thermostat over a short-range radio link.
Crucially, sensors do not create zones. Your HVAC system still has one set of dampers or none at all, one blower and one call for heat or cool. What sensors change is which temperature the thermostat uses as its control input. Instead of regulating on the hallway reading, it can regulate on the average of the bedrooms overnight, or on whichever room currently has people in it.
That distinction matters because it sets expectations. Sensors will not make a cold bedroom warm while simultaneously keeping a hot living room cool, because the system cannot deliver different air to each. What they will do is stop the thermostat from optimising for a room nobody occupies. If you genuinely need independent control per area, that is a zoning project, and the best smart thermostats for multiple zones comparison covers what real zoning hardware requires.
What You Need Before You Start
- A thermostat that supports remote sensors, with current firmware installed
- Sensors from the same manufacturer and generation, since these ecosystems are closed
- Fresh coin cells or the supplied batteries, plus a spare set
- The manufacturer’s app, signed in and showing the thermostat online
- Adhesive strips, small stands or a couple of drywall screws, depending on the mount style
- A tape measure, to get the mounting height right
Check the supported sensor count before buying. Most thermostats cap out somewhere between five and ten sensors, and exceeding it simply means the extras will not pair.
Step by Step: Pairing and Placing Sensors
- Update the thermostat firmware first. Open the app, check for a pending update, and let it complete. Sensor pairing routines are frequently improved in firmware, and pairing against an old build is a common cause of failure.
- Insert the batteries. Most sensors ship with a plastic pull tab; removing it wakes the unit and puts it into pairing mode for a few minutes. If the tab is already out, use the small reset or pair button on the back.
- Start pairing from the thermostat or app. Navigate to the sensors or accessories section and choose to add a sensor. Hold the sensor within a few feet of the thermostat for the initial handshake, even though it will live elsewhere.
- Name each sensor by room as it pairs, using the room name you will recognise in the app six months from now. Generic names like Sensor 2 make later configuration guesswork.
- Walk each sensor to its intended room and confirm it still reports in the app before mounting anything. This is your range test.
- Choose the mounting spot. Interior wall, roughly four to five feet above the floor, out of direct sunlight, at least a few feet from supply vents, doorways, lamps, televisions and exterior walls.
- Mount it. Adhesive pads work on painted drywall; use the supplied stand on a shelf or dresser if you would rather not stick anything to a wall. Keep the infrared window unobstructed if the sensor detects occupancy.
- Configure participation rules in the app, deciding which sensors are included during which periods. This is where the real benefit is unlocked, so it gets its own section below.
- Let the system settle for a full day before judging anything, then compare sensor readings against a separate thermometer in the same room to catch a badly placed unit.
- Adjust placement or participation based on what you learn, and re-check after a week of normal use.
Where to Place Sensors for Accurate Readings
Placement determines everything. A sensor two feet from a supply register will read the supply air temperature, not the room, and will shut the system off far too early. A sensor on an exterior wall picks up conduction through the wall and reads several degrees off in both summer and winter.
Good practice looks like this. Put the sensor on an interior wall or an interior-facing surface at seated or standing head height. Keep it clear of kitchens, bathrooms and laundry rooms, where humidity and appliance heat produce readings that do not represent living conditions. Avoid the tops of bookcases where warm air pools, and avoid the floor where it collects cold. Keep it away from anything that radiates heat, including a television, a lamp, a computer or a sunny window.
Choose rooms by how much you care about them, not by how uncomfortable they are. A permanently cold guest room that is used twice a year should not drag the whole house’s control input around. Bedrooms, home offices and the main living space are the sensible candidates. If motion-triggered comfort is what you actually want throughout the house, standalone best motion sensors paired to a broader automation platform can complement thermostat sensors rather than replace them.

How Averaging and Occupancy Priority Get Applied
Once sensors are paired, the thermostat needs rules for what to do with the extra data. Three models are common, and most systems let you mix them by time of day.
Simple averaging takes the arithmetic mean of every participating sensor plus the thermostat itself and controls on that number. It is predictable and prevents any single room from dominating, but it also means no room is ever exactly right. It suits open plan homes with modest differences between areas.
Occupancy priority uses the built-in motion detection to include only the sensors that have seen movement recently. During the evening the living room dominates, and after everyone goes upstairs the bedrooms take over automatically. This is usually the most satisfying setting for households with predictable movement, though it can behave oddly if you sit very still while reading.
Scheduled participation lets you pin specific sensors to specific comfort periods. A common configuration is living room and kitchen during the day, bedrooms only overnight, and the thermostat alone while nobody is home. Because it is deterministic, it is the easiest model to troubleshoot when something feels wrong.
Start with scheduled participation for the overnight period, since sleeping comfort is the clearest win and motion detection is unreliable when people are asleep. Layer occupancy priority onto daytime hours once you trust the sensors. Whichever you choose, remember the thermostat’s own reading is usually included by default, and on many systems you can exclude it if it sits somewhere unrepresentative like a drafty hallway.
Troubleshooting Sensor Problems
Sensor will not pair. Update firmware, replace the battery even if it is new, and pair within a few feet of the thermostat. Some sensors only stay in pairing mode for around thirty seconds after a reset.
Sensor drops offline in one room only. That is a range or obstruction issue. Plaster with metal lath, brick chimneys, foil-faced insulation and large appliances all block short-range radio. Move it a few feet or relocate to a different wall in the same room.
Reading is consistently several degrees off. Compare with a separate thermometer. If they disagree, the placement is the problem in the vast majority of cases. If they agree but the room still feels wrong, the issue is airflow, not sensing.
Batteries die every few months. Frequent motion events and a marginal radio link both increase transmissions. Moving the sensor closer to the thermostat often extends life dramatically.
The system now short cycles. Averaging across rooms with a wide spread makes the control temperature cross the setpoint repeatedly. Reduce the number of participating sensors or widen the temperature differential in the installer settings.
One room is still cold no matter what. Sensors cannot fix a duct problem. Check that the supply register is open and unobstructed, balance the dampers if your system has them, and look for crushed flex duct in the attic.
Frequently Asked Questions
Do room sensors save energy?
Indirectly. They stop the system from over-conditioning based on a misleading hallway reading, which usually shortens run times. The larger benefit is comfort rather than a headline reduction on the bill.
Can I use another brand’s sensors?
Almost never. Sensor protocols are proprietary and tied to the thermostat’s radio and account system. Buy sensors from the same manufacturer and check generation compatibility before ordering.
How many sensors should I add?
Two or three placed thoughtfully outperform six scattered without a plan. Cover the main living area and the bedrooms you use, then stop.
Do sensors work if the internet goes down?
Yes. The sensor link is local radio, so temperature control keeps working. Only app access and cloud features are affected.
Which thermostats support sensors best?
Sensor ecosystems vary widely in maturity and in how flexibly participation can be scheduled. The best ecobee thermostats have the longest track record with room sensors, and the best smart thermostats comparison lists which competing models support them at all. If you are still choosing hardware, the smart thermostat buying guide explains what to look for in sensor support before you commit to an ecosystem.
Final Thoughts
Room sensors are one of the few smart home upgrades where the payoff is immediate and obvious, provided you do the unglamorous parts properly. Update the firmware first, name each sensor by its room, mount at head height on an interior wall away from vents and sunlight, and pick a participation rule you can explain to yourself. Give the system a week before adjusting anything. Done that way, sensors quietly correct the single biggest weakness in every thermostat ever made, which is that it has been measuring the wrong room all along.









