Owen Bradley
 Changing switches used to mean a soldering iron, a desoldering pump, and an afternoon of careful work. Hot-swap sockets removed all of that. On a modern board you can pull a switch out with a two-dollar tool, drop a different one in, and completely change how the keyboard feels in about twenty minutes. That makes it easy to try tactile switches after living with linears, silence a board for the office, or replace a single switch that has started chattering. This guide covers how to hot swap keyboard switches safely, from confirming your board actually supports it to testing every key once the new switches are in.
Confirm Your Keyboard Is Hot-Swappable
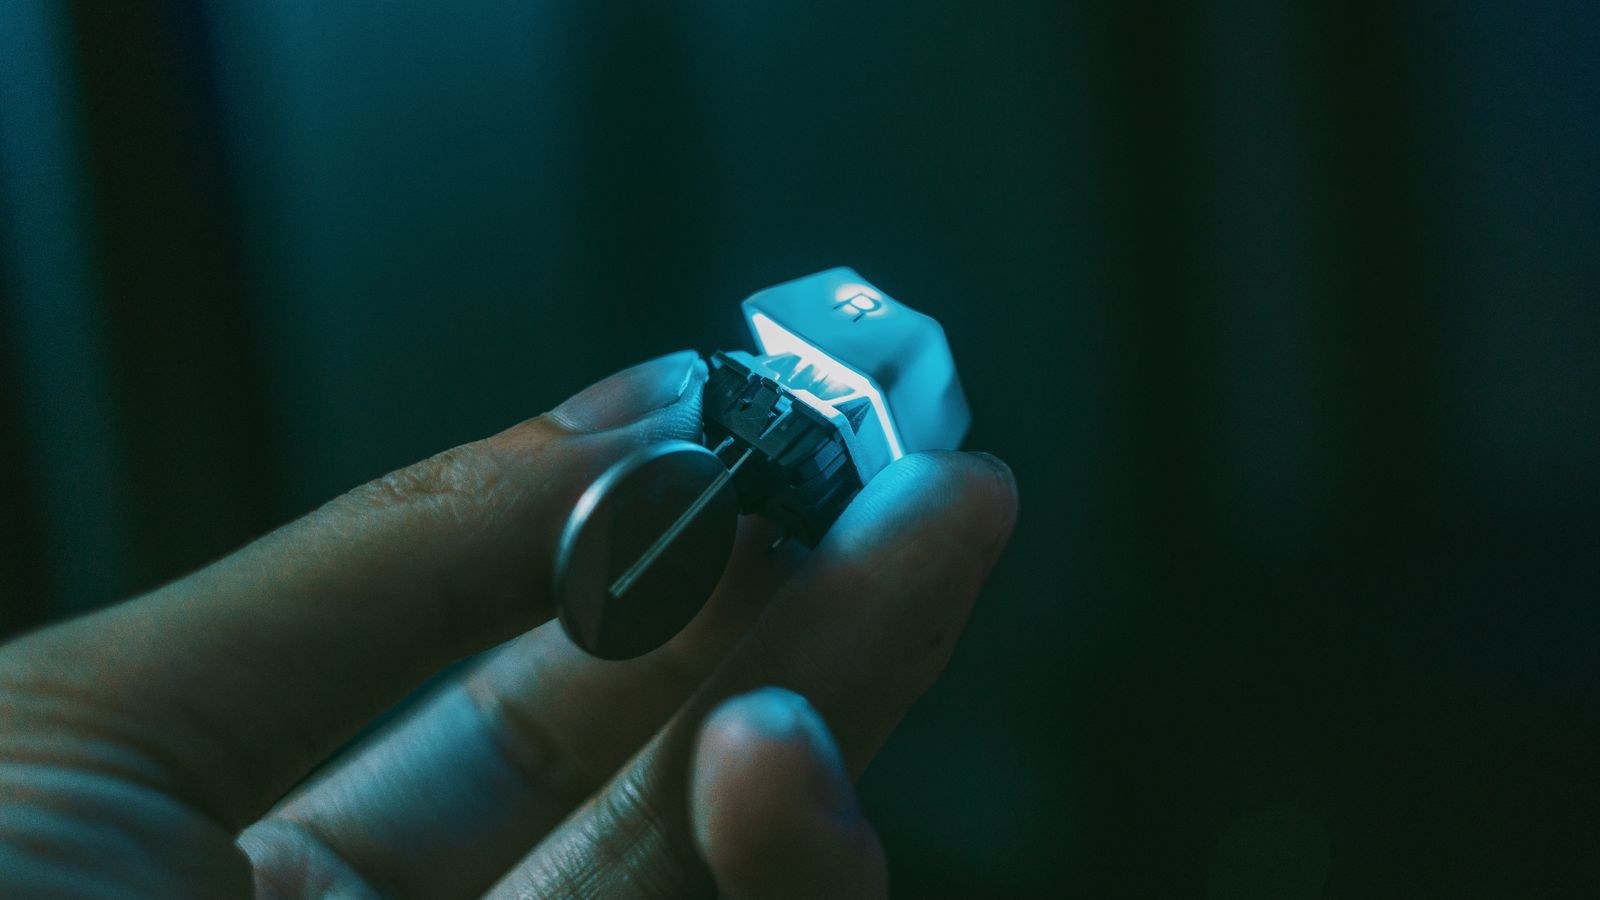
This is the step people skip, and forcing a switch out of a soldered board rips the switch apart and can tear pads off the circuit board. Check before you pull anything.
- Look under a removed keycap. Hot-swap boards show a coloured plastic socket surrounding the switch pins, usually white, grey, or gold-toned metal contacts inside a housing.
- Check the product listing or manual for the words hot-swap, hot-swappable, or a socket brand name.
- Note the pin count supported. Five-pin sockets accept both three-pin and five-pin switches; three-pin sockets only accept three-pin switches unless you clip the two plastic guide legs off a five-pin switch.
- Look at the back of the board if it is visible. Soldered boards show shiny solder joints at every switch position; hot-swap boards do not.
If the board is soldered, stop here. That is a different job requiring desoldering equipment and steady hands, and the cost of the tools often exceeds the price of a hot-swap replacement board.
What You Need Before Starting
- A switch puller with metal or sturdy plastic jaws that grip the housing clips at the top and bottom.
- A wire keycap puller — plastic ring pullers scuff keycap sides, wire pullers do not.
- Your new switches, plus two or three spares. Buy a few extra; pins bend and it is miserable to be one switch short.
- Tweezers for straightening bent pins.
- A tray or bowl to hold keycaps and old switches separately.
- Good lighting, because socket alignment is the whole job and you need to see it.
Step-by-Step: Swapping the Switches
- Unplug the keyboard and remove any batteries. Never pull switches from a powered board; a bridged socket can short the circuit. Take a clear photo of the full layout so you know exactly where every keycap belongs.
- Remove all the keycaps. Hook the wire puller under two opposite corners of each cap and pull straight up with steady, even pressure. Rocking the puller side to side bends switch stems. Place caps in a tray roughly in layout order, or take the photo seriously and just dump them in a bowl.
- Grip and pull the first switch straight up. Position the puller jaws on the notched clips at the top and bottom edges of the switch housing, not the left and right sides where there is nothing to grip. Squeeze gently and lift vertically. The switch should release with modest resistance. If it feels welded in place, stop and re-verify the board is hot-swappable.
- Work in rows and keep the pace steady. Pull an entire row, set the old switches aside, then move on. Removing everything at once and then installing everything at once is faster than swapping one at a time and makes it easier to spot a socket you missed.
- Inspect each empty socket. Look for a socket that has lifted from the board, bent contacts inside, or a broken pin left behind in the socket from the old switch. A leftover pin must be removed with tweezers before the new switch goes in, or it will never seat.
- Check every new switch before insertion. Hold it up and look at the pins from the side. They must be perfectly straight and parallel. Pins bend in shipping constantly, and a bent pin is the cause of nearly every dead key after a swap. Straighten any that lean with tweezers, pressing gently from the base rather than the tip.
- Align and press the switch home. Orient the switch so the pins line up with the socket holes and the housing matches the plate cutout, then press straight down with your thumb until it clicks flush against the plate. Support the underside of the circuit board with your other hand on boards without a solid backplate, so you are not flexing the board with every press.
- Test electrically before reinstalling keycaps. Plug the board in and open an online key tester or your keyboard software’s input test. Press every switch stem directly with a finger or tweezers. Fixing a dead key now takes ten seconds; finding it after all the caps are back on means pulling them again.
- Reinstall the keycaps. Line each cap over the stem and press straight down until it seats. Fit the stabilised keys such as spacebar, shift, enter, and backspace last, making sure the stabiliser stems slot into the cap correctly rather than beside them.
- Do a final full typing test. Type a few paragraphs of real text and run the key tester once more. Listen for any key that feels different, since an unevenly seated switch often sounds slightly off before it fails outright.
Choosing Which Switches to Install
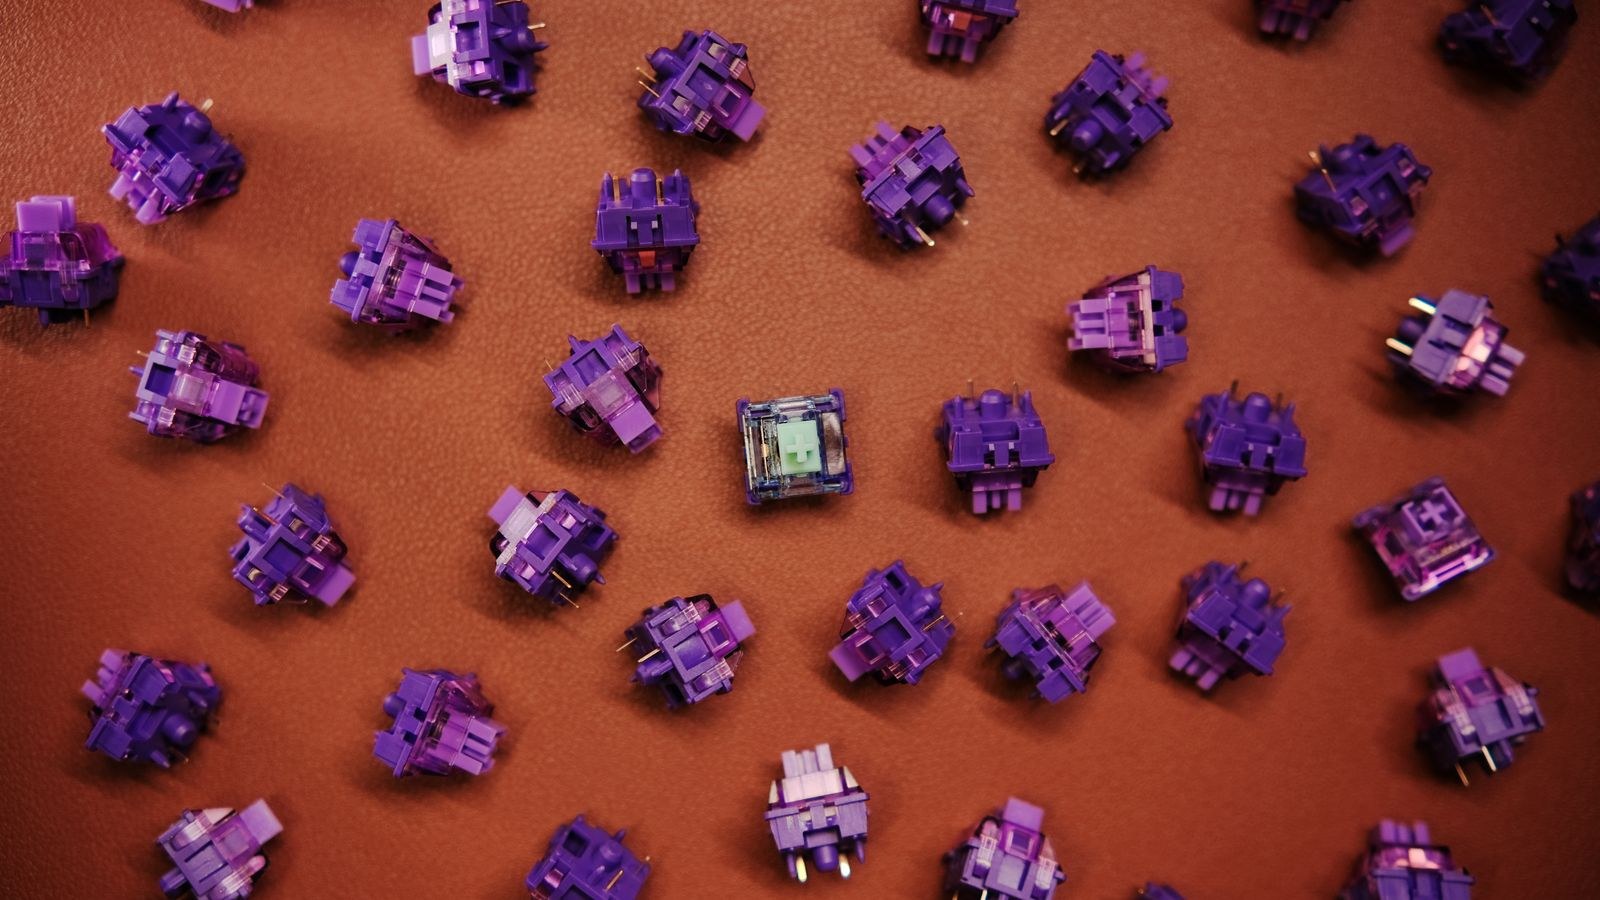
The whole point of a hot-swap board is that this decision is no longer permanent, so experiment rather than agonise. Switches fall into three families. Linear switches travel smoothly from top to bottom with no bump, which suits fast typing and gaming. Tactile switches add a bump partway through travel that tells your finger the key has registered, which many typists prefer for accuracy. Clicky switches add an audible click on top of that bump, which is satisfying alone and unwelcome in shared rooms.
Beyond the family, pay attention to actuation force and travel distance. Lighter springs around 45g reduce finger fatigue over long sessions; heavier springs above 60g resist accidental presses. Silent variants of linear and tactile switches contain internal dampers that cut noise significantly. Our guide to the best switches breaks down the options by feel and weight, while the best tactile keyboards and the best clicky keyboards show what each family sounds and feels like in a finished board.
Buying a Switch Tester First
A switch tester is a small board holding six to nine different switches with no electronics. For a few dollars it lets you feel the difference between options before you commit to a hundred of one type. Given that a full set costs considerably more, testing first is the cheapest decision in the whole hobby. Press each one repeatedly rather than once, since impressions change once your fingers adjust.
Fixing Problems After a Swap
If a key does nothing after installation, the cause is almost always mechanical rather than electronic. Pull the switch and look at the pins. A pin that folded under the housing instead of entering the socket is the classic culprit; straighten it and reinsert. If a pin snapped off inside the socket, extract the fragment with tweezers before trying again.
If a key registers twice from one press, the switch is chattering and should be replaced with a spare. If a key registers only with a firm press, the switch is probably not fully seated, so press it down again until the housing sits flush with the plate. If an entire row or column fails, the problem is not the switches; you likely flexed the board hard enough to stress a solder joint, and that needs repair rather than another swap.
Safety and Handling Notes
- Always unplug the board and remove batteries before pulling switches.
- Pull vertically, never at an angle. Angled pulls are the leading cause of torn sockets.
- Support the circuit board from below when pressing switches in, especially on gasket-mounted boards.
- Do not force a switch that resists. Resistance means a misaligned pin or a soldered board, and force turns a small problem into a permanent one.
- Keep small parts away from pets and children, since springs and stems are easy to swallow.
Common Mistakes to Avoid
The most frequent mistake is not inspecting pins before insertion. It takes one second per switch and prevents the overwhelming majority of post-swap dead keys. Make it a habit: look, straighten if needed, then press.
The second is gripping the switch on the wrong sides. The clips are at the top and bottom of the housing, and pulling from the left and right applies force to nothing, so people squeeze harder and crack the housing. The third is skipping the electrical test before keycaps go back on, which turns a ten-second fix into a full teardown. Finally, do not buy exactly as many switches as your board has keys. Order a handful of spares so a bent pin or a bad unit does not leave you with a hole in your layout. If you are still shopping for the board itself, our roundups of the best hot-swappable keyboards and the best mechanical keyboards both flag which models use full five-pin sockets.
Frequently Asked Questions
Can I mix different switches on one board?
Yes, and many people do. Heavier switches on modifiers and lighter ones on letters is a common setup, as are silent switches only on the keys used most during calls. Nothing electrically prevents mixing types.
Will swapping switches void my warranty?
Usually not, since hot-swap sockets exist for exactly this purpose. Physical damage you cause, such as a torn socket, is generally not covered, so read the manufacturer’s terms if the board is expensive.
How many times can a socket be reused?
Quality sockets are typically rated for around a hundred insertions, far more than most people will ever use. The contacts loosen gradually, so if a switch starts feeling wobbly in its socket after heavy experimenting, that position is nearing the end of its life.
Do three-pin switches work in five-pin sockets?
Yes. The two extra plastic legs on a five-pin switch are only alignment guides and carry no signal, so a three-pin switch fits a five-pin socket fine. It may sit slightly less securely, which matters little once keycaps are on.
Final Thoughts
Hot swapping is one of the few upgrades that is genuinely reversible, cheap, and transformative. Confirm the board has sockets, pull straight up, inspect every pin before it goes in, and test electrically before the keycaps return, and the job is close to foolproof. Keep a small bag of spare switches in your desk drawer so a single failure never sidelines the board again. Once you have done it once, changing the entire character of your keyboard becomes a twenty-minute decision rather than a new purchase, which is the best argument for buying a socketed board in 2026.