Owen Bradley
 Thermal paste is the cheapest component in a computer and one of the few where a two-minute mistake shows up as a permanent ten-degree temperature penalty. The compound exists to fill the microscopic valleys between a processor’s heat spreader and a cooler’s base, because those two surfaces look flat but are not, and trapped air is a terrible conductor. Get the quantity and the mount right and the paste does its job silently for years. This guide explains how to apply thermal paste correctly, how much to use, which application pattern suits which chip, and the cleanup and mounting steps that decide the final result.
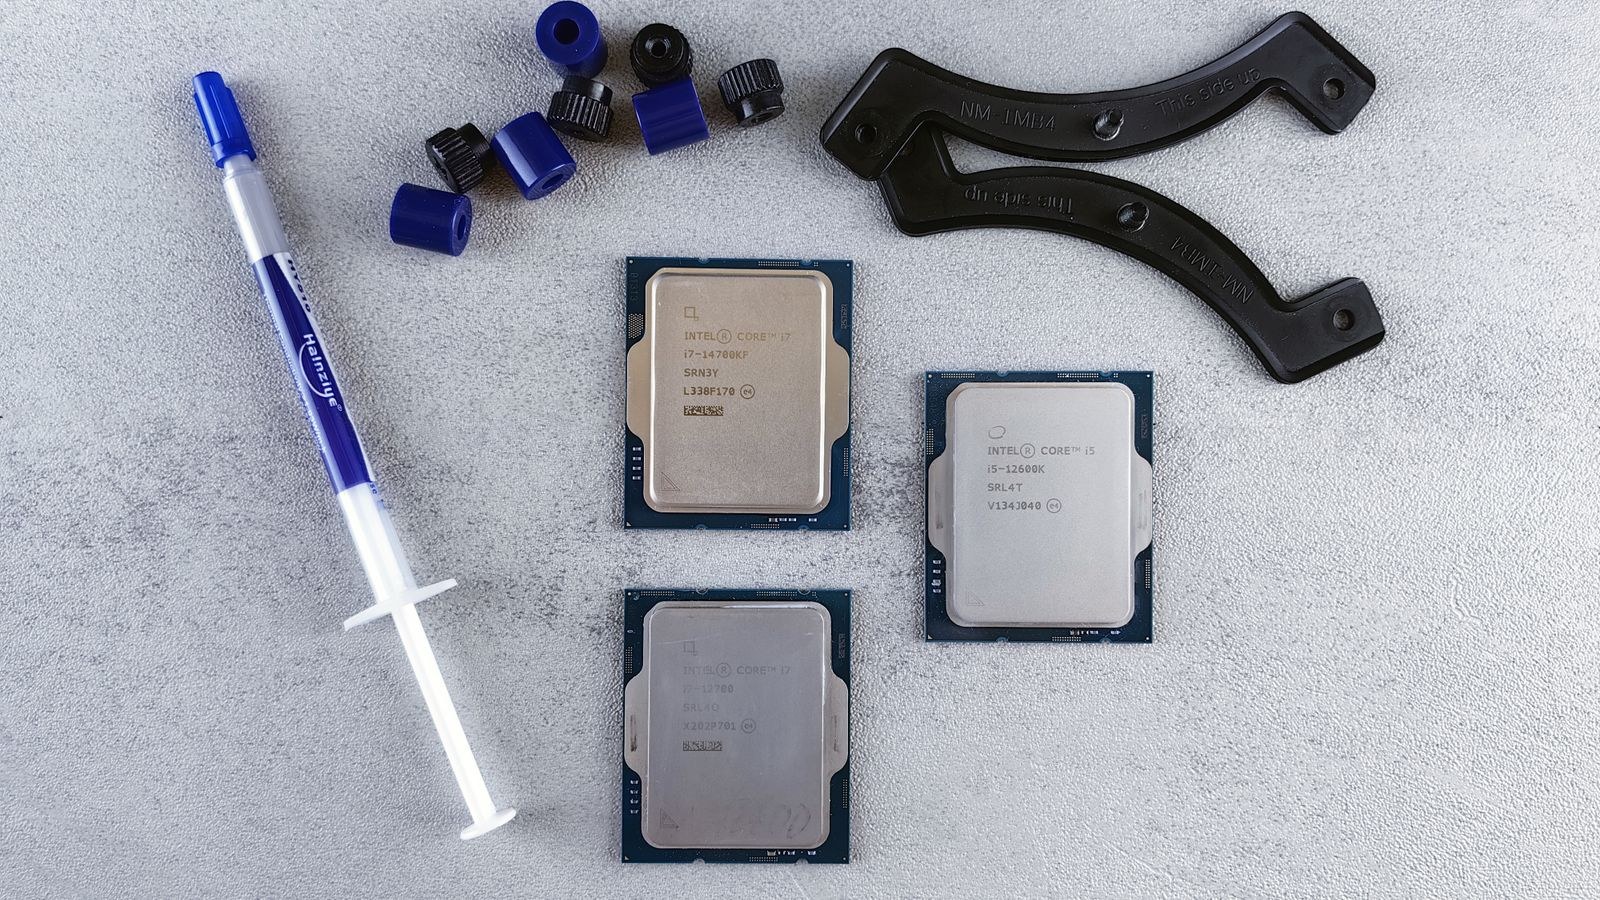
What Thermal Paste Actually Does
Metal surfaces machined to look mirror-flat still have a fine texture at the microscopic level. When you clamp a cooler onto a processor, only a small fraction of the two surfaces make real contact and the rest is air gap. Air conducts heat extremely poorly, so those gaps act as insulation exactly where you least want it. Thermal paste is a viscous compound loaded with conductive particles that fills those voids and creates a continuous path from chip to cooler.
The crucial consequence is that paste is a gap filler, not a layer. It conducts heat far better than air but far worse than direct metal contact, so the ideal application is the thinnest continuous film that still fills every void. That is why more paste is not better, and why the most common failure is using too much rather than too little.
What You Need
- Thermal compound, either a syringe or a pre-applied cooler pad.
- Isopropyl alcohol, 90 percent or higher.
- Lint-free cloth, coffee filter, or microfiber cloth. Avoid paper towel, which sheds fibers.
- A plastic spreader if you plan to use the spread method, never anything metal.
- Good lighting and a flat, stable work surface.
Compound type matters less than technique for most builds, but it is worth knowing the categories. Silicone-based ceramic pastes are non-conductive, inexpensive, and forgiving. High-performance metal-oxide compounds run a few degrees cooler and are the sensible choice for an overclocked chip; the options in our roundup of the best high performance thermal paste cover that tier. Liquid metal offers the lowest temperatures of all but is electrically conductive, reacts with aluminium, and is genuinely unforgiving of a spill, so it is not a first-timer’s material. If this is your first build, start with something with a thicker consistency that will not run, such as the compounds in our list of the best thermal paste for beginners.
Step One: Clean Both Surfaces First
If either surface has old paste on it, application starts with removal. Fresh paste on top of dried, cracked old paste performs badly and traps air. Wipe the bulk away with a dry lint-free cloth, then dampen a second cloth with isopropyl alcohol and clean until no residue transfers. Work in one direction rather than circles so you carry residue off the edge instead of around the surface.
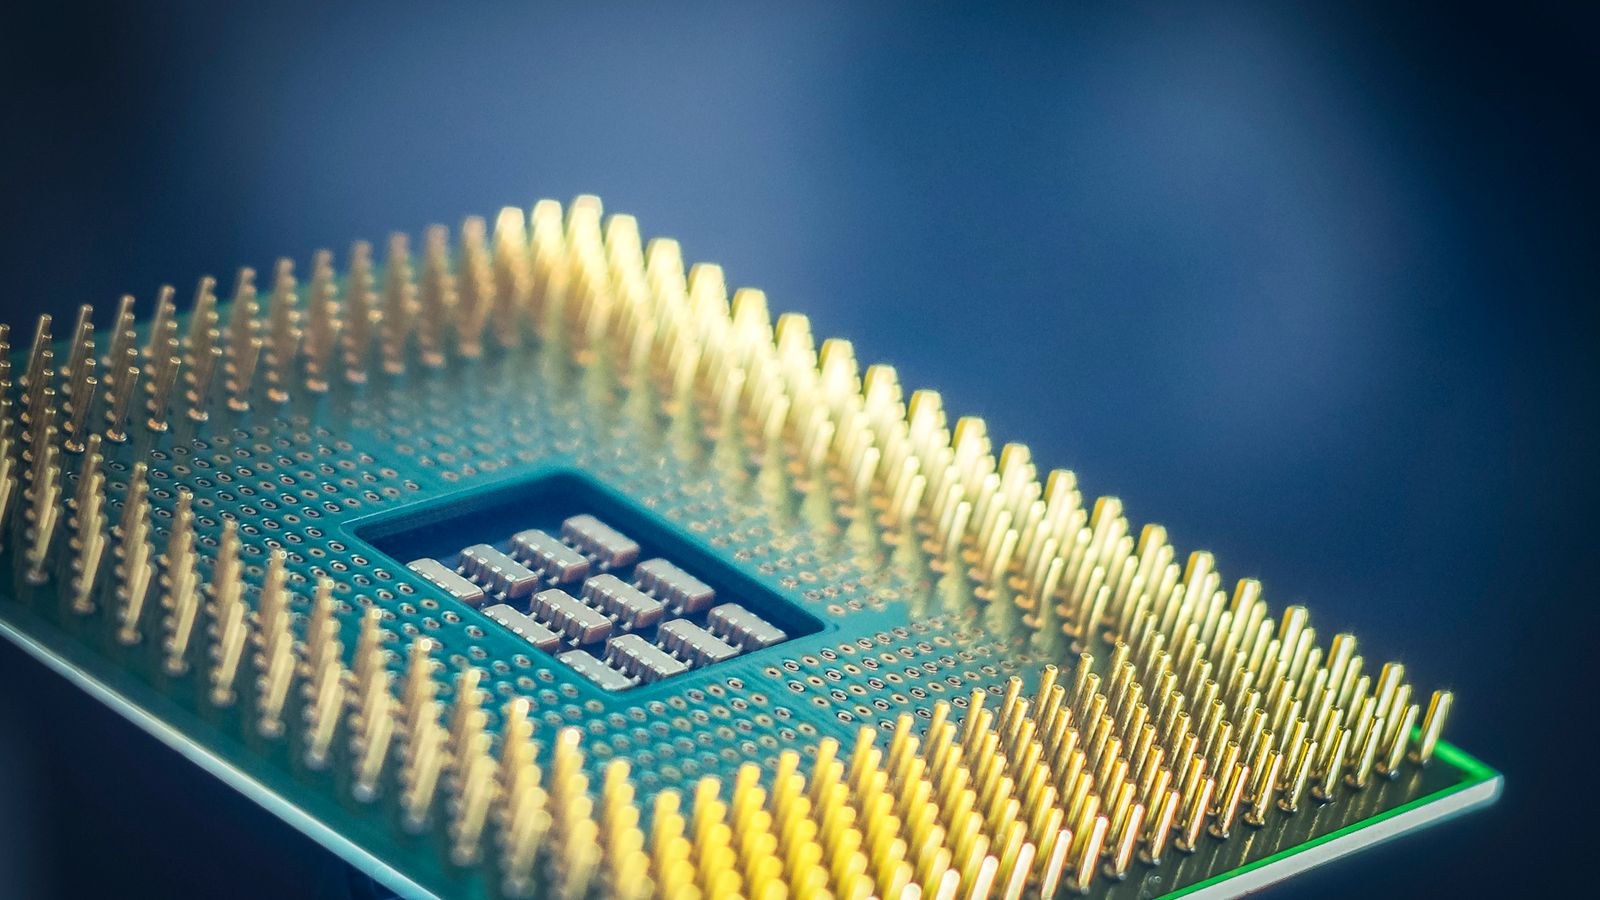
Pay attention to the gaps around the heat spreader. Old paste collects in the seam between the metal lid and the green substrate, and picking at it with a fingernail or a metal tool risks damaging surface-mounted components on the substrate edge. A cotton swab lightly dampened with alcohol handles it safely. Let both surfaces dry completely, which takes under a minute, before applying anything new.
On a brand new cooler, check whether the base has a protective plastic film. Coolers ship with a film over the cold plate and a surprising number of builders leave it on, then spend a week diagnosing thermal throttling. Remove it. If the cooler has a pre-applied pad, do not clean that off and do not add paste on top of it, since the pad is already a complete application.
Step Two: Choose an Application Pattern
Three patterns cover essentially every situation, and they matter less than people argue about, because mounting pressure does most of the spreading. What they control is how evenly the paste reaches the edges of the die area.
The Pea Method
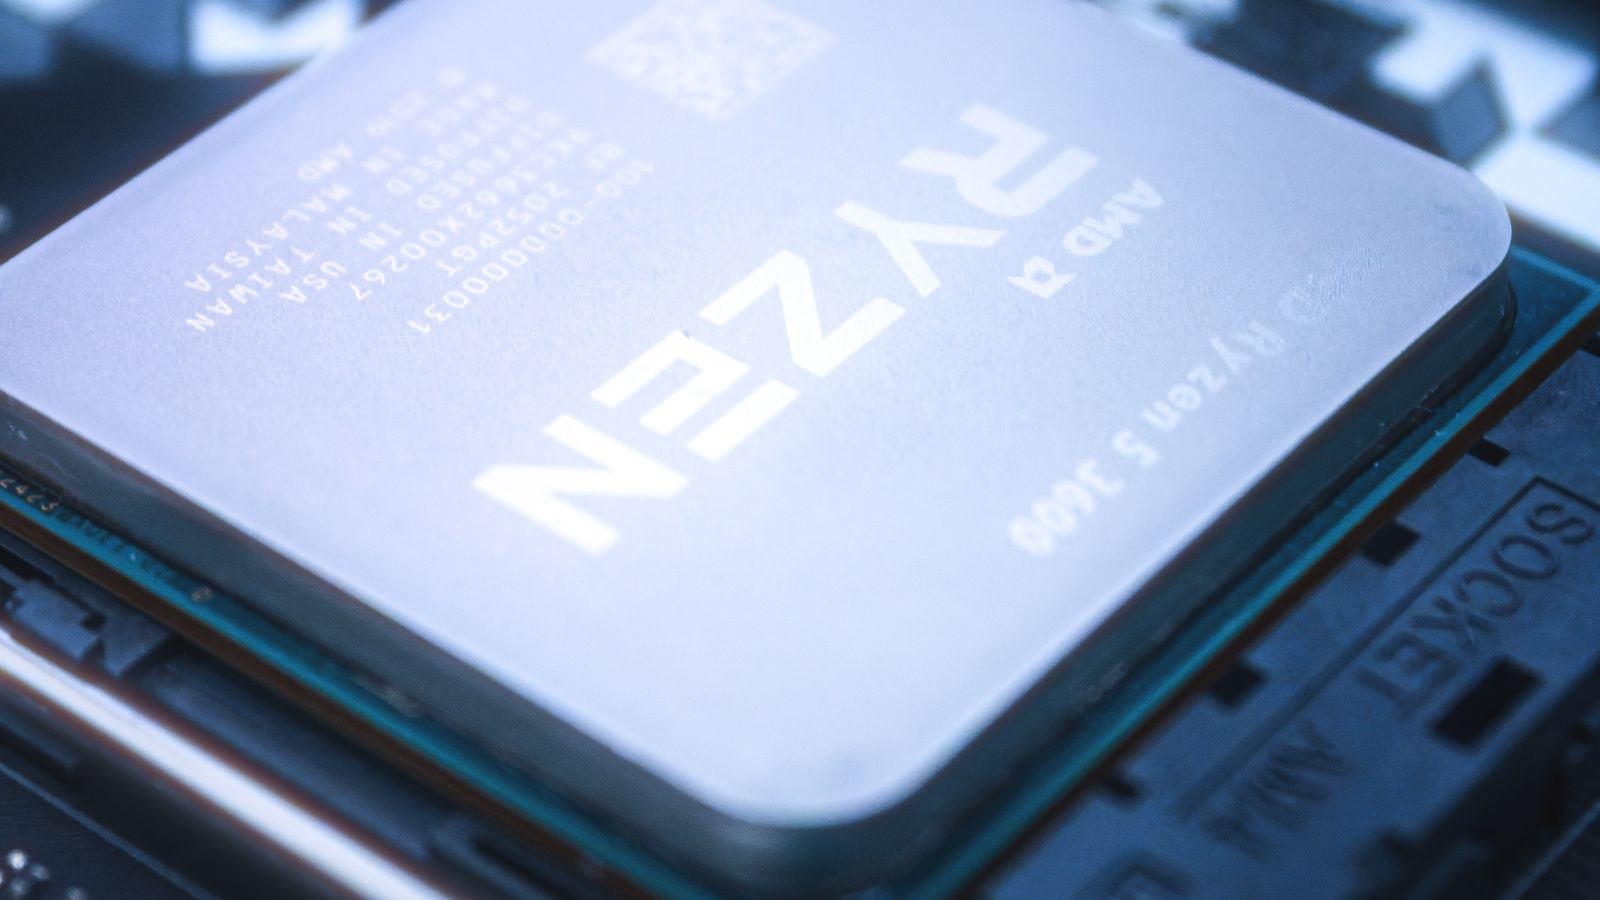
A single dot of paste roughly the size of a pea or a grain of rice, placed in the centre of the heat spreader. This is the default recommendation and works well for square-ish processors where the heat-producing silicon sits near the middle. Mounting pressure pushes the dot outward into an even circle. It is the most forgiving method because excess simply does not get applied in the first place.
The Line Method
A single thin line, or two short parallel lines, running across the heat spreader. This suits rectangular chips and processors where the silicon is arranged in strips rather than a single central block, including several high-core-count desktop and workstation parts. Align the line along the long axis of the die layout rather than arbitrarily.
The Spread Method
Applying a small quantity and manually spreading it into a thin, even film with a plastic card or spreader before mounting. It guarantees full coverage and is the right approach for large, irregular surfaces such as workstation processors with wide heat spreaders, or for graphics chips with bare dies. The risk is introducing air bubbles while spreading and being tempted to apply too much because a thin film looks sparse. Use a light hand and stop as soon as the surface is uniformly covered.
Step Three: How Much Is the Right Amount
The reference point most people find useful is that a correct application on a standard desktop processor uses roughly 0.2 to 0.3 millilitres, which really is about the volume of a pea. A small syringe supplied with a cooler typically contains enough for three to five applications, which tells you how little each one should take.
Too little leaves dry patches near the edges of the die and produces hot spots that show as one core running hotter than the others under load. Too much creates a thick layer that insulates rather than conducts, and squeezes out over the edges where it can run onto the socket, the substrate, or nearby components. With a non-conductive ceramic paste that is messy but harmless; with a metal-bearing compound it is a genuine short-circuit risk.
If you are uncertain, err slightly toward too little on the first attempt and check temperatures. A dry spot is easy to diagnose and easy to fix. Paste squeezed into a socket is a cleanup job.
Step Four: Mount the Cooler Correctly
- Lower the cooler straight down. Hold it level and bring it down onto the paste vertically. Do not slide it, do not twist it into place, and do not set it down at an angle, because any lateral movement drags the paste sideways and leaves the far edge bare.
- Hold light pressure while you start the fasteners. Keep the cooler steady with one hand so it cannot shift as the first screw catches.
- Tighten in a diagonal cross pattern. With four screws, turn each one two or three turns, then move to the diagonally opposite screw, and continue rotating around the pattern until all are snug. Tightening one fully before the others tilts the cold plate and permanently ruins the contact patch.
- Stop when the springs bottom out. Spring-loaded mounting screws are designed to reach correct pressure and then resist. Do not force past that point; excess clamping force can crack a substrate or damage a socket.
- Do not lift and re-seat to check. Peeking at the spread pattern breaks the seal and traps air. If you lift the cooler for any reason, clean both surfaces and apply fresh paste.
The mount is where most of the real performance lives. A mediocre paste with an even, correctly torqued mount beats a premium compound with a tilted cold plate every time. Cooler design matters here too, since heavier tower coolers put more demand on the mounting hardware; our comparison of the best air CPU coolers covers which mounting systems make an even clamp easy to achieve.
Step Five: Verify With Temperatures
Boot the system and check idle temperatures in the firmware or a monitoring utility. A healthy air-cooled desktop chip typically idles in the 30s or low 40s Celsius in a normally ventilated room. Then run a sustained load for ten minutes and watch the curve. Temperatures should climb steadily and then plateau well below the chip’s thermal limit.
The signature of a bad mount is a fast, steep climb to a very high number within seconds, because heat is not reaching the cooler at all. The signature of a partial application is a large spread between individual core temperatures under the same load. Either symptom is worth remounting for, and remounting means full cleanup and fresh paste, not a re-tighten.
Common Mistakes to Avoid
Using far too much paste is the most frequent error, usually from an instinct that a generous layer must be safer. Leaving the cooler’s protective film in place is the most embarrassing. Spreading paste with a bare finger introduces skin oils and is worth avoiding even though the effect is small. Reusing a cooler with old, dried paste still on the base wastes most of the benefit of applying fresh compound to the chip.
Two more deserve mention. First, removing an air cooler while the system is cold can bond the cooler to the chip hard enough to pull an unlocked processor out of its socket, so warm the machine briefly and twist gently before lifting. Second, do not assume paste lasts forever. Most compounds hold their performance for several years, but a pump-out or dry-out failure shows as temperatures creeping upward over months. Reapplying every few years, or whenever you remove the cooler, keeps things stable; the options in our roundup of the best CPU thermal paste note which formulations resist drying longest, and our list of the best easy application thermal paste covers compounds with a viscosity that makes a clean single-dot application straightforward.
Frequently Asked Questions
Can I use too little thermal paste?
Yes, and it shows as one or two cores running noticeably hotter than the rest under load. The fix is a clean and reapply, not adding more on top.
Does the pattern really matter?
Less than the amount and the mount. For a standard desktop chip, a central dot with an even clamp gives results within a degree or two of any other method.
How often should I reapply?
Every three to five years for most compounds, or any time you remove the cooler for any reason. If temperatures have drifted upward over time with no change in dust or ambient conditions, reapply sooner.
Is more expensive paste worth it?
The gap between a decent mid-range compound and a premium one is usually a few degrees. That matters for an overclocked chip near its thermal ceiling and is irrelevant for a stock system with adequate cooling.
Final Thoughts
Applying thermal paste well is mostly about restraint. Clean both surfaces properly, use about a pea, lower the cooler straight down without sliding it, tighten in a cross pattern until the springs bottom out, and resist the urge to lift and inspect. Verify with a load test rather than a guess. Done that way, the cheapest part in your build quietly protects the most expensive one for years.