Owen Bradley
 An older television that still produces a lovely picture does not need replacing just because it cannot run streaming apps. The panel is the expensive part, and it is almost certainly fine. What has aged badly is the software: either the set never had apps, or the ones it shipped with have stopped being updated and now fail to log in. Both problems are solved the same way, by plugging in a small external device that supplies a modern app platform through an HDMI port. This guide covers choosing the right device, dealing with sets that have no spare HDMI or no USB power, getting the network stable enough to stream cleanly, and fixing the audio and remote-control annoyances that usually appear afterwards.
What You Will Need
- A streaming stick or box that matches your TV’s resolution and your app requirements.
- A free HDMI port, or an HDMI switch if every port is already occupied.
- Power for the device: a USB port on the TV, or the supplied mains adapter.
- Your Wi-Fi network name and password, or an Ethernet cable if the TV sits near the router.
- Account logins for each streaming service you intend to use.
- Optionally an HDMI extender if the port is recessed against a wall.
Step 1: Audit What Your TV Actually Has
Before buying anything, get behind the set with a torch and write down what you find. Note how many HDMI ports there are, whether any are labelled ARC or eARC, whether there is a USB port and what it is rated at, and what audio outputs exist: optical, RCA analogue, or headphone. Also find the model number and check its native resolution, because there is no benefit in buying a 4K streaming device for a 1080p panel.
Two findings change your plan. If there is no USB port, you will power the streaming device from a wall socket instead. If there is no free HDMI port, you either need to displace something or add a switch. Neither is a serious obstacle, but both are easier to solve at the shopping stage than at the installation stage.
Step 2: Choose Between a Stick and a Box
Streaming sticks are thumb-sized, plug directly into HDMI, and draw power over USB. They are cheap, tidy and perfectly adequate for most viewing. Their drawbacks are physical: they can be a tight fit against a wall-mounted TV, and their small size limits Wi-Fi antenna performance, which matters if the router is far away.
Streaming boxes are larger units that sit on a shelf and connect with a full HDMI cable. They generally have faster processors, better Wi-Fi antennas, an Ethernet port, and sometimes storage expansion. If your TV is wall-mounted, your Wi-Fi is weak, or you want the snappiest interface, a box is the better buy. Otherwise a stick does the same job for less money.
Whichever you pick, check three things: that it supports the specific apps you actually use, that its maximum output resolution matches your panel, and that it still receives software updates. That last point is what killed the apps on your TV in the first place, and it will eventually kill an abandoned streaming device too.
Step 3: Connect the Hardware
- Power the TV off at the wall before working behind it, and give yourself room to see the port panel.
- Plug the device into HDMI. If the connector will not sit flush because the TV is close to the wall, use the short HDMI extender cable that most sticks include.
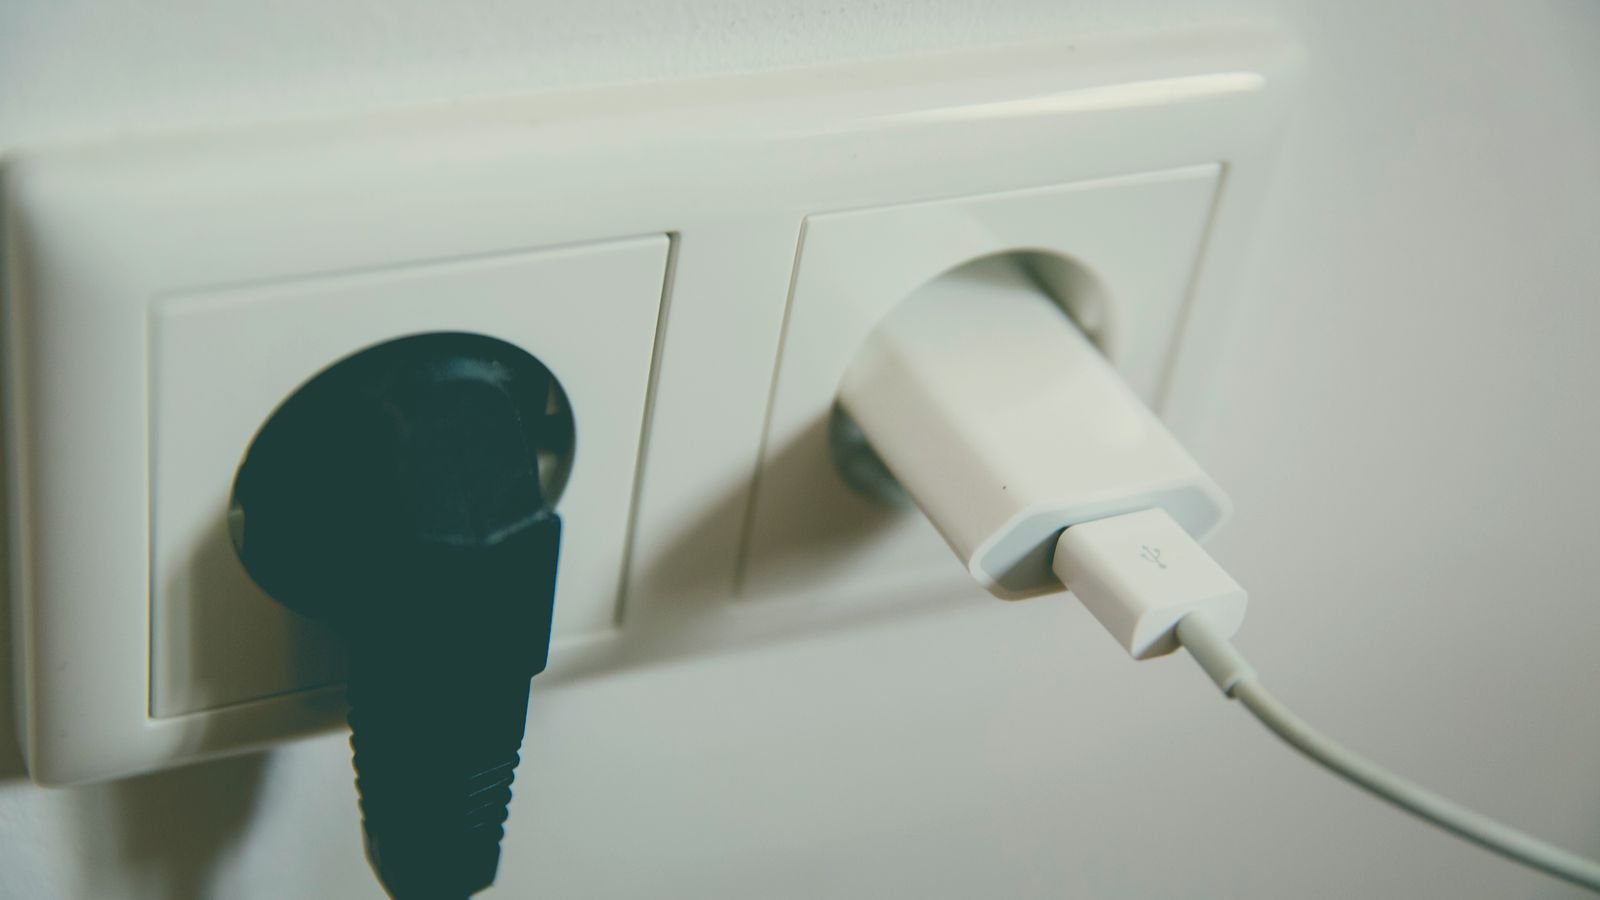
- Connect power. Use the TV’s USB port if it supplies enough current, or the supplied mains adapter if it does not. Underpowered sticks reboot randomly mid-episode, which is the classic symptom of borrowing power from a weak USB port.
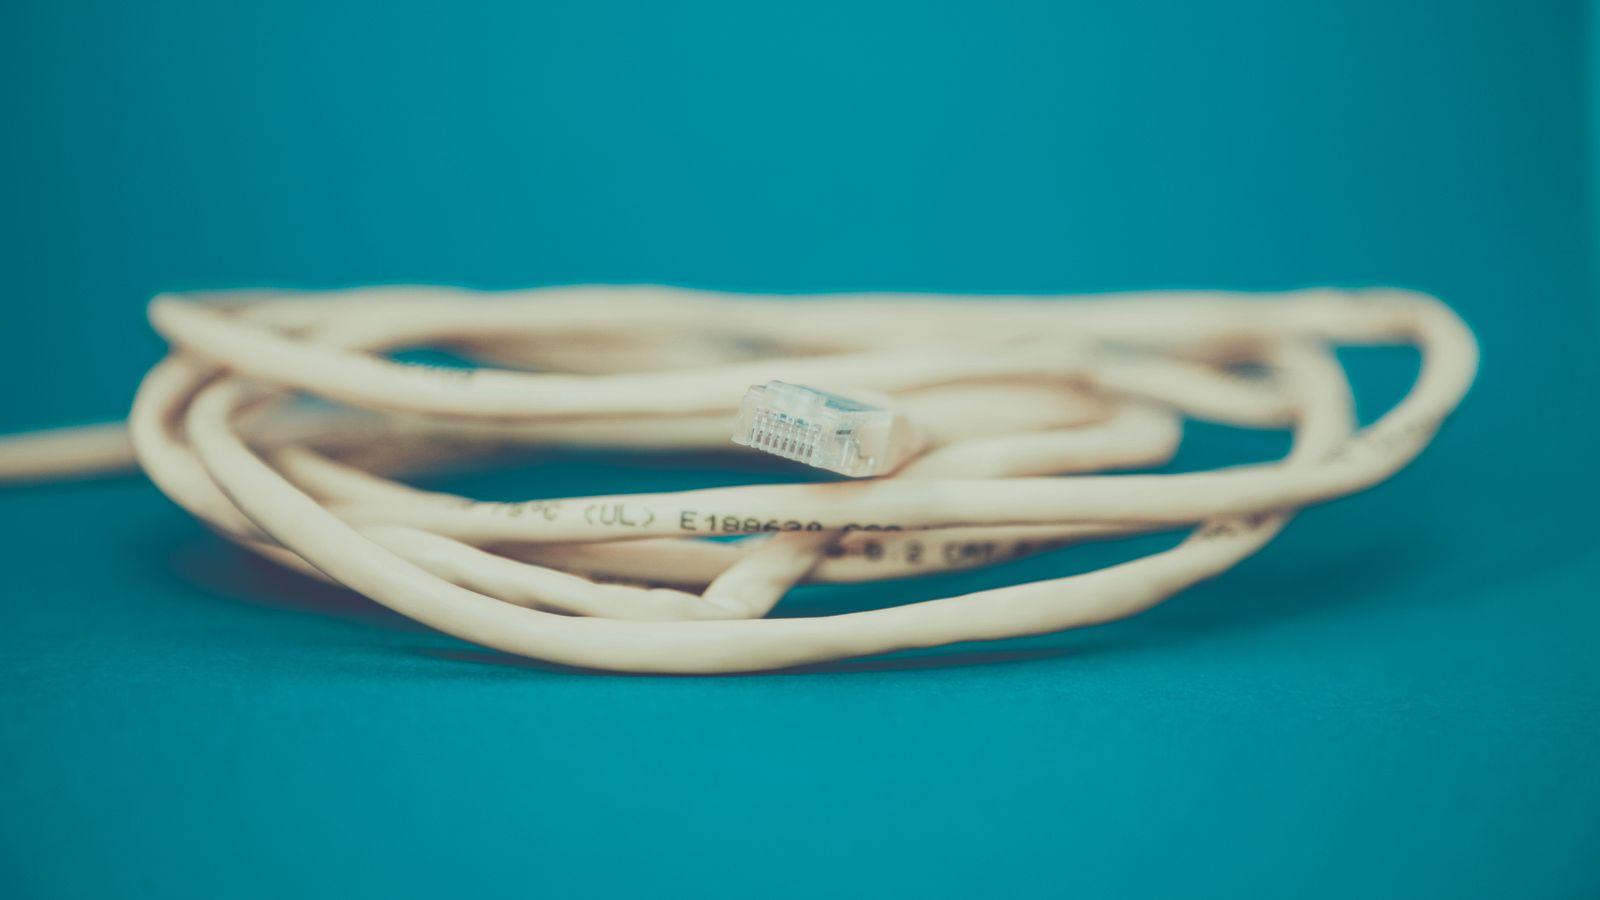
- Connect Ethernet if you can. A wired connection is the single most reliable improvement you can make to streaming quality.
- Power on and select the input. Use the TV’s source or input button to switch to the HDMI port you used, then follow the on-screen setup.
Step 4: Get Onto the Network Properly
During setup the device asks for your Wi-Fi. Choose the 5GHz band if both are offered and the router is reasonably close, since it is faster and less congested. Fall back to 2.4GHz only if the signal is weak through walls, because range matters more than raw speed once the signal is marginal.
If playback buffers or drops resolution, the problem is almost always the network rather than the streaming device. Older routers struggle when several devices stream at once, and many home setups have never been reviewed since the day the internet was installed. Our roundup of the best routers for 4K streaming explains the throughput and band-steering features that keep high-bitrate video stable across multiple rooms.
If the trouble is coverage rather than the router itself, the fix is layout and hardware placement. Our guide to building streaming optimized home networks covers mesh placement, channel selection and where a wired backhaul earns its keep, which is usually the cheapest fix for a TV at the far end of the house.
Step 5: Install and Sign Into Your Apps
- Sign into the device’s own account first, since that is what unlocks the app store and syncs your preferences.
- Install only the apps you use. A shorter home screen is faster to navigate and easier for other household members.
- Use each service’s on-screen activation code with a phone or laptop rather than typing passwords with a directional pad.
- Set the video quality per app if the option exists, capping it if your connection is limited or your data is metered.
- Arrange the apps in order of how often you use them, so the most-watched services sit first.
Step 6: Deal With Sound
Video now comes from the streaming device, which means audio does too. Most older TVs will simply play it through their own speakers, and if that has always been good enough, you are finished. If it has not, this is the moment to fix it, because you already have the panel open in your mind.
The simplest upgrade is a soundbar. Connect the streaming device to the soundbar’s HDMI input and the soundbar to the TV, or connect everything to the TV and use ARC if your set has it. Our comparison of the best soundbar speakers covers models that pair well with older sets, including options that work over optical output when HDMI ARC is not available.
If you would rather keep the bar off the furniture, or your set has only analogue outputs, a pair of powered stereo speakers is often clearer for dialogue than a budget bar. Our list of the best TV speakers groups options by the connection types older televisions actually provide.
Step 7: Tidy Up the Remote Situation
You now have two remotes, which is one more than anybody wants. Several fixes exist. Many TVs support HDMI-CEC, sold under a manufacturer-specific name in the settings menu, which lets the streaming remote control TV power and volume. Enable it on both devices and test.
If your TV predates CEC, most streaming remotes can be programmed with your TV’s infrared codes for power and volume during setup. Failing both, a universal remote or a phone app from the streaming platform will consolidate control. Whatever you choose, run through the process with everyone in the household once, because a setup only one person can operate is not really finished.
Troubleshooting Common Problems
- No signal on the HDMI input. Confirm you selected the correct input number, reseat the connector, and try a different port to rule out a failed one.
- Device reboots randomly. Almost always insufficient power. Move from the TV’s USB port to the mains adapter.
- Picture appears cropped or oversized. The TV is applying overscan. Look for a screen-fit, just-scan, or 1:1 pixel setting in the picture menu.
- Buffering or resolution dropping. Network limitation. Try Ethernet, move closer to the router, or switch bands.
- An app refuses to install. Some services withdraw support from older platforms. Check the app’s device compatibility list before assuming the hardware is faulty.
- No sound at all. Check the TV is not muted on that input and that the streaming device’s audio output format is set to a mode your TV can decode, such as stereo PCM.
Mistakes to Avoid
The biggest waste of money is buying a 4K streaming device for a 1080p television, which delivers no visible improvement. Close behind is powering a stick from a USB port that cannot supply enough current, then blaming the device for constant restarts. Another frequent error is buying based on brand loyalty without checking that your specific streaming services are supported on that platform. Finally, do not spend on a premium streaming box while leaving a decade-old router in place, because the network is what actually limits picture quality in most homes.
Frequently Asked Questions
Will this work on any TV with HDMI?
Yes. Any television with a working HDMI input can run a streaming stick or box, regardless of how old it is or whether it has any smart features of its own.
What if my TV has no HDMI port at all?
You will need an HDMI to composite or component converter, which works but limits you to standard definition. On a set that old, replacing it usually makes more sense.
Can I use the TV’s USB port for power?
Often, but not always. Many older TV USB ports supply limited current. If the device restarts or fails to boot, switch to the supplied wall adapter.
Do I need fast internet for this?
Around 5 Mbps handles reliable HD and roughly 25 Mbps covers 4K, but stability matters more than headline speed. A steady wired connection beats a faster but congested wireless one.
Is it worth upgrading the whole TV instead?
Only if the panel itself disappoints you. If the picture still looks good, a streaming device gives you a current app platform for a small fraction of the cost of a new set. If you are replacing it anyway for other reasons, our roundup of the best gaming TVs with smart features covers panels that combine modern apps with low input lag.
Final Thoughts
Adding streaming apps to an older television is one of the highest-value upgrades available, because it targets the only part of the set that has genuinely aged. Audit your ports first, match the device’s resolution to your panel rather than overbuying, give it proper power, and prefer a wired network connection wherever the layout allows. Then spend a few minutes on the parts people skip: fix overscan, sort out audio, and consolidate the remotes so everyone in the house can use it. Done properly, a set bought years ago will run the same apps as anything on the shop floor in 2026, and the money you saved is better spent on the network and speakers that actually change what you see and hear.