Owen Bradley
 If your home already has a wired doorbell, you have most of what a video doorbell needs: a low-voltage supply that never needs recharging, and a hole already drilled through the wall in exactly the right place. Wired installation is the better option wherever it is available — the camera stays powered continuously, it wakes instantly rather than after a battery-saving delay, and you never climb a ladder to charge it. The job takes about an hour, needs a screwdriver and a drill, and involves no mains wiring. Here is how to do it properly, including the transformer and chime details that trip most people up.
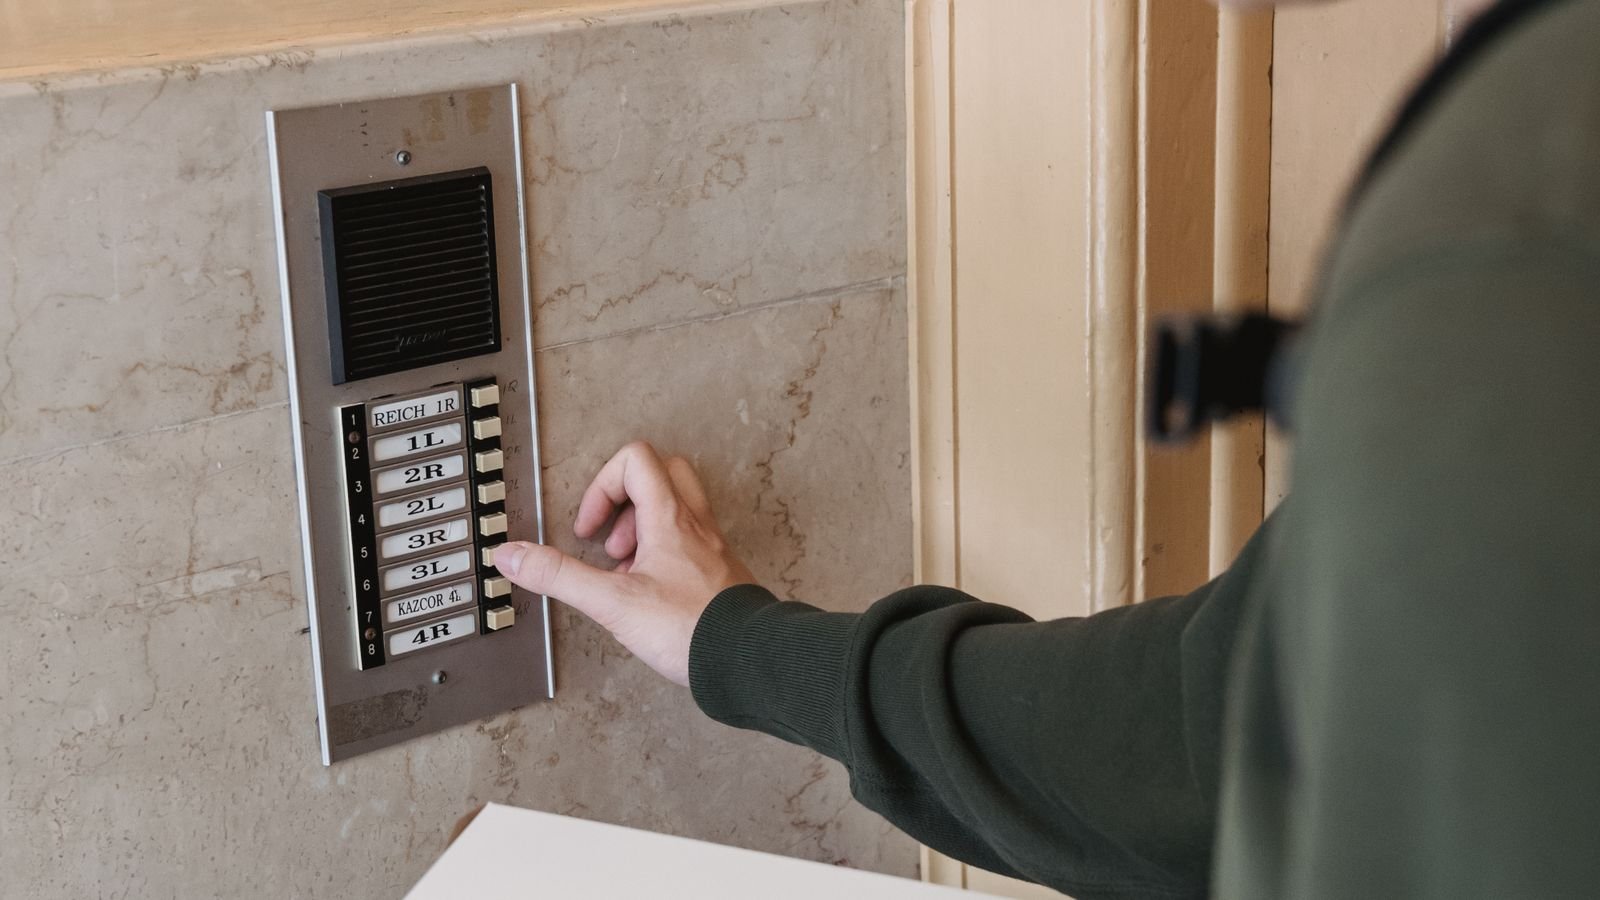
Check Your Existing System First
Three things determine whether your current wiring will work: voltage, transformer capacity, and chime type. Most video doorbells require somewhere between 8 and 24 volts AC, and many need at least 10 VA of transformer capacity. Older mechanical doorbell transformers are often rated 10 VA at 16 volts, which is adequate for many models but marginal for the power-hungry ones.
Find your transformer before buying. It is a small metal box usually mounted on the side of the consumer unit or breaker panel, in a basement, in an airing cupboard, or above a ceiling access hatch near the front door. The rating is printed on it — something like “16V 10VA” or “24V 40VA”. If your device needs more than the transformer supplies, the camera will boot-loop, drop offline, or fail to record reliably, and no amount of Wi-Fi troubleshooting will fix it. Upgrading the transformer is an inexpensive part but is mains-side work, so it is the one part of this job worth handing to an electrician if you are not confident.
Next, identify your chime. A mechanical chime uses a solenoid to strike metal bars and makes the classic ding-dong. A digital chime plays a recorded tone through a speaker. Most video doorbells include a small component — a diode or a resistor module, often called a power kit or chime kit — that must be fitted inside a digital chime, and sometimes inside a mechanical one, so the camera can draw continuous power without buzzing the chime constantly.
Tools and Parts
- Phillips and small flat screwdrivers, plus the security bit usually supplied with the doorbell.
- Drill with masonry or wood bits and the wall plugs supplied.
- A voltage tester or multimeter to confirm the wires are dead and later to check voltage.
- Wire strippers and a couple of small wire connectors.
- The mounting bracket, wedge or corner kit supplied with the device.
- Masking tape and a pencil for marking screw positions.
- A spirit level — a crooked doorbell is visible from the street forever.
- The power kit or diode included in the box, if your chime requires it.
Step-by-Step Installation
- Turn off the doorbell circuit at the breaker panel. Doorbell wiring is low voltage, but the transformer is fed from the mains, and you will be working inside the chime unit where that mains connection lives. Switch it off and verify with a tester.
- Remove the old doorbell button. Unscrew it and ease it away from the wall. Two thin wires will be attached to screw terminals on the back. Disconnect them and immediately tape them to the wall so they cannot slip back into the cavity — retrieving lost wires is the most frustrating part of this job.
- Test the voltage. Restore power briefly and touch a multimeter set to AC volts across the two wires. You should see roughly 16 volts. Anything under 8 means a transformer problem. Switch the power off again before continuing.
- Fit the chime kit if required. Open the chime cover. For a digital chime, connect the supplied diode or power module across the front and trans terminals as shown in the instructions, observing polarity if the component is a diode. For a mechanical chime, many modern doorbells need nothing here — check your model rather than assuming.
- Mount the bracket. Hold it against the wall at around 48 inches from the ground, feed the wires through the centre opening, level it, and mark the screw holes. Drill, insert wall plugs for masonry, and screw the bracket on. Use the angle wedge if the door is set back or the approach path is off to one side — getting the field of view right at this stage saves redoing it later.
- Connect the wires. Strip about a quarter inch of insulation if the ends look corroded, then attach one wire to each terminal on the back of the doorbell. On low-voltage AC it does not matter which wire goes to which terminal. Tighten the screws firmly and tug each wire to confirm.
- Tuck the wiring and seat the device. Push excess wire back into the wall cavity so nothing is pinched, then clip or screw the doorbell onto the bracket and fit the faceplate with the supplied security screw.
- Restore power and set the device up. Switch the breaker back on. The doorbell should light up and enter pairing mode. Follow the app to connect it to your 2.4 GHz Wi-Fi network — many doorbells do not support 5 GHz, and the signal at the front door is often weaker than you expect.
- Adjust the view and motion zones. Check the live feed and confirm the camera sees the doorstep and approach rather than the sky or the neighbour’s drive. Set activity zones to exclude the pavement and road so passing traffic does not generate constant alerts.
- Test everything. Press the button and confirm the indoor chime sounds and the app notifies. Have someone walk the approach to test motion detection. Check the night view after dark.
Common Problems and Their Causes
A chime that buzzes or hums continuously almost always means the required diode or power kit was not fitted, or was fitted to the wrong terminals. A doorbell that repeatedly restarts is an under-powered transformer, not a network fault. If the device works but the indoor chime never sounds, check that the chime type is correctly selected in the app settings — digital and mechanical behave differently and the wrong setting silences it.
Poor video quality or constant offline warnings usually come down to Wi-Fi signal at the front wall. Test the signal strength reading in the app; if it is weak, a mesh node or extender placed in the hallway nearest the door fixes it far more reliably than moving the router. Dark or washed-out images at certain times of day mean the camera is facing into the sun, which the angle wedge can partly correct.
Getting the Most From It Day to Day
Set up a package or person detection filter if the model offers one, so you are alerted to people rather than to every gust of wind. Enable pre-roll or pre-buffer recording if available — it captures the seconds before the trigger, which is often where the useful footage is. Add other household members to the app so calls are not missed when one phone is silenced.
A video doorbell also pairs naturally with keyless entry: seeing who is at the door and being able to let them in remotely turns two separate conveniences into one workflow. If you are planning that step, it is worth comparing the best digital door locks for compatibility with the doorbell ecosystem you have chosen, since integration quality varies a great deal between brands.
Maintenance and Weather
Wipe the lens every couple of months — dust, pollen and spider webs degrade image quality and trigger false motion at night when the infrared illuminates them. Check that the mounting screws remain tight after a season of temperature cycling. In very cold climates, confirm your model’s rated operating temperature; wired units generally cope better than battery ones because a cold battery loses capacity quickly.
Keep the firmware current through the app. Updates fix security vulnerabilities as well as adding features, and a camera facing the street is not something to leave running outdated software. Use a unique password and enable two-factor authentication on the account.
Frequently Asked Questions
Can I install a video doorbell on existing doorbell wiring?
Yes, in most homes. The existing two-wire low-voltage circuit is exactly what these devices are designed for, provided the transformer supplies the required voltage and VA rating.
Do I need an electrician?
Not for the doorbell itself — that is low-voltage work. You may want one if the transformer needs replacing or if there is no transformer at all, since that connection is on the mains side.
What if my transformer is too weak?
Replace it with one matching the doorbell’s requirement, commonly 16V at 30 VA. Symptoms of an undersized transformer are a camera that reboots repeatedly, drops offline under load, or fails to record video when the button is pressed.
Why does my chime buzz constantly after installation?
The supplied diode or power kit has not been fitted, or has been connected to the wrong terminals inside the chime. Fit it as instructed and the buzzing stops immediately.
Can I keep my existing indoor chime?
Usually yes. Both mechanical and digital chimes are supported by most video doorbells, as long as you install the correct power component and select the right chime type in the app settings.
Final Thoughts
Wiring a video doorbell into an existing circuit is one of the most straightforward smart home upgrades there is, and the wired version is meaningfully better than running on batteries. The only real preparation is checking your transformer rating and identifying your chime type before you buy. Get those two right, mount at roughly 48 inches with a level, fit the supplied chime kit, and the rest of the installation is a screwdriver and twenty minutes.