
 Owen Bradley
 Recessed lighting disappears into the ceiling, which is exactly why people choose it and exactly why choosing it is confusing. There is no fixture on display to judge, so the decision rests entirely on specifications: aperture size, housing type, insulation contact rating, trim style, beam angle, colour temperature and dimming compatibility. Get them right and the ceiling reads as clean and deliberate. Get them wrong and you end up with a grid of glaring holes, uneven pools of light on the floor, and a room that feels like a corridor in an office block. This guide explains every decision in order.
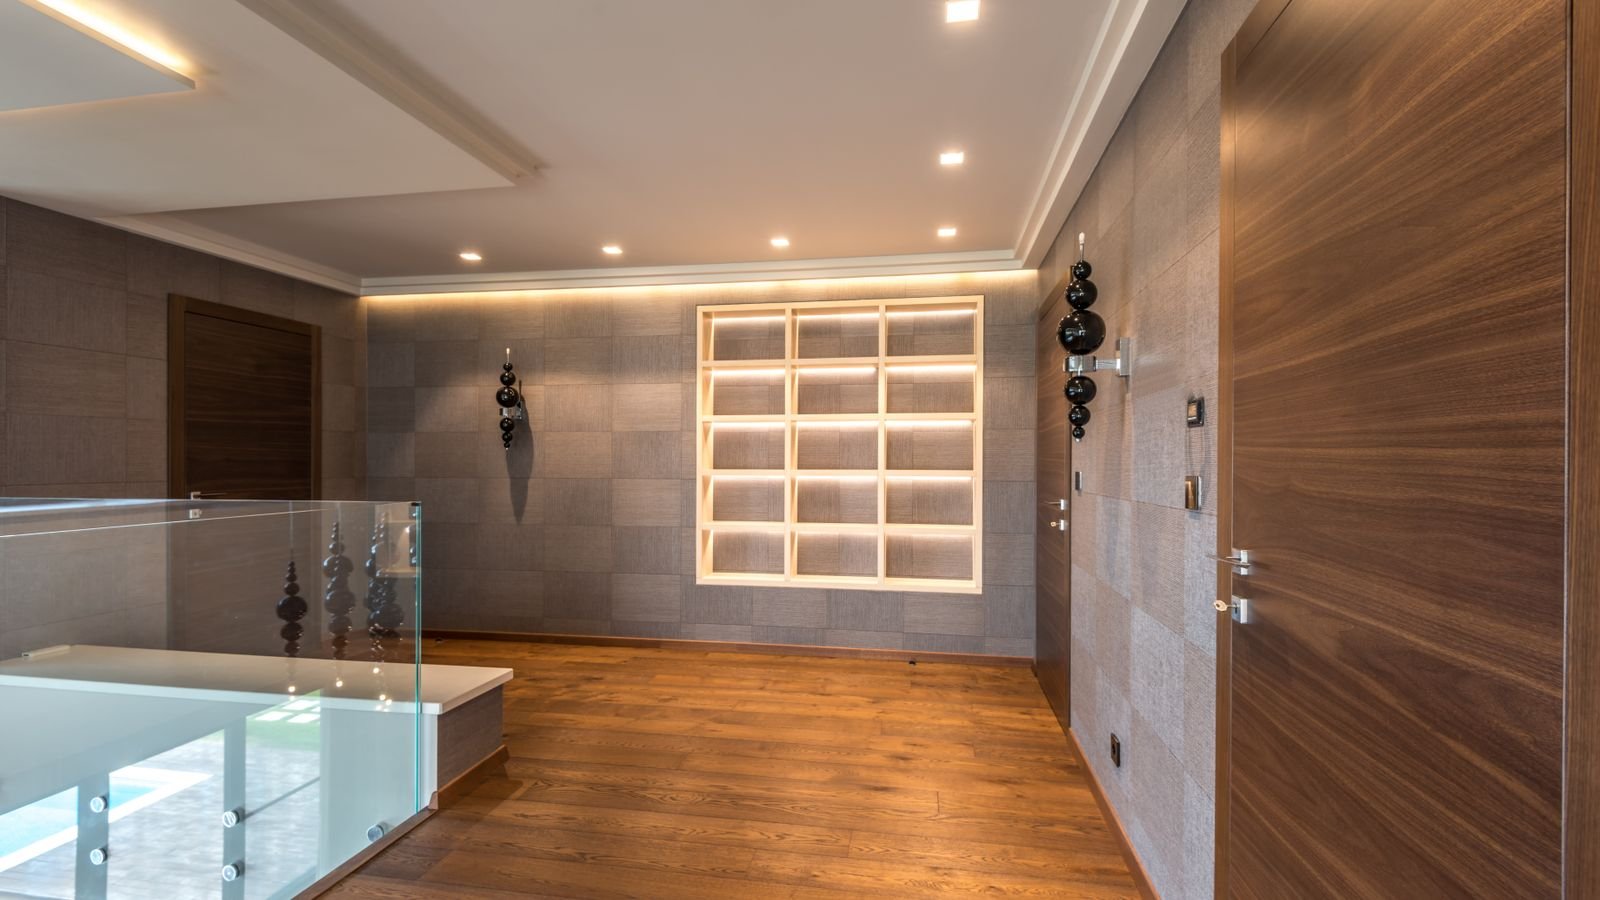
Can Size: Aperture and Where It Matters
Recessed lights are described by their aperture, the diameter of the visible opening in the ceiling. This is the number that most affects both appearance and light distribution.
- 2 inch: very discreet accent lighting, display niches, tight detailing. Low output each, so you need many.
- 3 inch: accent and task lighting in small rooms, hallways, above counters. Minimal ceiling presence.
- 4 inch: the modern default for general lighting in most homes. Clean look, ample output, forgiving spacing.
- 5 inch: broader coverage from fewer fittings, common in older installations.
- 6 inch: traditional size, high output, but visually heavy on an ordinary ceiling and increasingly dated in appearance.
The trend has moved decisively toward smaller apertures. A 4 inch fitting today produces as much light as a 6 inch one did a decade ago, because LED efficiency improved and the housing no longer needs volume for a hot lamp. Smaller apertures also look more intentional, particularly on 8 or 9 foot ceilings where a row of 6 inch cans reads as heavy.
Size and ceiling height interact. On a standard 8 foot ceiling, 3 or 4 inch fittings usually suit. On 10 feet or higher, larger apertures with tighter beam angles push light down effectively. The roundup of the best recessed lighting options covers how aperture, output and beam interact.
Housing Types: Can, Canless and Retrofit
Traditional recessed lights use a metal housing, the can, installed in the ceiling cavity with a lamp fitted inside it. New-construction housings mount to joists before drywall goes up. Remodel housings clip to the drywall itself and are used when the ceiling is already finished. Cans give you flexibility, since the trim and lamp can be changed later, and they remain the right choice where you may want to alter the look over time. The guide to can lights covers housing depths and joist clearances.
Canless fittings are a thin LED module with a junction box on a short lead. You cut a hole, connect the wiring, push spring clips through and the fitting sits flush. They install faster, fit in shallow cavities where a can will not go, weigh far less and often cost less. The trade-off is that the LED is integrated, so when it fails the whole unit is replaced, and trim options are limited to what the manufacturer offers. The comparison of canless recessed lighting covers where this suits and where it does not.
Retrofit modules are the third path: an LED disc that screws into an existing can’s lamp socket, converting old halogen or incandescent cans to LED without touching the ceiling. This is by far the cheapest way to modernise an existing installation, and the roundup of retrofit LED can lights covers compatibility with common can sizes.
IC Rating and Airtight Construction
Two ratings on the housing matter more than anything else on the box for safety and efficiency. IC rated means the fitting may be in direct contact with insulation. Non-IC housings require a clearance of at least 3 inches from insulation, which is impossible to guarantee in an insulated attic and is a genuine fire risk if ignored.
Airtight, sometimes labelled AT, means the fitting is sealed against air movement between the room and the cavity above. In a ceiling below an unconditioned attic, a dozen non-airtight cans behave like a dozen small chimneys, drawing heated air out of the room in winter. Choosing IC-rated airtight fittings costs marginally more and pays back in comfort and energy use. For any ceiling with insulation above it, treat both ratings as non-negotiable.
Trim Types and What They Change
Trim is the visible ring and the reflector behind it. It controls glare, beam shape and how the fitting reads from below.
- Baffle trim: ridged black or white interior that absorbs stray light and reduces glare. The best all-round choice for living rooms and bedrooms.
- Reflector trim: smooth polished interior that maximises output. Suits kitchens and high ceilings where brightness matters more than glare control.
- Adjustable or gimbal trim: the lamp tilts, typically up to 35 degrees, to aim light at artwork, a wall or a sloped ceiling.
- Wall wash trim: a shield directs light sideways to graze a wall evenly, excellent for bookcases and feature walls.
- Shower trim: sealed lens, wet-location rated, mandatory directly above a shower or tub.
- Pinhole and slot trims: tiny apertures for tightly controlled accent beams.
- Trimless: plastered flush into the ceiling for an invisible edge, at higher installation cost.
Trim colour matters too. A white trim disappears against a white ceiling; a black baffle reads as a dark dot but almost eliminates glare, which is why it is favoured in media rooms.
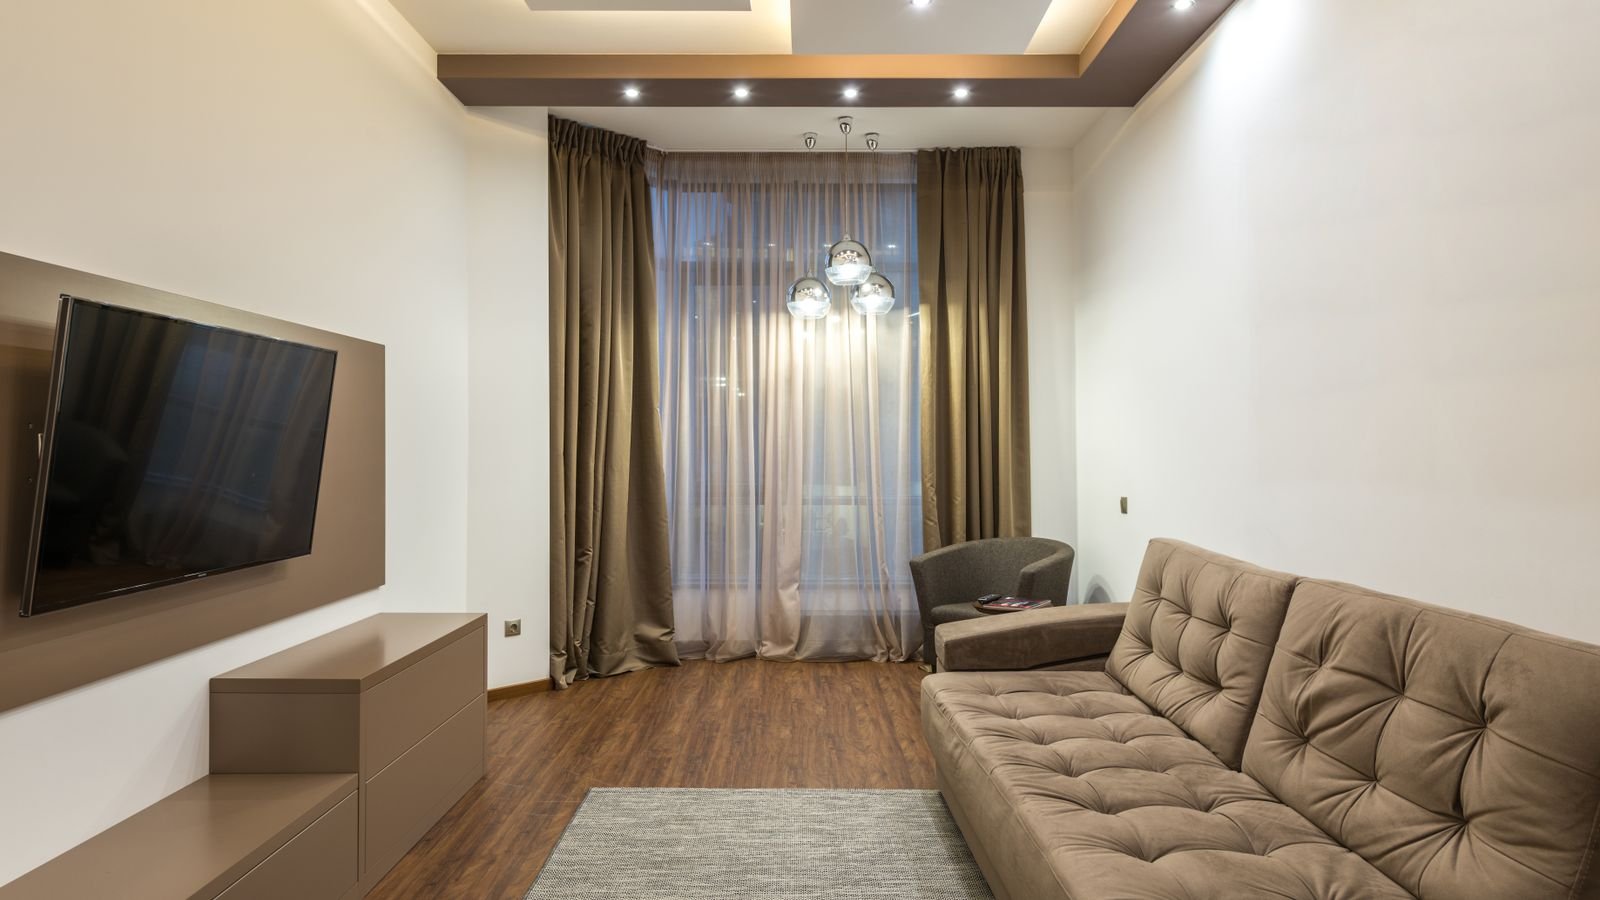
Layout: Spacing and Placement
Poor layout ruins good fittings. The usual starting rule is to divide ceiling height by two to get the spacing between fittings: an 8 foot ceiling suggests roughly 4 feet apart, a 10 foot ceiling roughly 5 feet.
- Keep fittings at least 18 to 24 inches away from walls to avoid harsh scalloping, unless you are deliberately wall washing.
- Over a kitchen counter, place fittings about 24 inches out from the wall so your body does not block the light.
- Do not centre a fitting where a ceiling fan will be, and check the swept blade circle for shadow flicker.
- Plan around joists, ducts and pipes before finalising positions.
- Group fittings onto separate switched circuits by function rather than by ceiling geometry.
- Resist the urge to add more fittings than the room needs; too many produces a flat, airport-terminal effect.
Kitchens carry the highest fitting density because they are working rooms, and the guide to recessed lighting for kitchen layouts covers counter alignment and island placement. Bathrooms need the added complication of wet ratings above showers, which the roundup of recessed lighting for bathrooms addresses.
Light Quality and Dimming
Beam angle determines the shape of the pool of light. Narrow beams around 25 degrees suit accent work and high ceilings. Wide beams of 60 degrees or more give even general coverage and overlap comfortably at normal spacing. Mixing them deliberately is fine; mixing them by accident produces uneven brightness across a ceiling.
Colour temperature should follow the room: 2700K for living and sleeping spaces, 3000K for kitchens and bathrooms, 4000K for garages and workshops. Many modern fittings include a selectable switch offering several temperatures, which is useful but must be set consistently across every fitting before installation, since reaching a switch afterwards means pulling the light out of the ceiling.
CRI should be 90 or above in kitchens and bathrooms. Dimming is where most complaints originate: an integrated LED downlight needs an LED-compatible trailing-edge dimmer, and the whole circuit should use identical fittings. Mixing brands on one dimmer reliably produces flicker at the low end. The comparison of dimmable LED recessed lights covers which models dim smoothly to low levels rather than dropping out.
Mistakes to Avoid
- Installing non-IC housings in an insulated ceiling.
- Choosing 6 inch cans out of habit on a standard-height ceiling.
- Spacing fittings evenly across a ceiling without regard for what is beneath them.
- Using a standard trim above a shower instead of a wet-rated one.
- Pairing integrated LED fittings with an old incandescent dimmer.
- Forgetting to set selectable colour temperature switches before fitting.
- Treating recessed lighting as the room’s only layer, with no lamps or task lighting.
Frequently Asked Questions
How many recessed lights does a room need?
Work from lumens rather than fitting count. Multiply floor area by 20 lumens per square foot for a living room or 40 for a kitchen, then divide by the output of one fitting. Check the result against the spacing rule and adjust.
Are canless lights as good as traditional cans?
For most homes, yes, and they install far faster. Cans retain the advantage where you want to change trims later or replace lamps individually rather than the whole unit.
Can I put recessed lights in a sloped ceiling?
Yes, using either a sloped-ceiling housing or an adjustable gimbal trim to aim the beam downward. A standard fitting in a sloped ceiling throws light at an angle across the room.
What size aperture should I choose?
4 inch suits most modern homes for general lighting. Drop to 3 inch for accent work or small rooms, and consider 6 inch only for high ceilings or when matching an existing installation.
Why do my recessed lights flicker when dimmed?
Almost always a dimmer incompatibility. Fit an LED-rated trailing-edge dimmer, check it against the manufacturer’s compatibility list, and make sure every fitting on the circuit is the same model.
Final Thoughts
Recessed lighting rewards planning far more than spending. Decide the aperture based on ceiling height and the look you want, choose IC-rated airtight housings wherever insulation is present, pick trims by the job each fitting has to do, and lay them out around the room’s furniture and work surfaces rather than by ceiling symmetry. Add a compatible dimmer and a consistent colour temperature, and the ceiling will do its job quietly, which for recessed lighting is the whole ambition.









