Owen Bradley
 Outlets are the cheapest part of a renovation and the one people regret most. Once the drywall is up, adding a socket where you actually needed one becomes a genuinely disruptive job, and every homeowner who has run an extension lead across a room for five years knows exactly how that mistake feels. Choosing outlets during a renovation is a planning exercise as much as a shopping one: how many, where, what type, and to what standard. This guide covers all four so the electrical layout you finish with is the one you would have designed after living in the house rather than before.
Start With How the Room Will Be Used
Codes set minimums, not sensible layouts. A room that meets the letter of the regulations can still be miserable to live in if the sockets sit behind the sofa. Before choosing any hardware, sketch each room with the furniture in place, then mark every device that will need power. Include the things people forget: floor lamps, a vacuum charging dock, seasonal decorations, a robot vacuum base, a laptop on the dining table, and the fan that only comes out in August.
Then double it. Almost every household adds devices over a renovation’s lifetime, and the marginal cost of an extra outlet while the walls are open is small. It is the single best value decision in the entire electrical scope, and the one homeowners most consistently underspend on.
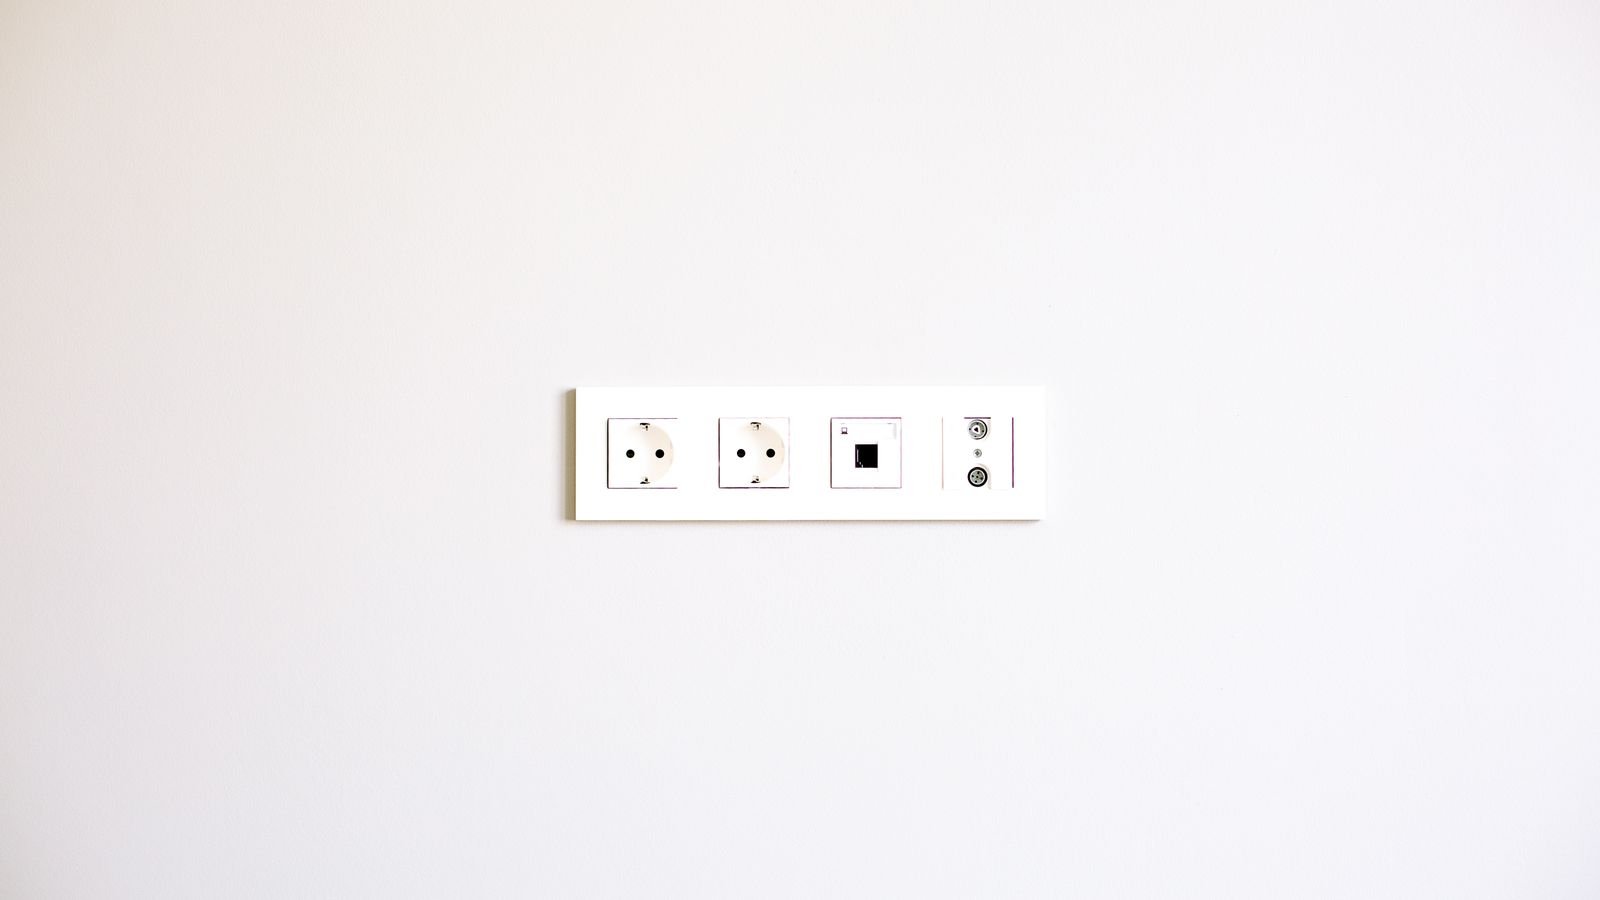
Outlet Types and What Each Is For
- Standard duplex: the ordinary two-socket receptacle. Fine for general-purpose rooms and the cheapest per point.
- GFCI or RCD-protected: cuts power on detecting a ground fault. Required near water, so kitchens, bathrooms, laundry rooms, garages, and all exterior positions.
- AFCI: detects arcing faults in damaged wiring, a common ignition source. Required for bedrooms and living areas in many jurisdictions.
- Tamper-resistant: internal shutters that only retract under simultaneous two-pin pressure. Now standard in most residential codes and worth fitting universally, not just in children’s rooms.
- USB-integrated: built-in charging ports that free the sockets for other things. Excellent bedside and at desks.
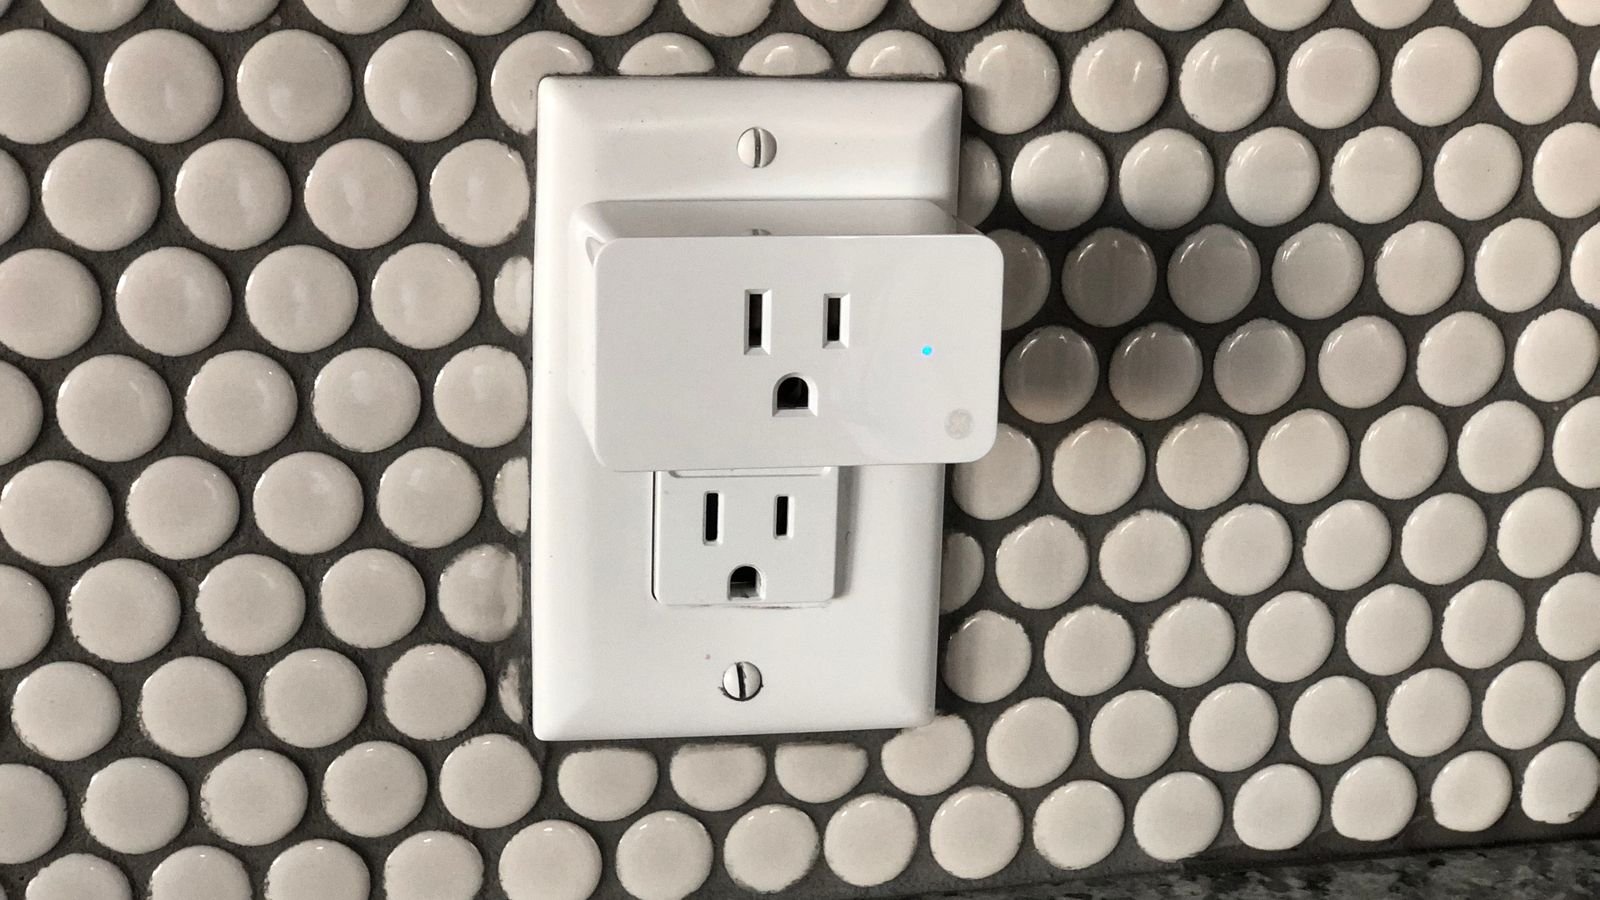
- Smart outlets: app and voice controlled, sometimes with energy monitoring. Best deployed selectively rather than everywhere.
- Weather-resistant: corrosion-protected contacts and an in-use cover. Mandatory outdoors.
For the general-purpose points that make up the bulk of any renovation, comparing the best power outlets on contact quality and grip retention pays off, because cheap receptacles loosen and stop holding plugs within a few years.
Grade Matters More Than Brand
Receptacles come in residential, commercial, and hospital grades, and the difference is mechanical rather than electrical. Residential grade uses thinner contact metal that relaxes over time, which is why a plug eventually hangs half out of the wall. Commercial grade uses heavier brass contacts and a more robust body, holding plugs firmly for decades.
The price gap per outlet is small. Across a whole house it adds up to a modest sum against the total renovation, and it eliminates the most common long-term annoyance. Fit commercial grade anywhere plugs are inserted and removed frequently, which realistically means kitchens, workshops, bedside tables, and anywhere a vacuum gets plugged in. Our comparison of the best outlets for home use breaks down where the extra grade is worth paying for.
Room-by-Room Planning
- Kitchen: the highest density in the house. Plan dedicated circuits for large appliances, GFCI protection on all counter positions, and outlets spaced so no point on a worktop is far from power. Consider one inside a cabinet for a charging drawer.
- Living room: outlets on every wall, plus a pair behind the television location and one in the floor if a sofa floats away from the walls. Floor boxes are far easier now than later.
- Bedrooms: two outlets per bedside, ideally one with integrated USB. Add one at desk height if the room doubles as an office.
- Bathroom: GFCI protected, positioned away from the basin and shower per local rules, with one near the mirror for grooming appliances.
- Hallways and stairs: at least one per landing for vacuums and nightlights. Frequently omitted and always missed.
- Garage and workshop: generous spacing at bench height rather than floor level, a ceiling outlet for a door opener, and dedicated circuits for heavy tools.
- Outdoors: weather-resistant and GFCI protected, one per elevation, with an in-use cover that closes over a plugged-in cord. See the best outdoor outlets for suitable weather-resistant models.
Height, Spacing, and Accessibility
Standard outlet height puts the box roughly 12 to 18 inches above the finished floor, but the standard is not always the right answer. Raising outlets to around 18 inches makes them far easier to reach for anyone with limited mobility and is a small accessibility improvement with no downside. In kitchens, counter outlets sit above the worktop backsplash, typically 4 to 6 inches up.
Spacing rules usually require that no point along a wall is more than a set distance from an outlet, which in practice means one every 12 feet or so. Treat that as a floor rather than a target. Also plan around furniture: an outlet centred on the wall where the bed headboard will sit is a wasted outlet, and moving it a foot either side costs nothing at the planning stage.
USB, Charging, and Future-Proofing
Built-in USB outlets are convenient, but they age faster than the receptacle around them. Charging standards move, and a socket with older ports may deliver too little power for a laptop in a few years. There are two sensible responses. Install USB outlets only where they are genuinely useful, such as bedsides and desks, and choose models with USB-C Power Delivery rather than legacy ports alone; the best USB-C outlets comparison covers the wattage differences that matter.
For everywhere else, plain sockets plus a replaceable charger is the more future-proof arrangement, because the charger can be swapped in seconds while the outlet cannot. It is also worth running conduit or at least a draw string to a few key locations during the renovation, which makes future cabling for networking, speakers, or a wall-mounted display far easier.
Smart Outlets: Where They Earn Their Place
Fitting smart receptacles throughout a house is expensive and largely wasted, because most sockets are used for things that are never switched. They are worth it in specific spots: lamps that should follow a schedule, outdoor sockets driving seasonal lighting, an outlet for a coffee maker, and anywhere energy monitoring will tell you something useful. The best smart wall outlets guide covers in-wall models specifically.
Practical considerations matter during a renovation. Smart receptacles are physically deeper than standard ones, so specify deeper back boxes at those positions. They also require a neutral conductor, which receptacle boxes normally have. And they depend on Wi-Fi or a hub radio, so verify signal coverage at the intended locations while the walls are still open and a mesh node can still be wired in.
Circuits, Load, and the Panel
Outlets are only the visible end of a circuit. A renovation is the right moment to reassess whether the panel has capacity, whether circuits are sensibly divided, and whether anything is sharing that should not be. General principles worth discussing with your electrician include separating kitchen appliance circuits from general lighting, giving high-draw equipment its own run, avoiding excessively long circuits that suffer voltage drop, and leaving spare breaker positions for future additions such as vehicle charging.
Label the panel properly while everything is fresh. A clear, accurate schedule saves an enormous amount of time for every subsequent piece of work, and it is almost always the thing that gets rushed at the end of a project.
Common Renovation Mistakes
- Planning to code minimums. Codes define safety, not convenience. Add generously.
- Forgetting furniture positions. Sockets behind large fixed items are effectively not there.
- Using residential grade everywhere. The saving is trivial and the loose-plug problem is permanent.
- Skipping outdoor and hallway outlets. These are the two most commonly omitted and most commonly regretted.
- Standard-depth boxes for smart devices. A deeper box costs almost nothing during rough-in and is impossible to change later.
- No spare capacity at the panel. Future upgrades then require a much larger project.
- Doing regulated work yourself. Rules on permitted DIY electrical work vary widely, and unpermitted work can complicate insurance and resale.
Frequently Asked Questions
How many outlets should a bedroom have?
Four to six is comfortable for a modern bedroom: two per bedside, one for a desk or dresser, and one spare for a vacuum or fan. Codes usually require fewer.
Are USB outlets worth installing?
In targeted locations, yes. Choose USB-C Power Delivery models and avoid fitting them house-wide, since charging standards will change before the receptacles wear out.
Do I need GFCI protection everywhere?
No, but you do need it anywhere near water and outdoors. Requirements vary by jurisdiction and have broadened over time, so check current local rules rather than older habits.
Should every outlet be smart?
No. Most sockets power devices that are never switched. Fit smart receptacles selectively where scheduling, remote control, or energy monitoring adds real value.
Can I add outlets without opening the walls?
Sometimes, by extending from an existing box or fishing cable through a cavity. It is far more disruptive and expensive than planning them during the renovation.
Final Thoughts
The outlets in a renovation cost very little and shape daily life for decades. Plan from furniture layouts rather than from code minimums, add more than you think you need, use commercial-grade receptacles anywhere plugs move, and put protection where water and arcing risks live. Reserve smart outlets and USB integration for the specific places they help, specify deeper boxes there, and leave both panel capacity and a few draw strings for whatever you have not thought of yet. That last part is the real goal: a layout that still makes sense in ten years, when the room is furnished differently and the devices have all changed.