
 Owen Bradley
 A timer switch is one of the cheapest upgrades you can make to a home. Swap a plain toggle for a timer and a bathroom fan stops running all night, a porch light comes on at dusk without anyone touching it, and a closet light shuts itself off after ten minutes. The wiring is genuinely simple in most cases, but timer switches differ from ordinary switches in one important way: nearly all of them need a neutral wire to power their internal electronics. That single detail decides whether your project takes twenty minutes or turns into a bigger job. This guide walks through checking your box, shutting off power safely, identifying line and load, wiring the timer to an existing light fixture, and programming it so it behaves the way you expect.
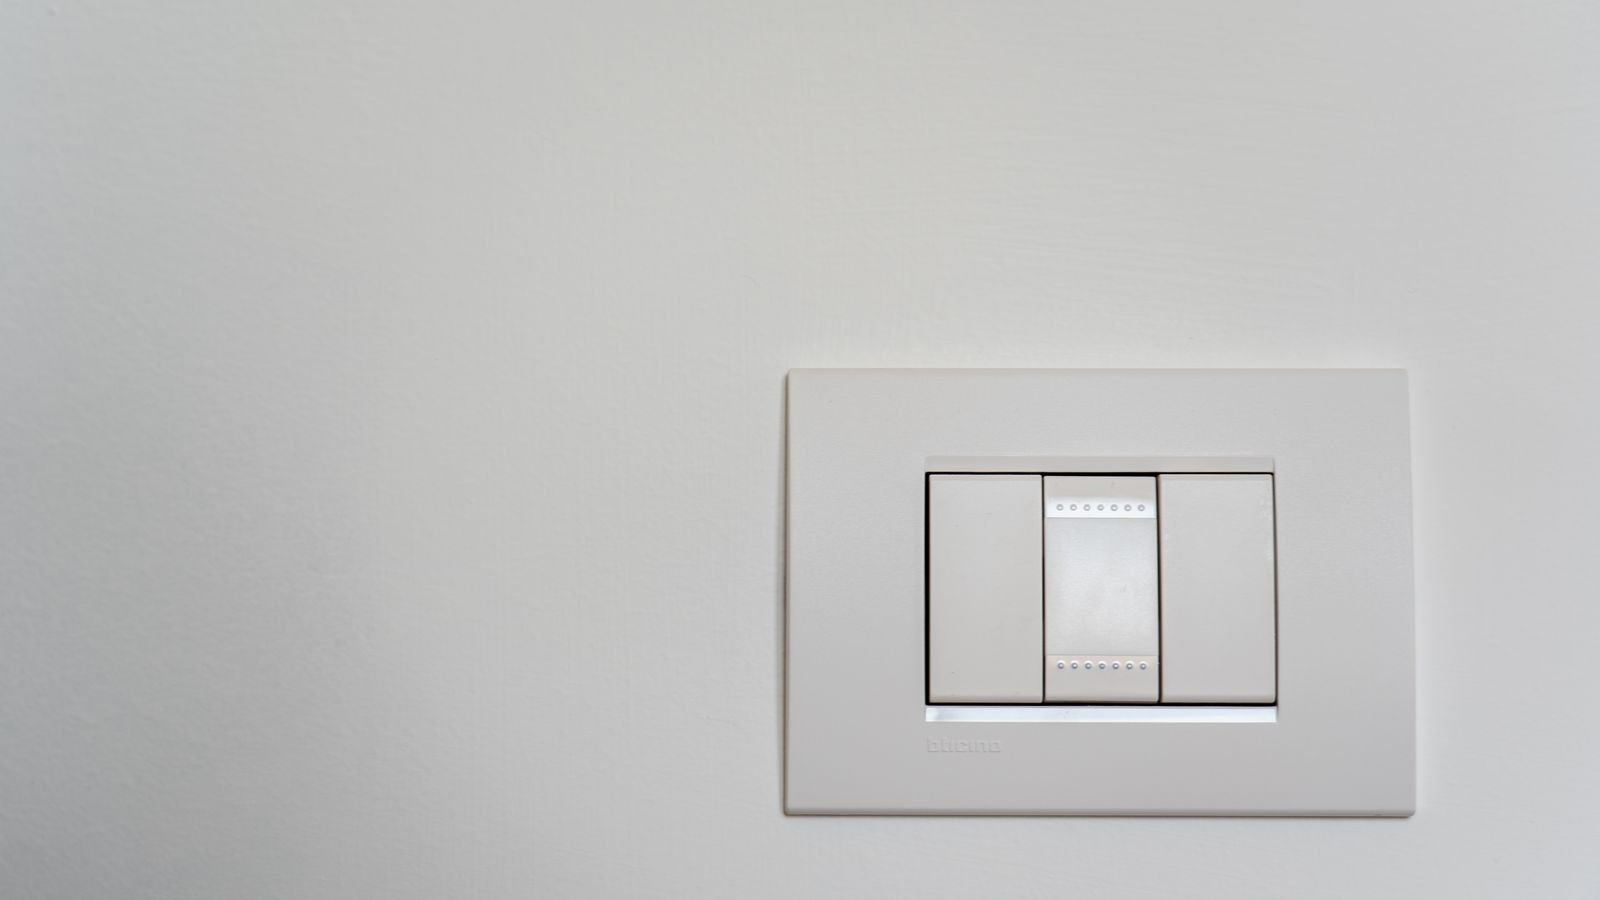
Understand What Kind of Timer Switch You Have
Before touching a screwdriver, know which category your timer falls into, because the wiring differs.
- Spring-wound mechanical timers use a wind-up dial and no electronics at all. They usually need only line and load — no neutral. They are ideal for bathroom fans and heat lamps.
- Digital countdown timers give you preset intervals like 5, 15, 30, and 60 minutes at the press of a button. Most require a neutral.
- Astronomical/7-day programmable timers track sunrise and sunset for your location and follow a weekly schedule. These always need a neutral and often a ground.
- Smart Wi-Fi timers add app scheduling and voice control. Neutral required, without exception in practice.
If you are still choosing hardware, compare the feature sets among the best light switch timers so you buy one that matches both your fixture and the wiring you actually have in the wall.
Tools and Materials You Will Need
- Non-contact voltage tester (the single most important item on this list)
- Insulated flat-head and Phillips screwdrivers
- Wire strippers rated for 12 and 14 AWG
- Needle-nose pliers
- Wire connectors in the sizes supplied with the timer, plus a few spares
- Electrical tape and a marker or label tape
- A flashlight or headlamp — you will be working with the power off
- Your phone, for photographing the existing wiring before you disturb it
Step-by-Step: Wiring the Timer Switch
- Turn off the breaker. Find the circuit that feeds the fixture and switch it off at the panel. Flip the wall switch on and confirm the light stays dark. Put a piece of tape over the breaker so nobody restores it while your hands are inside the box.
- Verify the box is dead. Remove the cover plate and hold a non-contact voltage tester against each wire and terminal. Test the tester on a known live outlet first so you know it is working. Never rely on the light being off as proof.
- Photograph everything. Before loosening a single screw, take two or three clear photos of the existing switch and its connections. This is your reference if anything gets confusing later.
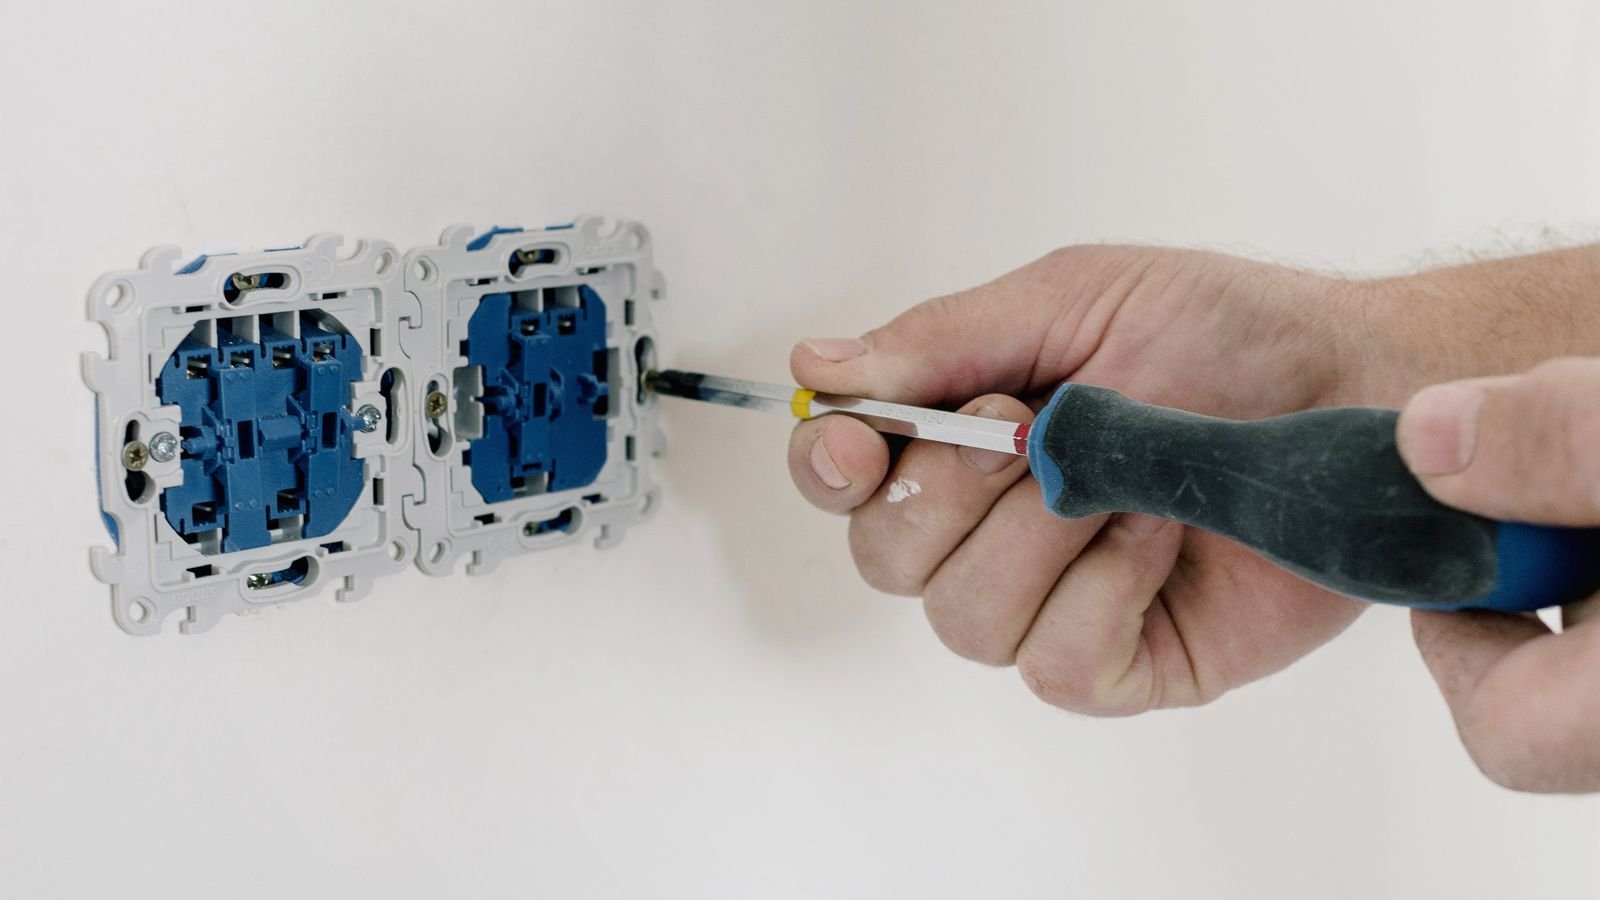
- Pull the old switch out. Remove the two mounting screws and gently draw the switch forward out of the box. Do not tug; ease it out so the conductors stay in their original loops.
- Identify line, load, neutral, and ground. The line (hot) wire brings power in from the panel. The load carries power out to the fixture. Both are usually black. Neutrals are white and are typically bundled together with a connector at the back of the box. Ground is bare copper or green. If you cannot tell line from load, label both, restore power with the switch removed and wires safely separated, and touch a voltage tester to each: the one that reads live is line. Shut the breaker off again before continuing.
- Confirm a neutral is present. Look for a bundle of white wires capped in the back of the box. If there is no neutral at all, you cannot use a digital or smart timer here — either choose a mechanical spring-wound model or have an electrician run a neutral.
- Strip and prepare the conductors. Trim any nicked ends and strip roughly 3/4 inch of fresh insulation. Clean copper makes a far better connection than reused, oxidized ends.
- Connect the timer. Follow the manufacturer’s labels, which are printed on the timer’s leads or terminals. The standard arrangement is: timer LINE to the incoming hot, timer LOAD to the wire running to the fixture, timer NEUTRAL to the white bundle, and timer GROUND to the bare copper. Twist each pair clockwise and cap it firmly, then tug on each conductor to confirm nothing slips out.
- Fold the wires back in. Accordion-fold the conductors behind the timer body rather than cramming them. Timers are deeper than ordinary switches and box space is often tight. Seat the timer square in the box and drive the mounting screws until snug, not crushing.
- Restore power and test. Turn the breaker back on. The timer’s display should light or its indicator should glow. Press the manual on/off button and confirm the fixture responds instantly. Only after that should you attach the cover plate.
- Program the schedule. Set the clock, date, and time zone first — an astronomical timer cannot calculate sunset correctly without them. Then enter your on/off events, and set a random or vacation mode if the model offers one.
Special Cases: Three-Way and Multi-Gang Boxes
If the fixture is controlled from two locations, you have a three-way circuit, recognizable by a switch with three brass or black terminals plus a ground. Most timers are single-pole only. Some models support three-way operation but require the timer at one location and a compatible companion switch or a plain three-way switch at the other. Read the instructions before assuming your timer can do it, and always mark the common (dark-colored) terminal wire before disconnecting it, because the travelers are interchangeable but the common is not.
In a multi-gang box shared with other switches, watch the physical width of the timer. Digital timers are frequently wider than a standard toggle and can crowd a neighboring device, and the extra heat from several devices in one box is another reason not to overstuff it.
Safety Rules Worth Repeating
- Work only on a de-energized circuit that you have tested, not merely switched off.
- Never connect a timer’s load side to a fixture whose wattage exceeds the timer’s rating. Incandescent, LED, and motor loads often carry different maximums on the same device — a timer rated for 600W incandescent may be rated for only 150W of LED.
- Do not put a fan on a timer designed strictly for lighting. Motor loads generate inductive kickback that lighting-only timers are not built to switch.
- Keep the ground connected. It is not optional, and metal boxes require bonding as well.
- If the box is a shallow pancake box, if the wiring is cloth-insulated knob-and-tube, or if you find aluminum branch wiring, stop and call a licensed electrician.
Common Mistakes That Cause Callbacks
Swapping line and load. Digital timers will not power up, or will behave erratically, if the feed and the fixture are reversed. If the display is dead after installation, this is the first thing to check.
Assuming a white wire is neutral. In switch loops, an older installation may use a white conductor as a hot, sometimes marked with black tape and sometimes not marked at all. Test rather than assume.
Forgetting the clock. A timer with the wrong time or the wrong date will run a perfectly correct schedule at completely the wrong hours. Daylight saving settings matter too.
Overfilling the box. Cramming conductors can loosen a connector or pinch insulation. If everything will not fit comfortably, use a box extender rather than forcing the timer flush.
Pairing an LED fixture with a timer that leaks current. Some no-neutral timers pass a tiny current through the load to stay powered, which makes LED bulbs glow faintly or flicker when off. A neutral-required timer eliminates that behavior.
Testing and Fine-Tuning the Schedule
Do not walk away after the first successful button press. Set a test event two or three minutes into the future and watch the fixture switch on and off on its own. Then confirm the manual override works and, importantly, that the timer returns to its schedule afterward rather than staying overridden indefinitely.
Give the installation a full week before deciding the settings are right. Outdoor lights on astronomical mode shift a minute or two each day as sunset moves, and you may want an offset of fifteen or twenty minutes after dusk rather than exactly at it. For bathroom fans, run the countdown longer than feels necessary — twenty to thirty minutes after a shower is what actually clears humidity from the room.
Frequently Asked Questions
Can I install a timer switch without a neutral wire?
Only with a mechanical spring-wound timer, which needs no standby power. Every digital, programmable, and Wi-Fi timer needs a neutral to run its clock and radio.
Why does my LED bulb glow dimly when the timer is off?
The timer is drawing a small leakage current through the bulb. Fix it by using a neutral-required timer, or by adding a load-correction device rated for the fixture.
Do I need to turn off the whole panel?
No. Turning off the single breaker feeding that circuit is sufficient, provided you verify with a tester that the box is actually dead. Some boxes contain conductors from more than one circuit, which is exactly why you test every wire.
Can one timer control several light fixtures?
Yes, as long as the combined wattage stays under the timer’s rating for that bulb type and all the fixtures are on the same load wire.
How long does a timer switch last?
Quality digital timers commonly run for many years. Mechanical timers wear at the gear train and eventually become noisy or stick. If a timer starts missing scheduled events or chattering when it switches, replace it rather than repairing it.
Final Thoughts
Wiring a timer switch to an existing light fixture is well within reach for a careful DIYer, and it pays back in energy savings and convenience every day. The whole job comes down to three checks: confirm the circuit is dead, confirm you have a neutral, and confirm which conductor is line and which is load. Get those right and the rest is a matter of following the labels on the device. Take photos before you disconnect anything, do not exceed the load rating, and set the clock properly before you judge the schedule. Do that, and the switch will quietly do its job for years without another thought from you.









