Owen Bradley
 Wall sconces are the most forgiving light fixtures in a house and the easiest ones to install badly. Hang a pair too high and they wash the ceiling while leaving faces in shadow. Hang them too low beside a bed and every guest gets a bulb in the eye. Space them wrong along a hallway and you get a runway of bright pools separated by gloom. Good sconce placement is not guesswork, though. Decades of interior lighting practice have produced a set of reliable heights, spacings and beam-direction rules that work in almost any room. This wall sconce placement guide walks through those numbers room by room, explains how to choose between hardwired and plug-in mounting, and shows how to pick shades, bulbs and dimming so the light flatters instead of glares. Whether you are adding a single accent fixture or planning a whole-house lighting refresh in 2026, the decisions below are the ones that matter.
The Default Height Rule and When to Break It
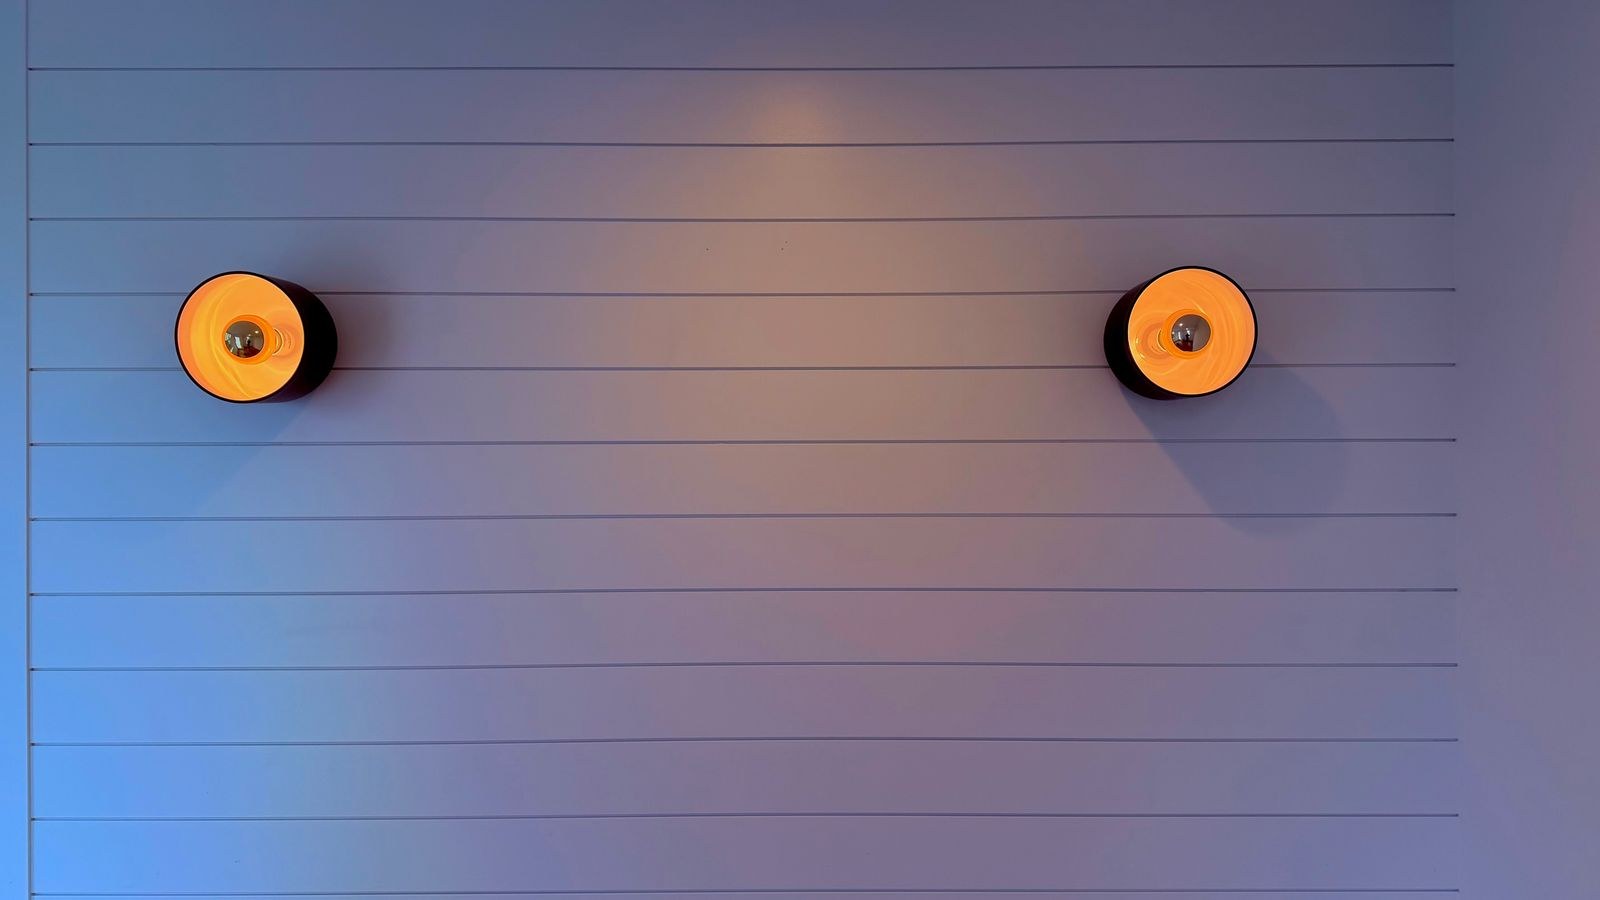
The standard mounting height for a general-purpose wall sconce is 60 to 72 inches from the finished floor to the center of the fixture. That range puts the light source at or slightly above average eye level, which is high enough to spread light across the wall but low enough that the glow still reaches faces and furniture rather than dying on the ceiling.
Treat 66 inches as your starting point and adjust from there. Rooms with 9-foot or taller ceilings can push toward 72 inches so the fixture does not look stranded low on a tall wall. In a room with standard 8-foot ceilings, staying near 60 to 66 inches keeps proportions comfortable. If the household is unusually tall or short, shift the height so the bottom of the shade sits just above the tallest regular occupant’s line of sight. The goal is simple: nobody should be able to see the bare bulb while standing normally.
Spacing: How Far Apart Sconces Should Sit
Spacing controls whether the wall reads as an even wash or a string of hot spots. For general ambient use along a wall, place sconces 6 to 10 feet apart. Eight feet is the most common compromise and it works well with typical 60 to 100 lumen-per-side output. If your sconces throw light both up and down, you can stretch toward 10 feet. If they are downward-only or heavily shaded, tighten to 6 feet.
Start and end runs at least 18 to 24 inches from an inside corner so the shade does not crowd the adjoining wall. When sconces flank a mirror, artwork or a fireplace, forget the spacing rule and center them on the object instead, keeping the pair symmetrical. Symmetry beats mathematical spacing every time the eye has an obvious focal point to compare against.
Hallway and Stairway Sconces
Hallways are where sconces genuinely outperform ceiling cans. Because the light comes from the side, it grazes the wall and makes a narrow corridor feel wider. Mount hallway sconces at 60 to 66 inches and space them 8 to 10 feet apart, alternating sides in a wide hall if you want a more dynamic rhythm. Keep the total output modest; a hallway is a transition zone, not a workspace, and 400 to 800 lumens along the whole run is plenty.
Stairways demand more care because heights shift with every tread. The reliable method is to measure 60 to 66 inches vertically from the nose of the tread directly below each fixture, so sconces step up the wall in parallel with the stairs. Never rely on a single fixture at the top or bottom; the shadow it casts can hide a step edge. Warm, glare-free light on the treads matters more than decorative sparkle here. If you are choosing lamps for a corridor run, our roundup of the best light bulbs for hallway fixtures covers the color temperatures and beam spreads that keep transitions comfortable at night.
Bedside Sconces: Freeing Up the Nightstand
Swapping table lamps for wall-mounted reading lights is one of the highest-value sconce upgrades in any home. It clears the nightstand, removes a cord, and puts the light exactly where a book needs it.
Mount bedside sconces 30 to 36 inches above the mattress top, which usually lands around 60 to 66 inches from the floor depending on bed height. Position them 6 to 10 inches outside the edge of the headboard on each side so the beam falls onto the page rather than the pillow. An adjustable or swing-arm body is worth the extra cost because two people rarely sit at the same height or read at the same angle.
Choose a shade or hood that blocks the direct view of the bulb from a reclining position, and put the pair on separate switches so one person can read while the other sleeps. Warm color temperature in the 2200K to 2700K range keeps the light from suppressing melatonin late in the evening. For a broader look at how bedside fixtures compare with table and clamp options, see our guide to the best bedside lighting setups.
Bathroom and Vanity Placement
Bathrooms are the one room where sconce placement changes the way you look, so the rules tighten considerably. Overhead-only lighting drops harsh shadows under the eyes, nose and chin, which is why a vanity lit from above alone is unflattering no matter how bright it is.
The best arrangement is a matched pair flanking the mirror, mounted at roughly 60 to 66 inches from the floor, which puts them near eye level for most adults. Space them 28 to 40 inches apart, centered on the sink. This cross-lighting fills shadows from both sides and produces even illumination for shaving, makeup and skincare. If the mirror is too wide or the wall too narrow for a pair, a single horizontal fixture above the mirror at 75 to 80 inches is the fallback, ideally paired with a diffuse shade.
Prioritize high color rendering here. A CRI of 90 or above keeps skin tones accurate and prevents the surprise of makeup that looked fine at the mirror and wrong in daylight. A neutral 3000K reads clean without going clinical. Damp-rated or wet-rated fixtures are required near tubs and showers, and local code typically prohibits standard fixtures within a defined zone around the bathing area. Our picks for the best sconces for bathrooms focus on damp-rated designs with proper diffusion, while the wider best lights for bathrooms roundup covers ceiling and vanity fixtures that pair with them.
Sconce Types and What Each One Does
The body style of a sconce determines the shape of the light far more than the bulb inside it, so choose the form to match the job.
- Uplight sconces throw light onto the ceiling for soft, indirect ambient fill. Excellent in living rooms and hallways, poor for reading.
- Downlight sconces aim a cone at the floor or a surface below. Great for stairs, artwork and grazing a textured wall.
- Up-and-down sconces split the beam both directions and produce the classic hourglass wall pattern. The most versatile ambient choice.
- Swing-arm and articulating sconces move the light source where it is needed. The right answer for bedsides, desks and reading chairs.
- Half-moon and flush wall washers hug the wall and cast a wide diffuse glow, ideal in tight corridors where a projecting arm would be a hazard.
- Picture lights are narrow, low-output fixtures aimed at art. They are accents, never a primary light source.
Hardwired Versus Plug-In
Hardwired sconces look cleanest because the cable disappears into the wall, and they can be tied into a wall switch or a smart dimmer. The tradeoff is that installing one means opening drywall, running cable to a properly supported electrical box, and in most jurisdictions pulling a permit or hiring an electrician. Retrofitting into a finished wall is doable but disruptive.
Plug-in sconces mount with two screws or an anchor and run a visible cord to a nearby outlet. They are renter-friendly, reversible, and cost a fraction of a hardwired install. Cord covers painted to match the wall make them look surprisingly close to a permanent fixture. Some models include an inline switch, which spares you from wiring a wall control.
A middle path worth knowing: battery-powered and rechargeable LED sconces have improved enormously, offering real dimming and weeks of runtime per charge. They cannot match the brightness of a wired fixture, but for accent light on a stair landing, in a closet or beside a guest bed, they solve the problem with no wiring at all.
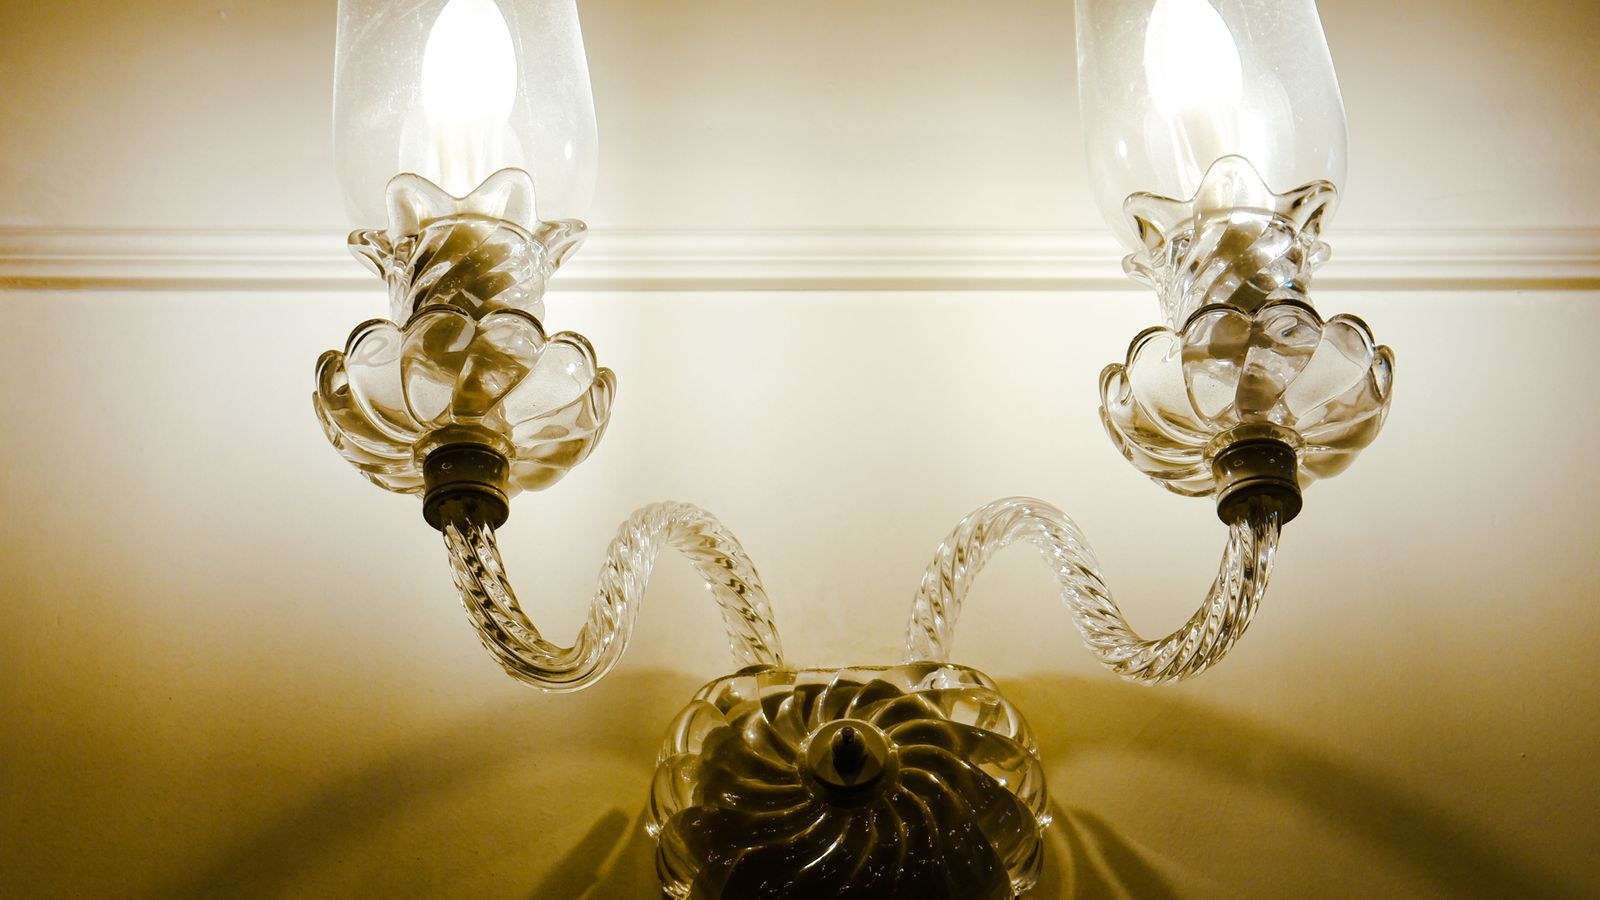
Brightness, Color and Dimming
Sconces are almost always secondary light, so restraint pays off. Plan for 200 to 450 lumens per fixture in ambient roles and 450 to 800 lumens where task reading happens. Overshooting turns a decorative fixture into a glare source.
Color temperature sets the mood more than any other single spec. Use 2700K for living rooms, bedrooms and dining areas where you want warmth. Move to 3000K in bathrooms, kitchens and workspaces where crispness helps. Avoid anything above 4000K on a wall fixture unless the room is a workshop or garage; cool light at eye level reads harsh and institutional.
Put every sconce on a dimmer if you can. A dimmable circuit lets one fixture serve as bright task light in the evening and a low nightlight at 2 a.m. Confirm that the bulb, the fixture and the dimmer are all rated compatible, because mismatched LED and dimmer pairings cause flicker, buzzing and a dead zone at the bottom of the dial. Trailing-edge or LED-specific dimmers solve most of these problems.
Common Placement Mistakes
- Mounting too high. The single most frequent error. Anything above 72 inches in a standard room lights the ceiling and leaves the living space dim.
- Using a bare-bulb fixture at eye level. Exposed filaments look charming in photos and cause squinting in daily life. Add a shade, a frosted glass or a lower-lumen bulb.
- Ignoring furniture. Sconces planned on an empty wall often end up behind a tall bookcase or a wardrobe. Lay out the room first, then place the light.
- Skipping the switch plan. Wiring a pair of sconces onto the same circuit as the ceiling light removes the ability to use them as soft standalone lighting, which is their whole point.
- Mixing finishes randomly. Sconces sit at eye level and read as jewelry on the wall. Match or deliberately contrast the metal with door hardware and other fixtures instead of leaving it to chance.
- Forgetting the wet-location rating. A dry-rated fixture near a shower will corrode and can create a real hazard.
Frequently Asked Questions
How high should a wall sconce be mounted?
Sixty to 72 inches from the floor to the center of the fixture, with 66 inches as a safe default. Go higher with tall ceilings, lower with 8-foot ceilings.
How far apart should sconces be spaced?
Six to 10 feet apart for ambient runs, with 8 feet as the standard. When flanking a mirror or fireplace, ignore spacing and center them symmetrically on the object instead.
Can I install a sconce without an electrician?
A plug-in or rechargeable sconce needs only a screwdriver and an anchor. A hardwired fixture involves running cable inside a wall and should be done by a licensed electrician unless you are confident and permitted to do the work yourself.
Do sconces need to match the other fixtures in the room?
They should relate, not necessarily match. Repeating a finish or a shade material across fixtures creates cohesion, while an exact matching set of everything can look like a showroom display.
What bulb is best for a wall sconce?
A dimmable LED in the 200 to 450 lumen range, 2700K to 3000K, with a CRI of 90 or above where skin tone matters. Choose a frosted or diffused bulb whenever the fixture leaves the lamp partly visible.
Final Thoughts
Wall sconces reward planning far more than spending. A modestly priced fixture hung at the right height, spaced sensibly and fitted with a warm dimmable bulb will outperform an expensive one bolted at random above a doorway. Start by naming the job each fixture has to do, mock up the positions with tape before anyone drills a hole, and choose the beam direction that actually serves that job. Get the geometry right and the rest of the decision, from finish to shade to smart control, becomes a matter of taste rather than a source of regret.