
 Owen Bradley
 Mounting height is the difference between security footage that identifies a person and footage that shows the top of a hat. It is the single most consequential decision in a camera install, and it is also the one most people get wrong — usually by mounting far too high, out of a well-meant instinct to keep the camera out of reach. Too high and you capture scalps and shoulders. Too low and the camera is easy to disable and easy to blind. This guide explains the tradeoffs, gives concrete height ranges for each common location, and walks through the process of choosing, testing, and adjusting the right height for your property.
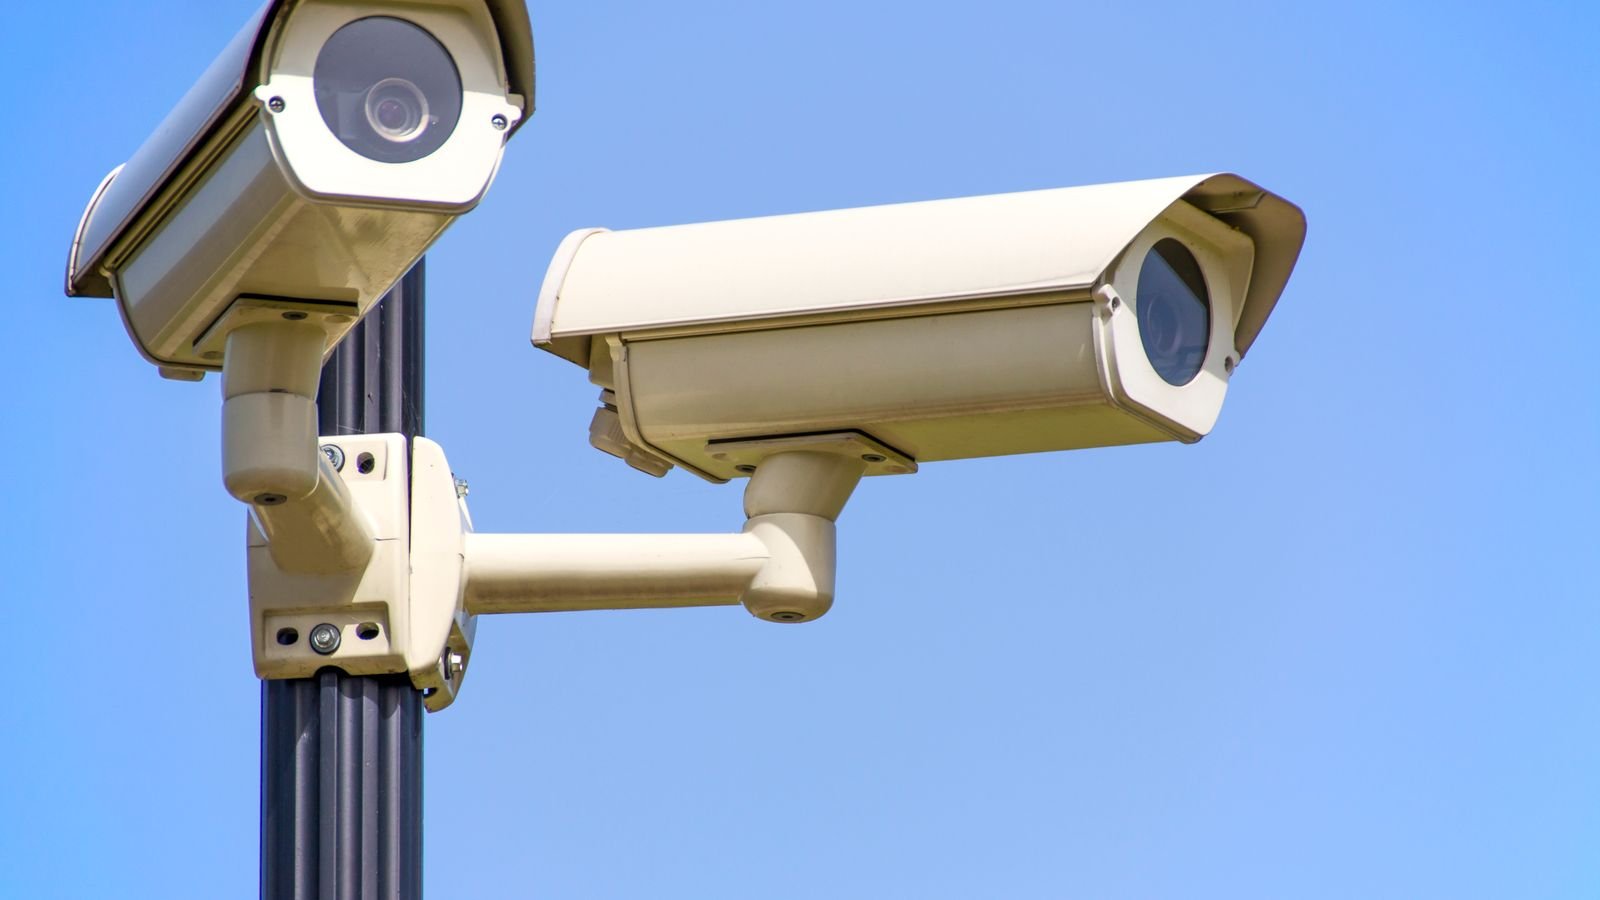
The Core Tradeoff: Identification vs Protection
Two goals pull in opposite directions. Lower mounting gives you usable faces, readable license plates, and clear detail — the things that actually matter to an investigator. Higher mounting protects the camera from tampering and covers a wider area.
Most homeowners over-index on protection and end up with a camera nobody can be identified from. Consider what you actually want the footage for. If it is evidence, prioritize identification height. If it is a broad overview of a large yard or parking area, height makes sense.
The most effective residential setups use both: one identification camera low at an entry point, and one overview camera high covering the approach. Comparing the best HD security cameras is useful here, because resolution partly compensates for height — a higher-resolution sensor tolerates a taller mount before faces become unusable.
Recommended Heights by Location
- Front door and entry points: 7 to 9 feet. High enough to be out of casual reach, low enough that an adult’s face fills a useful portion of the frame.
- Video doorbells: 48 inches from the ground. This is the standard, and it centers an average adult’s face in frame. Angle wedges correct for anyone significantly taller or shorter.
- Driveways and license plate capture: 8 to 10 feet, positioned to view plates at a shallow angle rather than steeply downward.
- General yard and perimeter overview: 9 to 12 feet. Coverage matters more than facial detail here.
- Garage interiors: 8 to 9 feet, in a corner for maximum coverage of the space.
- Indoor rooms: 7 to 8 feet, or on a shelf at roughly eye level for the best facial capture.
- Commercial entrances: 7 to 8 feet, deliberately low, because identification is the entire purpose.
- Second-story or roofline mounts: 12 feet and up. Only appropriate for wide-area monitoring; do not expect to identify anyone.
As a rule of thumb, anything above about 10 feet is an overview camera. Below 10 feet, you are in identification territory.
Why Too High Fails
A camera at 15 feet looking down at a person standing 6 feet away sees the top of the head, the shoulders, and very little face. Hats, hoods, and umbrellas — all common — eliminate what little remains. The steep angle also compresses depth, making it hard to judge distances and sizes.
High mounts also suffer more from glare and weather. They collect rain on the lens, catch more direct sun, and are harder to reach for the cleaning that every outdoor camera eventually needs. Infrared night illumination weakens with distance too, so a high camera often produces a dim, grainy night image of the very area you cared about.
Why Too Low Fails
Below about 6 feet, a camera is within easy reach. It can be covered, sprayed, rotated, or simply unplugged. It is also more likely to be knocked by a ladder, a hose, or a passing delivery cart.
Low cameras have a narrower effective field of view for a given lens, meaning you need more of them to cover the same ground. They also catch more headlight glare from vehicles and are more exposed to splash-back from rain and sprinklers.
Step-by-Step: Determining the Right Height for Your Spot
- Define the job. Write down what this specific camera must accomplish — identify people at the door, watch the driveway, monitor the back fence. One clear purpose per camera.
- Identify the critical zone. Mark the area where you need usable detail, usually a doorway threshold or the width of a driveway.
- Measure the distance from the mounting surface to the center of that zone.
- Check the camera’s field of view in the specifications. A wide angle covers more but distorts and shrinks distant faces; a narrower lens gives more detail over less area.
- Do a temporary test mount. Hold the camera at your candidate height, or tape it up temporarily, and view the live feed on your phone.
- Have someone walk the zone while you watch. Can you identify them? Read a shirt logo? If not, come down a foot and repeat.
- Test at night. Infrared behaves very differently from daylight. Check for washout from nearby surfaces and confirm the subject is lit rather than lost in the dark.
- Check for glare and backlighting. A camera pointed toward the afternoon sun or a bright doorway silhouettes everyone who walks through.
- Confirm cable routing works at the chosen height before drilling anything permanent.
- Mount, then fine-tune the angle. Small tilt adjustments often gain more than moving the whole camera.
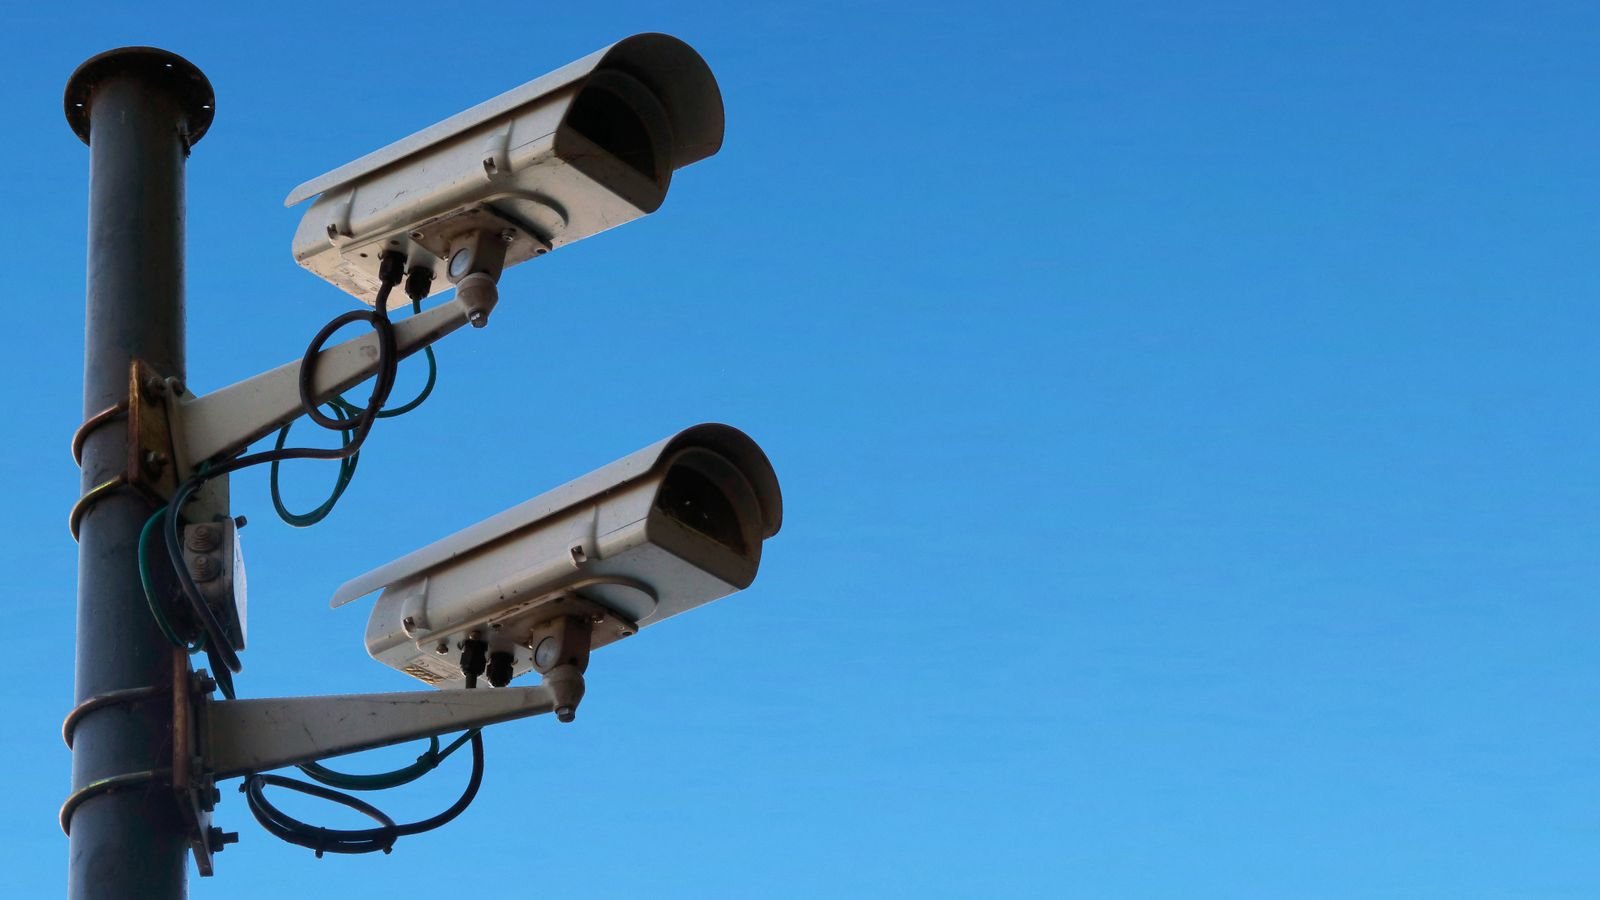
Angle Matters as Much as Height
Two cameras at the same height can produce completely different footage depending on tilt. Aim for a downward angle of roughly 15 to 30 degrees for identification work. Steeper than 45 degrees and you are back to filming the tops of heads regardless of how low the mount is.
For license plates, keep the horizontal offset modest. A camera looking at a plate from a sharp side angle cannot resolve the characters no matter how many megapixels it has. Position it closer to head-on and accept a narrower coverage area.
Also consider the approach path. A camera facing the direction people walk from gives you several seconds of face-on footage. A camera facing the same direction people walk gives you backs of heads.
Legal and Privacy Considerations
Height affects what you can see, and what you can see affects your legal exposure. Aim cameras at your own property. Avoid framing that captures a neighbor’s windows, yard interior, or a shared private space. Higher mounts see over fences, which is precisely the problem.
Many jurisdictions prohibit audio recording without consent even where video is permitted, so check whether you should disable the microphone on cameras facing public or shared areas. Some areas also require visible notice that recording is taking place. If a camera must be high for coverage reasons, use privacy masking in the software to black out areas outside your property.
Common Mistakes to Avoid
- Mounting under the eave at roofline height simply because there is a convenient soffit there.
- Never testing before drilling. Twenty minutes of testing saves a wall full of abandoned holes.
- Ignoring night performance, then discovering the important area is beyond infrared range.
- Pointing into the sun or toward a bright window, producing silhouettes all day.
- Using one high camera to do everything instead of pairing an overview with an identification camera.
- Mounting where sprinklers hit the lens, guaranteeing water spots and constant cleaning.
- Forgetting future maintenance. If you need an extension ladder to wipe the lens, you will not do it.
Frequently Asked Questions
What is the ideal height for a front door camera?
Between 7 and 9 feet for a wall-mounted camera, or 48 inches for a video doorbell. Both put an adult face in a usable portion of the frame while staying out of easy reach.
Will a higher-resolution camera let me mount higher?
To a degree. More pixels on target means you can accept a taller mount before detail degrades. But resolution does not fix a steep downward angle — geometry beats megapixels.
Should cameras be visible or hidden?
Visible cameras deter, hidden cameras document. Most homes benefit from obvious cameras at entries, since prevention is preferable to evidence. Check local law before concealing any camera.
How high should an indoor camera go?
7 to 8 feet in a corner gives good room coverage. A shelf-mounted camera at eye level captures the best faces but is easier to spot and disable.
Can I mount a camera on a fence post or pole?
Yes, with a suitable mount, but vibration is the enemy. Wind-driven movement causes constant motion alerts and blurry footage. Use a rigid post and a solid bracket rather than a flexible fence panel.
Final Thoughts
The best mounting height is the lowest one that still keeps the camera out of easy reach — usually 7 to 9 feet for anything meant to identify people. Resist the urge to go higher for its own sake. Define what each camera is for, test the view with a live feed and a walking volunteer before you drill, check it again after dark, and pair a low identification camera with a high overview camera when one location has to do both jobs. Footage that shows a face is worth more than footage that covers an acre.









