
 Owen Bradley
 Armrest pads take more abuse than any other surface on an office chair. Sleeves, watch buckles and forearm sweat wear through the soft polyurethane skin within a few years, and once the foam is exposed it crumbles quickly. The chair underneath is usually fine, which makes this one of the most worthwhile small repairs you can do. Learning how to replace office chair armrests is mostly a matter of identifying what you have: a removable pad on a fixed bolt pattern, a full arm assembly, or a moulded armrest with no separate pad at all. This guide covers identification, measurement, the swap itself, and the fallback options when no exact replacement exists.

Identify What You Are Replacing
Turn the chair around and look at the armrest from underneath. There are three common designs and the fix differs for each.
- Bolted pad on a support arm. The most common on task chairs. Two screws come up through the metal or plastic support into threaded inserts in the pad. This is the easy case: the pad alone is replaceable.
- Clip-on or slide-on cap. The pad snaps onto a rail with plastic tabs, or slides on from the front. No screws visible. These are easy to remove but harder to source exactly, so a universal cap is often the answer.
- One-piece moulded arm. The pad and the support are a single component, common on cheaper chairs. There is no pad to replace on its own, so you either fit a slip-on cover or replace the whole arm assembly.
Take a photo of the underside before you dismantle anything. It saves guesswork when you reassemble and gives you a reference image while shopping.
Measuring for the Right Replacement
Three measurements determine whether a replacement fits. Measure the pad length and width at the widest points. Measure the bolt hole spacing centre to centre, which on most chairs falls between 2.5 and 4.5 inches. Note the screw thread size, most commonly M6, and the length of the screw you removed. Also check whether the holes run front to back in a line or sit diagonally, because a diagonal pattern rules out most generic pads.
Universal replacement pads normally include slotted holes rather than round ones, which absorbs small differences in spacing. That flexibility is why a universal pad is usually the safer purchase unless your chair manufacturer still supplies the exact original part.
What You Will Need
- A screwdriver set including Phillips and a small hex or Allen key set, since many chairs use hex socket screws.
- Replacement pads or caps matched to your measurements.
- Penetrating oil for screws that have seized.
- A cloth and mild cleaner to wipe the support arms before fitting new pads.
- Optional: threadlocker if screws have worked loose repeatedly in the past.
Step-by-Step: Swapping the Pads
- Position the chair for access. Lay it on its side or tip it back so you can see and reach the underside of the armrest without straining. Working blind is how screws get stripped.
- Remove any cover plate. Some chairs hide the screws under a plastic cap or a foam plug. Prise it out gently with a flat blade and set it aside, since you will need it afterwards.
- Loosen both screws a turn each before removing either. This keeps the pad square and prevents the second screw binding as the first comes out.
- Remove the screws and lift the old pad away. Keep the screws in a container, because they are often a specific length and generic replacements bottom out or protrude.
- Clean the support arm. Wipe off years of accumulated grime and check the threaded inserts for damage. A stripped insert is repairable with a slightly larger screw or a thread insert, but you need to know about it now, not mid-assembly.
- Test-fit the new pad. Place it on the support without screws and check the holes align and the pad sits flat and correctly oriented, front to back. Many pads are contoured and look symmetrical but are not.
- Fit the screws finger-tight first, both of them, then tighten alternately in small increments. This keeps the pad flat and stops one corner lifting.
- Tighten firmly but not hard. These screws thread into plastic or thin metal inserts and strip easily. Snug is enough; if the pad does not rock, you are done.
- Refit any cover caps and repeat the whole process on the other side.
- Sit and test. Rest your full forearm weight on each armrest and rock it side to side. Any movement means a loose screw or a pad that is not seated.
Clip-On Caps and Slip-On Covers
Clip-on pads release by pressing the tabs on the underside while pulling the pad upward, or by sliding it forward off a rail. Work slowly, because aged plastic tabs snap easily and a broken tab means the new pad may not stay put. Warming the pad slightly with a hairdryer makes brittle plastic more forgiving.
If your chair has moulded arms with no removable pad, a slip-on gel or memory foam cover is the practical fix. These stretch over the existing arm and fasten underneath with hook-and-loop or a zip. They will not restore the original look, but they solve the comfort problem for a few dollars and take about a minute to fit. Choose one sized to your arm length so it does not bunch at the front edge.
Replacing the Whole Arm Assembly
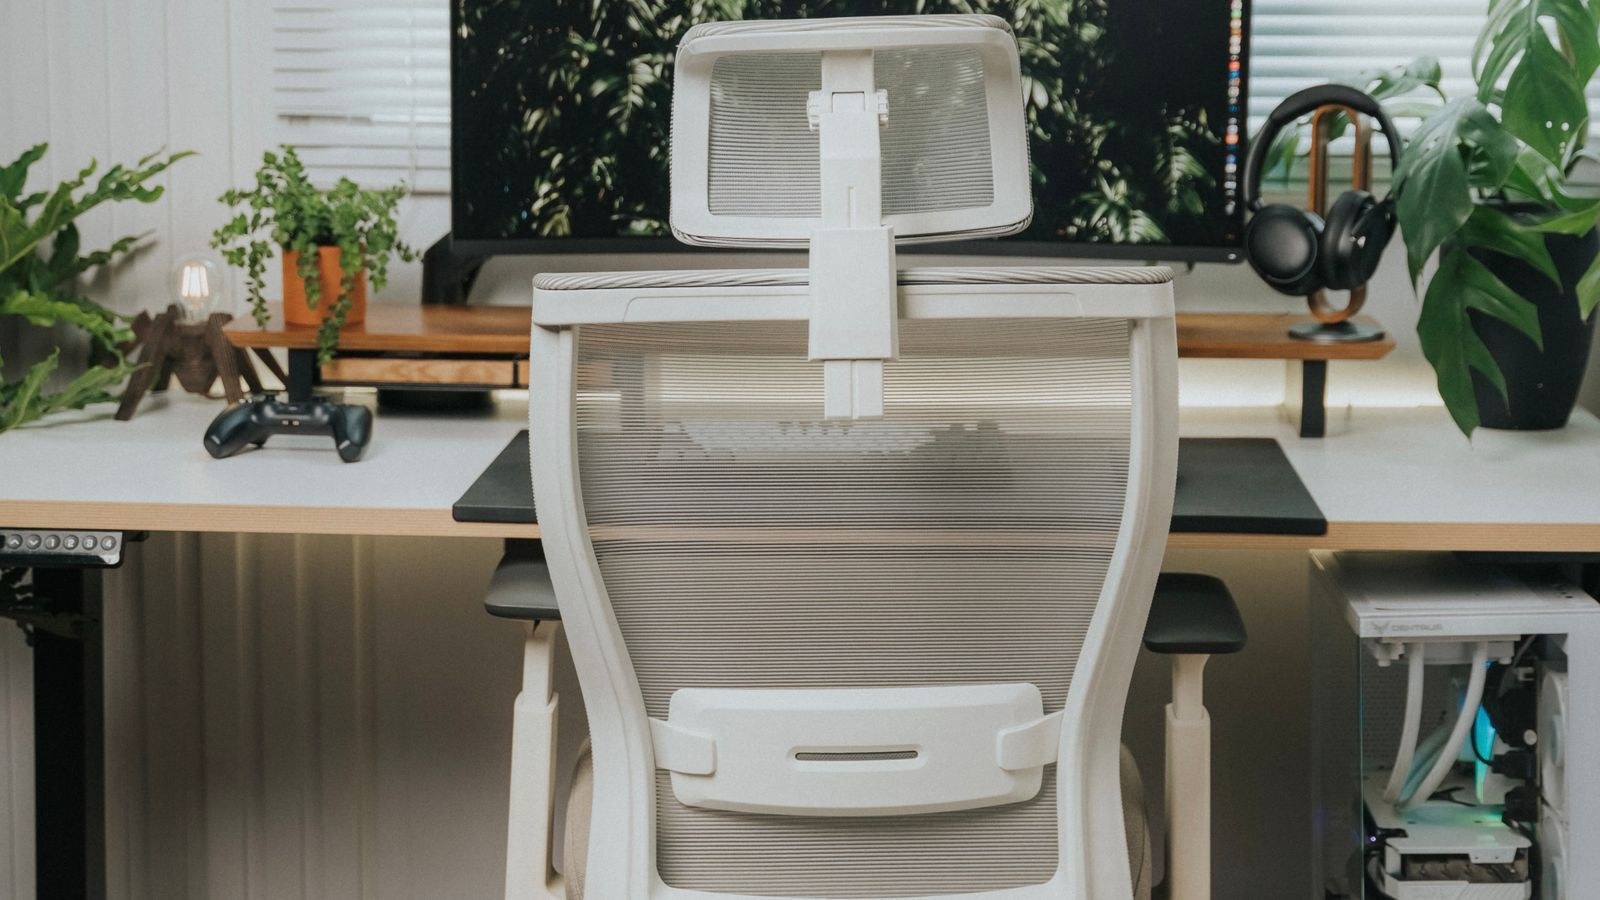
Sometimes the pad is not the problem. If the arm itself wobbles, the height adjustment no longer locks, or the support bracket has cracked, replacing the assembly is the real fix. It bolts to the seat pan underneath, usually with two or three larger bolts, and comes off once you tip the chair upside down. Match the bolt pattern on the seat pan, not just the look of the arm, and buy them in pairs so both sides behave identically. Adjustable arm assemblies are widely available and often upgrade a fixed-arm chair usefully in the process.
When a New Chair Makes More Sense
Pads are cheap and the repair is quick, so it is nearly always worth doing. Reconsider if the armrest damage arrives with a sagging seat, a gas cylinder that will not hold height, or a backrest that has lost its support. If you decide to move on, our roundup of the best chairs with armrests is the obvious place to start, and the best gaming chairs with detachable armrests covers models designed for exactly this kind of easy part swap. For general working comfort, the best office chairs and best desk chairs lists span a wide range of budgets, while the best ergonomic office chairs focus on adjustable arms that support your forearms properly through a long day.
Common Mistakes to Avoid
- Overtightening the screws. Plastic inserts strip with very little extra force, and a stripped insert turns a five-minute job into a much longer one.
- Buying by appearance rather than measurement. Two pads that look identical often differ by half an inch in bolt spacing.
- Using longer screws than the originals. They can push through the top of the pad or bottom out before clamping.
- Fitting a contoured pad backwards. Check the taper and any moulded wrist relief before tightening.
- Replacing only one side. A new pad on one arm and a worn one on the other leaves your arms at slightly different heights, which you will feel within a day.
Troubleshooting
If the screw spins without tightening, the insert has stripped: try a screw one size larger, or fit a threaded insert into the hole. If the new pad rocks slightly, one screw is likely under-tightened or a burr is holding the pad off the support, so remove it and check the mating surfaces. If the holes are close but do not quite line up, a slotted universal pad usually absorbs the difference, and gently elongating one hole in the pad with a small round file is an acceptable last resort. If a clip tab broke during removal, a small dab of construction adhesive under the pad holds the replacement securely enough for normal use.
Frequently Asked Questions
Are office chair armrest pads universal?
Not strictly, but many replacements use slotted mounting holes that fit a wide range of bolt spacings. Measure your hole spacing and screw size, then buy a pad whose specified range covers it.
What screw size do most chairs use?
M6 is by far the most common thread on office chairs, though length varies. Reuse the original screws whenever they are undamaged, since they are already the right length.
Can I fix a torn pad instead of replacing it?
Small tears can be patched with vinyl repair adhesive, and a slip-on cover hides larger damage. Once the foam beneath is crumbling, though, a new pad is the only fix that lasts.
How high should my armrests sit?
High enough that your shoulders stay relaxed and your forearms rest lightly with elbows at roughly a right angle. If you are shrugging or leaning to reach them, they are too high or too low.
Final Thoughts
Replacing worn armrest pads is a small repair with an outsized effect on daily comfort, and it keeps a perfectly good chair out of landfill. Identify the mounting style first, measure the bolt spacing and screw size before ordering, and fit both sides at once so your arms sit level. Tighten gently into plastic inserts, test by leaning your full weight on each arm, and fall back to a universal pad or a slip-on cover when no exact match exists. Twenty minutes and a modest parts cost gives you back an armrest that feels new.









