
 Owen Bradley
 Graphics cards age in a very specific way. The core does not slow down and the memory does not wear out, but the thermal interface material between the die and the cooler dries, separates, or pumps out from under the contact patch. The result is a card that once held its boost clock comfortably and now throttles within minutes, with a hotspot reading twenty or thirty degrees above where it used to sit. Repasting fixes that, and on a card three or more years old it is one of the largest performance recoveries available for the price of a syringe of compound. This guide covers how to repaste a GPU safely: when it is worth doing, the teardown order, how much pressure to apply, how to handle thermal pads, and the mistakes that turn a routine job into a dead card.
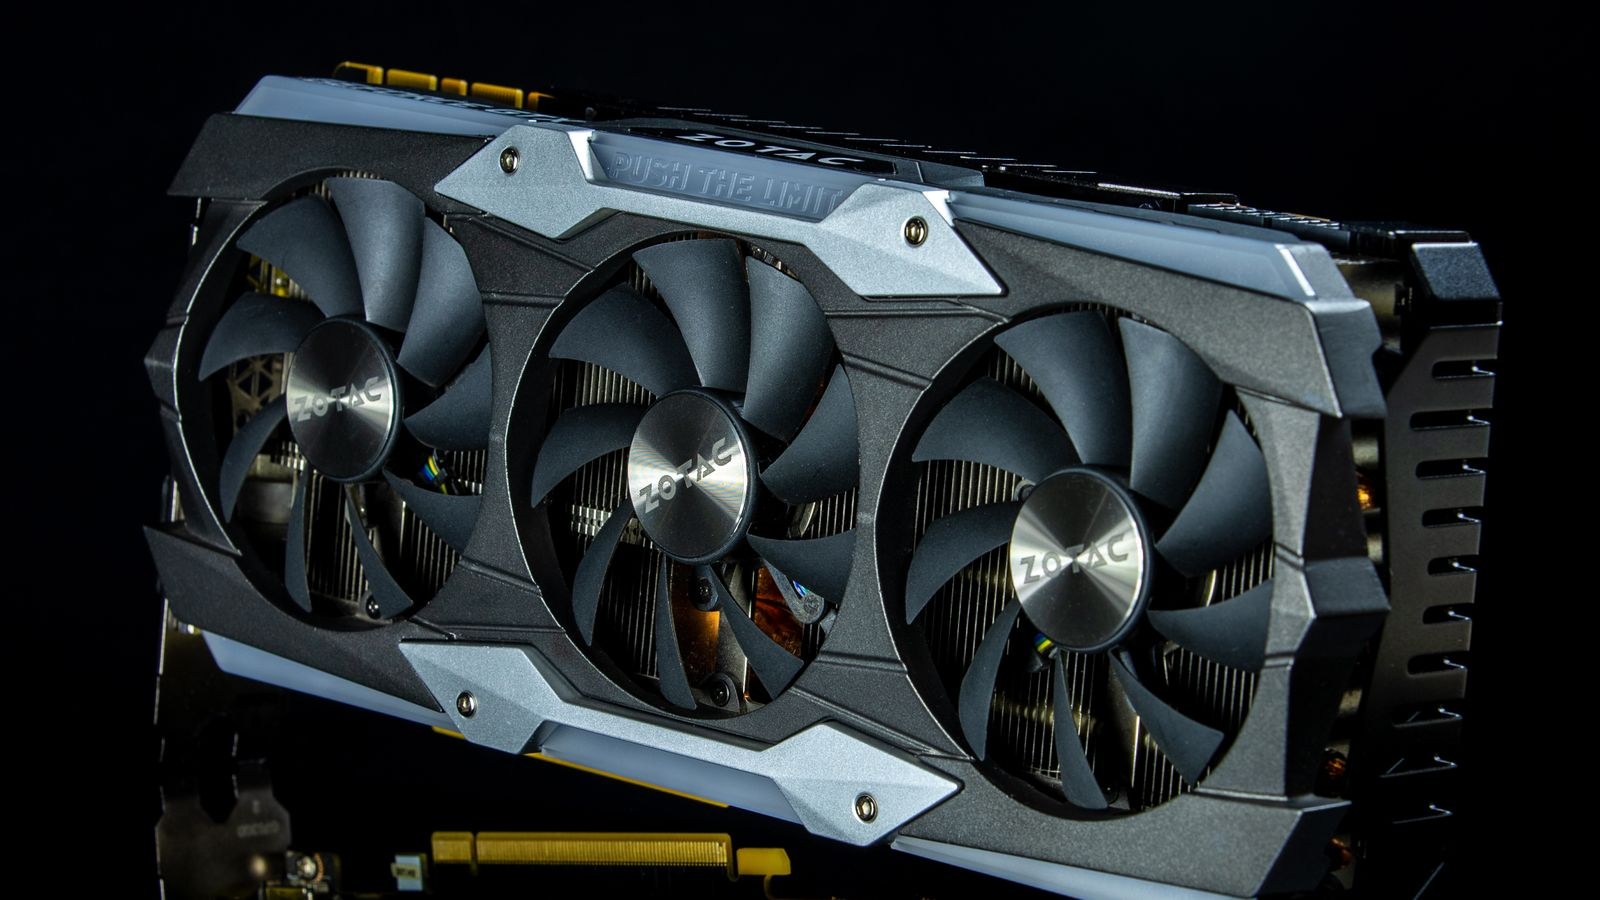
When Repasting Is Actually Worth It
Repasting is not routine maintenance for a new card, and doing it unnecessarily risks damage for no gain. The signals that justify it are specific. The clearest is a widening gap between the core temperature and the hotspot or junction reading. On a healthy card that gap sits around 10 to 15 degrees Celsius. When it grows past 25 or 30, the paste under the contact patch has degraded or pumped out.
Other signs include a card that throttles far earlier than it used to under the same game and settings, fans that ramp to maximum within a couple of minutes where they previously stayed moderate, and memory junction temperatures climbing past 100 degrees. A card that is simply loud but holds its clocks and shows a normal core-to-hotspot gap does not need repasting; it needs a fan curve adjustment and a dust clean.
Check your warranty first. Many manufacturers void coverage when the cooler is removed, and some place a tamper sticker over a screw. If the card is still under warranty and running badly, a support claim costs nothing and risks nothing.
What You Need
- Precision screwdrivers, typically Phillips PH0 and PH1, plus a Torx set since some coolers use T5 or T6 screws.
- Thermal paste suited to a GPU die. High-conductivity compounds help, but non-conductive formulations are much safer around a dense board.
- Thermal pads in the correct thicknesses, measured from the originals before you discard them.
- Isopropyl alcohol at 99 percent and lint-free wipes or coffee filters.
- Plastic pry tools for separating the shroud without gouging the board.
- An anti-static wrist strap and a non-conductive work surface.
- A phone camera and a magnetic parts tray or labelled paper, because the screws are not all the same length.
How to Repaste a Graphics Card, Step by Step
- Photograph everything before you touch a screw. Shoot the back of the card, then each stage of disassembly. You will not remember which of the eleven screws came from which hole, and mixing a long screw into a short hole can crack the board.
- Ground yourself and remove the card. Power down, unplug the system, hold the power button to discharge, then release the slot latch and lift the card straight out without flexing it.
- Remove the backplate first. It usually holds a set of small screws around the edge and often has thermal pads contacting the memory or power stages on the rear. Peel it away slowly rather than levering it.
- Disconnect the fan cables. This is the step people forget, and yanking the shroud with a fan header still attached tears the connector off the board. Look for one or two small plugs near the top edge and release them gently.
- Remove the spring-loaded screws around the die in a diagonal cross pattern, a couple of turns each at a time, exactly as you would remove a wheel. Uneven release can flex the board around the core.
- Separate the cooler slowly. Old paste behaves like adhesive. Twist very gently rather than pulling straight up with force, and if it resists, run the card under load for a few minutes beforehand to soften the compound. Watch for thermal pads sticking and stretching as you lift.
- Note every thermal pad position and thickness. Photograph the layout, then measure the pads with calipers or a ruler before removing them. Pads commonly range from 0.5mm to 2.0mm on the same card, and fitting the wrong thickness is worse than leaving the old ones in place.
- Clean both surfaces. Wipe old paste off the die and the cooler’s contact plate with alcohol and a lint-free wipe until both are bare and dry. Do not scrape with metal, and keep alcohol away from the surrounding components.
- Apply new paste to the die. A small dot in the centre works for square dies, while a thin cross or a short line suits larger rectangular ones. GPU dies are bare silicon with no heat spreader, so use slightly less than you would on a processor. Excess squeezed onto the surrounding board is a hazard, not insurance.
- Fit new thermal pads to the memory modules and power stages, matching the thickness you measured. Peel the protective film from both sides. Pads that are too thin leave a gap and let memory overheat; pads that are too thick lift the cooler off the die entirely, which is the single most common cause of a repaste making temperatures worse.
- Reattach the cooler with even pressure. Reconnect the fan cables first, then seat the cooler and tighten the die screws in a diagonal cross pattern, a little at a time, until the springs are fully compressed. Do not overtighten past the spring stop; the springs exist precisely to set the correct pressure for you.
- Refit the backplate, return every screw to its original hole, and check nothing is pinched or protruding.
- Test before closing the case. Install the card, boot, confirm the fans spin, then run a graphics load for twenty minutes while watching core, hotspot, and memory junction temperatures. Compare against the readings you recorded beforehand.
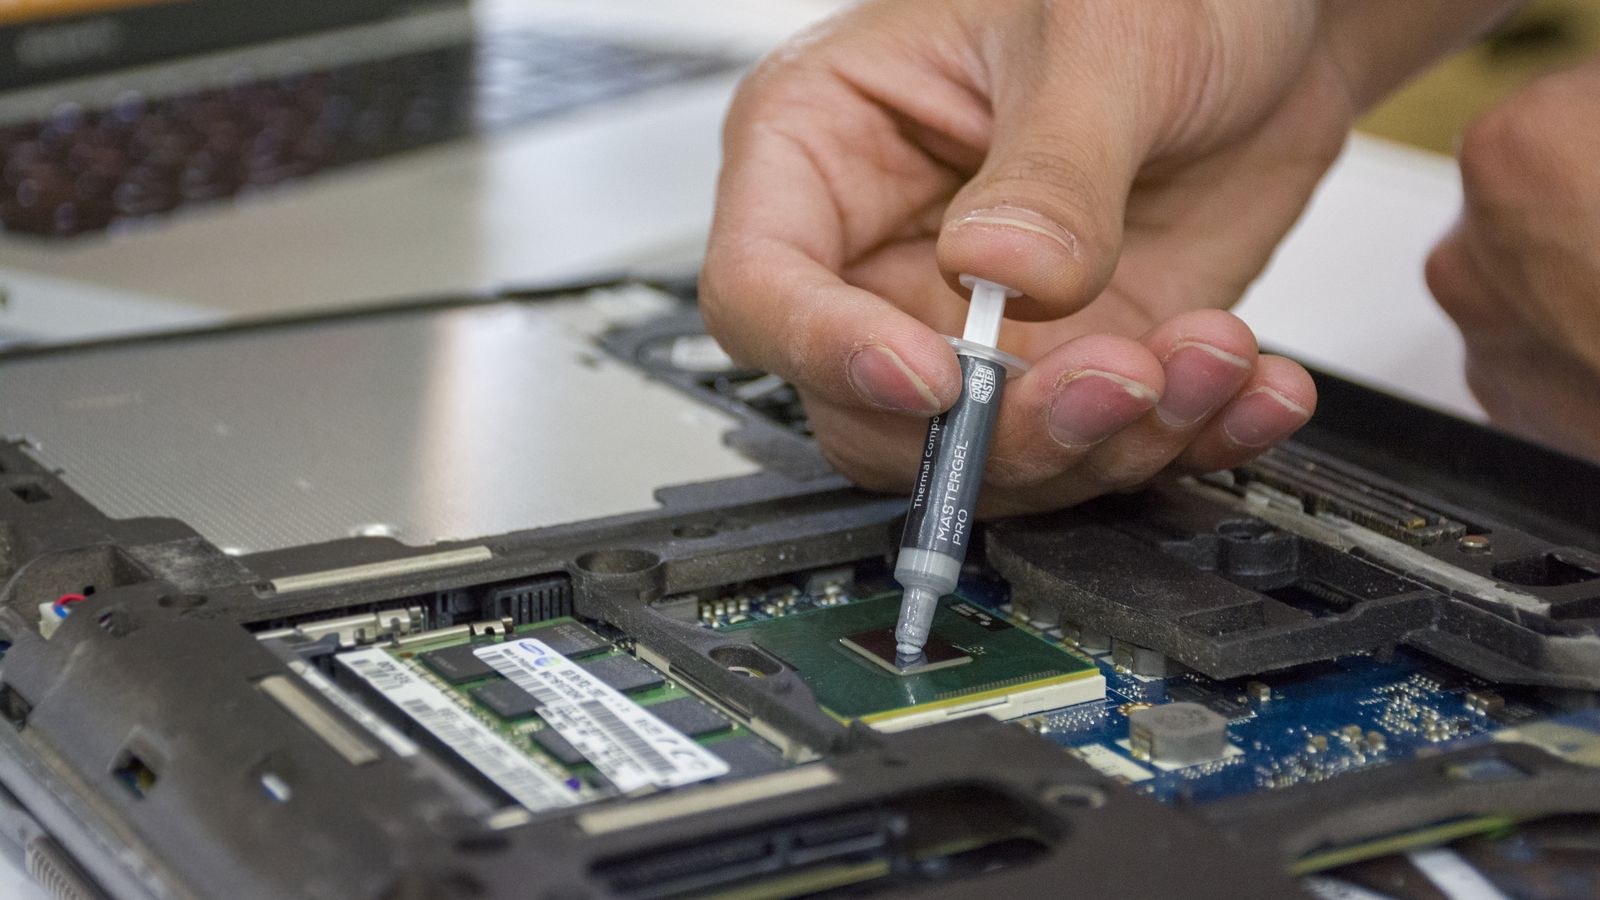
Choosing the Right Compound
The compound matters more on a graphics card than on a processor, because the die is bare and the loads are long and sustained. A high-conductivity paste designed for GPU use typically delivers a few degrees over a generic compound, which is meaningful when you are already close to a throttling threshold. The comparison of the best GPU thermal paste covers compounds formulated for exactly this job.
If you are chasing the largest possible drop and the card runs very hot under sustained load, the roundup of best high performance thermal paste covers the compounds with the highest conductivity ratings, along with their trade-offs in cure time and longevity. For a first repaste, buying a kit is often more sensible than buying paste alone, since a thermal paste kit usually bundles the cleaning wipes, spreader, and applicator you would otherwise be hunting for mid-job.
One warning about liquid metal. It offers the best conductivity available and is genuinely used on some high-end cards, but it is electrically conductive and reacts with aluminium. A single stray droplet on a dense graphics card board can short components permanently. For anyone doing this for the first time, one of the best non-conductive thermal paste options is the right choice, sacrificing a couple of degrees for a large margin of safety.
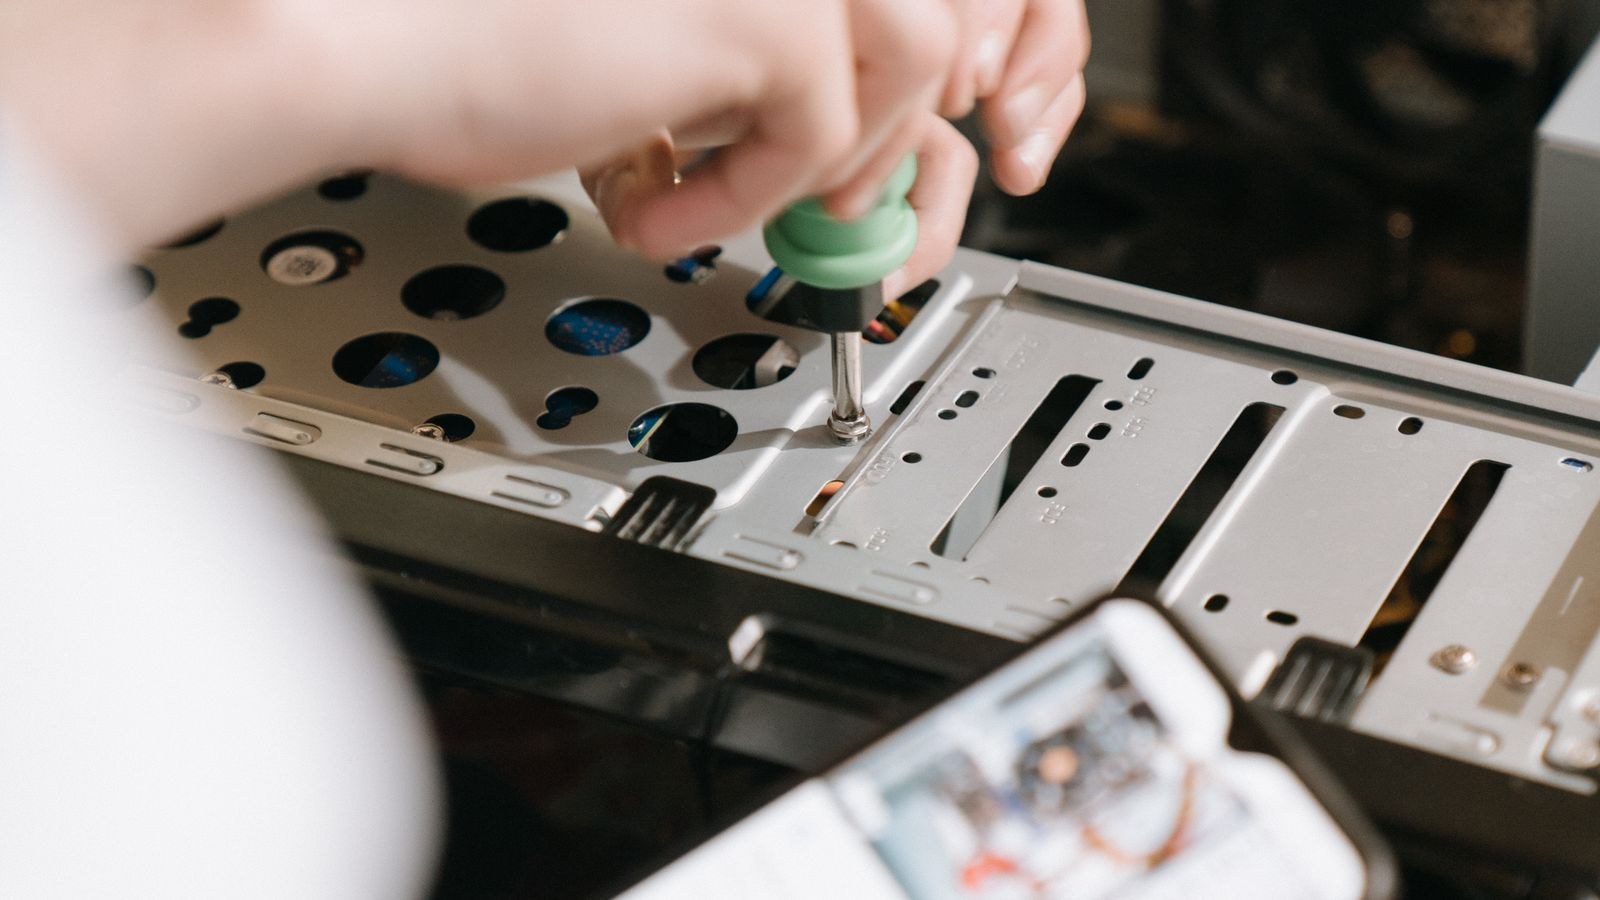
Common Repasting Mistakes
Wrong pad thickness is the leading cause of a repaste going backwards. If the new pads are thicker than the originals, the cooler rests on the pads instead of the die, and core temperatures rise dramatically despite fresh paste. Always measure before replacing.
Overtightening is next. The spring screws are calibrated, and forcing them past their stop can crack the die or bow the board. Tighten until the spring is compressed and then stop.
Using far too much paste is a common instinct and an unhelpful one. On a bare die the excess simply squeezes onto the surrounding substrate, where it collects dust and, in the case of a conductive compound, creates real risk.
Forgetting the fan cable before lifting the shroud tears connectors. Skipping the pre-work photographs leads to leftover screws. And repasting a card that was never the problem, when the real issue was case airflow or a dust-clogged heatsink, achieves nothing. Confirm the diagnosis with the core-to-hotspot gap first.
Frequently Asked Questions
How much can repasting lower GPU temperatures?
On a card with genuinely degraded paste, drops of 10 to 20 degrees Celsius on the hotspot reading are common, and clocks that were throttling often return to normal. On a card with healthy paste, expect two or three degrees at most.
How often should a graphics card be repasted?
Every three to five years for a card under regular gaming load, or whenever the core-to-hotspot gap grows well beyond its original value. There is no reason to repaste a card that is performing normally.
Do I have to replace the thermal pads too?
Not always. If the existing pads are still soft and intact, leaving them is safer than fitting the wrong thickness. Replace them if they are hard, cracked, or crumbling, matching the original thickness exactly.
Will repasting void my warranty?
Often yes. Check for tamper stickers and read the manufacturer’s terms before you start. If the card is under warranty and running hot, make a support claim instead.
Is it worth repasting an old card or just replacing it?
Repasting costs very little and can restore performance the card has lost, so it is almost always worth trying first. If the card is thermally healthy and still too slow for the games you play, that is an upgrade question, and the tier comparisons among the best GPUs for gaming will tell you what a replacement would actually deliver.
Final Thoughts
Repasting a graphics card is a careful job rather than a difficult one. The risks come from haste: pulling a shroud with a fan cable attached, mixing up screw lengths, guessing at pad thickness, or reaching for liquid metal before you have done this once. Photograph everything, measure the pads, use a non-conductive compound applied sparingly, tighten in a cross pattern until the springs stop, and verify with temperature logs before you close the case. Done that way, a forty-minute job can hand back years of thermal headroom to a card you already own.









