
 Owen Bradley
 Background noise on a microphone is rarely a hardware problem, which is why buying a more expensive microphone so often fails to fix it. A better capsule simply captures your air conditioner, keyboard and neighbour’s traffic in higher fidelity. Reducing microphone background noise is a chain of physical decisions, distance, direction, mounting and room, followed by careful gain staging and only then a small amount of software processing. Work in that order and your calls and streams sound clean without the underwater artefacts that heavy noise suppression introduces. This tutorial covers each link in that chain and the settings that make the difference.
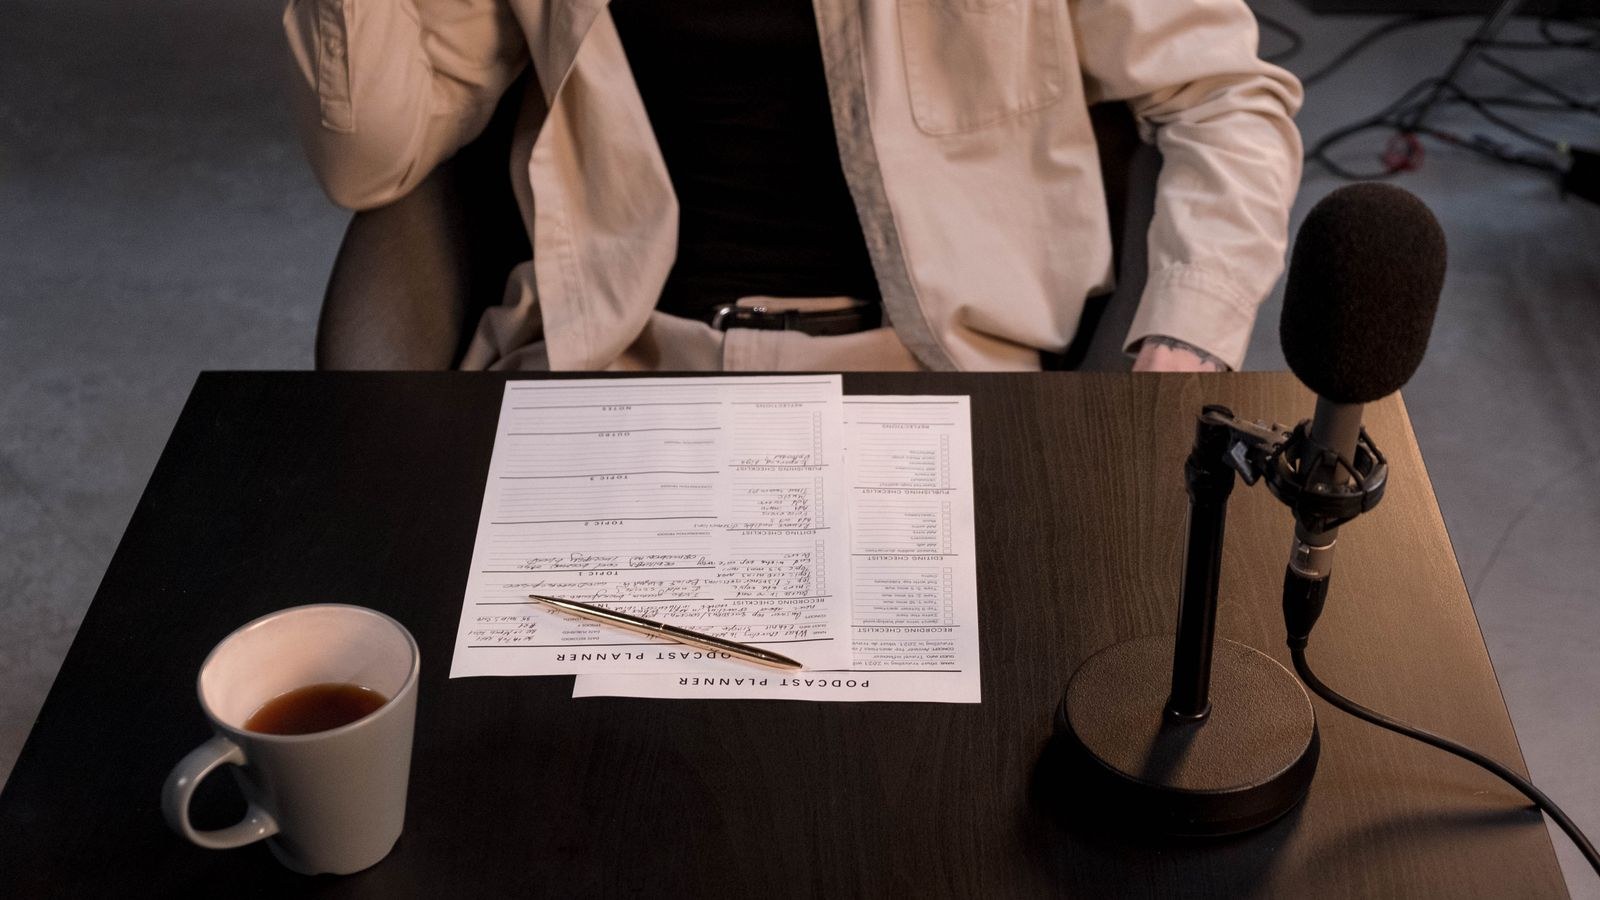
What You Need Before You Start
- Your microphone or headset and a way to record a short test clip. Any voice recorder application works.
- Headphones. You cannot evaluate noise through speakers, because the room masks exactly the frequencies you are trying to hear.
- A boom arm, stand or shock mount if your microphone currently sits on a desk tripod.
- Soft materials already in your home: a rug, curtains, cushions, a fabric chair. You do not need acoustic panels to make a large improvement.
- Access to your audio settings and, if you stream, your broadcasting software’s filter chain.
Start by identifying the noise. Record 30 seconds of silence with the microphone live and listen back on headphones. You are separating three categories: constant broadband noise like fans and air conditioning, intermittent mechanical noise like typing and mouse clicks, and outside noise like traffic or voices. Each has a different fix, and applying the wrong one wastes effort.
Step by Step: Cutting Background Noise
- Get closer to the microphone. This is the single most effective change and it costs nothing. Halving your distance to the capsule roughly doubles your voice level relative to everything else in the room, meaning you can lower gain and the background falls away with it. Aim for 15 to 20cm on a desk microphone, or a boom mic sitting just off the corner of your mouth.
- Lower the gain to match. Once you are closer, reduce input gain until your normal speaking peaks land around -12dB and your loudest moments reach roughly -6dB. High gain is what makes a room audible. Most people run gain far too high because they sit too far away, then blame the microphone for the hiss it amplifies.
- Set the polar pattern to cardioid. If your microphone offers pattern switching, cardioid rejects sound arriving from behind by a substantial margin. Omnidirectional captures the room equally in all directions and should never be used for a noisy space.
- Aim the rejection zone at the noise. A cardioid microphone’s deadest angle is directly behind it. Physically rotate your setup so that the rear of the microphone faces the loudest source, whether that is a computer tower, an air conditioner, or a door. This is free directional noise reduction and it is routinely ignored.
- Decouple the microphone from the desk. Keyboard strikes, mouse clicks and desk knocks travel through the surface into the stand as structure-borne vibration, which no software gate removes cleanly because it arrives at the same instant you are speaking. Move the microphone onto a boom arm clamped to a different surface, or at minimum add a shock mount and a foam pad under any desk stand.
- Fit a pop filter and check your angle. Position the capsule slightly off-axis from your mouth so breath passes across it rather than into it. A mesh pop filter a few centimetres in front handles the rest. Plosive thumps are not background noise, but they are the loudest artefact in most recordings and they mask everything else you are trying to assess.
- Treat the room with what you already own. Hard parallel surfaces create reflections that make a room sound hollow and amplify background noise. Put a rug on the floor, close curtains, position a bookshelf or fabric sofa behind you, and avoid recording in the centre of an empty room. A corner with soft material on two sides is far better than the middle of a bare space.
- Silence what you can switch off. Before reaching for software, walk the room and eliminate sources: close windows, turn off a fan, pause a noisy dishwasher, move a laptop with a spinning cooler off the desk. Thirty seconds of housekeeping beats hours of filter tweaking.
- Add a noise gate. A gate mutes the channel when your voice drops below a threshold, so all the background between sentences disappears completely. Set the close threshold just above the room level you measured in your silence recording, the open threshold a few decibels higher, and a hold time near 200 milliseconds so the gate does not stutter between words.
- Apply light noise suppression last. Use it only for the constant broadband hiss the gate cannot help with while you are actually speaking. Start at the lowest setting and increase gradually. The moment your voice acquires a hollow or watery quality, you have gone too far and should back off.
- Record a final test and compare. Record the same 30 second sample with the same content as your first test and listen back to both. Comparing directly is the only reliable way to confirm improvement, because your ears adapt quickly and everything sounds better when you expect it to.
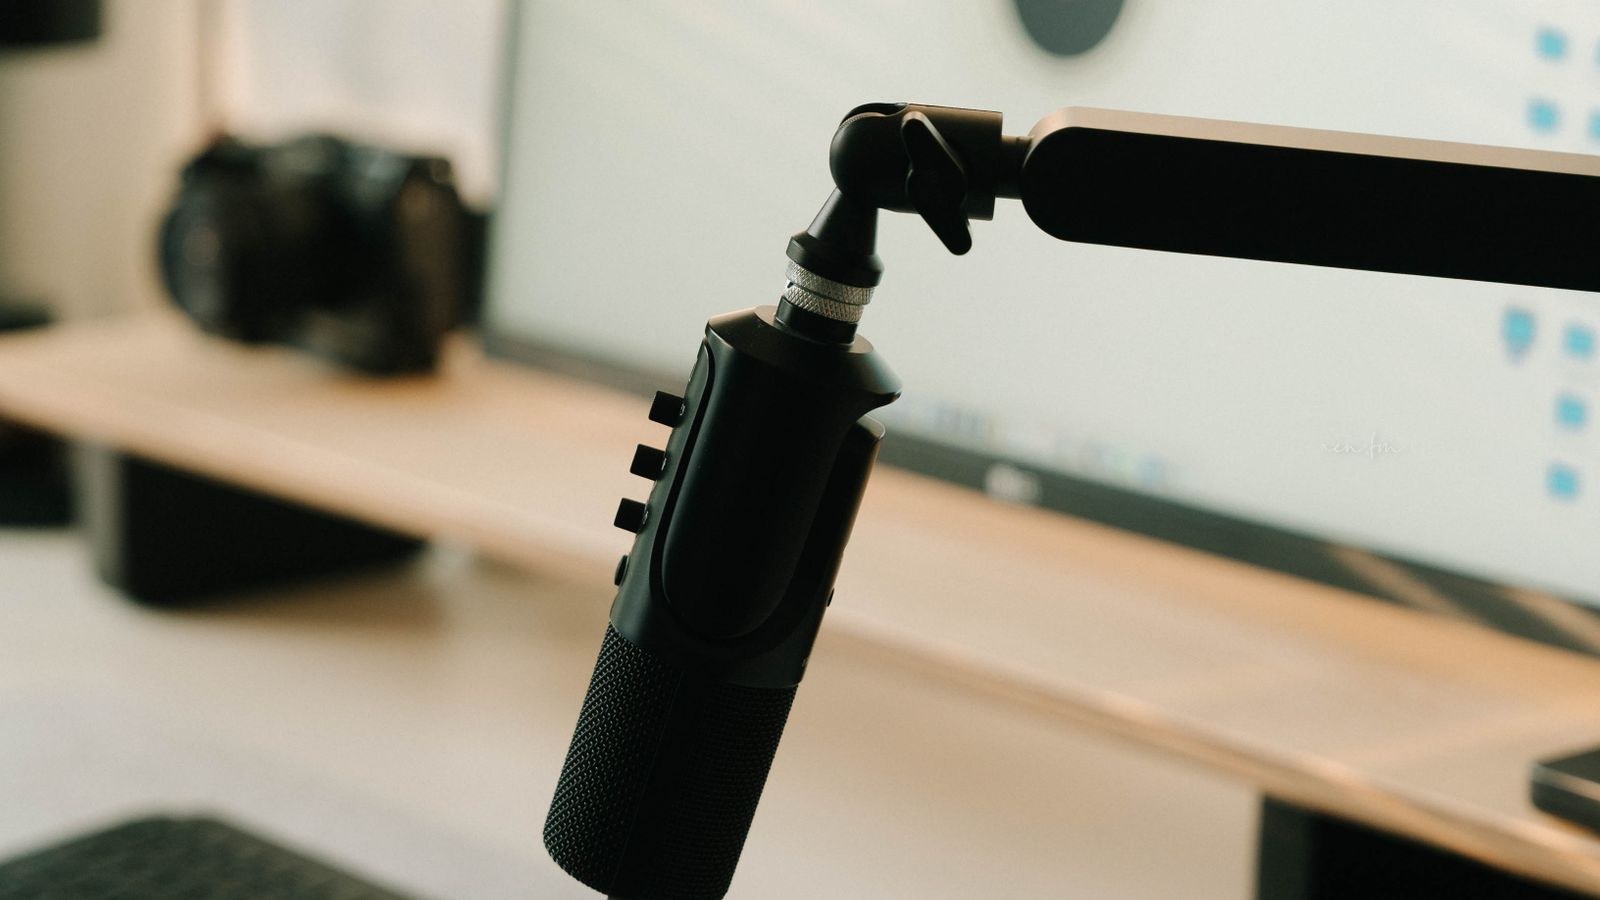
Why Proximity Beats Processing
It is worth understanding why step one matters more than steps nine and ten combined. A microphone captures a mix of your voice and everything else, and the ratio between them is set almost entirely by distance. When you sit 60cm away, your voice arrives weak, so you raise gain, which lifts the room by the same amount. When you sit 15cm away, your voice arrives strong, gain drops, and the room drops with it. No algorithm can recover information that was never captured cleanly, but proximity fixes the ratio before capture.
This is why a modest boom microphone on a headset frequently outperforms an expensive desk condenser in a noisy household. The capsule sits centimetres from your mouth and the physics do the work. If your environment is genuinely loud, shared, or open-plan, a close-miked headset is the more sensible tool, and the models in our roundup of the best noise cancelling headsets for loud environments pair that proximity with isolation on the listening side too.
Choosing Hardware That Helps
Some hardware choices reduce noise before you configure anything. Dynamic microphones are less sensitive than condensers and pick up noticeably less room, which is why broadcast studios in untreated spaces favour them. Boom microphones with tight cardioid or noise-cancelling capsules are designed specifically to hear only what is directly in front of them. Headsets built around call clarity, such as those in our list of the best headsets with microphone performance for clear speech, typically use exactly this combination.
If your day is mostly meetings rather than streaming, prioritise consistency over ultimate fidelity. Models covered in our guide to the best headsets for calls and conferencing favour predictable, intelligible speech with built-in processing tuned for voice, which matters more on a compressed conference codec than any amount of capsule quality.
Handling Webcam and Laptop Microphones
Built-in laptop arrays and webcam microphones are the hardest case, because they are far from your mouth by design and sit inside a chassis with a cooling fan. If you must use one, the same principles still apply: raise the laptop so the microphone is closer to your face, angle the screen so the array points at you rather than the desk, and place the machine on a hard raised surface away from soft objects that block the ports. Do not rest the laptop on your lap, where fabric muffles the array and body heat drives the fan.
Where a separate camera is involved, a model with a decent onboard array can outperform a laptop’s built-in one simply because it sits on the monitor at head height. Our overview of the best webcams with microphone arrays for meetings covers which designs place the capsules usefully, and the best noise cancelling webcams roundup looks at models with onboard processing that suppresses fan and keyboard noise before it reaches the computer.
Common Mistakes to Avoid
- Stacking multiple noise suppressors. Running the operating system’s suppression, the application’s suppression, and a plugin together destroys voice quality. Pick one.
- Setting the gate threshold too high. An aggressive gate chops the start of quiet words, which sounds worse than the noise it removed. Err toward opening too easily.
- Maxing microphone boost. Boost amplifies the noise floor along with your voice and never improves the ratio between them.
- Ignoring desk vibration. Structure-borne keyboard noise arrives simultaneously with speech and passes straight through any gate. Only physical decoupling fixes it.
- Judging results through speakers. Room sound masks exactly the artefacts you need to hear. Always evaluate on headphones.
- Buying a better microphone first. A more sensitive capsule in the same room usually makes background noise more audible, not less.
Frequently Asked Questions
Does a noise gate remove noise while I am speaking?
No. A gate only silences the channel between phrases. Noise present during speech needs suppression, proximity, or removing the source itself.
Why does noise suppression make my voice sound underwater?
Because it removes frequency content it cannot separate from your voice. Reduce the strength and compensate with better placement and a lower gain setting instead.
Is a dynamic microphone really quieter than a condenser?
It is less sensitive, so it picks up less of the room at the same voice level. In an untreated space that difference is substantial and audible.
Will a pop filter reduce background noise?
Not directly. It removes plosive thumps and some breath noise, which makes the recording cleaner overall but does nothing to constant room sound.
How do I stop my keyboard being heard on calls?
Decouple the microphone from the desk with a boom arm or shock mount, move the microphone away from the keyboard, and add a gate. Physical separation matters more than any filter.
Final Thoughts
Reducing microphone background noise works from the outside in. Move closer and lower the gain, point the microphone’s rejection zone at the loudest source, lift it off the desk, soften the room with what you already own, and switch off whatever can be switched off. Only when all of that is done should you add a gate and, if it is still needed, the gentlest noise suppression that solves the problem. Approached in that order, most people reach clean, natural-sounding audio in an ordinary untreated room without buying anything, and the microphone they already own turns out to have been perfectly capable all along.









