
 Owen Bradley
 A budget camera, a smart plug from an unfamiliar brand and a robot vacuum all sit on the same flat network as your laptop, your NAS and your work files. That is how most homes are wired, and it means one compromised gadget with unpatched firmware can scan every share on your network. An IoT VLAN setup fixes this by putting smart home devices in their own isolated segment with its own subnet and firewall rules, so they can reach the internet and their apps but nothing else. This tutorial walks through planning the segments, configuring the VLAN on a router and switch, writing the firewall rules that make it worthwhile, and applying the mDNS fix that keeps casting and speaker discovery working across the boundary.
What a VLAN Actually Does
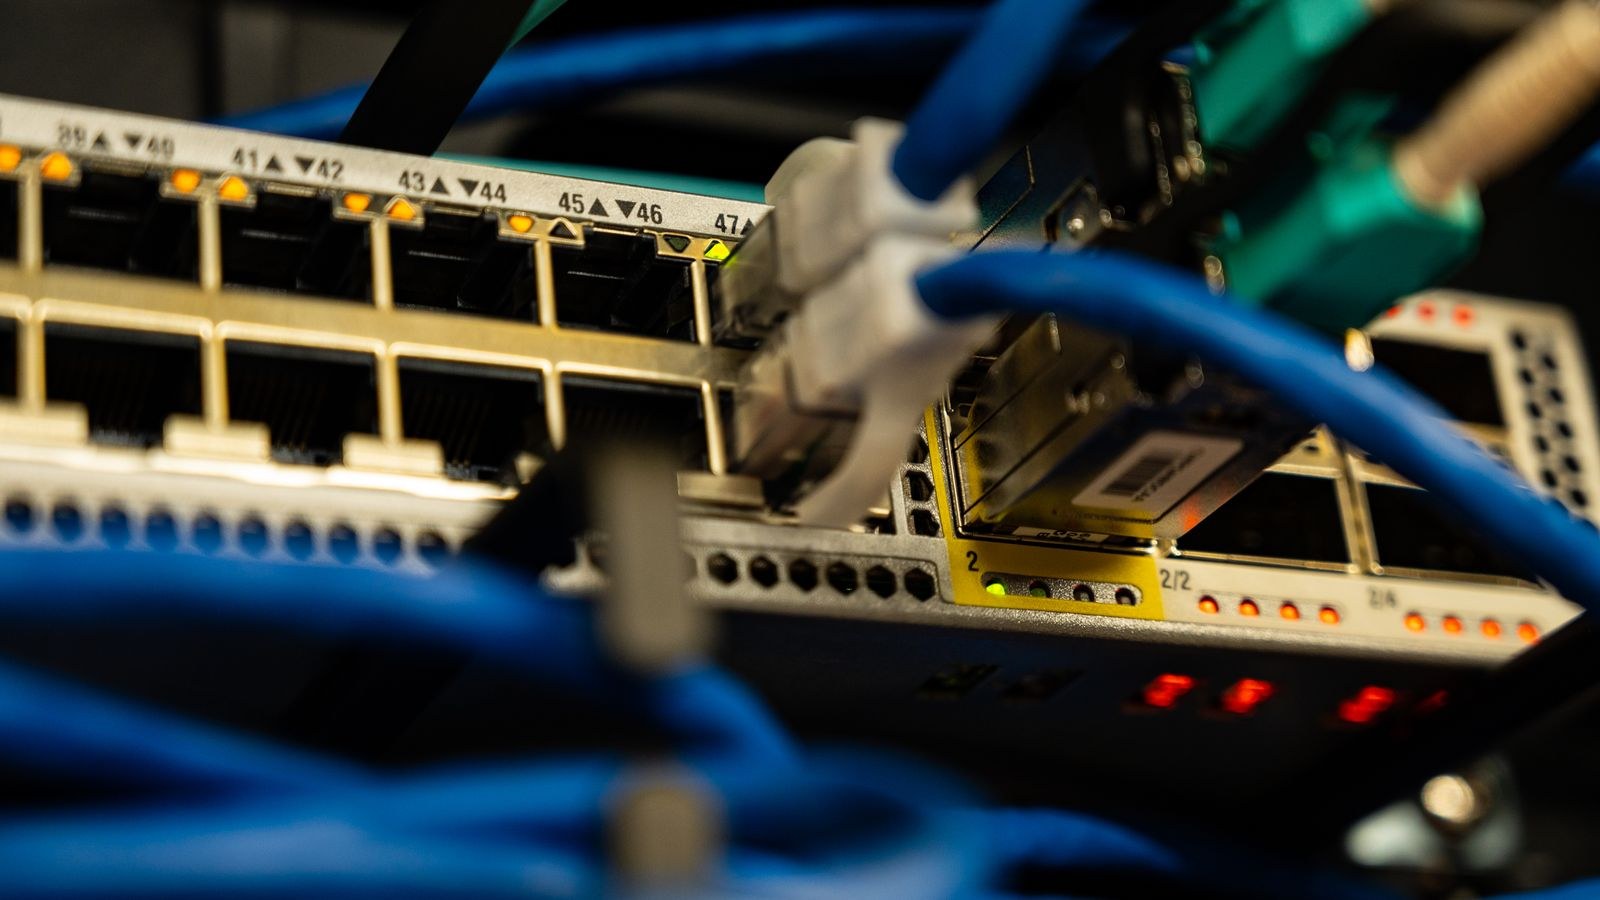
A VLAN, or virtual LAN, splits one physical network into several logical ones. Devices tagged into VLAN 20 behave as though they are plugged into a completely separate switch from devices in VLAN 10, even when they share the same cable run. Traffic between the two only happens if a router explicitly permits it, which is where the firewall rules come in.
For a home, the practical benefit is containment. If an old camera with a hardcoded password gets taken over, the attacker lands in a segment with nothing but other cameras, no route to your file shares, and no ability to see your laptop at all. Chatty IoT broadcast traffic also stays off your main network.
What You Need Before You Start
- A router that supports VLANs and inter-VLAN firewall rules. Consumer gateways rarely do. You need business-oriented firmware, an open-source platform, or a router explicitly advertising VLAN support. Our list of the best firewall routers covers models with a genuine rules engine rather than a few checkboxes.
- A managed or smart switch, if you have wired devices to segment. Unmanaged switches pass tags blindly and cannot assign ports to VLANs. The best switches roundup explains the difference between smart and fully managed models.
- Access points that support multiple SSIDs with VLAN tagging, so wireless IoT devices land in the right segment.
- A device inventory. List every smart device, whether it is wired or wireless, and whether anything on your main network needs to talk to it.
- A wired admin laptop and, ideally, physical access to the router. Misconfigured VLANs can lock you out of the management interface.
Planning Your Segments First
Decide on the layout before touching any configuration. A simple, effective home plan uses three segments.
- VLAN 10 – Trusted. Laptops, phones, NAS, printers. Subnet 192.168.10.0/24. Full access everywhere.
- VLAN 20 – IoT. Plugs, bulbs, cameras, TVs, vacuums, thermostats. Subnet 192.168.20.0/24. Internet only, no access to VLAN 10.
- VLAN 30 – Guest. Visitors. Subnet 192.168.30.0/24. Internet only, isolated from both other segments and from each other.
Give each VLAN its own DHCP scope and its own SSID if wireless. Keep the numbering simple and match the third octet of the subnet to the VLAN ID so you can read an IP address and immediately know which segment it belongs to.
Step-by-Step: Building the IoT VLAN
- Back up your current router configuration. Export the settings to a file before making changes, so you can roll back if a rule locks you out.
- Create the VLAN interfaces on the router. Add VLAN 20 with the subnet 192.168.20.1/24 as the gateway address. Repeat for VLAN 30 if you want a guest segment. Leave your existing LAN as VLAN 10 or the default.
- Enable DHCP on the new VLAN. Set a pool such as 192.168.20.100 to 192.168.20.240, a lease time of 24 hours, and DNS pointing at the router or a public resolver. Reserve the low addresses for devices you want to pin statically.
- Create a dedicated IoT SSID. On the router or access point, add a new wireless network named something like HomeNet-IoT and tag it to VLAN 20. Set it to 2.4GHz-only or dual-band with WPA2/WPA3 mixed mode, because pure WPA3 locks out a lot of smart hardware.
- Configure the switch ports. On a managed switch, set the uplink to the router as a trunk port carrying tagged VLANs 10, 20 and 30. Set each port with a wired IoT device as an access port untagged in VLAN 20. Leave trusted device ports untagged in VLAN 10.
- Write the firewall rules. This is the step that gives the VLAN its value. Working top down on the IoT interface: allow DHCP and DNS to the router, allow any established or related traffic, block all traffic to VLAN 10 and VLAN 30, then allow everything else out to the internet.
- Add narrow exceptions. If your home automation hub on VLAN 10 must reach a camera on VLAN 20, permit only that specific source IP to that specific destination IP and port. Never open the whole subnet.
- Move your devices across. Join wireless IoT gear to the new SSID one at a time, and re-patch wired devices into their VLAN 20 ports. Expect to re-pair anything that stores the SSID it was configured with.
- Verify the isolation. From a device on the IoT VLAN, try to ping your NAS or laptop. It should fail. From the trusted VLAN, confirm you can still reach the internet and your own file shares normally.
- Set static reservations for anything you manage. Cameras, hubs and printers are far easier to write rules for when their addresses never change.
- Document the whole layout. Record VLAN IDs, subnets, SSIDs, port assignments and every firewall exception. In six months you will not remember why port 7 is untagged in VLAN 20.
The mDNS Fix That Keeps Casting Working
The moment you segment your network, casting stops working. Chromecast, AirPlay, printer discovery, speaker groups and most smart TV apps rely on multicast DNS, which is deliberately confined to a single broadcast domain. Your phone on VLAN 10 broadcasts a query looking for a speaker, and the speaker on VLAN 20 never hears it.
The fix is an mDNS repeater, sometimes labelled Avahi, Bonjour forwarding, or multicast relay in the router’s service settings. Enable it and select the two interfaces that need to see each other, typically the trusted VLAN and the IoT VLAN. The repeater forwards discovery packets across the boundary without opening general traffic between segments.
Two things to remember. First, the repeater only handles discovery; you still need a firewall rule allowing the actual media stream, usually from the trusted subnet to the specific device address. Second, never enable the repeater on your guest VLAN, or visitors will see and be able to cast to every speaker in the house. If discovery still fails after enabling it, check for IGMP snooping settings on the switch, which sometimes needs enabling for multicast to behave.
Testing and Verifying the Segmentation
- Check addressing. A device on the IoT SSID should receive an address in 192.168.20.x with the gateway at 192.168.20.1.
- Test outbound internet. The device should reach its cloud service normally and respond to app commands.
- Test blocked lateral movement. From a laptop temporarily joined to the IoT SSID, attempt to reach your NAS by IP address. Failure is the correct result.
- Test discovery. Cast something from a trusted phone to an IoT speaker or TV to confirm the mDNS repeater is doing its job.

Troubleshooting Common Problems
IoT devices get no IP address. DHCP is not running on the VLAN interface, or the switch port is tagged when it should be untagged. Access ports for end devices are almost always untagged.
You locked yourself out of the router. Connect directly to a LAN port assigned to the trusted VLAN. If that fails, most routers have a reset procedure that restores the last saved configuration or factory defaults.
Everything works but the internet is unreachable from VLAN 20. The outbound allow rule is probably sitting below the block rule. Firewall rules evaluate top down, so ordering matters more than content.
Casting works one way only. Media streams often flow from the device back to the phone. Add a return rule permitting the established session, or check that stateful inspection is enabled on the interface.
A hub cannot find its devices. Most hubs need to sit on the same VLAN as the devices they control. The cleanest arrangement is to place the hub in the IoT segment and allow only your phones to reach the hub’s web interface.
Common Mistakes to Avoid
The biggest mistake is creating the VLAN and never writing the firewall rules, which leaves everything routable between segments and delivers no security at all. A VLAN without rules is just a second subnet. The second mistake is broad exceptions: allowing all of VLAN 10 to reach all of VLAN 20 undoes half the protection in one line. Keep exceptions to specific addresses and ports. The third is forgetting that a compromised device can still attack outbound, so pair the VLAN with DNS filtering and consider blocking IoT devices from reaching arbitrary internet hosts if your firmware supports it. Finally, do not attempt this on hardware that cannot support it properly. Routers with real VLAN handling and WPA3 are the foundation, and our picks for the best secure Wi-Fi routers cover that ground. If you are still choosing the devices themselves, our smart switch buying guide explains which models play well with segmented networks, and the best routers for smart home comparison covers platforms with built-in IoT networks that give you most of this benefit with none of the configuration.
Frequently Asked Questions
Is a guest network the same as an IoT VLAN?
Close, but not identical. A guest network gives you isolation with almost no configuration, which is a fine starting point. A VLAN adds per-device firewall rules, its own DHCP scope and selective exceptions, which a guest network usually cannot provide.
Do I need a managed switch?
Only for wired devices. If every smart device in your home is wireless, a router with VLAN-tagged SSIDs handles the whole job without any switch changes.
Will segmenting slow my network down?
Inter-VLAN traffic passes through the router, so it is limited by routing throughput rather than switch speed. On modern hardware this is rarely noticeable, and most IoT traffic is tiny anyway.
Can I still control devices from my phone?
Yes. Cloud-based control works normally because IoT devices keep internet access. Local control needs either an mDNS repeater plus a targeted firewall rule, or your phone temporarily joining the IoT SSID.
How many VLANs should a home have?
Three is usually the sweet spot: trusted, IoT and guest. Adding more segments multiplies the rules you have to maintain without adding much real protection in a typical household.
Final Thoughts
An IoT VLAN turns a flat home network into a set of compartments, so a vulnerable camera or plug can no longer see your laptop or your file shares. Plan three segments, create the VLAN interface and DHCP scope, tag a dedicated IoT SSID, set switch ports correctly, and then write the firewall rules that actually enforce the boundary. Enable an mDNS repeater between the trusted and IoT segments so casting keeps working, test both the blocked and permitted paths, and document everything. It is an afternoon of work that quietly protects your network for the rest of 2026, and it becomes far easier to maintain if you build it on hardware designed for the job.









