
 Owen Bradley
 Bookshelf speakers rarely live on bookshelves. Put them on a wall instead and you free up furniture, tidy the cabling, and often improve the sound by getting the tweeters up to ear height where they belong. The catch is that a pair of standmounts can weigh 15 to 25 pounds each, and a bracket that pulls out of plasterboard takes the speaker, the paint and your afternoon with it. Learning to mount bookshelf speakers correctly means matching the bracket to the speaker’s mounting points, anchoring into something that can genuinely hold the load, and then setting height and toe-in so the pair still images properly once they are fixed in place.
Check Whether Your Speakers Can Be Wall Mounted
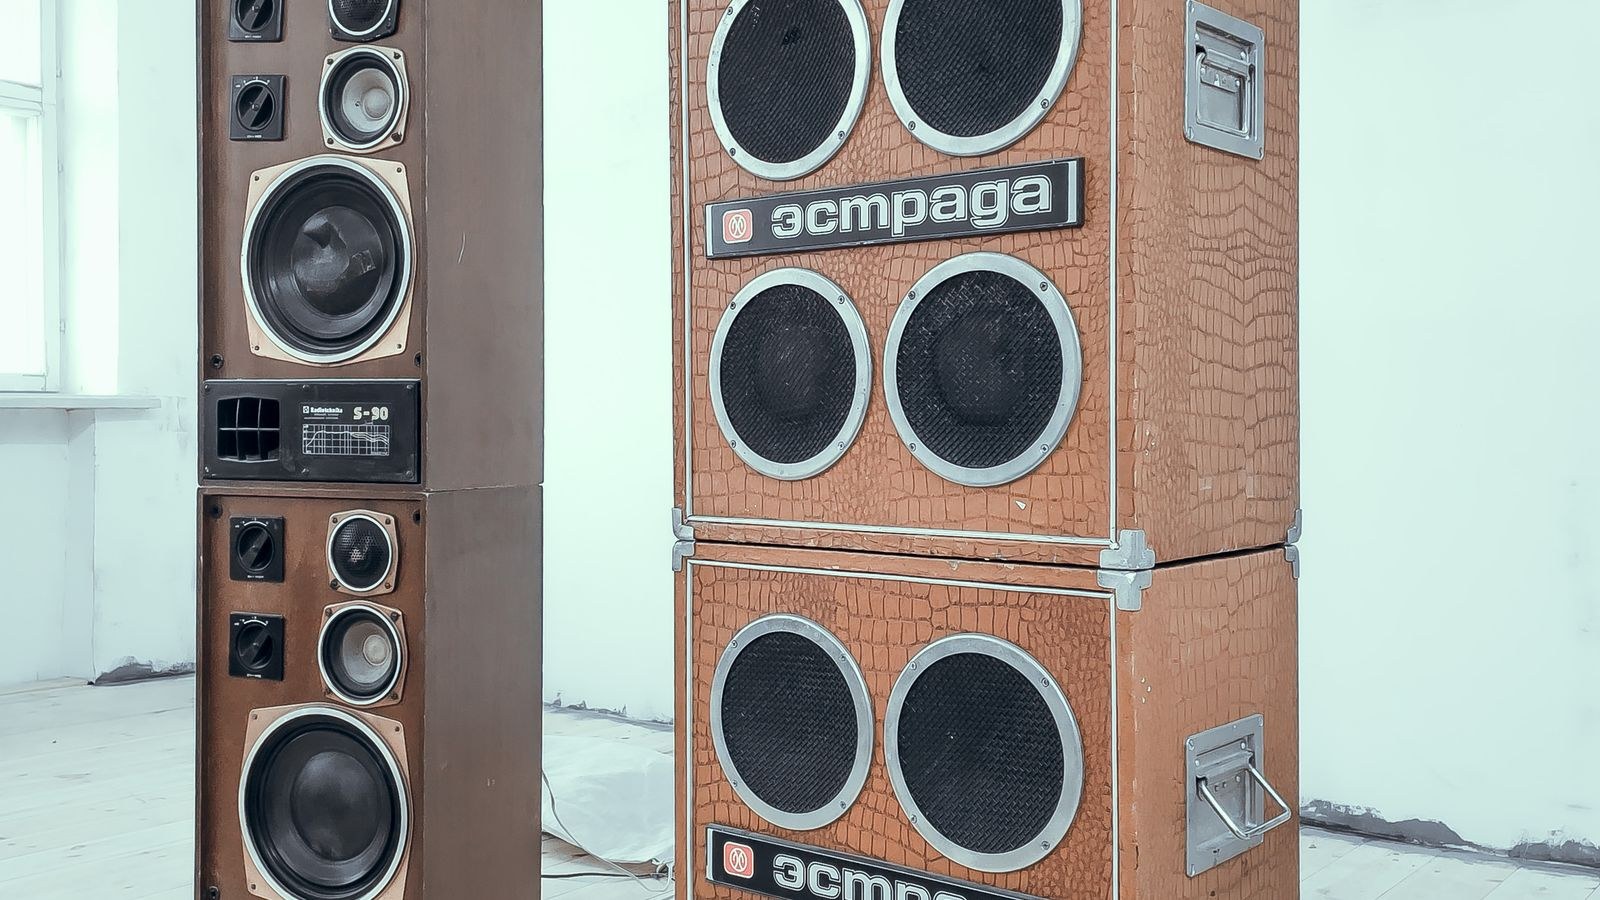
Not every bookshelf speaker is designed to hang. Look at the back panel for either a keyhole slot or threaded inserts, usually M6 or M8, often arranged as two points near the top and bottom. Threaded inserts are the strongest option because the bracket bolts directly into the cabinet’s internal bracing.
If the back is completely smooth, you need a cradle-style bracket that supports the speaker from underneath rather than bolting through it. Never drill your own holes into a sealed cabinet: you will break the airtight seal that the bass alignment depends on, and on a ported design you may hit internal bracing or the crossover board.
Also check the rear terminals. Speakers with large binding posts sticking straight out need a bracket that holds the cabinet several inches off the wall so cables can exit without being crushed. Models in our best bookshelf speakers roundup vary widely here, and the terminal layout often decides which bracket style will work.
Tools and Materials
- Wall brackets rated well above the speaker’s actual weight, ideally double.
- A stud finder, and a small bradawl to confirm a stud by feel.
- A drill with masonry and wood bits appropriate to your wall.
- Toggle bolts or heavy-duty anchors if you cannot hit a stud.
- A spirit level, tape measure, pencil and a socket or spanner set.
- Cable clips or trunking, plus speaker cable long enough for the finished route.
Step 1: Weigh the Speaker and Choose the Bracket
Find the actual weight in the manual rather than guessing. Then buy a bracket rated for at least twice that figure. Bracket ratings assume perfect installation into solid material, and real walls rarely cooperate, so headroom is not optional.
Choose the movement you need too. Fixed plates are the strongest and cheapest but lock the angle permanently. Tilt-and-swivel brackets let you aim the speaker at the seat, which matters far more with speakers mounted above ear level. Full articulating arms offer the most freedom but the least rigidity, and a speaker on a long arm can vibrate audibly at high volume. For a permanent stereo pair, a tilting plate is usually the sweet spot. If your listening position may change, freestanding speaker stands remain a more flexible alternative worth considering before you drill.
Step 2: Identify What Your Wall Is Made Of
- Tap the wall. A hollow sound means plasterboard over a timber or metal frame; a dull, solid sound means brick, block or concrete.
- Run a stud finder horizontally and mark both edges of each stud, then find the centre between them.
- Confirm with a small bradawl push through at the marked centre, in a spot the bracket will cover.
- Check for wiring and pipes with the stud finder’s live detection before drilling anywhere.
- Note the stud spacing, typically 16 or 24 inches on centre, which constrains where your speakers can go.
Fixing into a stud is always the best outcome. Where the ideal speaker position falls between studs, use heavy-duty toggle bolts, which spread the load behind the board, rather than plastic plugs, which simply crush the plasterboard over time.
Step 3: Decide Height and Position
The tweeter should sit at or very near seated ear height, which is usually 36 to 42 inches from the floor. Mounting higher is common in practice because wall space is limited, and that is exactly why a tilting bracket matters: angle the speaker downward so the tweeter axis points at your head.
- Keep both speakers at identical height, measured from the floor rather than the ceiling.
- Aim for a rough equilateral triangle between the two speakers and the listening seat.
- Pull the cabinets a few inches off the wall where possible; wall proximity boosts bass, sometimes to the point of boominess.
- Never block a rear port against the wall, which muddies the bass and can cause chuffing at volume.
- Avoid mounting hard into a corner unless the speaker is specifically designed for it.
Step 4: Mark, Drill and Fix the Bracket
- Hold the wall plate at the marked position and check it with a spirit level, then pencil the fixing holes.
- Measure the plate height from the floor and transfer that exact figure to the second speaker’s position.
- Drill pilot holes sized for your fixings: a wood bit slightly under the screw diameter for studs, the anchor’s specified size for toggles.
- Fit the wall plate and tighten the fixings fully, checking level again once the first screw is snug.
- Pull hard downward and outward on the mounted plate. It should not move or creak at all.
Do not attach the speaker until the plate passes that pull test. It is far easier to redo a fixing with nothing hanging on it.
Step 5: Attach the Speaker and Route the Cable
Bolt the speaker-side plate to the cabinet’s threaded inserts using the bolt length the bracket supplies. Too long a bolt can bottom out inside the enclosure or puncture the cabinet wall, so never substitute a longer bolt to make something reach. Tighten evenly and check the bracket sits flush against the cabinet with no gap.
Connect the speaker cable before you lift the speaker onto the wall plate, because reaching behind a mounted cabinet is awkward. Leave a small loop of slack so the cable never pulls on the terminals, then clip it neatly down the wall or into trunking. With satellite-style enclosures such as those in our best satellite speakers guide, the cable is often the heaviest thing acting on the cabinet, so dressing it properly matters.
Step 6: Set Toe-In and Listen
Toe-in is the horizontal angle at which each speaker points inward toward the seat. Start with both speakers aimed directly at the listening position, then experiment.
- More toe-in tightens the central image and reduces early reflections from side walls.
- Less toe-in widens the soundstage but can leave a vague centre.
- Adjust both speakers by the same amount, always, or the image will pull to one side.
- Recheck vertical tilt from the seat; you should be able to see the tweeter face square-on.
Purpose-designed wall speakers are voiced for boundary placement and need less correction, whereas a standmount designed for open space usually benefits from a small reduction in bass at the receiver once it is close to a wall.
Safety Notes
Always locate electrical cables and pipes before drilling, particularly above and below outlets and switches where cables run vertically. Wear eye protection when drilling masonry. Have a second person hold the speaker while you bolt it on rather than balancing it one-handed. Recheck every fixing after a few weeks, since plasterboard anchors can settle under sustained load, and again annually thereafter.
Common Mistakes
- Using the plastic plugs supplied in the box for a heavy speaker instead of proper toggle bolts.
- Drilling new mounting holes into a sealed cabinet and destroying the enclosure’s air seal.
- Mounting far above ear height with a fixed, non-tilting bracket.
- Pressing a rear-ported speaker flat against the wall and then blaming the speaker for boomy bass.
- Measuring the second speaker’s height from the ceiling on a wall that is not perfectly level.
Frequently Asked Questions
Can I mount speakers on plasterboard without hitting a stud?
Yes, with heavy-duty toggle or snap-toggle anchors rated well above the speaker weight. Avoid plastic expansion plugs entirely for anything over a few pounds.
Does wall mounting hurt sound quality?
It changes the bass response by adding boundary reinforcement, which is usually a mild boost. A small cut on the receiver, or moving the speaker a few inches off the wall, restores balance.
How high should wall-mounted speakers be?
Tweeters at seated ear height is ideal. Where that is impossible, mount higher and tilt downward so the tweeter axis still meets your ears.
Can I mount speakers on brick or concrete?
Yes, and it is the strongest option. Use a masonry bit and proper sleeve anchors, and let the drill do the work rather than forcing it.
What about very small speakers?
Lighter enclosures like those in our best compact speakers guide mount easily with modest brackets, but the same rules on height, tilt and port clearance still apply.
Final Thoughts
A good wall mount is mostly preparation. Confirm the speaker has real mounting points, buy a bracket rated at double the weight, find a stud or fit a proper toggle, and set both plates to the same measured height before anything hangs. Then treat the tuning as its own job: tilt the tweeters toward your ears, match the toe-in on both sides, and trim the bass slightly to account for the wall behind. Do all of that and a pair of standmounts on brackets will sound every bit as convincing as the same speakers on stands, while giving you back the floor space that started this whole project.









