
 Owen Bradley
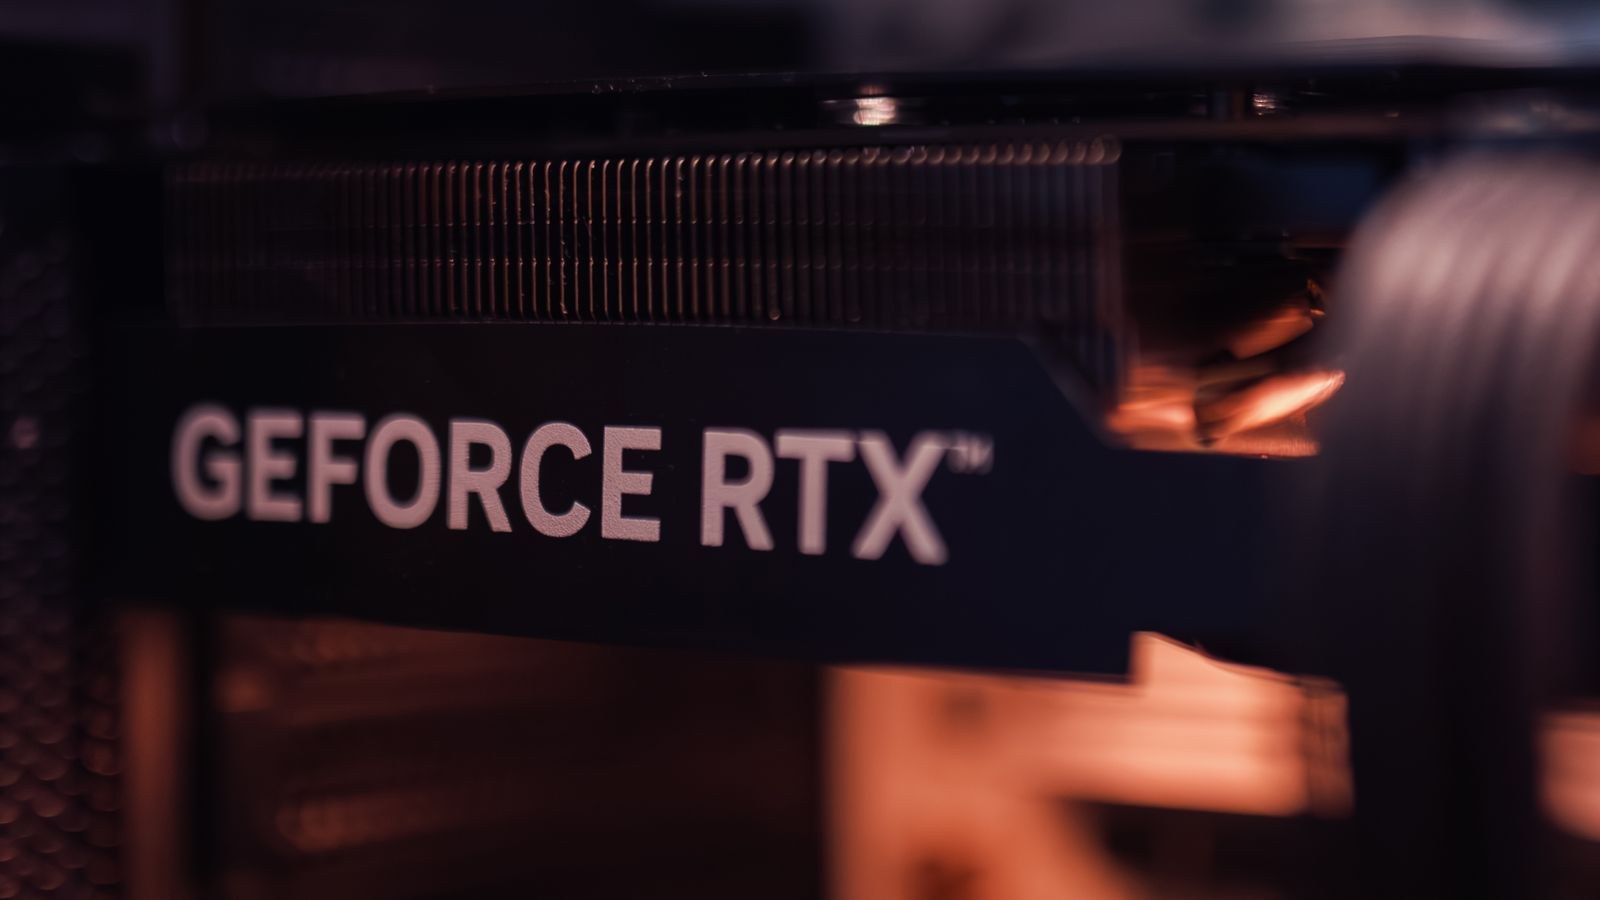
 A vertical GPU mount turns the graphics card from a hidden slab into the centrepiece of the build, showing the shroud, the branding and the lighting through the side panel instead of the underside and a bare backplate. Done well, it looks superb and costs almost nothing in performance. Done badly, it presses the card’s intake fans against tempered glass, adds ten degrees to your load temperatures, and introduces riser cable errors that look exactly like a failing card. This guide covers how to install a vertical GPU mount properly, from checking clearance before you buy to verifying link speed and temperatures once it is running.
What You Need Before You Start
- A vertical mounting bracket that matches your case. Some chassis include one; others sell a model-specific kit. Universal brackets exist but fit poorly in many cases.
- A PCIe riser cable rated for at least the generation your card and board support. This is the component people cheap out on and regret.
- A #2 Phillips screwdriver, magnetised if possible, since the expansion slot screws sit in an awkward spot.
- An anti-static strap or a habit of grounding on bare chassis metal before handling the card.
- A ruler or tape measure to check the gap between the mount position and the glass.
- Monitoring software for verifying link speed and temperatures afterwards.
Measure Clearance Before Buying Anything
The distance between the vertical mounting rail and the inside face of the side panel decides whether this project is worth doing. Measure it, then compare against the thickness of your card in slots. A two-slot card generally leaves usable breathing room in a mainstream tower; a three-slot or three-and-a-half-slot card frequently sits within a few millimetres of the glass, which strangles the intake fans. As a working rule, aim for at least 30mm of clear air in front of the fans, and treat anything under 20mm as a design that will throttle.
Case choice matters more than any other variable here. Chassis designed around vertical mounting position the rail further from the panel or offer a mesh side option. If you are planning the build rather than modifying an existing one, our roundup of the best vertical GPU PC cases covers chassis with the depth to do it properly, and the best PC cases with tempered glass highlights panels that show the card off without cooking it.
Choosing a Riser Cable That Will Not Cause Errors
The riser is the single most common source of trouble in a vertical build. A cable rated for an older PCIe generation may work at reduced speed, or may produce intermittent black screens, driver timeouts and boot failures that look for all the world like a dying graphics card. Buy a cable rated for the generation your motherboard and card negotiate, and prefer a shielded ribbon design from a known brand over the cheapest listing available.
Length matters too. Longer runs mean more signal loss, so pick the shortest cable that reaches comfortably without a tight bend. Ribbon risers tolerate a gentle curve but hate sharp folds and kinks, which damage the traces permanently. If you are also choosing the card itself, the best GPUs with RGB are the ones that actually reward vertical mounting visually, and the best GPUs for gaming list groups models by the frame rates they realistically deliver so you can weigh thickness against performance.
How to Install a Vertical GPU Mount Step by Step
- Shut down and cut power completely. Close everything, shut down normally, flip the switch on the back of the power supply, and unplug the mains cable. Hold the case power button for ten seconds to drain residual charge from the capacitors.
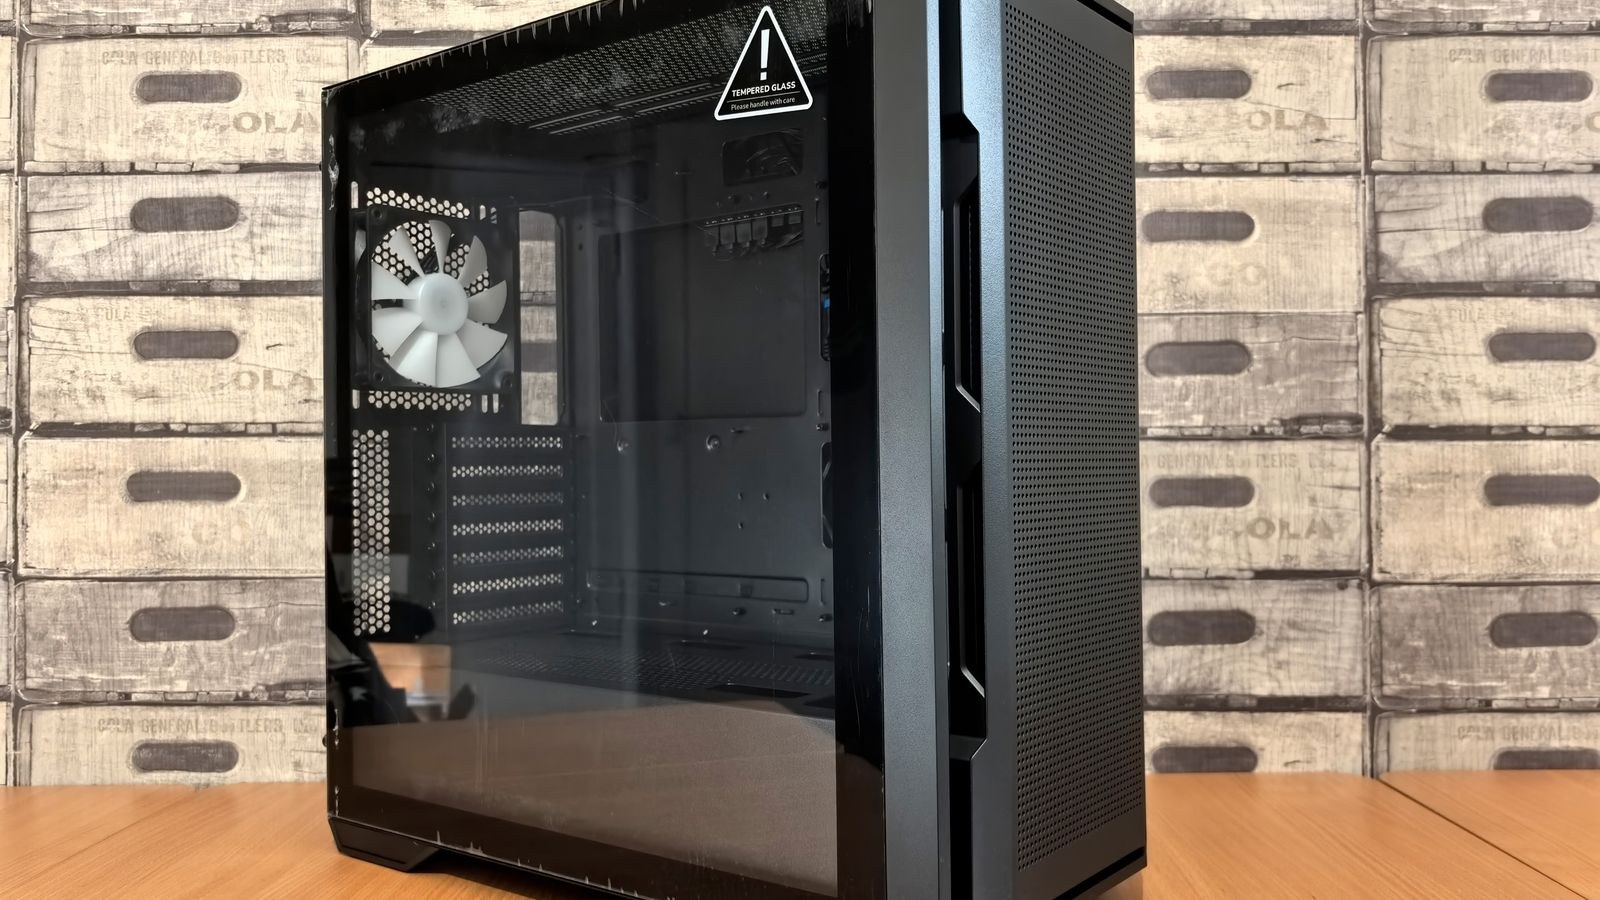
- Open both side panels and remove the glass. Take the tempered glass off entirely and set it somewhere it cannot be knocked over. Working around a mounted glass panel is how most of them get cracked.
- Remove the existing graphics card. Unplug its PCIe power leads, release the retention latch at the rear of the slot, and lift the card straight out without twisting. Set it on its box or an anti-static bag, fan side up.
- Remove the expansion slot covers. Vertical brackets usually occupy two or three slot positions plus the vertical rail. Unscrew the relevant covers and keep the screws, since you will need most of them for the bracket.
- Fit the vertical bracket. Line the bracket up with the case’s mounting holes and secure it with the supplied screws. Do not fully tighten yet. Leaving a little play lets you align the card’s rear I/O plate to the case cutout in the next step.
- Connect the riser to the motherboard slot. Seat the riser’s card-edge connector in the primary PCIe x16 slot until the retention latch clicks, exactly as you would with a card. Confirm it is fully home along its entire length; a partially seated riser is the classic cause of a build that will not post.
- Route the riser cable with a gentle curve. Guide it toward the bracket following the widest arc the case allows. Never fold it, never crease it, and never run it across a sharp chassis edge. If the cable fights you, it is too short or the wrong orientation for your case.
- Mount the graphics card onto the bracket. Slide the card into the riser’s slot until it latches, then screw the card’s I/O bracket to the vertical rail. Now go back and tighten the bracket’s own mounting screws with everything aligned.
- Reconnect PCIe power. Use separate cables from the power supply where the card requires more than one connector, rather than daisy-chaining two plugs from a single lead. Route the leads so they do not press against the fan blades or the glass.
- Test-fit the glass panel before final assembly. Offer the panel up and check that nothing touches the card, especially the power connectors, which often protrude further than the shroud. If the connectors contact the glass, the build needs a right-angle adapter or a different case rather than force.
- Boot and check link speed in firmware and software. Enter the firmware first, confirm the card is detected, then load the operating system and use a monitoring utility to check the current PCIe link generation and width. It should show x16 at your card’s native generation under load.
- Run a temperature test. Load the card for at least twenty minutes with a demanding game or a stress tool, and record peak temperatures. Compare against the numbers you saw horizontally. A rise of a few degrees is normal; anything approaching ten degrees means the card is not getting enough air.
Safety and Handling Notes
Handle the riser cable by its connectors, never by pulling on the ribbon. Ground yourself before touching either the card or the riser, since both are static-sensitive and the damage is invisible until something misbehaves weeks later. Keep the tempered glass panel flat and supported whenever it is off the case, since these panels shatter from edge impacts. And never force a card against a panel that will not close.
Fixing Airflow After Vertical Mounting
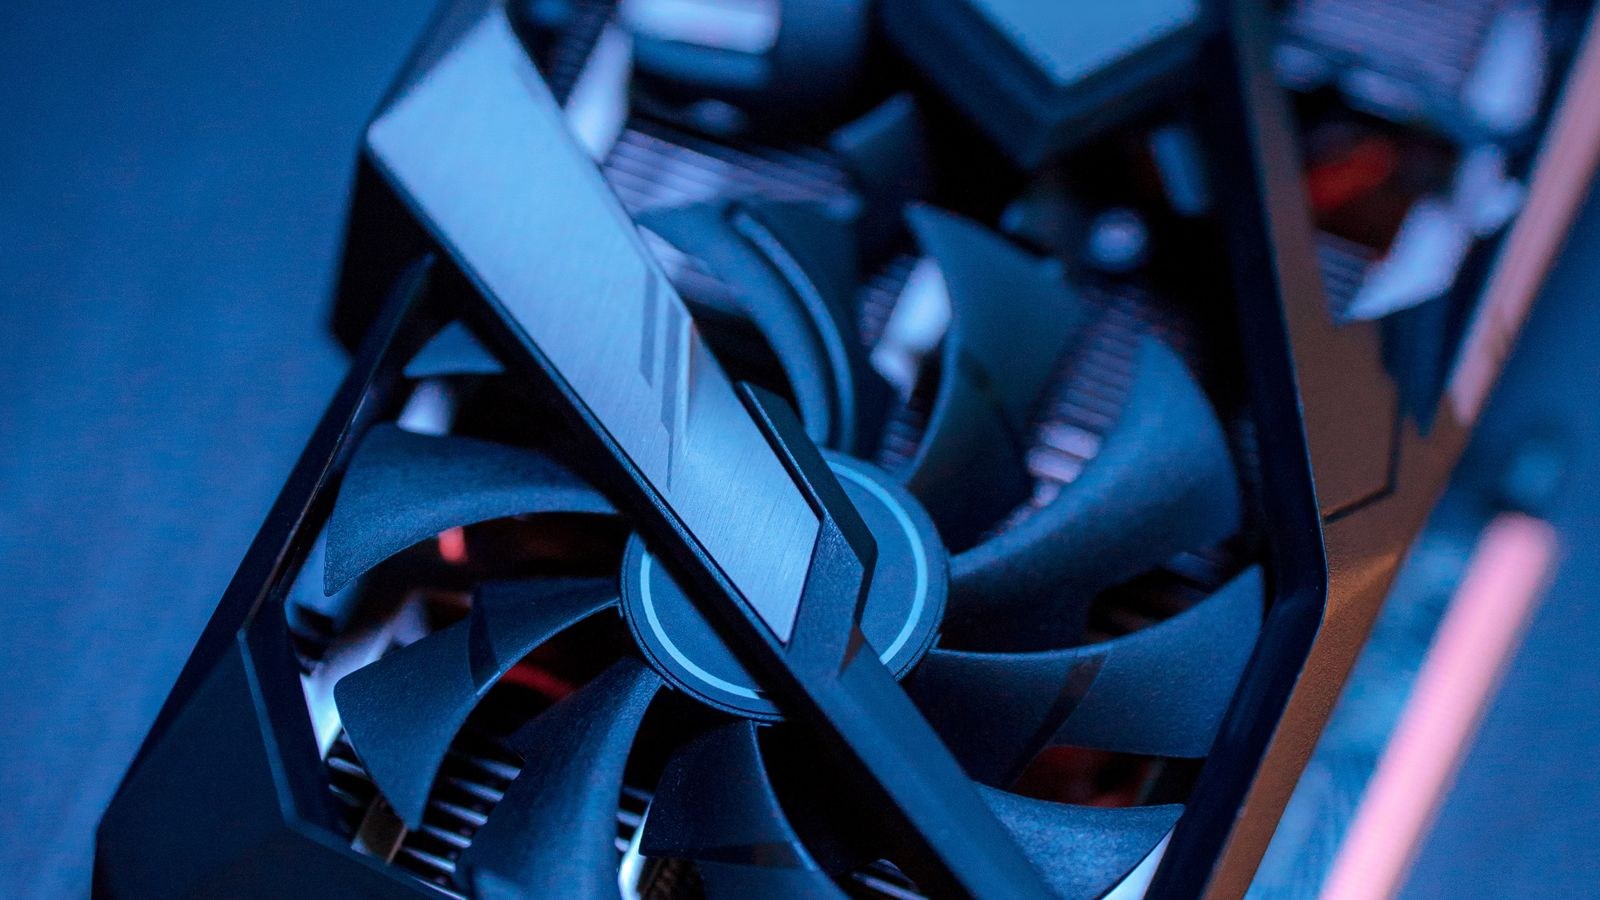
Vertical mounting turns the card ninety degrees so its intake fans face the side panel instead of the case floor. In a glass-fronted chassis with limited clearance, those fans end up recycling their own hot exhaust. There are several practical fixes. Swap to a mesh or ventilated side panel if your case offers one. Add intake fans on the floor of the case blowing upward into the card. Reduce the fan curve’s aggressiveness slightly to cut turbulence in the narrow gap, which sometimes lowers temperatures counter-intuitively. And if the case simply lacks depth, accept that a horizontal mount will always cool better.
If you are rebuilding around the aesthetic anyway, matching the chassis to the goal saves a lot of compromise later. The best RGB PC cases pair lighting with the ventilation needed to keep a vertically mounted card comfortable rather than forcing you to choose between looks and thermals.
Troubleshooting a Vertical GPU That Will Not Work
If the machine does not post, reseat both ends of the riser first. A riser that looks seated but sits a millimetre proud is the most common fault. If the system posts but the display stays black, check that the monitor cable is plugged into the card rather than the motherboard, since the vertical position moves the ports.
If the card is detected but reports a lower PCIe generation than expected, the riser is either underrated or damaged. Some motherboards let you force a lower generation in firmware, which restores stability on a marginal cable at a small performance cost. Random black screens and driver timeouts under load almost always trace back to the riser rather than the card; test by reinstalling the card horizontally for a day and seeing whether the fault disappears.
Common Mistakes to Avoid
- Buying the bracket before measuring clearance. A thick card in a shallow case cannot be fixed by any bracket.
- Using a cheap or older-generation riser. The saving is trivial and the symptoms are maddening to diagnose.
- Folding or kinking the ribbon cable. The damage is permanent and often intermittent, which is worse than a clean failure.
- Daisy-chaining PCIe power connectors. Fine on modest cards, a source of shutdowns on power-hungry ones.
- Skipping the temperature comparison. Without a before-and-after figure you have no idea what the change actually cost you.
- Forcing the glass panel closed. If a connector touches the glass, the panel is under stress every time you move the case.
Frequently Asked Questions
Does a vertical GPU mount reduce performance?
Not directly. The riser itself costs nothing measurable when it is rated correctly. Any performance loss comes from higher temperatures causing the card to throttle, which is a clearance problem rather than a mounting one.
How much clearance does a vertical card need?
Aim for at least 30mm between the fans and the side panel. Below about 20mm the intake starts to starve and load temperatures climb noticeably in most builds.
Can I use any riser cable?
No. Match the cable to the PCIe generation your card and motherboard negotiate, and choose the shortest shielded run that reaches without a tight bend. Underrated cables cause link errors and black screens.
Will vertical mounting void my warranty?
Mounting the card in an approved bracket does not modify the card, so it does not normally affect its warranty. Damage caused by forcing a panel closed against the connectors is another matter entirely.
Final Thoughts
A vertical GPU mount is worth doing when the case was designed for it and the card is slim enough to breathe. Measure the clearance first, buy a riser rated for your generation rather than the cheapest one listed, route it with a gentle curve, and verify both the link speed and the load temperatures before you call the job finished. If the numbers come back a few degrees warmer, you have a great-looking build with no real cost. If they come back ten degrees warmer, the honest answer is to add side ventilation or return the card to its horizontal slot. Approached that way in 2026, vertical mounting is a genuine upgrade to how a build looks rather than a trade against how it performs.









