
 Owen Bradley
 Two-way audio turns a security camera from a passive recorder into something you can actually use in the moment. Instead of watching a delivery driver leave a parcel in the rain, you tell them to tuck it behind the planter. Instead of reviewing footage of the dog on the sofa, you say something and the dog gets off. The feature is standard on most modern cameras, yet plenty of people never get it working properly — the audio is one-way, badly delayed, or so full of echo that neither side can hold a conversation. This guide covers enabling two-way audio, granting the right permissions, positioning the camera for intelligible sound, and fixing the echo, latency, and privacy issues that come with it.
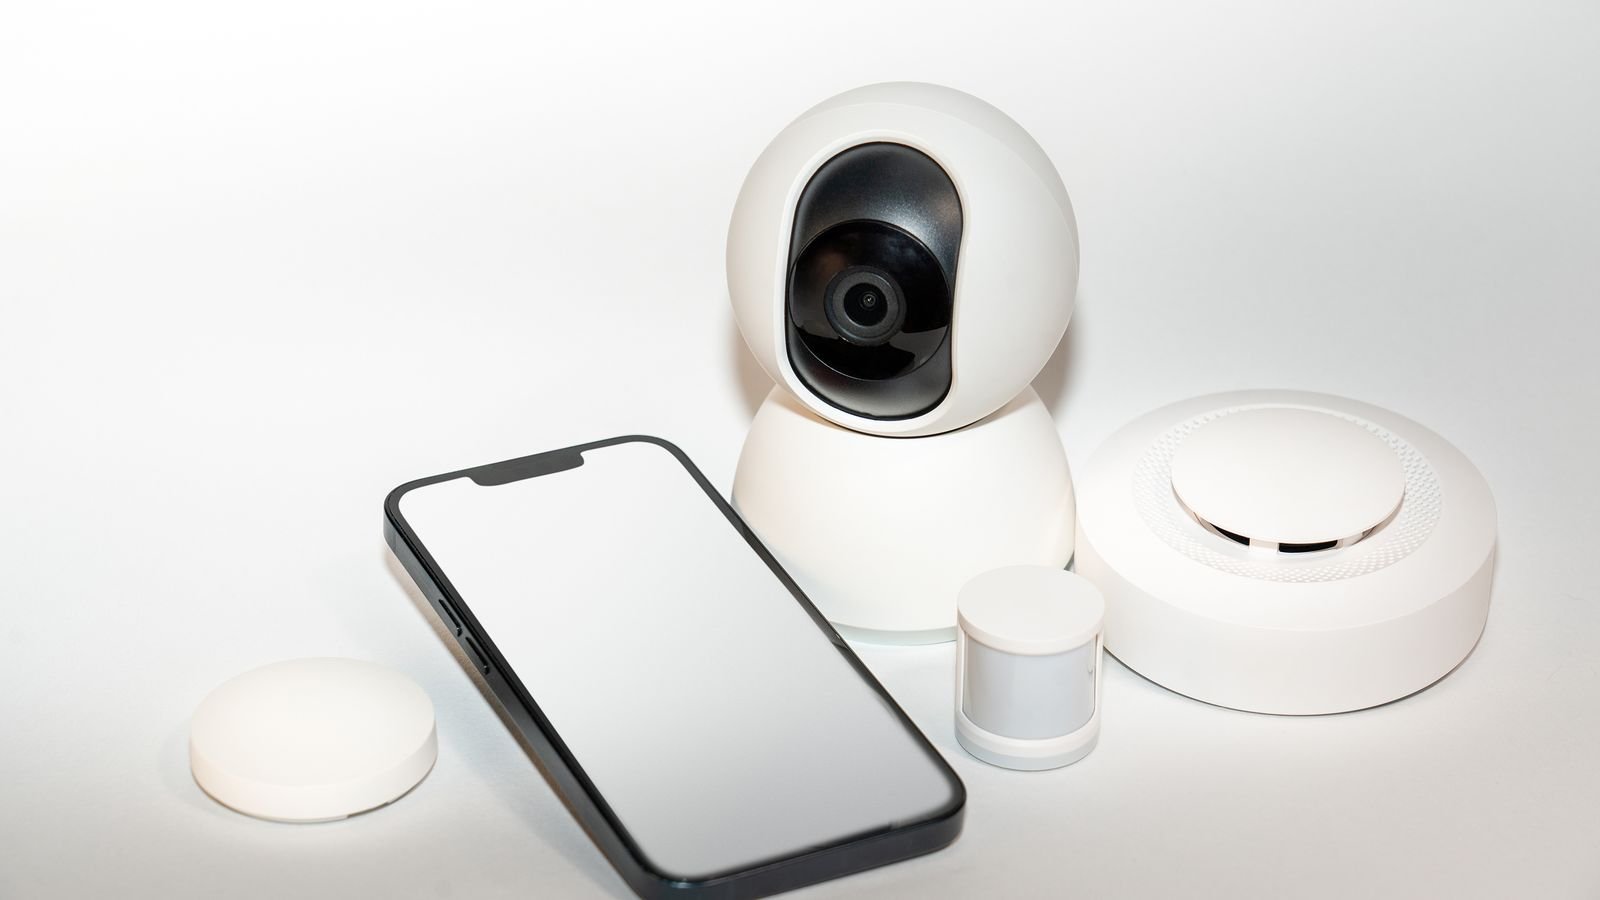
How Two-Way Audio Actually Works
Two-way audio means the camera has both a microphone and a speaker, and your app can carry sound in both directions. There are two modes, and knowing which your camera uses explains most of the frustration people hit.
- Half-duplex works like a walkie-talkie. You hold a button to talk, release it to listen, and only one direction is live at a time. It is far more common on battery and lower-cost cameras because it avoids echo and saves power.
- Full-duplex carries both directions simultaneously, like a phone call. It requires echo cancellation in the camera’s firmware and more processing, so it appears mostly on wired and premium models.
If your camera is half-duplex and you try to talk over the other person, neither will be heard. That is not a fault — it is the design. Check the specification before assuming something is broken. If audio quality is a priority for you, it is worth comparing microphone and speaker performance among the best security cameras with audio, because speaker output volume in particular varies enormously between models.
What You Need Before You Start
- A camera that explicitly supports two-way audio, not just audio recording
- The manufacturer’s app, updated to the current version
- Current firmware on the camera itself
- A stable connection at the camera — audio is far more sensitive to jitter than video
- Microphone permission granted to the app in your phone’s system settings
- A second person, or a second phone, for realistic testing
Step-by-Step: Enabling and Configuring Two-Way Audio
- Update firmware and app first. Audio handling is one of the most frequently patched areas of camera firmware. Open the device settings, check for an update, and let it complete before changing anything else. Update the phone app too.
- Grant microphone permission at the operating system level. On both iOS and Android, an app can be installed and logged in yet still be blocked from the microphone. Go into your phone’s settings, find the camera app, and confirm microphone access is allowed. This single step resolves a large share of “the talk button does nothing” reports.
- Enable audio in the camera’s settings. Many cameras ship with the microphone disabled by default for privacy or regional compliance reasons. Find the audio or sound section in device settings and switch on both the microphone and the speaker.
- Set the speaker and microphone levels. Most apps expose a speaker volume for outgoing audio and a microphone sensitivity for incoming. Start the speaker around three-quarters and the mic sensitivity at the default. Cranking both to maximum is the fastest route to distortion and feedback.
- Open the live view and locate the talk control. It is usually a microphone icon at the bottom of the stream. Tap it once to activate the session — some apps require a second tap or a press-and-hold depending on duplex mode.
- Test the outgoing direction. Have someone stand near the camera while you speak from another room. Ask them whether you are loud enough and whether the words are clear, not merely audible. Adjust speaker volume accordingly.
- Test the incoming direction. Have them speak at a normal conversational volume from about six feet away — a realistic distance for a doorstep. If you cannot make out the words, raise microphone sensitivity or reposition the camera closer to where people stand.
- Reduce your own device’s contribution to echo. Lower your phone’s media volume, or better, use headphones while testing. Most reported echo is your phone’s speaker feeding back into your phone’s microphone, not a camera fault at all.
- Configure notification behavior. Enable sound alerts if you want the camera to notify you when it detects noise, and set a threshold so ordinary household sound does not trigger it. Some cameras let you jump straight into a talk session from the notification, which is worth enabling.
- Set up quick replies if available. Many cameras offer pre-recorded messages such as “please leave the package by the door.” These fire instantly with no talk latency and are genuinely more useful than live audio for routine situations.
- Test on cellular, not just home Wi-Fi. The scenario you actually care about is talking to someone at your door while you are out. Leave the house or turn Wi-Fi off on your phone and repeat the test. Latency over cellular is usually higher and worth knowing about in advance.
Positioning the Camera for Good Audio
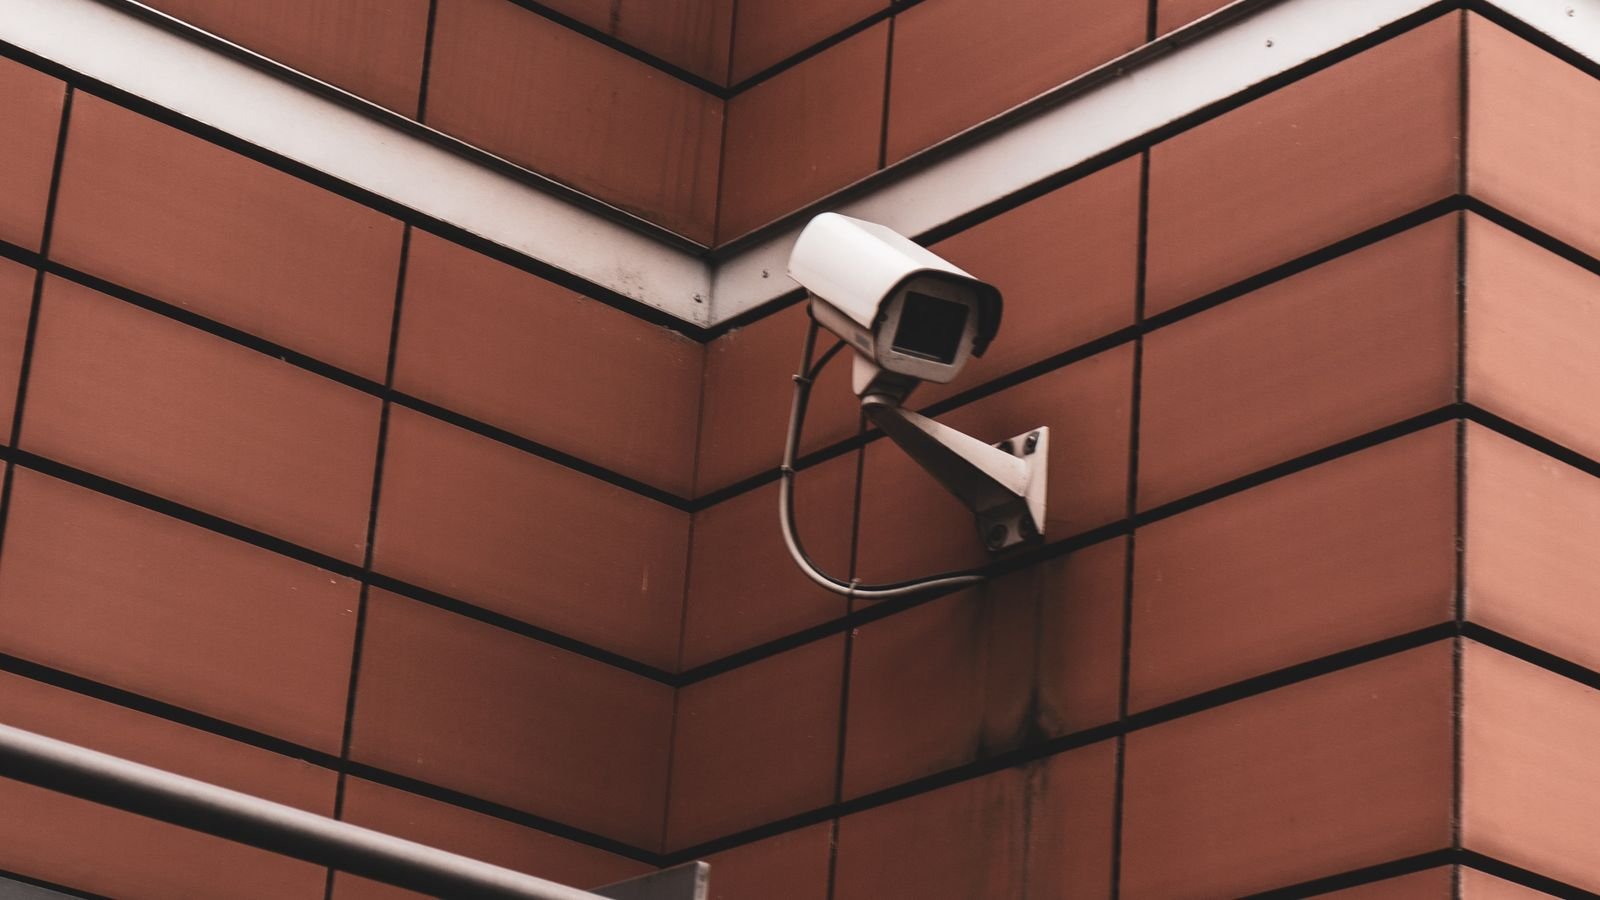
Video framing and audio quality want different things, and people almost always optimize for video alone. A camera mounted high and far back gives a wide view and terrible sound. A few adjustments help a lot.
- Keep the camera within roughly ten feet of where a person will stand. Microphone quality falls off sharply with distance.
- Do not point the microphone side at a busy road, an air conditioning unit, or a pool pump. Constant broadband noise swamps speech.
- Avoid enclosed hard-surfaced spaces such as a tiled porch alcove, which produces reverb that destroys intelligibility.
- Do not mount the camera where wind hits the microphone directly. A slight recess under an eave dramatically reduces wind noise.
- Keep the speaker aimed toward the person, not into the wall.
Troubleshooting Common Audio Problems
The talk button is greyed out. Either the app lacks microphone permission, the camera’s audio is disabled in settings, or the stream has not fully connected. Check permissions first.
They can hear me but I cannot hear them. Microphone sensitivity is too low, or the camera microphone port is blocked by dirt, a spider web, or a protective film left on from the box. Check for the film — it happens more than you would think.
Severe echo. Reduce your phone’s speaker volume or use headphones. If the echo persists in half-duplex mode, you are likely holding the talk control while ambient sound loops.
Long delay before audio starts. Battery cameras sleep to conserve power and need a few seconds to wake, connect, and open the audio channel. Wired cameras on a stable connection are much faster. This is a hardware trade-off, not a setting.
Audio cuts out mid-sentence. Weak signal at the camera. Check the signal strength readout in the app; below roughly two bars, audio degrades before video does.
Robotic or choppy sound. Network congestion or packet loss. Try the camera on a 2.4 GHz band for range, or on 5 GHz for less congestion, depending on distance.
Privacy and Legal Considerations
Audio recording is regulated more strictly than video in many jurisdictions. Some regions require all parties to consent to a recorded conversation, and a camera that continuously records audio in a shared or public-facing space can fall foul of that. A few practical guidelines:
- Check local law before enabling continuous audio recording on an outward-facing camera.
- Consider a visible notice that audio and video recording is in use.
- Avoid pointing cameras with live microphones at a neighbour’s property or a shared hallway.
- Disable microphones on cameras in private areas of the home, and tell houseguests what is recording.
- Two-way talk that is not recorded is generally treated differently from continuous recording — but do not rely on that without checking.
Frequently Asked Questions
Why can I only talk or listen, never both at once?
Your camera uses half-duplex audio. Press to talk, release to listen. This is a hardware and firmware limitation, not something you can change in settings.
Does two-way audio work over cellular data?
Yes, provided the camera has internet access and your phone has a workable data connection. Expect slightly more latency than on Wi-Fi.
Can I disable the microphone but keep video recording?
On almost every camera, yes. Audio and video are independent toggles in the settings, which is useful for privacy compliance.
Why is the camera speaker so quiet outdoors?
Small speakers lose out to ambient noise. Raise the volume setting, and if it is still insufficient the camera simply lacks the output power — that varies a lot between models.
Does two-way audio drain the battery faster?
Yes, noticeably. Each talk session wakes the radio and drives the speaker. Frequent use on a battery camera shortens the charge interval considerably.
Final Thoughts
Getting two-way audio working well is a short checklist rather than a project: update the firmware, grant the app microphone permission at the system level, enable audio in the camera settings, set sensible levels rather than maximum ones, and test in both directions with a real person at a realistic distance. Then handle the physical side — keep the camera close enough, out of the wind, and away from constant noise sources. Add quick-reply messages for the routine cases and check your local rules on audio recording. Do that, and the feature stops being a novelty and becomes the part of the camera you use most.









