Owen Bradley
 Reupholstering a dining chair seat is the rare home project that genuinely delivers a dramatic result for very little money, skill, or time. Most dining chairs use a drop-in seat pad: a plywood base wrapped in foam and fabric that simply lifts out once four screws are removed. There is no frame work, no springs, no webbing to retie. If you can cut a rectangle of fabric and operate a staple gun, you can transform a tired set of six chairs over a weekend, and a single chair really does take about an hour once you have done the first one. This guide walks through the whole process, including the corner fold that separates a neat job from a lumpy one.
Check That Your Chair Is a Candidate
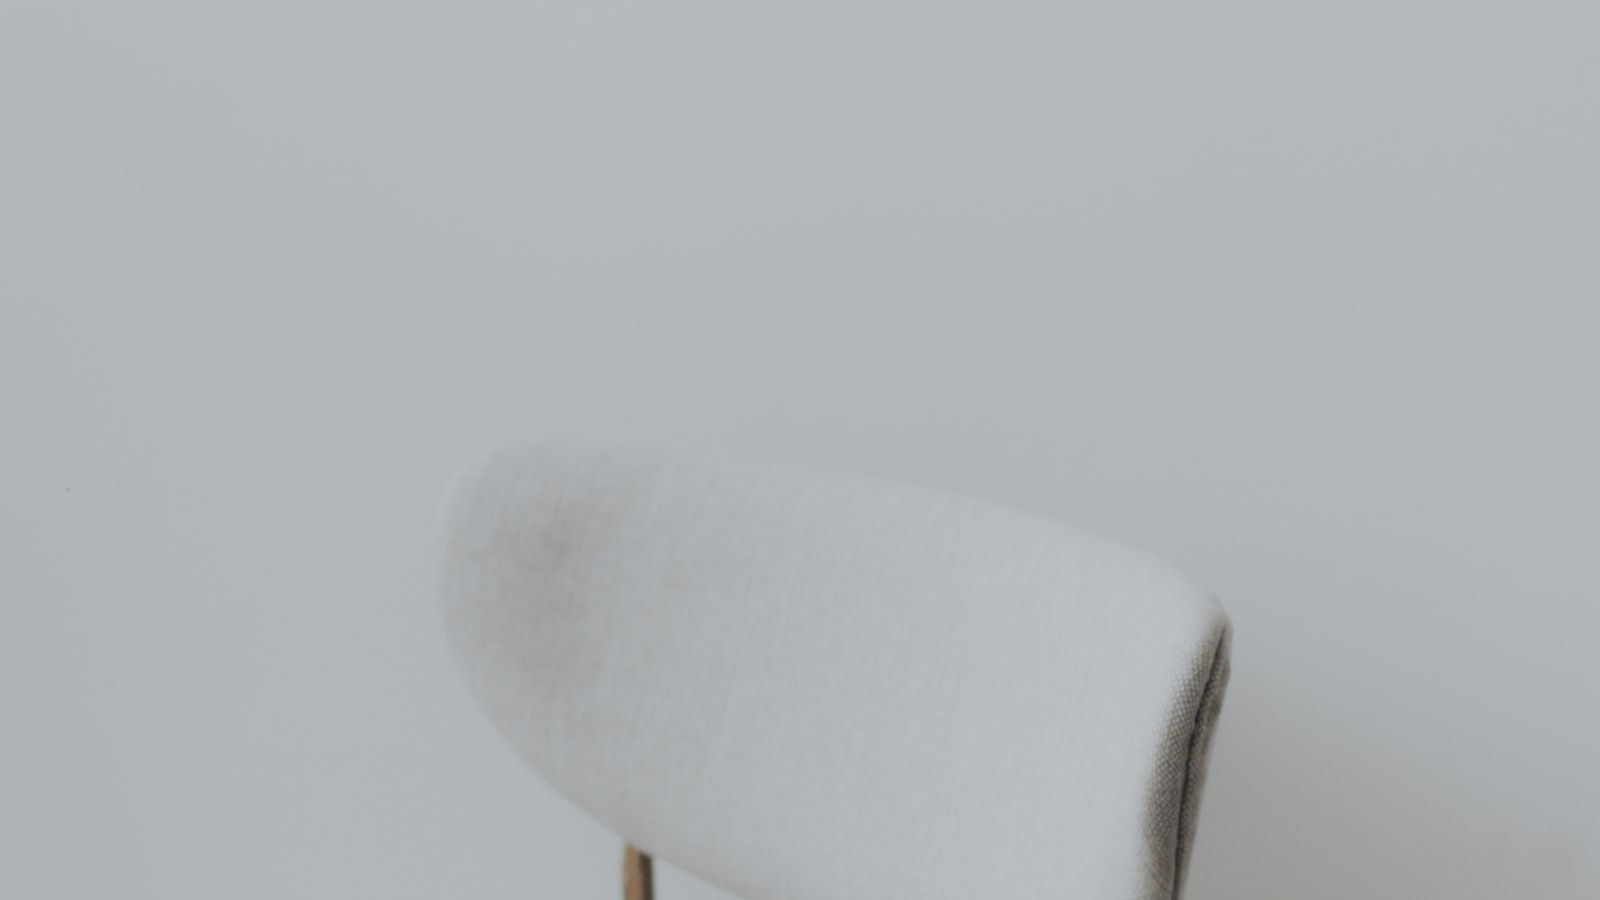
Turn the chair upside down and look at the seat. If you see a plywood or particleboard panel held to the frame by four screws in the corners, you have a drop-in pad and this project is straightforward. If the fabric is stapled directly to the chair frame itself, or if you can see coil springs and webbing, that is a fully upholstered seat and a considerably bigger job requiring the frame to be stripped in place.
Also assess the pad while you have it out. Plywood that is delaminating or particleboard that has swollen and crumbled around the screw holes should be replaced, which is a simple matter of tracing the old pad onto fresh 12mm plywood and cutting to the line with a jigsaw.
Tools and Materials
- Fabric. About half a yard per chair for a standard seat, or one yard for two. Buy a little extra if the pattern needs matching.
- A staple gun. A manual heavy-duty gun works, but an electric or pneumatic model is far less tiring across six chairs.
- Staples, typically 8mm or 10mm depending on your base thickness.
- New foam if the old is compressed: 5cm high-density foam is the usual choice for dining seats.
- Batting or wadding to soften the foam edges and stop them printing through the fabric.
- A screwdriver or drill to remove the seat, and a staple remover or flathead and pliers for the old staples.
- Sharp fabric scissors, a tape measure, and a marker.
- Optional but worthwhile: a fabric protector spray and a dust cover for the underside.
Choosing the Right Fabric
Dining seats take more abuse than almost any other upholstery in a home, so durability matters more than looks. Check the rub count, measured in double rubs, and aim for at least 15,000 for family use. Anything below 9,000 is intended for decorative furniture only and will pill within a year at a dining table.
Woven fabrics outlast prints, since the colour runs through the yarn rather than sitting on the surface. Performance fabrics with a stain-resistant finish are worth the premium in a household with children. Avoid loose weaves and delicate silks, which snag on belt buckles and pull. Velvet looks superb and wears well in the right pile weight, though it shows pressure marks; if that is the direction you are heading, the best velvet chairs guide explains which pile constructions cope with daily use. For a broader survey of upholstery types and how they age, the best fabric chairs roundup is a useful reference before you commit to a bolt.
Step by Step: Reupholstering the Seat
- Remove the seat pad. Turn the chair upside down onto a protected surface and take out the four corner screws. Keep them together in a pot; they are easy to lose and rarely a standard size. Lift the pad free.
- Photograph the underside before you strip it. The existing corner folds are a template for what you are about to do, and it is genuinely useful to have a reference.
- Strip the old fabric. Prise out the staples with a staple remover or a flathead screwdriver, levering them up and pulling with pliers. Work around the perimeter and lift the fabric away in one piece if you can, because it makes an excellent pattern for cutting the new one. Remove every staple; a single one left behind creates a lump you will feel through the new cover.
- Assess and replace the foam. Press the existing foam with your thumb. If it does not spring back, it is finished. Cut new foam to the exact size of the plywood using an electric carving knife or a long serrated blade, and glue it down with spray adhesive.
- Add a layer of batting. Lay it over the foam and wrap it around the edges, stapling lightly on the underside. This rounds the hard foam corners and stops them printing sharp lines through the fabric.
- Cut the new fabric with generous overhang. Lay the pad face down on the reverse of the fabric and mark a line at least 8cm beyond the pad edge on all sides. More overhang gives you something to grip when pulling tight; too little and you will run out of material at the corners. Check pattern direction before cutting, and centre any motif on the seat.
- Staple the first two opposite sides. Place the pad face down on the fabric. Pull the fabric up over the back edge and fire one staple in the centre. Move to the opposite front edge, pull firmly to create even tension, and staple the centre there. Work outward from those centre staples toward the corners, alternating sides, spacing staples every 4 to 5cm and keeping tension consistent.
- Repeat on the remaining two sides, again starting at the centres and working outward, stopping about 5cm short of each corner.
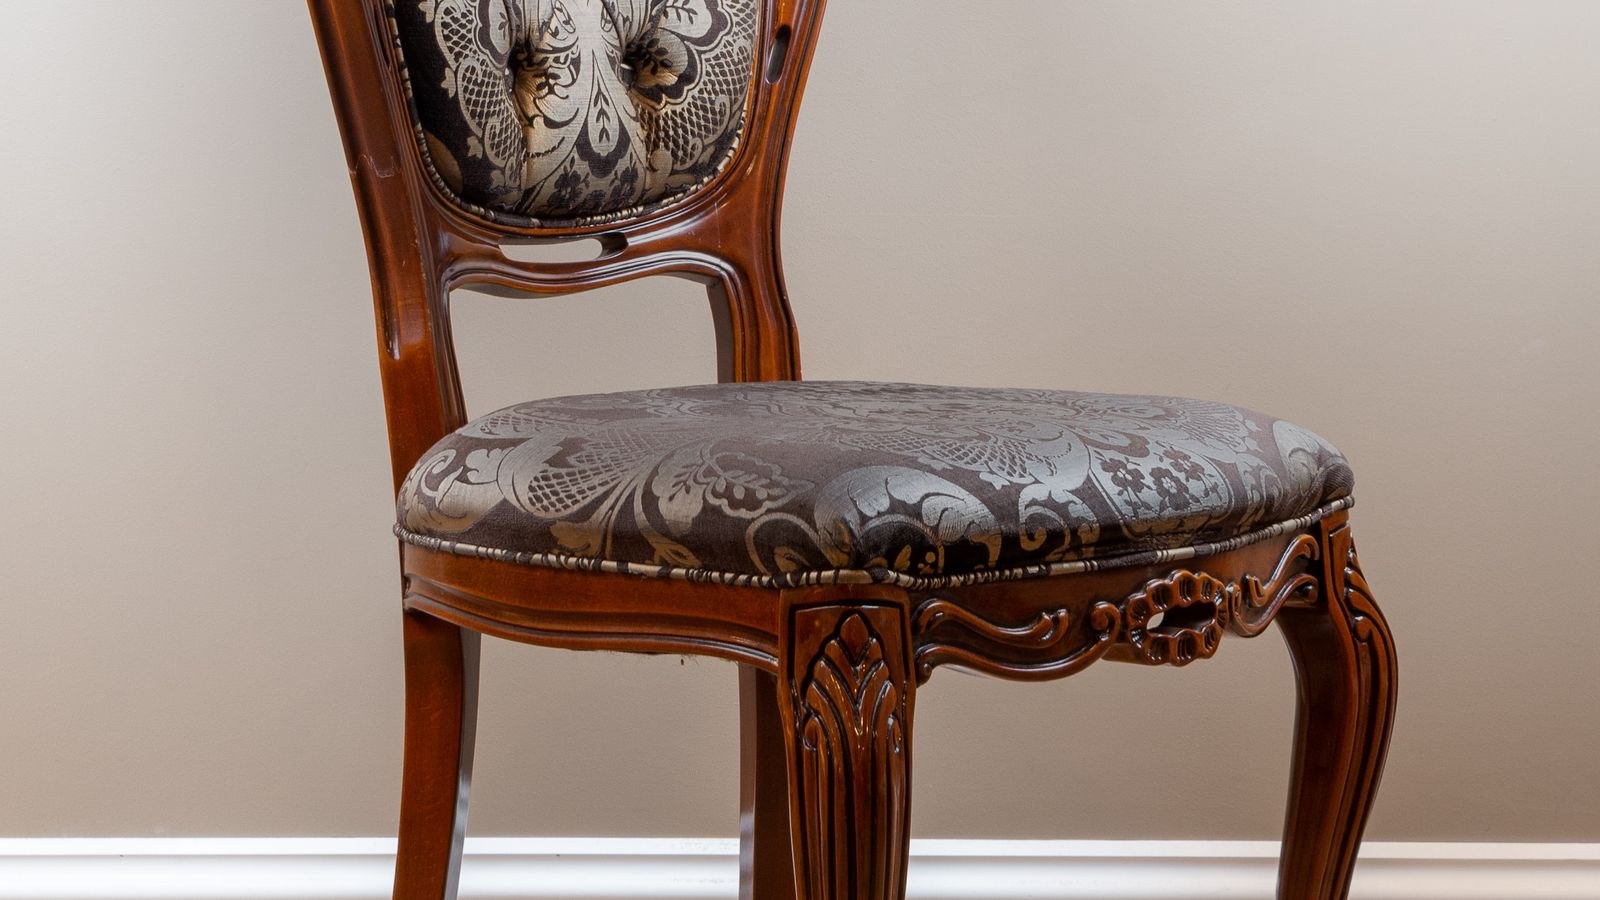
- Fold the corners. This is the part that determines whether the finished chair looks professional. Pull the point of the corner straight up and staple it down first, then fold each of the two remaining flaps inward like wrapping a parcel, creating a single neat pleat on each side. Trim bulk from inside the fold before stapling so the corner is not thick and lumpy. Square seats take a simple double pleat; rounded corners need the excess eased in with several small gathers rather than one large fold.
- Trim the excess and check the front. Cut the surplus back to about 2cm from the staple line. Turn the pad over and inspect for wrinkles, uneven tension, or a pattern that has pulled off-square. Any fault here is worth removing a few staples to correct, because it will annoy you every time you look at the chair.
- Add a dust cover if you want a tidy finish. A rectangle of black cambric stapled over the underside with the edges folded under hides all the raw edges and staples.
- Refit the seat. Drop the pad back into the frame, check the alignment and that it sits level, then drive the four screws back in. Do not overtighten into the plywood or you will strip the holes.
Tips That Make the Difference
- Do one chair completely before starting the rest. You will learn something on the first that improves all the others, and it is far easier to change approach after one than after six.
- Keep tension even rather than maximum. Pulling as hard as possible distorts the weave and can tear the fabric at the corners. Firm and consistent beats tight.
- Always work from the centre outward, never from one corner around. Starting at a corner guarantees the fabric ends up skewed.
- Check pattern alignment across the whole set. Stripes and directional prints must run the same way on every chair or the room looks subtly wrong.
- Buy all your fabric in one order. Dye lots vary, and a mid-project reorder can leave you with two chairs a shade off from the others.
- Apply fabric protector before refitting, when the seat is off the chair and easy to spray evenly outdoors.
Common Mistakes
- Cutting the fabric too small. The most frequent and most frustrating error, and it cannot be fixed. Always leave generous overhang.
- Leaving old staples in the base, which telegraph as bumps through new foam.
- Reusing dead foam to save money, then wondering why the seat is still uncomfortable.
- Choosing a low rub-count decorative fabric that looks beautiful for one season and worn out by the next.
- Bulky corner folds that stop the pad seating flush in the frame.
When to Recover Versus Replace
Recovering makes sense when the chair frame is solid, the joints are tight, and only the fabric is tired. It is fast, cheap, and keeps well-made furniture in service. It stops making sense when frame joints are loose or split, when a wooden chair has been reglued repeatedly, or when the chairs were inexpensive flat-pack pieces to begin with, because the labour outweighs their value. If you land in that category, comparing the best dining chairs and the best kitchen chairs will show which construction methods survive a decade of daily use, while the best wood chairs guide covers solid-timber frames that are worth recovering again in ten years.
Frequently Asked Questions
How much fabric do I need per chair?
Roughly half a yard for a typical drop-in dining seat, allowing 8cm of overhang on every side. Add extra for large repeating patterns that need matching across a set.
Can I staple new fabric over the old?
It is possible on a single thin layer, but it is a false economy. The extra bulk makes the pad sit proud in the frame, and old stains and odours stay trapped underneath.
Do I need to replace the foam?
Only if it no longer springs back when pressed. Foam that has flattened will feel exactly as uncomfortable under new fabric as it did under the old, so it is worth the small cost while the seat is apart.
Final Thoughts
Reupholstering a dining chair seat rewards patience in three specific places: cutting the fabric with enough overhang, stapling from the centre of each side outward so tension stays even, and taking your time over the corner folds. Everything else is straightforward. Choose a durable woven fabric rated for heavy domestic use, replace tired foam while the seat is apart, and finish the first chair completely before you touch the rest. Do that and a set of dated chairs becomes the freshest thing in the room for a fraction of replacement cost, making it one of the best value projects you can take on this 2026.