
 Owen Bradley
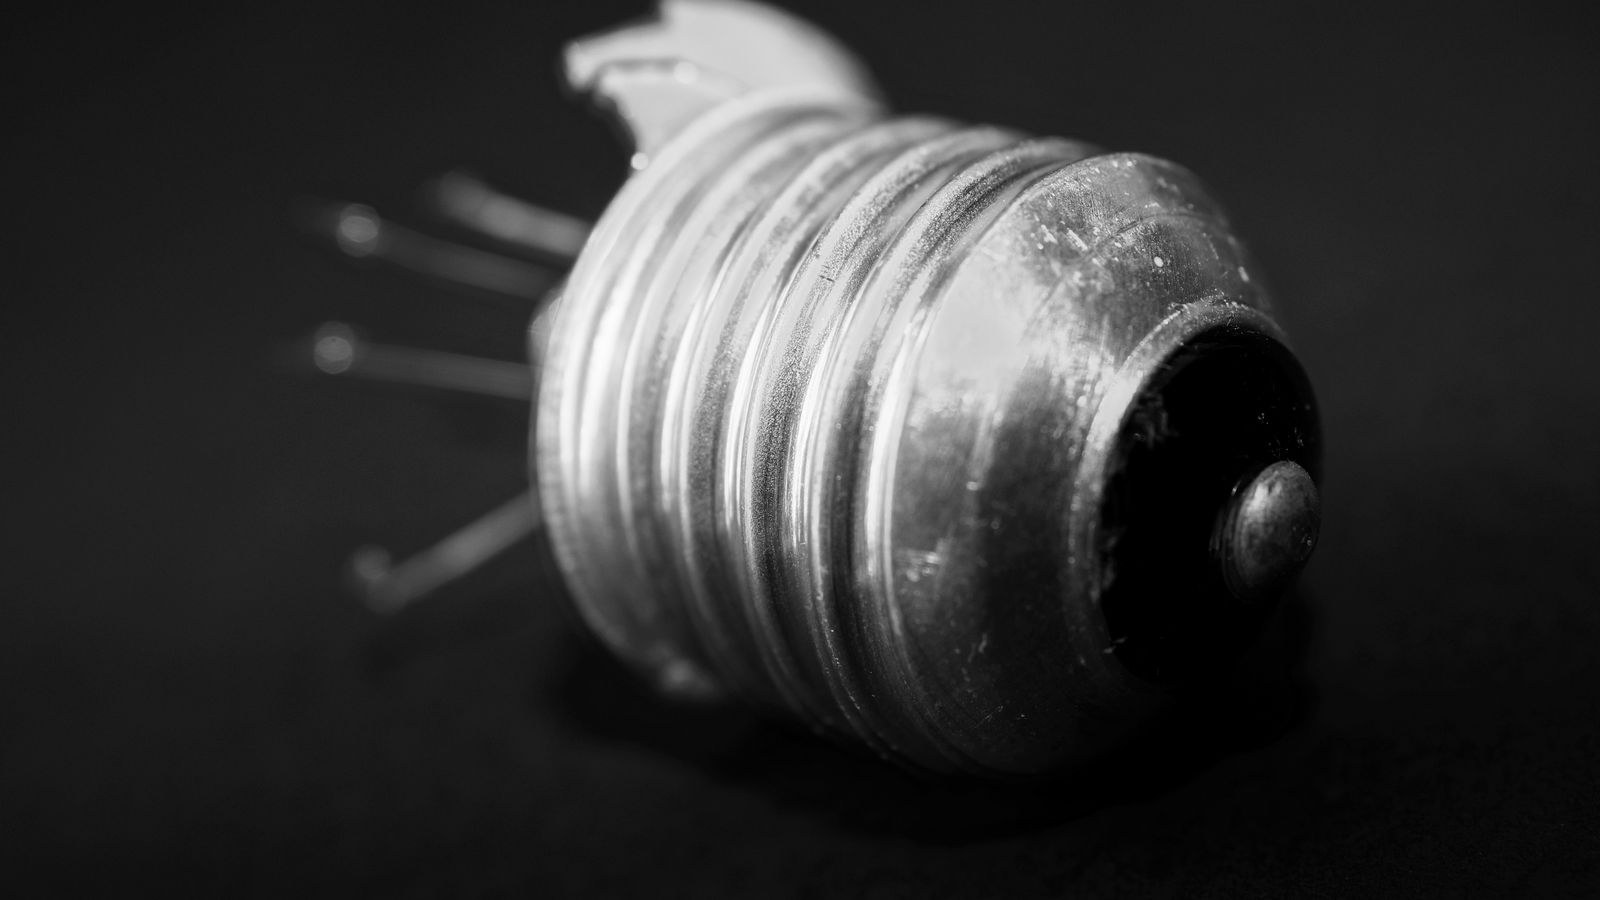
 Few household jobs feel as intimidating as reaching up to a fixture and finding only a jagged glass stump where a bulb used to be. A broken light bulb combines sharp glass, a live socket, and a metal base wedged too tight to twist. The good news is that removing a broken or stuck light bulb is a ten-minute job when you work in the right order. This guide covers cutting power safely, protecting your hands and eyes, and using the potato, pliers, or extractor method to free the base without cracking the socket.
Why Bulbs Break or Seize in the Socket
Understanding the cause helps you avoid damaging the fixture. Most stuck bulbs are the result of corrosion between the aluminium or brass base and the socket shell. Heat cycling makes both metals expand and contract, moisture creeps into outdoor and bathroom fixtures, and over months an oxide layer effectively welds the two together. Enclosed ceiling fixtures and recessed cans run hot, which accelerates the process.
The second common cause is over-tightening. A bulb only needs to be snug enough for the contact tab at the bottom of the socket to touch the base. Cranking it another half turn deforms that tab and jams the threads. When someone later grips the hot glass and twists hard, the thin glass shears away and leaves the metal behind.
Tools and Safety Gear You Need
Gather everything before you climb a ladder, because coming back down mid-job with glass in your hand is how accidents happen.
- Heavy work gloves — leather or cut-resistant, not thin latex.
- Safety glasses — mandatory for any overhead fixture, since glass shards fall straight down.
- Needle-nose pliers — the single most useful tool for gripping a broken base.
- A raw potato, a bar of soap, or a broken-bulb extractor — the friction methods.
- A stable step ladder — never a chair or a stack of boxes.
- A voltage tester or non-contact pen tester — to confirm the circuit is truly dead.
- A small shop vacuum or stiff card and dustpan — for cleanup.
- A replacement bulb of the correct base and wattage, ready to install.
Step by Step: Removing a Broken Light Bulb
- Kill the power at the breaker, not just the switch. A wall switch can be wired to the neutral in older homes, leaving the socket live even when it is off. Go to the panel, switch off the breaker feeding that room, and put a piece of tape or a note on it so nobody flips it back while you work. For a plug-in lamp, simply unplug it from the wall.
- Verify the circuit is dead. Hold a non-contact voltage tester near the socket, or test across the socket contacts with a multimeter. Do not skip this. Confirming takes five seconds and is the difference between a repair and a shock.
- Let the fixture cool completely. A halogen or incandescent bulb that just failed can be hot enough to burn through a thin glove. Give it ten to fifteen minutes.
- Put on gloves and glasses, then protect the floor. Spread an old towel or cardboard under the fixture to catch falling glass, especially over carpet, a bathtub, or a bed where fragments are hard to find.
- Remove any loose glass first. Gently pick away large shards still attached to the base with pliers, working from the outside in. If the bulb envelope is mostly intact but cracked, wrap it in a rag or tape a plastic bag around it before twisting so pieces stay contained.
- Try the needle-nose pliers method. Insert the closed tips into the hollow metal base, then open them so the jaws press outward against the inside wall. Keep steady outward pressure and rotate counter-clockwise. Alternatively, grip the rim of the base from the outside and twist. Go slowly: quick jerks crumple the soft aluminium instead of turning it.
- If pliers slip, use the potato method. Cut a raw potato in half, press the flat cut face firmly onto the broken base so the jagged glass bites in, then turn counter-clockwise. The starch and moisture give surprising grip. A bar of dry soap works the same way, as does a wad of stiff duct tape folded into a handle.
- Use a broken-bulb extractor for stubborn cases. These inexpensive rubber cones grip the base from inside and cost only a few dollars. Push in, twist counter-clockwise, and the tapered rubber does the work without deforming the socket.
- Free a corroded base with penetrating help. If nothing turns, apply a tiny amount of penetrating oil on a cotton swab to the outer threads only, wait ten minutes, and try again. Never spray liquid directly into a socket. Rocking the base a few degrees clockwise then counter-clockwise breaks the corrosion bond better than brute force.
- Inspect and clean the empty socket. With power still off, look for blackened contacts, melted plastic, or a flattened centre tab. Scrape light corrosion off the brass with a wooden or plastic stick. If the contact tab is pressed flat, gently pry it up about 3 mm with a plastic tool so it will touch the new bulb.
- Install the replacement bulb. Thread it in by hand until it seats, then add no more than a quarter turn. Snug, never forced. Choosing a quality bulb makes a real difference in how often you repeat this job, and our roundup of the best light bulbs for lamps compares options that seat cleanly and last.
- Restore power and test. Remove the tape, flip the breaker on, and switch the light. If it does not light, cut power again and re-check the contact tab and the bulb seating before assuming the fixture is faulty.
Removing a Stuck but Unbroken Bulb
If the glass is still whole, your goal is to get it out without shattering it and turning an easy job into the one above. Cut the power first, then put on a rubber dishwashing glove and grip the widest part of the glass, spreading pressure across the whole surface rather than pinching one spot. Turn slowly and steadily counter-clockwise. Rubber jar openers and silicone shelf liner work even better, since they grip without concentrating force.
If the glass simply spins inside the base, the cement has already failed. Stop, cut power, wrap the envelope in a cloth, snap it off deliberately, and work on the base with pliers or an extractor.
Special Cases: Recessed Cans, Fans, and Outdoor Fixtures
Recessed downlights trap heat and are the most frequent source of seized bases. Because your hands work above shoulder height, use an extractor on a short extension rather than pliers, and wear glasses without exception. Ceiling fan light kits usually have small candelabra bases that strip easily, so favour the potato or extractor method over pliers there.
Outdoor and porch fixtures suffer from moisture corrosion more than heat. After removing a stuck base, dry the socket thoroughly and check that the gasket or lens seal is intact, because water intrusion will seize the next bulb within a season. Switching those locations to cooler-running LEDs helps a great deal; browsing the best LED light bulbs for home shows which models run cool enough to avoid the cycle repeating.
Cleaning Up Broken Glass Properly
Pick up large fragments with gloved hands or pliers and place them in a rigid container, not a thin plastic bag. Press a folded strip of packing tape or a slice of soft bread onto the floor to lift the fine slivers a broom leaves behind, then vacuum the area. On carpet, vacuum twice from different directions.
Broken CFL tubes need extra care because they contain a small amount of mercury vapour. Do not vacuum first. Open a window, leave the room for fifteen minutes, then lift pieces with stiff card and tape, seal them in a jar, and check local hazardous waste rules. LED and incandescent glass is not hazardous and can go in regular waste once sealed in a rigid container.
Common Mistakes to Avoid
- Relying on the wall switch. Always kill the breaker. This is the mistake most likely to hurt you.
- Working bare-handed. Jagged bulb bases cut deeply and unexpectedly, often on the pull rather than the push.
- Turning the wrong way. Standard bulbs loosen counter-clockwise as you look up at the fixture, which is the opposite of what it feels like when you are underneath it.
- Forcing a corroded base. Excess torque tears the socket shell loose from the fixture and turns a bulb swap into a rewiring job.
- Spraying lubricant into the socket. Most are flammable and conductive when wet. A swab on the outer threads is all you need.
- Over-tightening the replacement. Snug plus a quarter turn is the sweet spot; anything more guarantees a repeat performance.
Preventing the Next Stuck Bulb
A few habits eliminate almost all repeat incidents. Install bulbs hand-tight only, and never twist a bulb that is still hot. Match the bulb wattage to the fixture rating, because over-lamping bakes the socket and cements the base in place. In damp locations, a very thin smear of dielectric grease on the threads keeps corrosion out while remaining electrically safe on the shell.
The biggest single change is switching to LEDs. They run dramatically cooler, so the expansion cycles that cause seizing largely disappear, and their much longer service life means you touch the socket far less often. If you are replacing several fixtures at once, comparing the best household light bulbs and general-purpose best bulbs for your fixture types helps you standardise on one base size across the house, which also makes future replacements simpler.
Frequently Asked Questions
Does the potato trick actually work?
Yes, reliably, when the glass is fully removed and the base is not badly corroded. The cut potato face grips the jagged metal and starch adds friction. It fails on smooth, intact bases and on badly seized ones, where an extractor or pliers is the better choice.
Can I remove a broken bulb without turning off the power?
No. The exposed filament wires and the socket contacts are live, and metal pliers plus a live socket is a direct path to a serious shock. Always switch off the breaker and confirm with a tester.
What if the socket itself is damaged?
Blackened, melted, or loose sockets should be replaced rather than reused. In a plug-in lamp, socket replacement is an inexpensive DIY part swap. In hardwired ceiling fixtures, replace the whole fixture or call an electrician, since a damaged socket points to overheating.
Why do my bulbs keep breaking in the same fixture?
Usually over-lamping, poor ventilation, or vibration. Check the fixture’s maximum wattage label, switch to a lower-heat LED, and on ceiling fans look for a vibration-rated bulb.
Final Thoughts
Removing a broken light bulb is far less dangerous than it looks, provided you respect the order of operations: power off at the breaker, verify with a tester, gloves and glasses on, then grip the base with pliers, a potato, or an extractor and turn slowly counter-clockwise. Patience beats force every time, and the socket you protect today is the fixture you avoid replacing tomorrow. Finish the job by seating a cool-running LED hand-tight, and there is a good chance you will not need this guide again for years.









