
 Owen Bradley
 Most furniture damage does not happen during the drive. It happens in the twenty minutes before the truck arrives, when someone yanks a sofa through a doorway it was never going to clear, or drops a dresser onto its corner because the drawers were still full. Learning how to prepare furniture for moving properly costs you an afternoon and saves torn upholstery, snapped legs, stripped bolts and gouged veneer. The work breaks down into four predictable stages: emptying and measuring, disassembling in the right order, wrapping each material the way it needs to be wrapped, and loading in a sequence that keeps weight where it belongs. This guide walks through all four, plus the mistakes that cause the most expensive damage.
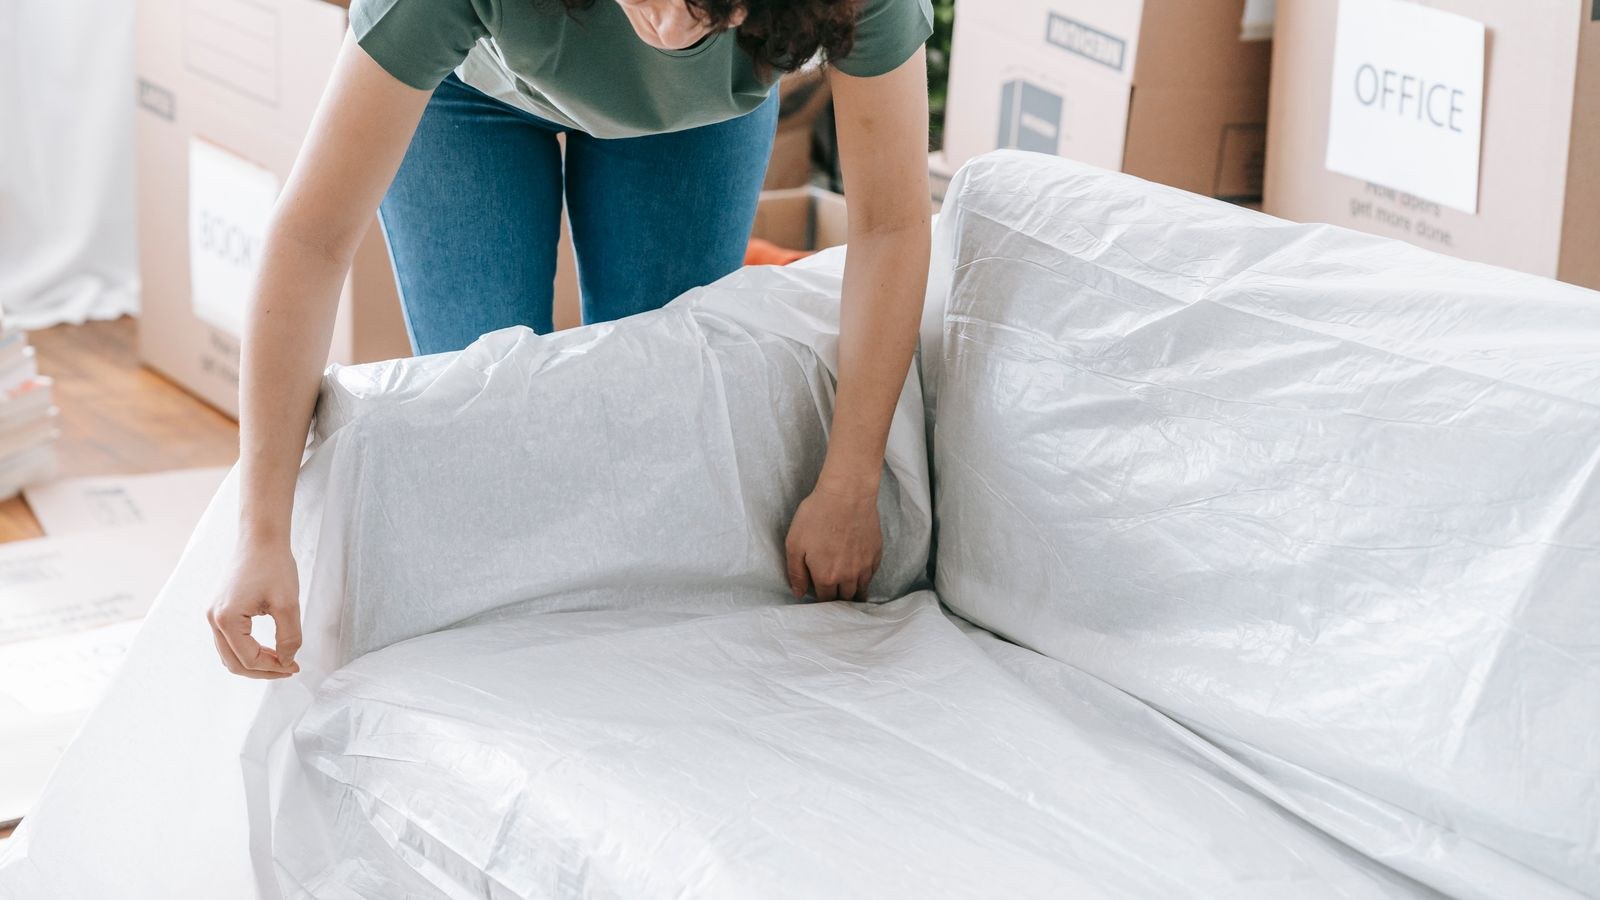
Gather Your Supplies Before You Touch Anything
Half of moving-day damage traces back to improvising with whatever was lying around. Assemble the kit first so you are never tempted to wrap a table leg in a bath towel held on with duct tape.
- Moving blankets — at least one per large item, two for anything with a finished surface.
- Stretch wrap in a 5-inch handheld roll for securing blankets and a wide roll for upholstery.
- Corner protectors or folded cardboard for table tops, mirrors and headboards.
- Bubble wrap and packing paper for glass, stone and anything with an exposed edge.
- Painter’s tape — never regular packing tape on a finished surface, as the adhesive lifts lacquer.
- Zip-top bags and a marker for hardware.
- Tools: a screwdriver set, hex keys, an adjustable wrench, a rubber mallet and a utility knife.
- Furniture sliders and a two-wheel dolly, plus lifting straps if you are moving anything over 100 pounds.
- A tape measure, which is the single most-used tool of the day.
Measure Every Opening First
Before disassembling a single piece, measure the width and height of every doorway, hallway turn, stairwell and elevator on both ends of the move. Then measure your largest items in all three dimensions. Compare the numbers on paper. A sofa that is 38 inches deep will not pass through a 32-inch door upright, but it may go through diagonally or on its end — the diagonal of the door opening, not its width, is the real constraint.
Write the result next to each item: goes through as-is, goes through on end, or must be disassembled. Making that call in advance is what prevents the classic mid-move panic where a piece is wedged in a stairwell and someone reaches for a hammer.
Step-by-Step: Preparing Each Piece
- Empty everything completely. Remove all drawer and cabinet contents, even if the drawers seem to stay shut. Full drawers add weight, shift the center of gravity mid-lift, and put stress on joints the frame was never designed to carry sideways.
- Clean and dry each item. Dust trapped under stretch wrap acts as sandpaper against the finish during transit, and any moisture sealed in plastic will bloom into mildew or water marks within a day.
- Photograph before you disassemble. Take shots of the assembled piece from several angles and close-ups of any joint or bracket you are about to undo. Reassembly six hours later, tired, in an unfamiliar room, goes very differently with reference photos.
- Remove the fragile and removable parts. Glass tops, shelves, mirrors, doors and cushions come off first and travel separately. Never move a cabinet with the glass still in it.
- Disassemble in reverse build order. Legs, then rails, then panels. Loosen all fasteners on a joint partway before removing any of them completely, so the frame is not fighting you as it racks out of square.
- Bag and tape the hardware immediately. Every bolt, washer, cam lock and hex key goes in a labelled zip-top bag, and the bag gets taped to the underside of the piece it came from. Loose hardware in a communal box is the number-one cause of furniture that never gets reassembled.
- Pad corners and edges. Corners take the impact in almost every collision. Cap them with corner protectors or folded cardboard before the blanket goes on.
- Wrap and secure. Moving blanket first, stretch wrap over the blanket. This order matters and is explained below.
- Label every wrapped piece. Write the destination room and a short description on the outside of the wrap with a marker, plus an arrow marking which way is up on anything with a preferred orientation.
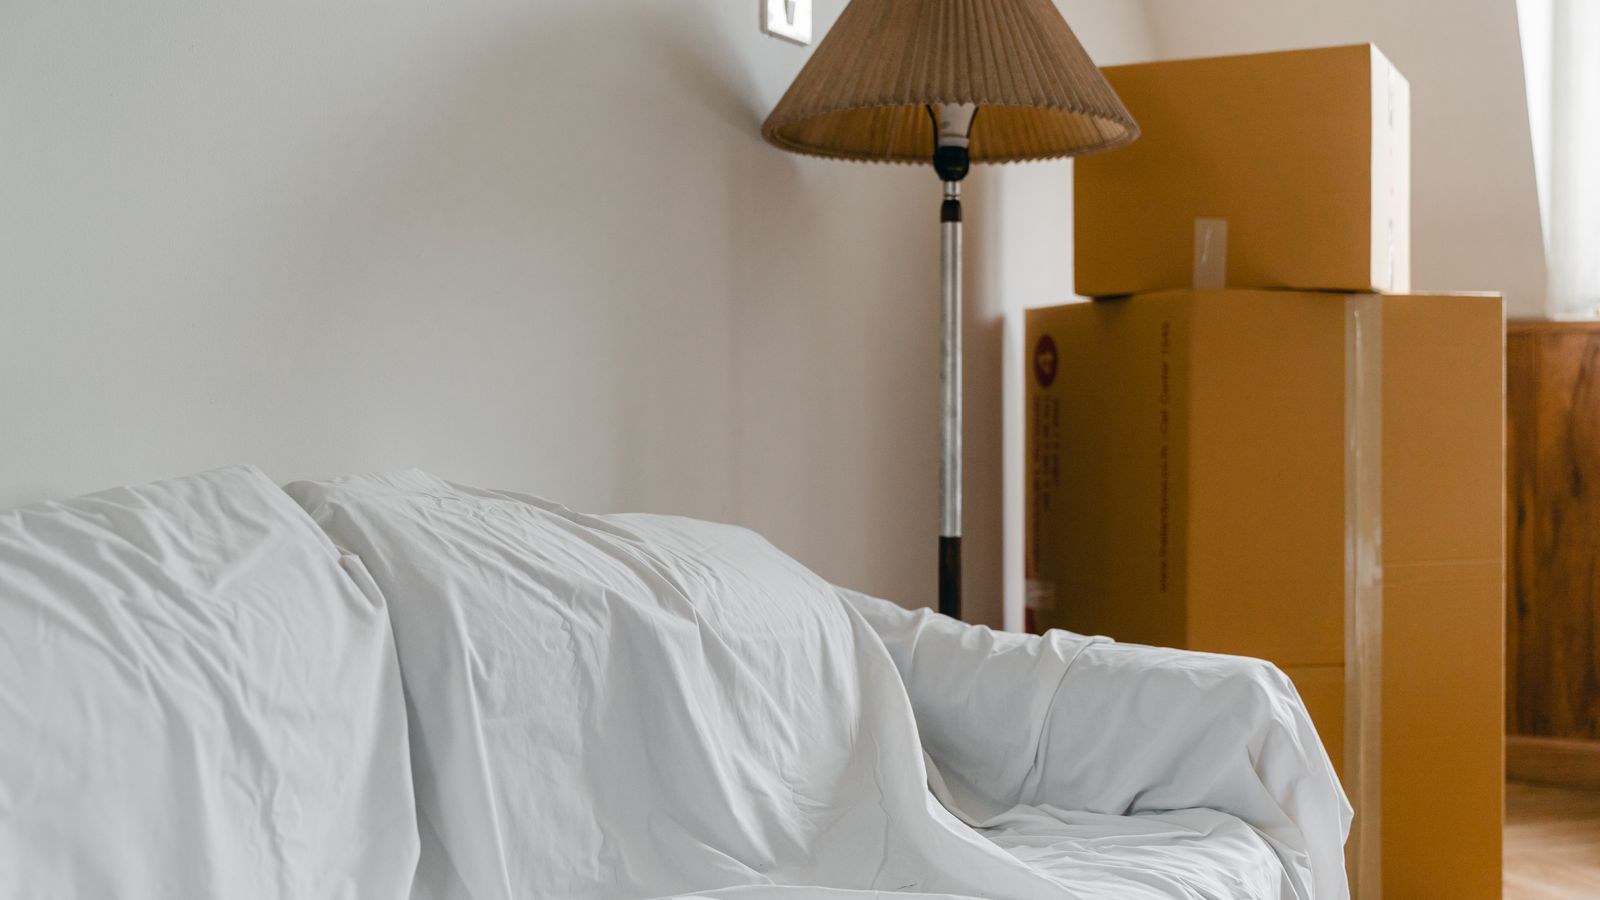
Wrap Each Material the Way It Needs
There is no universal wrapping method. Match the technique to the surface or you will trade one kind of damage for another.
Upholstered Sofas and Chairs
Remove the cushions and wrap them separately, or they will crush and lose loft under the weight of the frame. Cover the whole body in a moving blanket, then stretch wrap over the blanket. Applying plastic directly to fabric traps humidity against the upholstery and can leave permanent marks on light or delicate textiles. Sectionals should always be separated at their connectors rather than carried as one unit; if you are shopping for something easier to relocate in future, the best modular sofas break down into single-person-liftable pieces by design, and the wider best sofas roundup notes which frames have removable legs and backs.
Wood Furniture
Wood needs a blanket between itself and any plastic. Stretch wrap in direct contact with a lacquered or oiled finish can cloud it, and in a hot truck the plastic may bond to the surface. Never put tape on wood. Secure drawers with stretch wrap around the whole case rather than taping them shut, and if a piece has doors, wrap the body so the doors cannot swing.
Tables and Chairs
Table legs are the most commonly broken furniture part in any move, because they act as levers against the tabletop. Remove them whenever possible. If they are fixed, pad each leg individually and stand the table on its top on a blanket rather than resting it on the legs. Dining chairs stack poorly and scratch each other, so wrap seats and backs separately — worth doing carefully with anything upholstered, and something to keep in mind when selecting the best dining chairs for a home you expect to move out of.
Mattresses, Bedding and Soft Goods
Mattresses need a proper mattress bag, not a bin liner, and should travel flat or on edge against a wall of the truck rather than folded. Pillows, duvets and linens are dead weight in boxes but ideal candidates for compression — pulling the air out with vacuum seal storage bags turns three boxes of bedding into one flat slab that also doubles as padding wedged between hard furniture in the truck. Bed frames themselves should always be disassembled; slats bundled and strapped, side rails taped together, hardware bagged to the headboard. If the move is prompting a bedroom refresh anyway, comparing the best furniture for bedroom setups before you haul an old frame across town can save you moving something you were planning to replace.
Glass, Mirrors and Stone
Tape a large X across the face of any mirror or glass panel with painter’s tape. It does not prevent breakage, but it holds the shards together if it happens. Wrap in bubble wrap, sandwich between cardboard, and always transport glass and stone slabs vertically on their edge — laid flat they flex over bumps and crack down the middle.
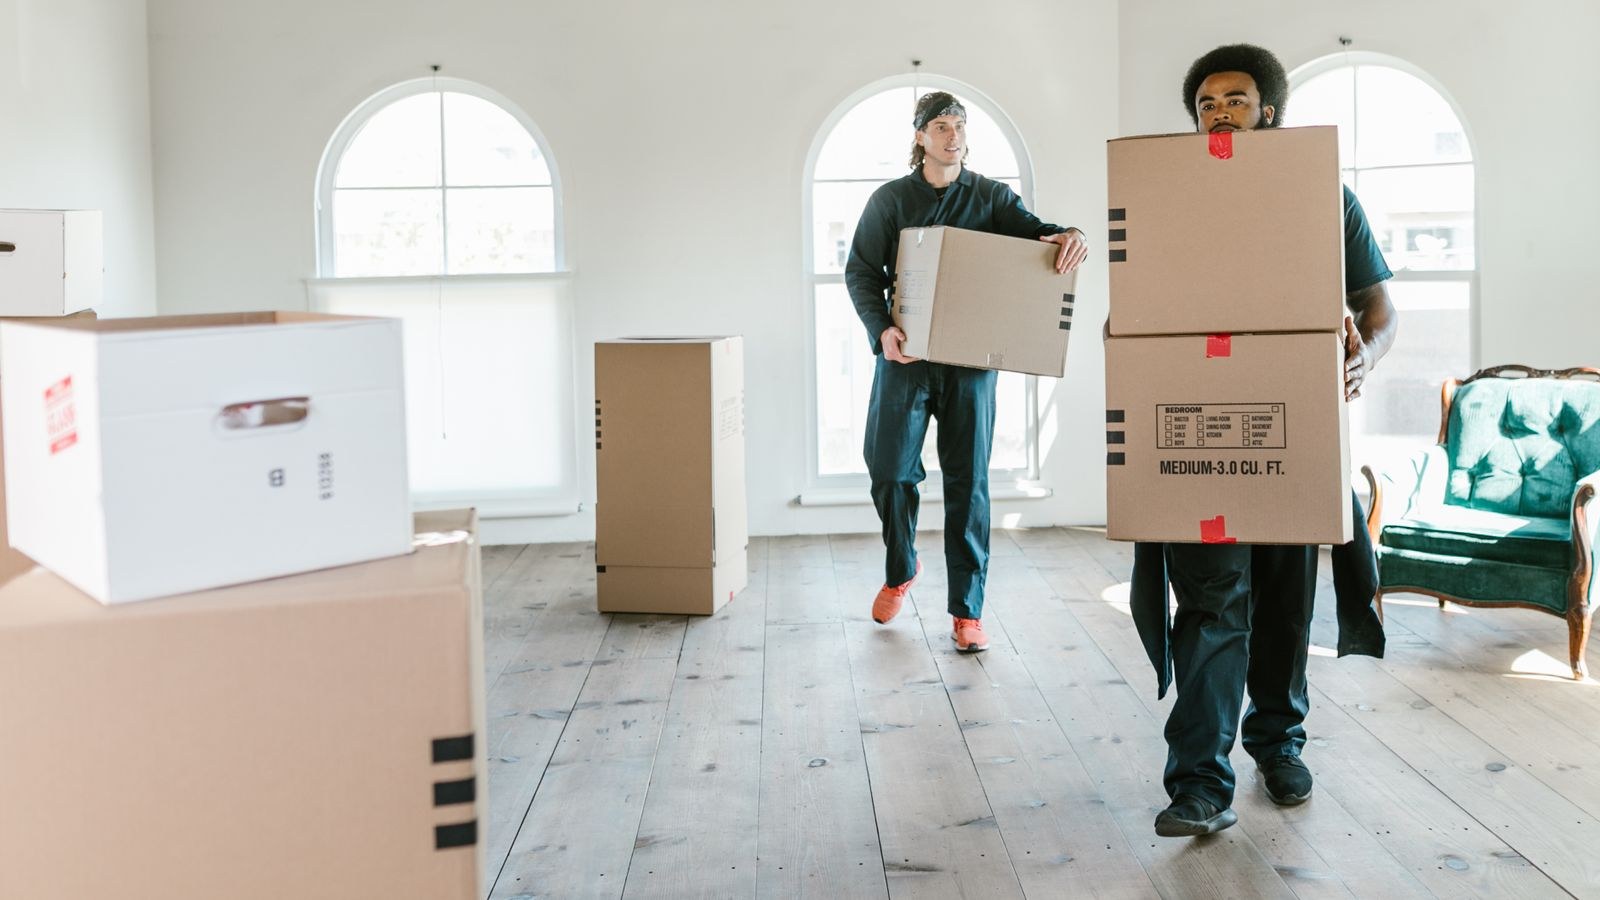
Lifting and Loading Without Injury
Lift with your legs, keep the load close to your body, and never twist while carrying weight. Agree on a verbal signal with your partner before lifting so you both move at once — most drops happen because one person started walking early. On stairs, the person at the lower end carries less weight and should set the pace.
Load the truck in tiers. Heaviest, squarest items go against the front wall first: dressers, appliances, the sofa on its end. Build upward and forward with lighter boxes, filling gaps with soft bundles so nothing can slide. Long flat items like mattresses, table tops and mirrors travel upright against the side walls, strapped in place. Anything fragile goes on top, never underneath. Strap each tier before starting the next; a load that shifts once will shift again at every stop.
Common Mistakes That Cause Real Damage
The costliest errors repeat across almost every move. Leaving drawers full is the first — the weight buckles drawer bottoms and makes a dresser unpredictable to carry. Taping directly onto finished wood is the second, and the adhesive residue often takes the lacquer with it. Dragging instead of lifting is the third: it snaps legs and gouges floors on both ends of the move.
Two more deserve attention. Putting plastic wrap straight onto fabric or wood traps moisture that becomes mildew or a clouded finish after even one warm day in a truck. And skipping the hardware bags means arriving with a bed frame you cannot rebuild, at midnight, with nowhere to sleep. Neither takes more than a few minutes to avoid.
Frequently Asked Questions
Do I really need to take furniture apart?
Anything that does not clear your measured doorways, plus all bed frames, table legs and sectional connectors. Disassembly protects joints from the racking forces of being tilted through tight turns, and it makes each piece light enough to carry safely.
Blanket first or plastic first?
Blanket first, always. The blanket absorbs impact and separates the finish from the plastic; the stretch wrap only holds the blanket in place and keeps dirt out.
How do I keep track of screws and bolts?
One labelled zip-top bag per piece, taped to the underside or inside a drawer of that same piece. Never pool hardware from different items into one container.
Can I move a sofa through a door that is too narrow?
Often yes. Remove the legs and the door itself from its hinges, then try feeding the sofa through vertically on its end, back edge first. That combination gains several inches and solves most tight doorways.
Final Thoughts
Preparing furniture for moving is mostly about doing things in the correct order rather than doing anything difficult. Measure the openings before you commit, empty and photograph each piece, disassemble in reverse build order and bag the hardware where it belongs, then wrap by material — blanket against the surface, plastic on the outside. Load heaviest and squarest first, strap each tier, and keep glass upright. Spend the afternoon on preparation and moving day becomes a logistics exercise rather than a salvage operation, with your furniture arriving in the same condition it left.









