
 Owen Bradley
 When a small apartment feels cramped, the instinct is usually to get rid of things. That helps, but it ignores the largest untapped resource in almost every rental: the empty air between the top of your furniture and the ceiling. Most homes stop storing anything above roughly five feet, leaving three or four feet of usable volume completely unused in every single room. The best small apartment storage ideas all share one principle — move storage upward so the floor stays open, because open floor is what makes a small room read as spacious. This guide walks through how to audit your vertical space, which storage types actually pay off, and how to install them without damaging walls or losing your deposit.

Why Vertical Storage Beats Buying More Furniture
A wide dresser and a tall dresser can hold the same number of clothes, but the wide one eats twice the floor area. Floor space in a small apartment does double duty: it is where you walk, where light travels, and where your eye reads the size of the room. Every square foot you hand over to a low, sprawling storage piece makes the space feel smaller than its measurements suggest.
Vertical storage inverts that trade. A shelving tower that occupies two square feet of floor can deliver twelve linear feet of shelving. Over-door racks and wall rails consume almost no floor at all. The result is more capacity and a room that still breathes. It also improves visibility — items stacked in a deep low cabinet get forgotten, while items on open vertical shelves stay in sight and actually get used.
Step 1: Audit Your Dead Vertical Space
Before you buy anything, walk through each room with a tape measure and a notepad and record the gaps. Look for these five specific zones, which almost every apartment has and almost nobody uses.
- Above the door frames. There is typically 12 to 18 inches between a standard door header and the ceiling — a perfect narrow shelf run for books, board games, or seasonal items.
- The top of the closet. Most closets have one rod and one shelf, with two feet of unused air above the shelf.
- Behind every door. The back of a door is a free vertical panel roughly 30 by 78 inches.
- Under the bed. Standard beds sit 7 to 12 inches off the floor, and risers can push that to 16 inches.
- Wall segments narrower than 24 inches. Too narrow for furniture, ideal for a slim tower or a rail system.
Write down the height, width, and depth of each gap. Those three numbers are what you shop with. Buying storage without them is the single most common reason a piece arrives and does not fit.
Step 2: Work Through the Rooms in Order
Tackle the space in a sequence so early wins create room for later work. Follow these steps rather than starting wherever the clutter is worst.
- Empty and reset one zone at a time. Clear a single closet or wall completely, sort into keep, relocate, and discard, then rebuild. Doing the whole apartment at once creates a mess you cannot finish in a day.
- Compress soft goods first. Out-of-season clothing, spare duvets, and pillows are bulky but light. Compressing them frees the most volume for the least effort and creates the empty shelf space you need to stage everything else.
- Install fixed vertical hardware. Wall shelves, closet doublers, over-door racks, and rails go in before you place any freestanding furniture, since they define what floor space remains.
- Add tall freestanding pieces. Bookcases and shelving towers slot against walls you did not use for fixed hardware.
- Fill the low leftovers. Under-bed bins and under-sofa trays absorb the last of the awkward items.
- Label and photograph. Anything stored above eye level or under the bed needs a label, because you will not remember what is in an opaque bin six months later.
Step 3: Compress Soft Goods to Reclaim Volume
Bedding, winter coats, and spare linens are the biggest volume hogs in a small apartment and the easiest to shrink. Vacuum compression can cut the space a bulky duvet occupies by more than half, turning an entire closet shelf into a single flat slab you can slide upright between a wardrobe and a wall.
The technique matters. Fold items flat rather than balling them, leave a little slack rather than overfilling the bag, and check the seal ridge is clean and free of fabric before drawing the air out. A good set of vacuum seal storage bags holds its seal for months, while cheap ones slowly reinflate and waste the effort. For wardrobes specifically, hanging-style vacuum bags for clothes let you compress coats and suits without creasing them, since the garments stay on their hangers inside the bag.
One caution: do not compress anything with natural down or leather for years at a time. Down loft recovers from a season in a bag, but permanent compression flattens it. Rotate compressed items back into circulation each year.
Step 4: Build Upward in Closets and on Walls
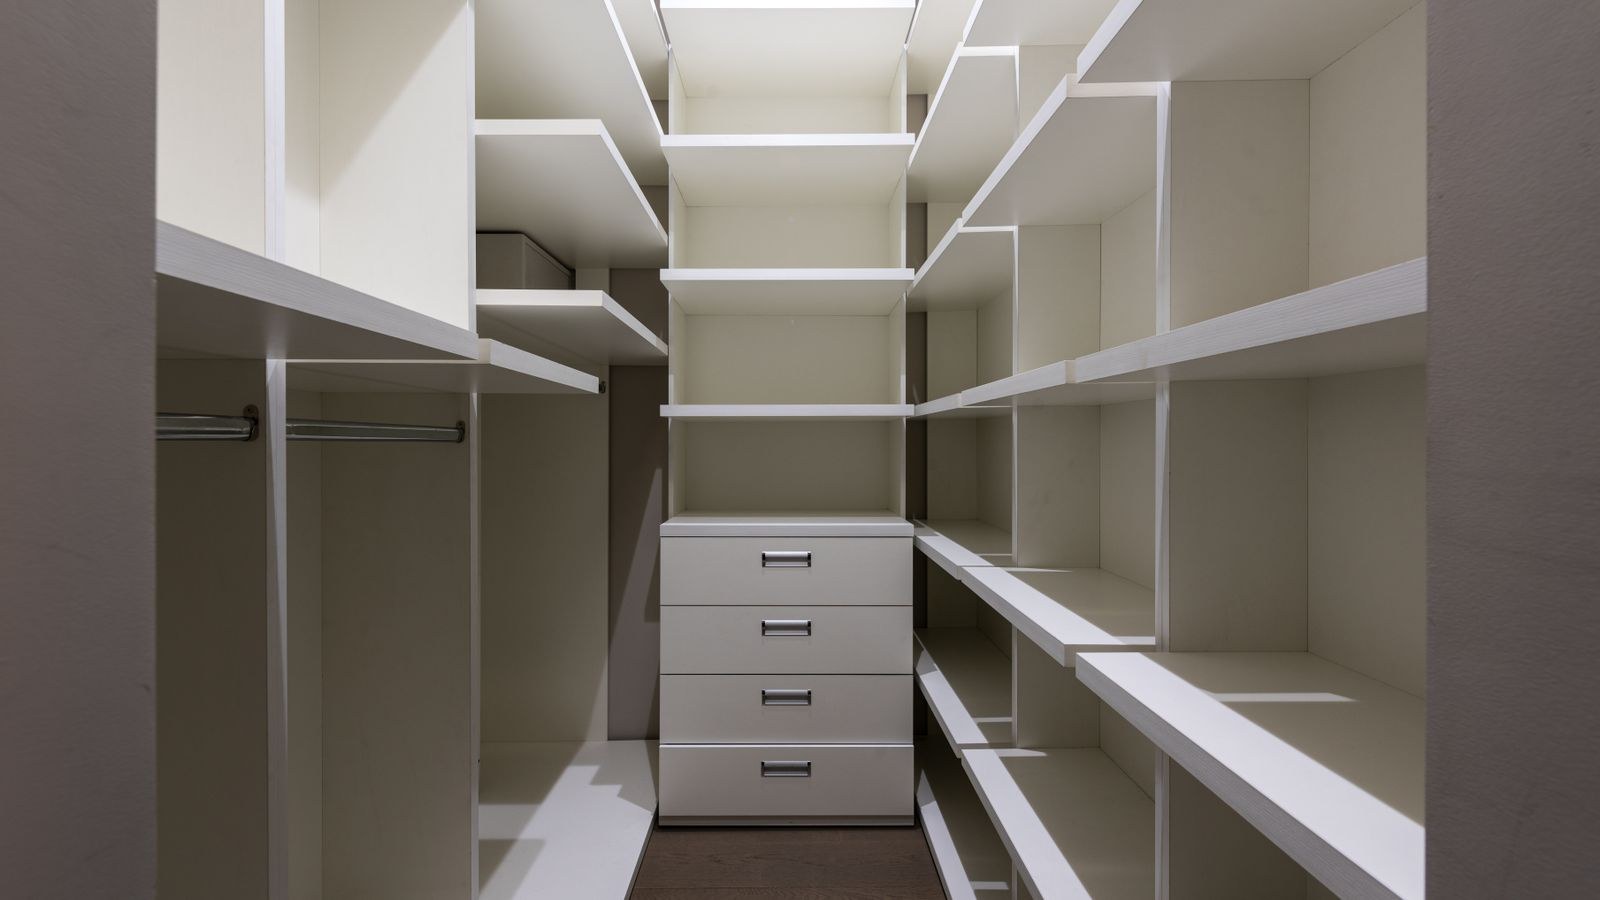
The closet is where vertical thinking pays off fastest. A single-rod closet wastes the entire band of air above the shelf and, if you hang shirts, the entire band below them. A hanging rod doubler drops a second rod beneath the first and instantly doubles hanging capacity for short garments. Stacking lidded boxes on the top shelf, front labels facing out, converts the dead ceiling band into real storage.
Open Shelves Versus Closed Cabinets
Open shelving makes a wall feel lighter and keeps contents visible, but it shows clutter, so it suits books, baskets, and attractive objects. Closed cabinets hide mess and suit paperwork, tools, and cleaning supplies, but a bank of closed doors high on a wall can feel heavy and press the room inward. A practical compromise in a small apartment is open shelves above eye level and closed storage below it, which keeps the upper wall visually airy.
Depth Is What Makes Shelves Feel Intrusive
A 16-inch-deep shelf in a narrow hallway is a shoulder hazard. A 9- or 10-inch shelf holds most books and boxes and barely registers as you walk past. When in doubt, go shallower and run the shelf longer or higher rather than deeper. Shallow shelves also stay organized, because nothing can hide behind anything else.
Renter-Safe Mounting
Heavy shelving must anchor into studs — find them with a magnet or a stud finder and never rely on drywall alone for anything holding books. For lighter loads, adhesive rails, tension rods between walls, and over-door hooks avoid holes entirely. Tall freestanding bookcases should be strapped to the wall with an anti-tip bracket, which leaves only two small holes and prevents a genuinely dangerous accident.
Step 5: Choose Furniture That Stores Things
In a small apartment every large piece should earn its footprint twice. Storage ottomans hold blankets, lift-top coffee tables swallow remotes and laptops, and bed frames with drawers absorb an entire dresser’s worth of clothing. Seating is the highest-leverage category because it is bulky and unavoidable.
Sofas designed for compact rooms tend to have tighter arms, higher legs, and shallower depth, all of which recover usable floor. Browsing options built specifically for tight footprints, such as the best sofas for studio apartments, is a faster route than trying to shrink a standard model. If you also host guests, a piece that converts is worth the premium — the best sofa beds for small spaces remove the need for a guest room entirely, and many include a storage cavity under the seat. For general living-room seating sized to rental proportions, the best apartment sofas list covers models that fit through narrow doorways and stair turns, which is a constraint people forget until delivery day.
Safety and Damage Rules Worth Following
Vertical storage puts weight overhead, so a few rules are non-negotiable. Keep heavy items low and light items high — a stack of books at ceiling height is a falling hazard and makes a tall unit top-heavy. Anchor every bookcase over four feet tall to the wall. Respect the stated weight rating of adhesive strips and over-door hooks, and remember that a door hook loaded with coats stresses the door’s top edge and can prevent it closing.
Leave a clear band around heating units, radiators, and smoke detectors. Do not block a window that serves as an emergency exit with a tall unit. And before drilling anything, photograph the original wall so you know exactly what to patch when you move out.
Common Mistakes That Waste Vertical Space
The first mistake is buying storage before measuring, which produces pieces that are two inches too tall or too deep and end up living awkwardly in the middle of a room. The second is choosing opaque bins with no labels, which turns high shelves into a black hole you never open. The third is over-shelving a single wall while leaving three others bare, creating a visually lopsided room; spread vertical storage around the perimeter instead.
A subtler error is treating vertical storage as a substitute for decluttering. Height gives you roughly 30 to 50 percent more capacity, not infinite capacity. If you fill every new shelf immediately, you will be back where you started in a season. Reserve about a fifth of your new shelving as deliberate empty space so the system has somewhere to absorb future arrivals.
Frequently Asked Questions
How high is too high for a shelf?
Anything above about 72 inches needs a step stool, so reserve that band for items you touch a few times a year: luggage, seasonal decor, spare bedding. Daily-use items belong between hip and shoulder height.
Can I do this without drilling into the walls?
Largely, yes. Freestanding towers, tension rods, over-door racks, under-bed bins, and adhesive rails cover most needs. The exception is any shelf carrying serious weight, which should go into studs — a small patch at move-out is cheaper than a collapsed shelf.
What should go under the bed versus on high shelves?
Under-bed space suits flat, heavy, infrequently used items such as compressed bedding, shoes, and documents. High shelves suit light, bulky items. Never put heavy boxes overhead.
Do vacuum bags damage clothing?
Not for seasonal storage. Wash items before sealing, avoid compressing down or leather for multiple years, and let compressed garments air out for a day before wearing to restore loft and shape.
Final Thoughts
Reorganizing a small apartment vertically is less about clever gadgets and more about a change in where you look for space. Measure the gaps above your doors, above your closet shelf, behind your doors, and under your bed, then fill them in a deliberate order: compress the soft goods, install the fixed hardware, add the tall pieces, and finish with the low leftovers. Choose seating and bed frames that store things instead of just occupying floor, keep shelves shallow and anchored, and leave a fifth of your new capacity empty on purpose. Do that and a compact rental stops feeling like a space you are fighting and starts feeling like one you have actually fitted out, with the floor left clear where it matters most.









