
 Owen Bradley
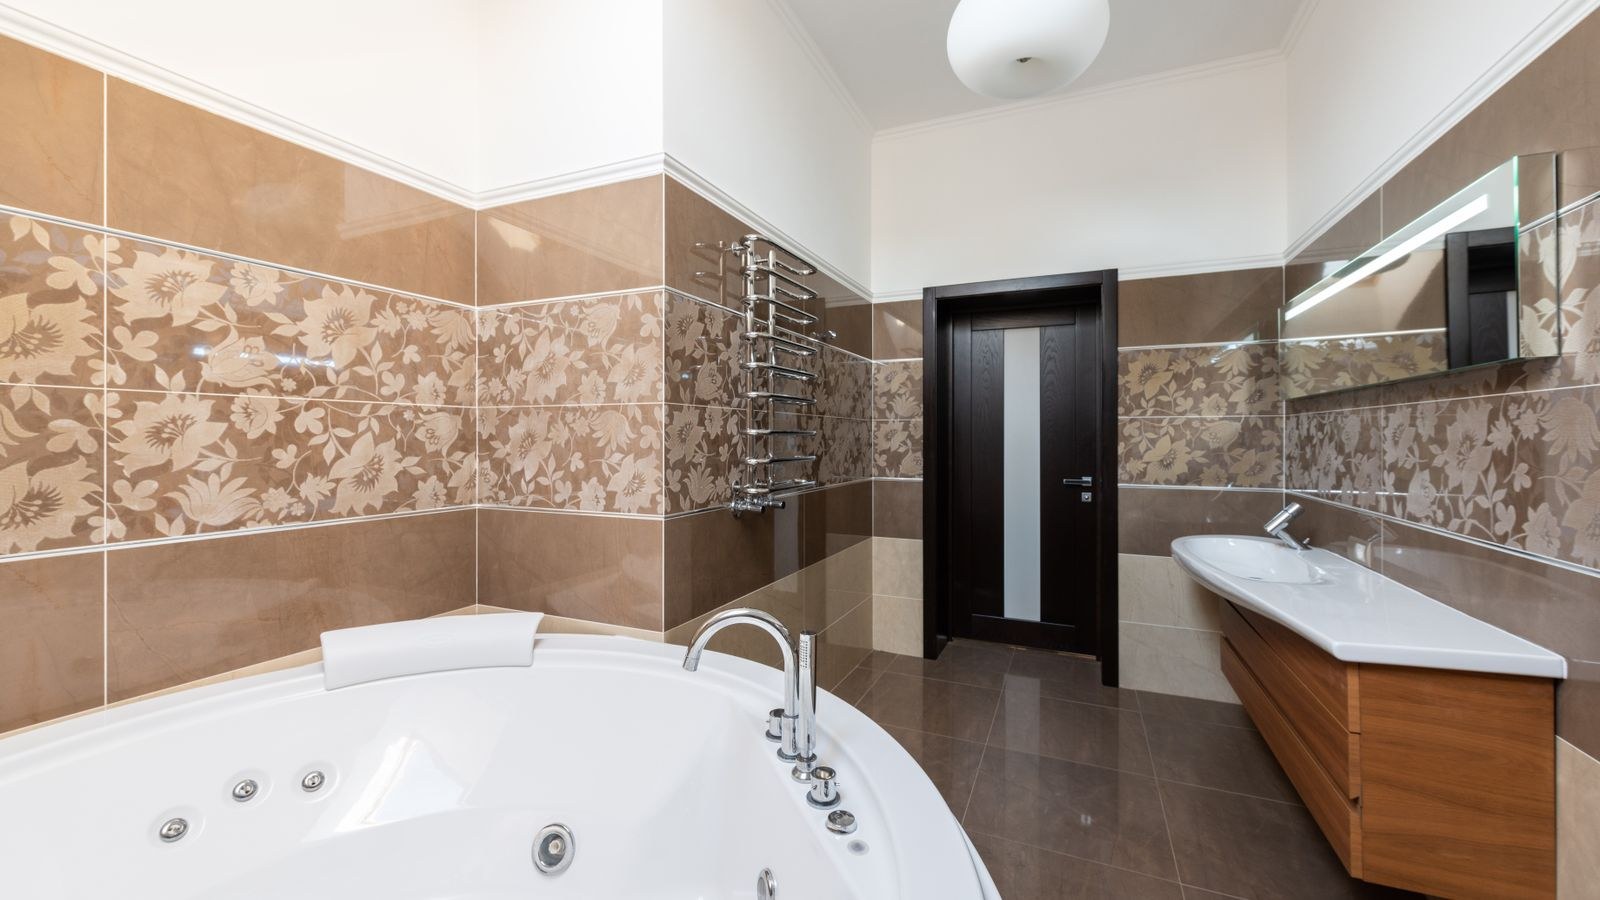
 An interior bathroom with no window is one of the hardest rooms in a house to light well. There is no daylight to fall back on, surfaces are hard and reflective, the space is usually small, and the single builder-grade ceiling fixture most of these rooms come with flattens everything into a shadowy box. Good windowless bathroom lighting is not about brute brightness — it is about layering fixtures, choosing lamps that render colour honestly, and using reflective surfaces to bounce light where a window would have put it. This guide works through the plan step by step so a dark interior bathroom ends up feeling open, clean and comfortable at any hour.
Why Windowless Bathrooms Feel Dark
Two things happen when daylight is missing. First, the room loses the diffuse, multi-directional fill that a window provides, so every shadow is drawn by a single overhead source and edges look harsh. Second, your eyes lose the colour reference daylight supplies, which is why skin tones and makeup so often look wrong in an interior bathroom even when the room seems bright enough.
The consequence is that you cannot solve the problem by fitting a bigger bulb. A single powerful ceiling light in a small windowless room produces glare on the mirror, hot spots on the floor and deep shadows in every corner and under the face. The fix is more sources at lower individual output, arranged so their beams overlap.
Step 1: Plan the Three Lighting Layers
Every well-lit bathroom uses the same three layers, and a windowless one needs all three rather than just the first.
- Ambient layer. The general wash that fills the room — a flush ceiling fixture, a set of recessed downlights, or both. This establishes the baseline brightness and should cover the whole floor plan evenly rather than concentrating in the centre.
- Task layer. Light aimed at where work happens: the mirror above all, plus the shower if it is enclosed. Task light must come from in front of and beside the face, not from directly overhead.
- Accent or fill layer. Low-level light that removes the last of the gloom — a toe-kick strip under the vanity, a niche light in the shower, or a soft night light. This layer is what makes a windowless room feel intentional rather than merely lit.
Sketch the room and mark where each layer goes before buying anything. In a small interior bathroom, two or three recessed cans plus a good vanity fixture and a strip of low-level light typically does more than one enormous ceiling light ever will.
Step 2: Get the Total Brightness Right
Work in lumens rather than watts. A reasonable target for a bathroom is roughly 70 to 80 lumens per square foot, which is higher than a bedroom because the room has no daylight contribution and is used for detailed grooming. For a 50 square foot interior bathroom, that means something in the region of 3500 to 4000 lumens total across all fixtures.
Split that total rather than concentrating it. A workable division is about half the output in the ambient layer, a third at the vanity, and the remainder in accent and shower lighting. Distributing the load this way eliminates the glare and hard shadows that a single high-output fixture produces, and it means one bulb failing does not plunge the room into darkness.
Step 3: Choose the Ceiling Fixtures
The ambient layer carries the room, so it deserves the most thought. Recessed downlights spaced roughly 3 to 4 feet apart give the most even coverage and keep the ceiling visually uncluttered, which makes a small room feel taller. Use wet-rated or damp-rated trims as appropriate, and choose wide-beam trims — narrow spots create pools and shadows in a small space.
Where recessed cans are not practical, a flush or semi-flush ceiling fixture with a diffusing shade works well, provided it is large enough. Undersized ceiling fixtures are the most common mistake in interior bathrooms. Whichever route you take, damp or wet rating is not optional in a room with no window, because humidity lingers far longer without natural ventilation. If you are choosing between styles, comparing the best bathroom ceiling lights for diffusion and damp rating is a better starting point than shopping on appearance alone, and for a recessed layout the trim options among the best recessed lighting for bathrooms cover the wet-rated shower cans most rooms also need.
Step 4: Light the Mirror Properly
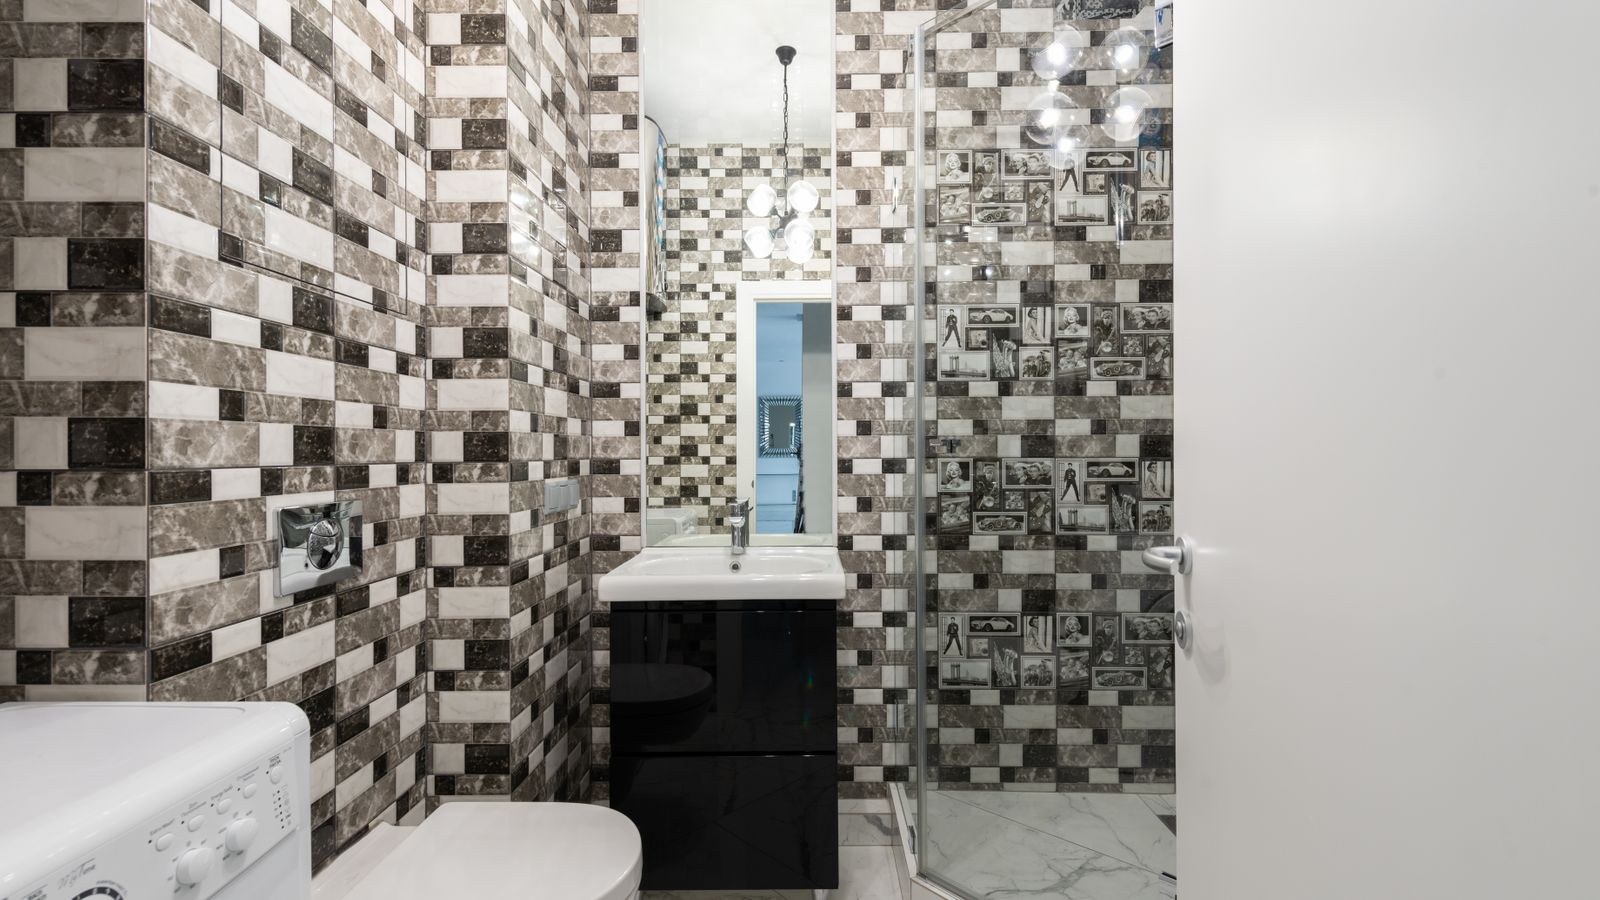
This is where windowless bathrooms most often fail. Light coming only from above casts shadows into the eye sockets and under the chin, which is unhelpful for shaving and actively misleading for makeup. The goal is light arriving from in front and slightly to the sides at roughly face height.
The best arrangement is a pair of sconces flanking the mirror, mounted around 65 to 70 inches from the floor and about 36 to 40 inches apart. Where the wiring only supports a single fixture above the mirror, use a wide bar with frosted shades and mount it around 75 to 80 inches high so the spread reaches down the face rather than raking across it. Mirrors with integrated backlighting or edge-lit panels are a good retrofit where wall space is tight, since they put light exactly where it is needed without adding visual bulk.
Step 5: Pick the Right Bulbs
- Colour temperature. Somewhere between 3000K and 4000K works best in a windowless room. Warmer than 2700K reads as gloomy without daylight to lift it; cooler than 5000K can feel clinical. Around 3500K is a reliable compromise between comfortable and crisp.
- Colour rendering. Insist on CRI 90 or above. With no daylight reference, poor colour rendering is what makes skin look grey and makeup look wrong once you step outside.
- Consistency. Use the same colour temperature in every fixture. Mixed temperatures are far more noticeable in a windowless room than anywhere else in the house.
- Diffusion. Frosted or opal lamps beat clear glass, which reflects a hard filament image in the mirror and produces glare off tile.
- Dimmability. Worth having so the room can drop to a soft level at night. Match dimmable lamps with an LED-rated dimmer.
Because these rooms run bulbs hard and in humid air, longevity matters. Lamps specifically suited to enclosed and damp fixtures last considerably longer, and reviewing the best light bulbs for bathroom without windows is worth the few minutes it takes before you buy six of the wrong thing.
Step 6: Use Surfaces to Multiply the Light
In a room with no window, every surface is part of the lighting scheme. A matte white or very pale ceiling reflects the ambient layer back down and is the single most effective free upgrade available. Light wall colours in satin or eggshell do the same at the sides without producing the glare a high-gloss paint would.
Mirrors do more than serve the vanity. A large mirror, or a second mirror on an adjacent wall, effectively doubles the perceived depth of a small room and bounces light into corners. Glossy tile, chrome fittings and a glass shower screen instead of an opaque curtain all help for the same reason. Conversely, dark floors, heavy shower curtains and matte black fittings absorb a surprising amount of output — they can look excellent, but budget extra lumens if you use them.
Step 7: Add Low-Level and Night Lighting
A strip of LED tape under the vanity toe-kick, or a small recessed floor-level fixture, transforms how a windowless bathroom feels at night. It gives enough light to use the room without switching on the full ambient layer and waking yourself completely, and it visually lifts the vanity off the floor, which makes a small room read as larger.
Shower niches benefit from the same treatment. A small wet-rated LED strip in a niche or under a floating shelf provides fill light in the one part of the bathroom that overhead fixtures rarely reach cleanly. Keep all of this on a separate switch or a motion sensor so it can run independently of the main lights.
Ventilation Deserves the Same Attention
A windowless bathroom relies entirely on mechanical extraction, and humidity affects lighting directly. Steam clouds diffusers, corrodes fittings and shortens lamp life, and a fogged mirror defeats every task light in the room. Size the fan to at least 1 CFM per square foot, run it during and for 20 minutes after every shower, and consider a humidity-sensing or timer switch so it is not left to memory. Combination fan and light units solve the fixture and airflow problem in one ceiling opening, which is often the practical answer in a small interior bathroom.
Mistakes to Avoid
The dominant error is relying on one central ceiling fixture and simply making it brighter. That produces glare, hard shadows and an interrogation-room feel. The second is lighting the mirror from above only, which no amount of extra wattage fixes because the problem is direction, not quantity.
Others worth avoiding: mixing colour temperatures between fixtures, choosing lamps with low CRI that make everyone look ill, using dark paint and dark floors without compensating with extra output, fitting non-damp-rated fixtures in a humid room, and putting every light on a single switch so there is no way to run a soft night setting. In a very small room, an over-scaled pendant or a sconce that projects too far becomes a hazard people walk into, so check scale against the best lighting for small bathrooms before ordering.
Frequently Asked Questions
How many lumens does a windowless bathroom need?
Plan for around 70 to 80 lumens per square foot, so roughly 3500 to 4000 lumens for a 50 square foot room. Spread that total across ambient, vanity and accent fixtures rather than one bright source.
What colour temperature is best?
3000K to 4000K suits most interior bathrooms, with 3500K a safe middle. Use the same temperature in every fixture, and choose lamps with CRI 90 or higher so skin tones read accurately.
Can I make a small windowless bathroom feel bigger?
Yes. A pale matte ceiling, light satin wall paint, a large mirror, a glass shower screen and a low-level toe-kick light all increase perceived space by bouncing light into corners and lifting fixtures off the floor.
Do I need special fixtures for a bathroom with no window?
Use damp-rated fixtures throughout and wet-rated units inside the shower, because humidity lingers much longer without natural ventilation. Pair that with an adequately sized extractor fan run on a timer.
Final Thoughts
Lighting a bathroom without windows comes down to replacing what daylight used to do: many soft sources instead of one hard one, honest colour rendering, and surfaces that bounce light rather than swallow it. Plan the ambient, task and accent layers on paper first, target roughly 70 to 80 lumens per square foot split across them, light the mirror from the front rather than overhead, and keep every lamp at the same colour temperature with CRI 90 or better. Add a low-level night layer and a properly sized fan, and an interior bathroom that felt like a cupboard will spend 2026 feeling like the brightest small room in the house.









