
 Owen Bradley
 Adding recessed lighting to a ceiling that is already finished sounds intimidating, but modern remodel-rated fixtures have made it one of the most achievable lighting upgrades a homeowner can take on. You are not opening the ceiling, you are cutting neat holes in it, and today’s canless LED units clip into place from below with spring arms rather than needing a housing wrestled into a joist bay. The real work is in the planning: deciding where the lights go, confirming there is nothing in the way, and getting power to each hole safely. This guide walks through layout, tools, the cutting and wiring sequence, and the mistakes that make a retrofit look amateurish.
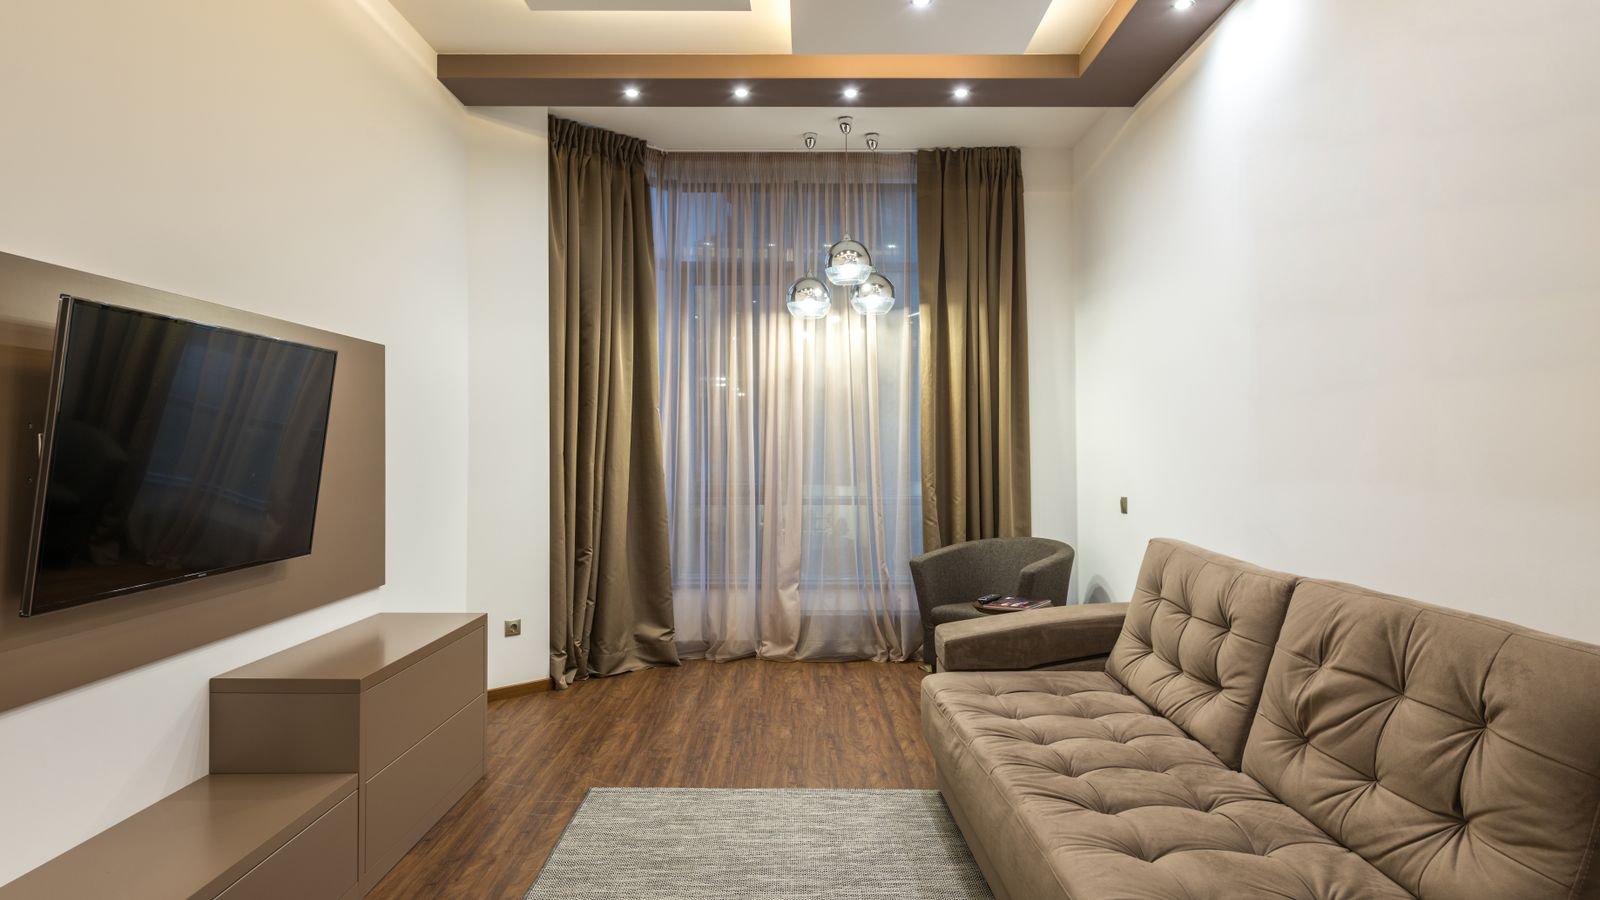
Planning the Layout Before You Cut
Layout is what separates a professional-looking installation from a ceiling that reads as a grid of random holes. Work it out on paper first.
- Spacing. A reliable rule of thumb is to divide the ceiling height by two and use that figure in feet as the spacing between fixtures. An 8-foot ceiling suggests roughly 4 feet apart; a 10-foot ceiling suggests 5 feet.
- Wall clearance. Keep the first row 18 to 30 inches from the wall. Closer than that scallops the wall harshly; further away leaves the perimeter gloomy.
- Task areas. Position lights over the places work actually happens — a countertop, a reading chair, a desk — rather than treating the ceiling as a uniform grid.
- Symmetry with the room. Align rows with walls and centre them on the space, not on the ceiling joists. Nothing looks worse than lights that visibly follow framing.
- Beam angle. A 60-degree beam is the general-purpose choice. Narrower beams around 40 degrees create defined pools; wider beams above 90 degrees wash a whole surface evenly.
Mark the proposed positions on the ceiling with removable tape and live with them for a day. It costs nothing and catches errors that are painful to fix once a hole exists.
Tools and Materials
- Remodel-rated or canless LED recessed fixtures — these are designed for existing ceilings and clip in from below.
- Hole saw matched to the fixture cutout size, or a drywall jab saw and the supplied paper template.
- Stud finder with deep scan, plus a small inspection mirror or borescope.
- Non-contact voltage tester and wire strippers.
- Fish tape or glow rods for pulling cable through the ceiling cavity.
- 14/2 or 12/2 NM cable matched to the circuit, plus connectors and old-work junction provisions.
- Drop cloths, a shop vacuum, dust mask and safety glasses. Drywall dust travels remarkably far.
Fixture choice deserves real attention because it determines the cutout size, the wiring method and the look of the finished ceiling. Reading through the current picks for best recessed lighting is a sensible first step, and if you are working with traditional housings rather than canless units, the comparison of best can lights covers the IC-rated and airtight options you will need in an insulated ceiling.
Check What Is Above the Ceiling
This step gets skipped and it is the one that causes expensive damage. Before any hole is cut, confirm the cavity is clear.
- Locate the joists with a stud finder and mark them. Fixtures need to sit between joists with adequate clearance on both sides.
- Drill a small pilot hole at each proposed centre and probe with a bent wire to feel for obstructions.
- Look with a borescope or mirror if you have attic access from above, checking for ductwork, plumbing, existing cable runs and structural blocking.
- Check for insulation type. Blown-in insulation will pour out of a hole; batts are easier to work around. Either way, the fixture must be IC-rated if it will contact insulation.
- Confirm clearance depth. Canless units need only a couple of inches; traditional housings need considerably more.
A pilot hole that finds a duct is a two-minute patch. A full cutout that finds a water pipe is a very different afternoon.
Step-by-Step Installation
- Turn off the circuit at the breaker and verify at the existing fixture or switch with your tester. Tape the breaker off.
- Mark and cut the first hole. Use the supplied template, cut slowly, and hold a shop vacuum nozzle beside the blade to capture dust as it falls.
- Cut the remaining holes once you have confirmed the first is clear and correctly positioned.
- Establish the power source. The simplest approach is to tap an existing switched ceiling fixture in the same room and extend from there. Alternatively, run from a nearby junction box that is already on a suitable circuit.
- Run cable between holes. Push fish tape from one hole toward the next, attach the cable, and draw it through. Leave 12 to 16 inches of slack at every opening so you have room to work.
- Secure the cable. Where it crosses joists in an accessible attic, staple it within the required distance of each box. Cable pulled blind through a cavity should be routed to avoid sharp edges.
- Wire each fixture. Canless units come with a small junction box on a whip. Open it, land the incoming and outgoing cables, and connect black to black, white to white, ground to ground. Close the box securely.
- Fit the fixture. Push the junction box up into the cavity first, then pinch the spring clips on the light module, insert it into the hole, and let the clips open against the back of the drywall.
- Set colour temperature and lumens using the small selector switch present on most canless models. Do this before pushing the fixture home — it is fiddly afterwards.
- Restore power and test every fixture, then check dimming across the full range.
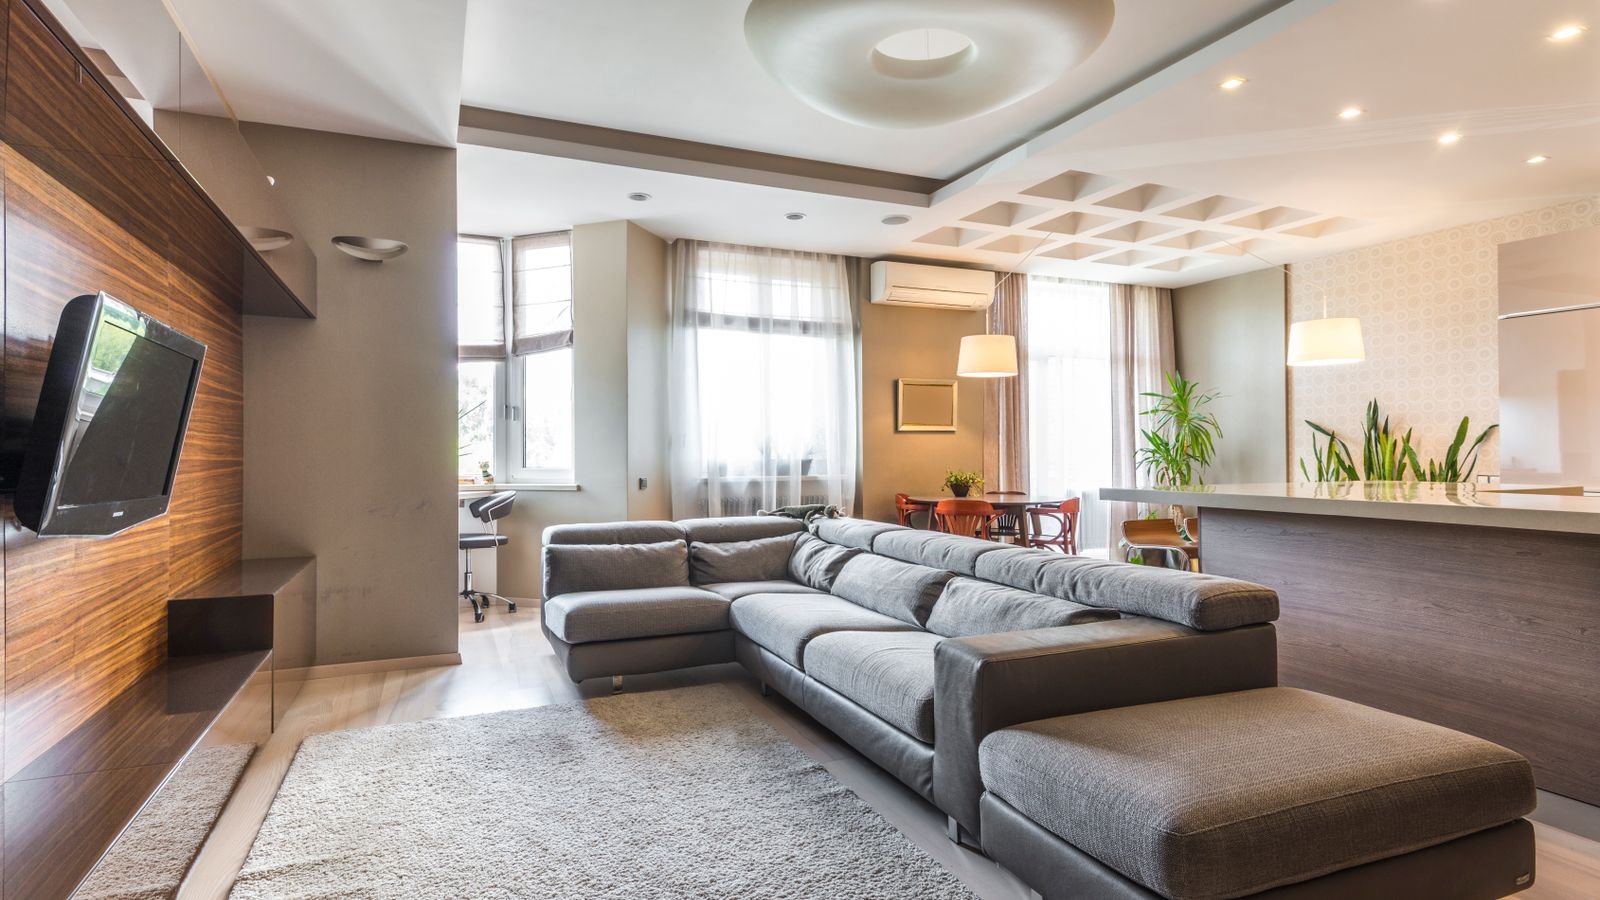
Getting the Light Quality Right
Modern selectable fixtures let you dial the character of the light, and the choices matter more than raw brightness.
- Colour temperature. Around 2700K gives a warm, lamp-like glow suited to living rooms and bedrooms. 3000K is a versatile middle ground. 4000K reads cool and crisp and belongs in kitchens, garages and workspaces.
- Consistency. Every fixture in one room must be set identically. Mixed colour temperatures in a single ceiling look like a mistake because they are one.
- Colour rendering. Look for a CRI of 90 or above in kitchens, bathrooms and anywhere people get dressed. Below 80 makes skin and food look flat.
- Total output. Rather than fixating on lumens per fixture, consider the room total. Over-lighting is as common a mistake as under-lighting, and it is why dimmers matter.
Dimming Without Regret
Fit a dimmer. Recessed lighting without one is unforgivingly bright in the evening, and dimmers cost little at installation time. Match the dimmer to the load: LED-specific dimmers handle the very low wattage of a modern fixture bank, whereas an old incandescent dimmer will flicker or fail to reach full off. Check the fixture’s compatibility list, keep the total connected wattage well under the dimmer’s rating, and use one dimmer per group rather than trying to daisy-chain them.
Mistakes to Avoid
- Cutting all the holes before testing one. Confirm the first fixture fits, sits flush and clears the cavity before committing to the rest.
- Ignoring IC ratings. A non-IC-rated fixture buried in insulation is a fire hazard, full stop.
- Overloading the circuit. LEDs draw very little, but the circuit still has a limit and it may already be carrying other loads.
- Leaving no service slack. Cable pulled tight into a junction box makes future repairs miserable.
- Placing lights too close to walls. Harsh scalloping on the wall surface is the most common visual mistake.
- Forgetting the vapour barrier. In a top-floor ceiling below a cold attic, unsealed fixtures leak warm moist air upward. Use airtight-rated units.
Frequently Asked Questions
Can I install recessed lighting without attic access?
Yes — that is precisely what remodel-rated and canless fixtures are designed for. The harder part without attic access is routing cable, which is done by fishing between holes and occasionally cutting a small access opening that gets patched afterwards.
How many fixtures can I put on one circuit?
LED recessed lights draw so little that the practical limit is usually the dimmer rather than the breaker. Add up the wattage of everything on the circuit and stay comfortably below its rating.
Do I need a permit?
Adding new lighting circuits typically requires a permit and inspection in most jurisdictions, while replacing existing fixtures usually does not. Rules vary a great deal locally, so check before you cut.
What size fixture should I choose?
Four-inch fixtures suit hallways, small rooms and accent lighting. Six-inch units are the general-purpose choice for living areas. Mixing sizes within one room rarely looks intentional.
Can recessed lights go in a sloped ceiling?
Yes, using fixtures specifically rated for sloped ceilings with an adjustable gimbal, which lets you aim the beam straight down rather than at an angle across the room.
Final Thoughts
Installing recessed lighting in an existing ceiling is far less daunting than its reputation suggests, provided the planning happens before the hole saw does. Tape out your layout and look at it in daylight and at night, probe every position before cutting, choose IC-rated and airtight fixtures where the ceiling demands them, and fit a proper LED dimmer while the wiring is open. The result is lighting that flatters the room instead of interrogating it, and a ceiling that looks like it was designed that way rather than retrofitted on a weekend.









