
 Owen Bradley
 Under-cabinet LED strip lighting is one of those upgrades that costs very little and changes how a kitchen feels every single day. Overhead lights put your own shadow on the countertop; strip lights mounted beneath the wall cabinets put the light where the chopping actually happens. The installation is genuinely simple — no ceiling work, usually no wiring beyond plugging in a driver — but the difference between a result that looks built-in and one that looks like a strip of tape stuck under a cupboard comes down to a handful of details around placement, diffusion and cable management. This guide covers the whole job from measuring to hiding the wires.
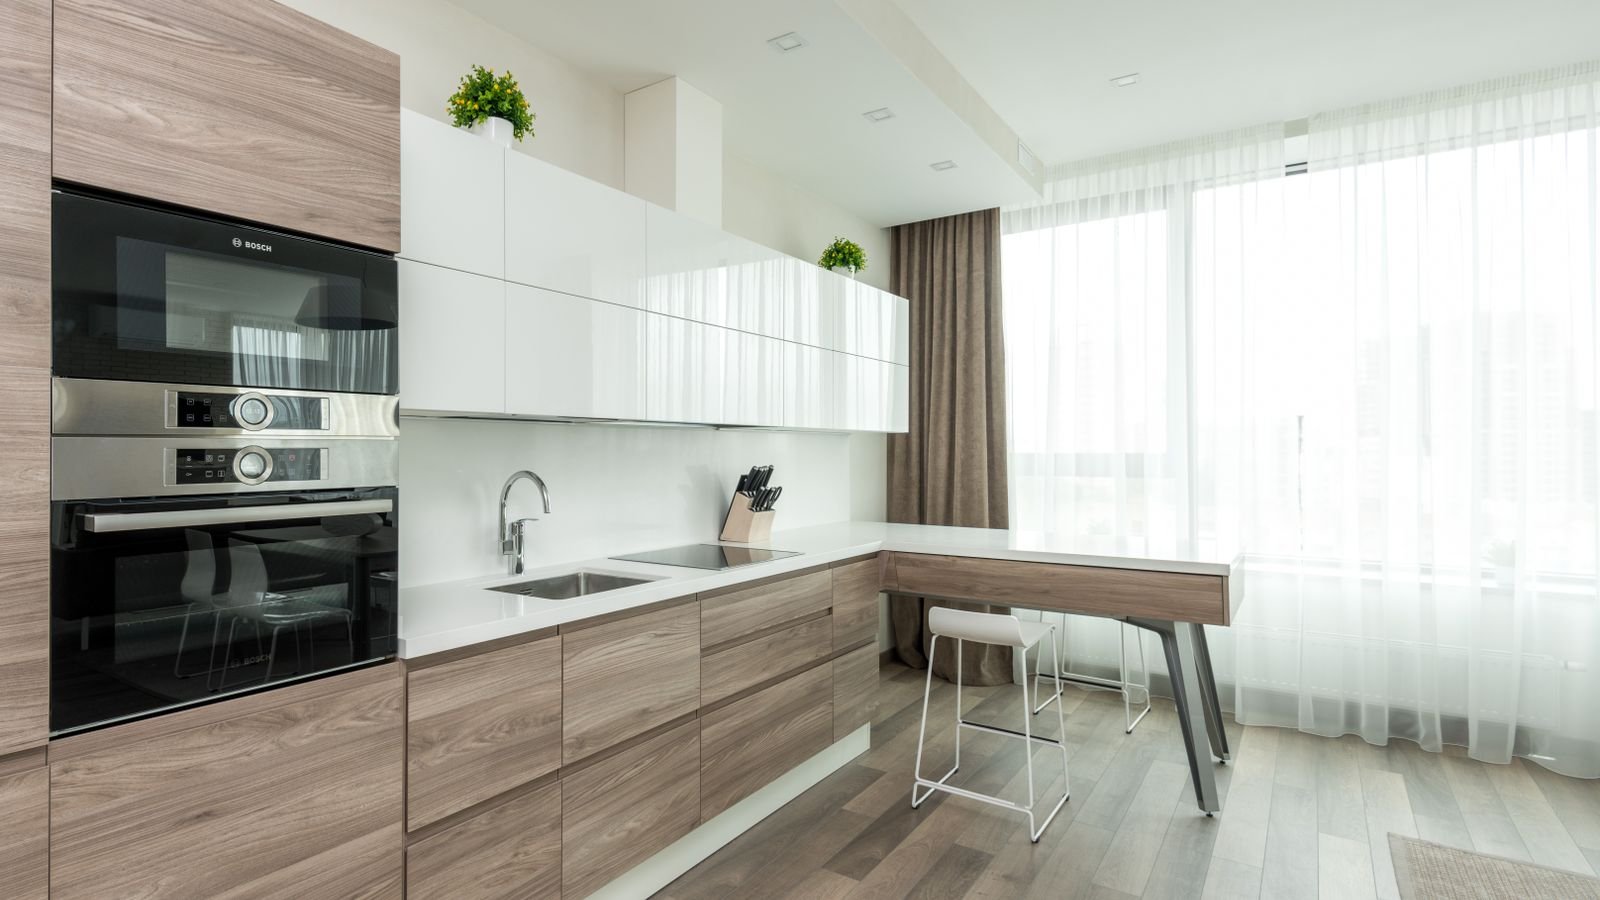
Plan the Layout and Measure Properly
Measuring is where most of the avoidable errors happen, because the length you need is not the length of the cabinet run.
- Measure each cabinet section separately along the underside, front to back and side to side. Cabinets are rarely a uniform run.
- Subtract for gaps. Strip should not extend over the gap between two cabinets or past the end of a run, where it becomes visible from the side.
- Add the jumper lengths. The connections between cabinet sections need cable, and the runs behind or above the cabinets are longer than the visible gaps.
- Add ten percent. Strips cut only at marked intervals, so you lose a little at each cut.
- Decide the driver location. An existing outlet inside a cabinet, or beneath a sink, is ideal. Note the distance from there to the first strip.
Take a photo of each cabinet run with the tape measure in shot. It saves a second trip up the ladder when you are cutting.
Choose the Right Strip
Kitchen under-cabinet lighting has specific requirements that general-purpose decorative strips do not meet.
- Brightness. Task lighting needs real output — look for strips rated in the range of 400 to 600 lumens per foot, not the dim decorative strips sold for behind a television.
- Colour temperature. Around 3000K is the sweet spot for kitchens: warm enough to feel domestic, crisp enough to see what you are cooking. 4000K suits very modern white kitchens.
- Colour rendering. A CRI of 90 or above matters here more than anywhere else in the house. Food looks wrong under low-CRI light.
- LED density. Higher density means fewer visible hotspots. Strips with widely spaced diodes produce a dotted reflection in a glossy backsplash.
- Moisture rating. Above a hob or near a sink, an IP65 rated strip resists steam and splashes. Elsewhere a standard strip is fine.
Working through the current shortlist of best led strip lights for kitchen cabinets is worth the time, because the specifications that matter for kitchen task lighting — lumens per foot, CRI and diode density — are exactly the ones budget strips quietly omit.
Tools and Materials
- LED strip, driver or power supply, and any dimmer or controller.
- Aluminium channel with a frosted diffuser cover, cut to length.
- Sharp scissors or a craft knife for cutting the strip at its marked points.
- Isopropyl alcohol and a lint-free cloth for surface prep.
- Solderless connectors or a soldering iron, depending on your approach.
- Small screwdriver, drill with a spade bit for pass-through holes, cable clips.
- Tape measure, pencil, and a helper to hold long channel sections.
Step-by-Step Installation
- Do a bench test first. Before anything is stuck to a cabinet, connect the strip to the driver on the countertop and confirm the whole length lights evenly. Faults are cheap to fix now and expensive later.
- Cut the strip to length at the marked copper pads only. Cutting between marks kills the segment.
- Cut and mount the channel. Cut the aluminium channel with a hacksaw or mitre saw, deburr the ends, and screw the channel to the underside of the cabinet about an inch back from the front edge.
- Clean the mounting surface with isopropyl alcohol and let it dry fully. Adhesive fails on greasy kitchen surfaces, and kitchen surfaces are always greasier than they look.
- Peel and press the strip into the channel, working a few inches at a time and pressing firmly along the whole length rather than smoothing it once at the end.
- Join sections with jumper cables. Use solderless clip connectors for speed, or solder for a joint that will never fail. Observe the polarity markings — reversed polarity means that section simply will not light.
- Route the cable out of sight. Drill a small hole in the back or side of the cabinet where it will be hidden, pass the cable through, and clip it neatly along the cabinet interior.
- Connect the driver. Mount it inside a cabinet where air can circulate, plug it in or wire it to a switched outlet, and keep it away from the sink.
- Snap on the diffuser covers. This is the step that turns a row of visible diodes into a clean line of light.
- Power up and check for even brightness across every run, then test the dimmer through its range.
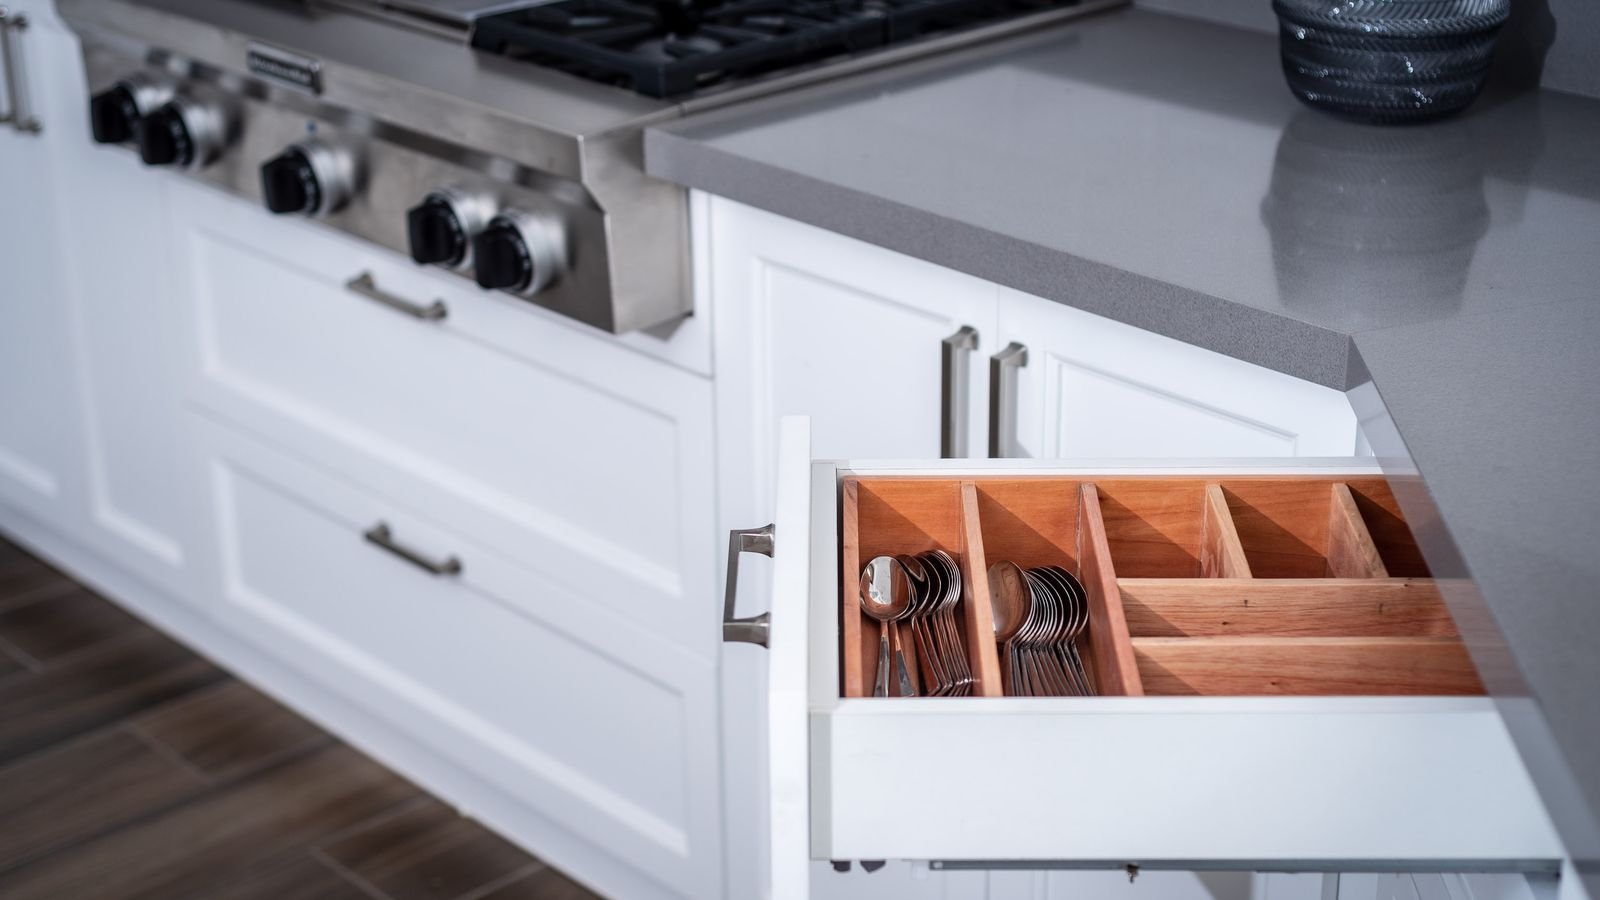
Placement Details That Make It Look Professional
Three positioning choices separate a good installation from a mediocre one.
- Set the strip forward, not centred. Mounting about an inch behind the cabinet’s front edge pushes light onto the working area and stops it reflecting straight off a glossy backsplash into your eyes.
- Always use a diffuser. Bare strip produces visible dots that reflect as a row of bright points in tiles, glass and polished stone. A frosted channel cover produces a continuous line instead.
- Run the strip the full usable width. Short strips centred under a long cabinet create bright pools with dark gaps between them, which looks worse than no lighting at all.
If the underside of the cabinet has a recessed lip at the front, mount the channel behind that lip and the light source becomes completely invisible from anywhere in the room. That single detail is what most professional installations rely on.
Wiring and Control Options
- Plug-in driver. The simplest route. Plug into an existing outlet inside a cabinet and control with an inline switch or a remote. No electrical work at all.
- Hardwired to a wall switch. Cleaner and more convenient, but this requires running cable and connecting to a switched circuit. Treat it as electrical work and follow local rules.
- Dimmer control. Highly recommended. Full brightness is right for cooking, twenty percent is right for a late-night glass of water.
- Motion sensor. A small sensor at the end of a run turns the light on as you approach. Popular in pantries and less so above a main worktop, where it can feel twitchy.
- Smart control. Wi-Fi or Bluetooth controllers allow scheduling and voice control, at the cost of a slightly more complex setup.
Common Mistakes to Avoid
- Skipping the surface clean. The number one cause of strips peeling off within a year.
- Undersizing the power supply. Add up the total wattage of all strip and choose a driver with at least twenty percent headroom, or it will run hot and fail early.
- Cutting between the marked points. This destroys the last segment permanently.
- Ignoring voltage drop. On runs longer than about sixteen feet, the far end dims visibly. Feed power from both ends, or split into two runs.
- Mounting bare strip against the cabinet. Without an aluminium channel the diodes run hotter and lose brightness faster.
- Leaving cables visible. A neat strip with a cable draped down the side of the cabinet still looks like a bodge. Drill the pass-through hole.
Frequently Asked Questions
Do I need an electrician for this?
Not for a plug-in installation, which is entirely low-voltage work on the strip side. Hardwiring to a wall switch is electrical work and should follow local requirements.
How long will the adhesive last?
On a properly cleaned surface inside an aluminium channel, indefinitely. The channel takes the mechanical load, so the adhesive is not doing the hard work. Strip stuck directly to a cabinet in a warm greasy kitchen typically starts sagging within a year or two.
Can I put strip lights above a hob or cooker?
Yes, but use an IP65 or higher rated strip and check the clearance above the appliance. Steam and grease are the two things that kill under-cabinet lighting fastest.
Why is one end of my run dimmer than the other?
Voltage drop across a long single run. Either shorten the run, use a higher voltage strip, or inject power at both ends of the run from the same driver.
Should I choose warm white or cool white?
Warm white around 3000K is the safest choice for most kitchens and flatters wood and warm-toned stone. Very white contemporary kitchens with grey or white surfaces often look better at 4000K.
Final Thoughts
Under-cabinet LED strip lighting rewards preparation far more than skill. Measure each cabinet section separately, buy a strip with real lumen output and high colour rendering rather than the cheapest reel available, test everything on the countertop before a single adhesive backing comes off, and mount it in an aluminium channel with a diffuser set forward of centre. Hide the cable through a drilled pass-through and put the whole thing on a dimmer. An afternoon of that produces a kitchen that is genuinely easier to work in and looks like the lighting was designed with the cabinets.









