
 Owen Bradley
 Swapping a garage’s dim ceiling bulb for a row of linked LED shop lights is one of the most satisfying weekend upgrades you can do. The fixtures are light, most of them plug into a standard outlet, and a single run can turn a cave into a space where you can actually read a socket size. The trick is doing it in the right order: plan the rows before you touch a ladder, decide early whether you are plugging in or hardwiring, and link the fixtures so one switch controls the whole set. This walkthrough covers the full job, from measuring the ceiling to flipping the breaker back on.
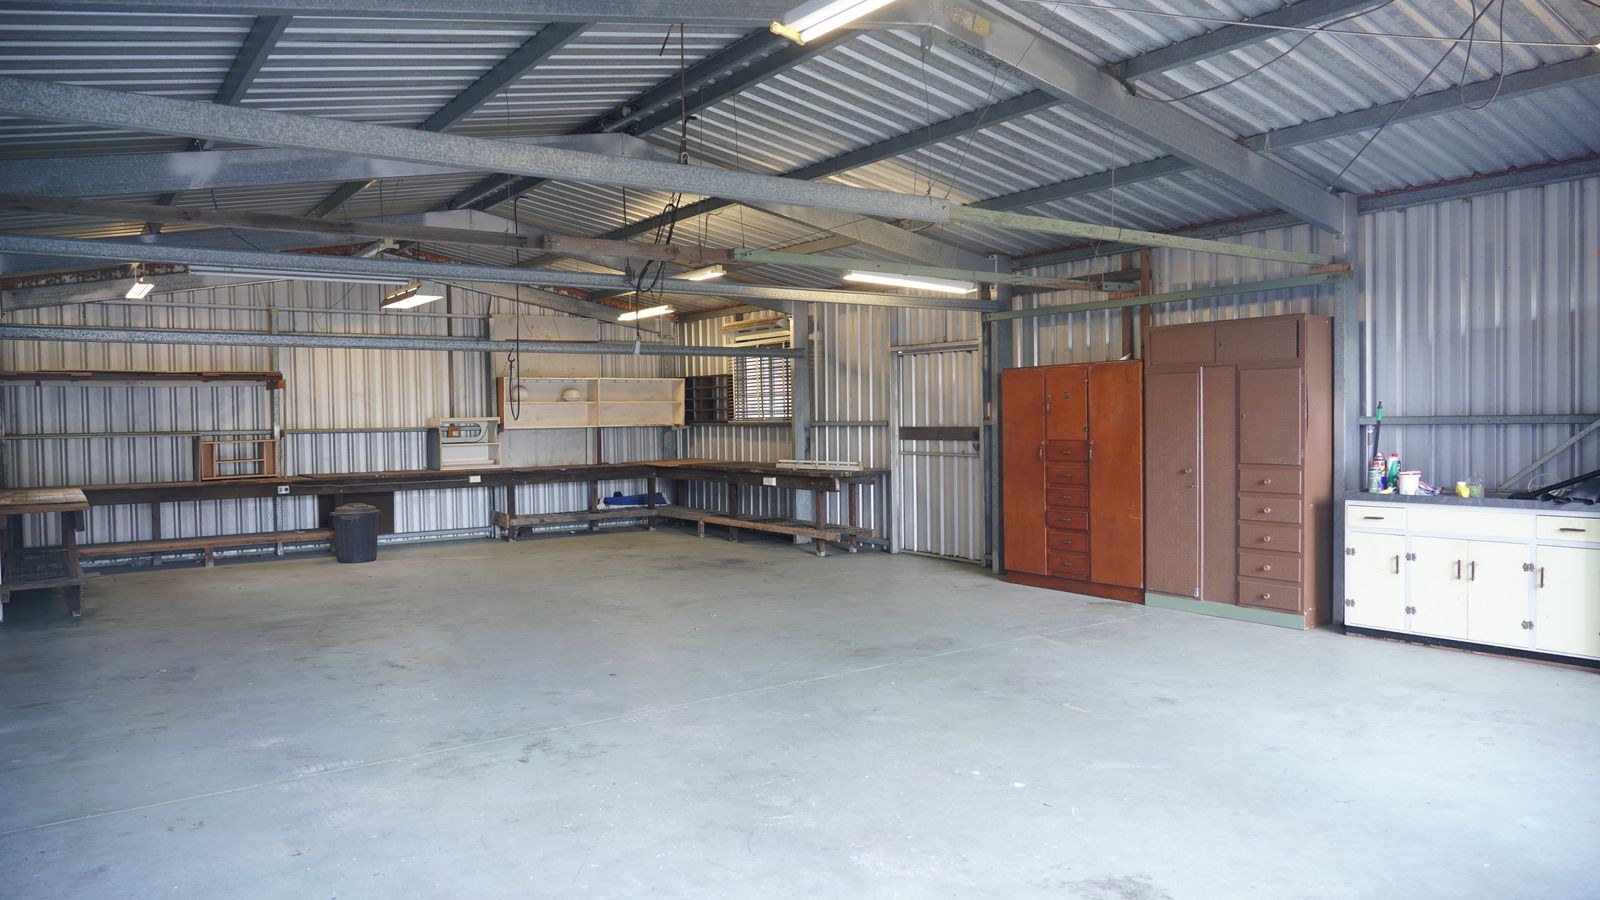
Tools and Materials You Will Need
- LED shop light fixtures in the right length and quantity for your ceiling.
- Mounting hardware: the included V-hooks and chains, or screws and toggle anchors for flush mounting.
- Linking cables if you plan to daisy-chain fixtures.
- Stud finder, tape measure, chalk line, and pencil.
- Cordless drill with a driver bit and a bit sized for pilot holes.
- Step ladder tall enough that you are not reaching overhead at full stretch.
- Non-contact voltage tester and safety glasses.
- For hardwiring only: wire nuts or lever connectors, a ceiling junction box, cable clamps, and wire strippers.
Choose the Right Fixture Length and Count
Fixture length drives your whole layout. A 4-foot fixture is the default for most home garages: it fits between joists easily, weighs little, and typically puts out 4,000 to 5,500 lumens. An 8-foot fixture covers more ground per unit and cuts the number of connections you have to make, but it is awkward to handle alone and demands a longer clear run of ceiling.
Work out the count with lumens. Target roughly 50 lumens per square foot for general garage use and 75 or more if you do detail work. A 20 by 20 foot garage at 75 lumens per square foot needs about 30,000 lumens, which is six typical 4-foot fixtures. If you compare the 4 ft LED shop lights against the 8 foot LED shop lights, the tradeoff is almost always fewer, heavier units versus more, easier-to-handle ones.
On color temperature, 4000K to 5000K suits a garage. Warmer than that dulls detail; much cooler causes eye strain over a long session.
Decide: Plug-In or Hardwired
Plug-in fixtures hang from hooks and run to a ceiling outlet. They are fast, fully reversible, and ideal if you rent or expect to rearrange the shop. The downside is a visible cord and dependence on one outlet being live.
Hardwired fixtures connect directly to house wiring in a junction box and switch from the wall like any ceiling light. They look cleaner, free up your outlets, and are the better long-term choice in a garage you own. They also require permanent electrical work that has to follow local code. The hardwired LED shop lights category exists because many fixtures ship configured for one method or the other, so confirm before you buy.
A practical hybrid: hardwire the first fixture to a switched ceiling box, then daisy-chain the rest to it. You get wall-switch control with only one wiring connection to make.
Step-by-Step Installation
- Measure the garage and sketch the rows. Note the length and width, the ceiling height, and where the bench, vehicle bay, and storage sit. Fixtures should run parallel to the long dimension.
- Set your spacing. A good rule is to space rows roughly the same distance apart as the ceiling is high, and keep outer rows 3 to 4 feet from the side walls so light reaches wall-mounted benches instead of dying in the middle of the floor.
- Locate the joists and mark them. Run a stud finder across the ceiling, mark each joist, and snap chalk lines along your planned rows. Every mounting point must land in a joist or in a properly rated anchor.
- Turn off the breaker. Kill power to the garage circuit at the panel and confirm with a non-contact voltage tester at the existing fixture or outlet. Do not rely on the wall switch.
- Mark each mounting point. Hold a fixture up to the line and mark the two hanger positions, or measure the hole spacing from the fixture and transfer it to the ceiling. Marking every point first keeps the finished row straight.
- Install the hangers. For hanging installs, drive the V-hooks or eye screws into the joists after drilling pilot holes. For flush mounts, drive screws through the fixture’s keyholes into the joists, or use toggle bolts if you must anchor into drywall between joists.
- Hang the first fixture and check alignment. Lift it onto the hooks or screws, then sight down the row from one end. Correcting one fixture is easy; correcting six is a weekend.
- Mount the rest of the run. Work down the row, keeping chains at equal length so every fixture hangs at the same height. A tape measure from the ceiling to the fixture body at each point beats eyeballing it.
- Link the fixtures in series. Plug a linking cable from the output port of the first fixture into the input of the next, and repeat down the line. Check the manufacturer’s maximum number of linked units and never exceed it, since the limit protects the first fixture’s internal wiring.
- Make the power connection. For plug-in installs, route the cord along a joist with cable staples or clips and plug into the ceiling outlet. For hardwired installs, connect black to black, white to white, and ground to ground inside the junction box, secure the cable with a clamp, and close the box cover.
- Restore power and test. Flip the breaker, then the switch. Every fixture in the chain should come on at once. If one is dark, the link cable at that point is the first suspect.
- Walk the space and adjust. Stand at the bench, at the vehicle bay, and in each corner. Look for glare in your eyes, shadows falling across your hands, and dark pockets. Shift chain lengths or add a fixture where the light falls short.
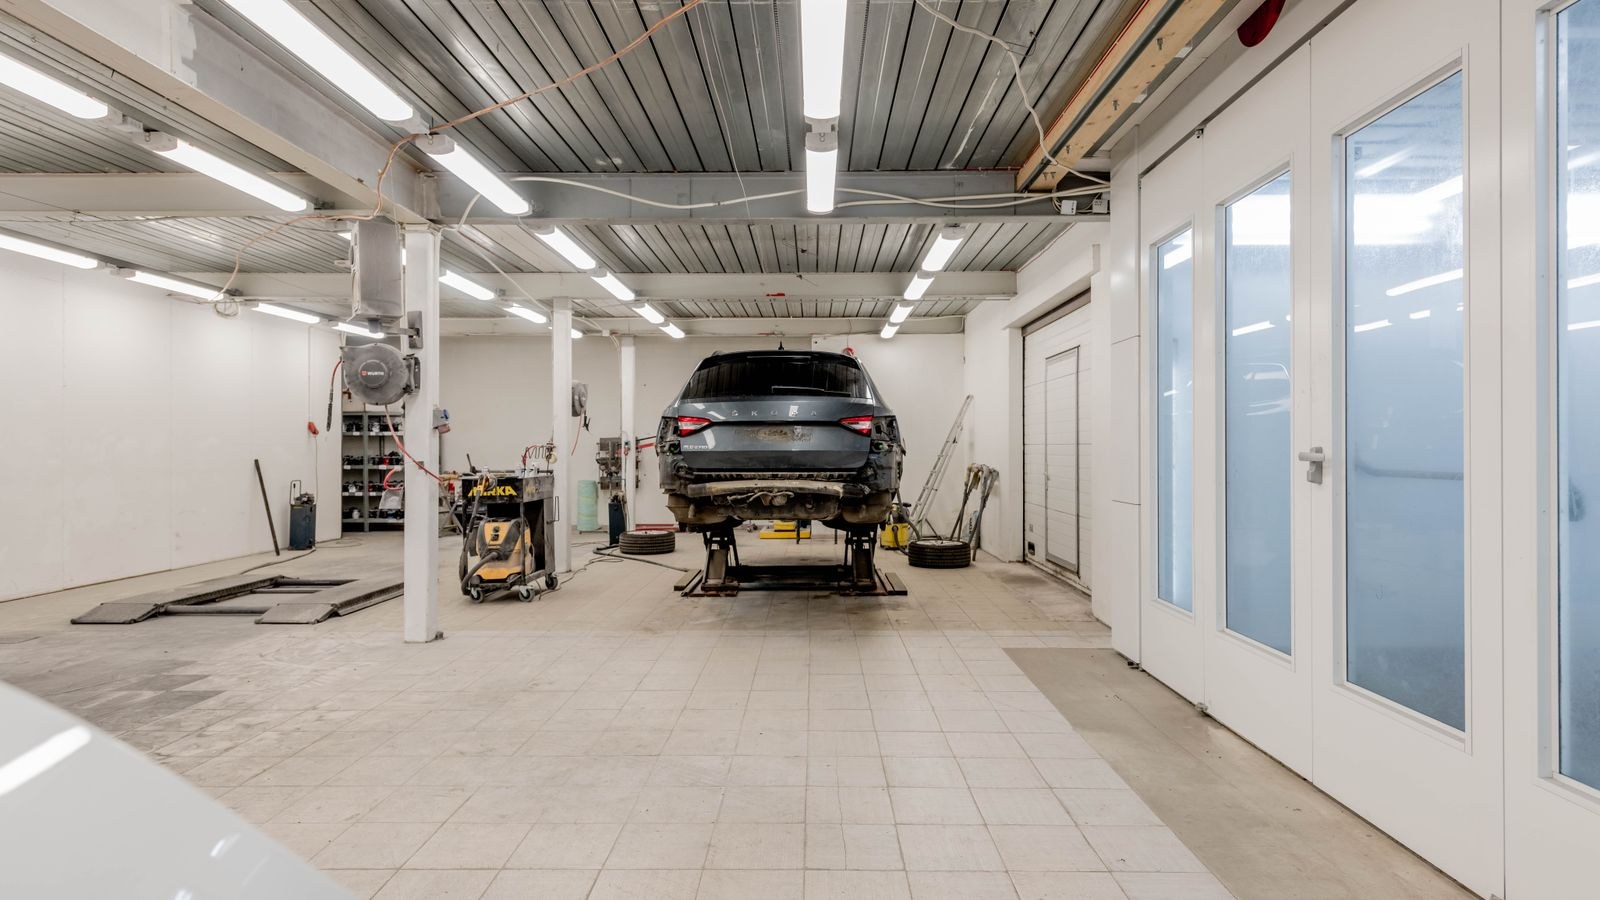
Hanging Versus Flush Mounting
Hang the fixtures if your ceiling is 9 feet or higher. Dropping the light closer to the work increases usable brightness and lets you adjust height later. Chains also tolerate an out-of-level ceiling without any fuss.
Flush mount if your ceiling is 8 feet or lower, if you regularly move long stock or ladders, or if a raised tailgate or open garage door would collide with a hanging fixture. Flush mounting also looks tidier in a finished garage. Many LED shop light fixtures ship with both hanging chains and flush-mount hardware in the same box, so decide before you drill rather than after.
Safety Rules Worth Following
- Breaker off, always. A wall switch only breaks one conductor and leaves live wire in the box.
- Do not exceed the linking limit. Chaining more fixtures than rated overloads the first unit’s pass-through wiring.
- Check the circuit load. Total the wattage of lights plus the compressor, heater, and power tools sharing the circuit, and leave headroom.
- Anchor into structure. Drywall anchors alone are not adequate for an overhead fixture.
- Use damp-rated fixtures in an unheated garage where vehicles bring in rain and snow.
- Have a helper for 8-foot units. They are long enough to flex and drop while you are on a ladder.
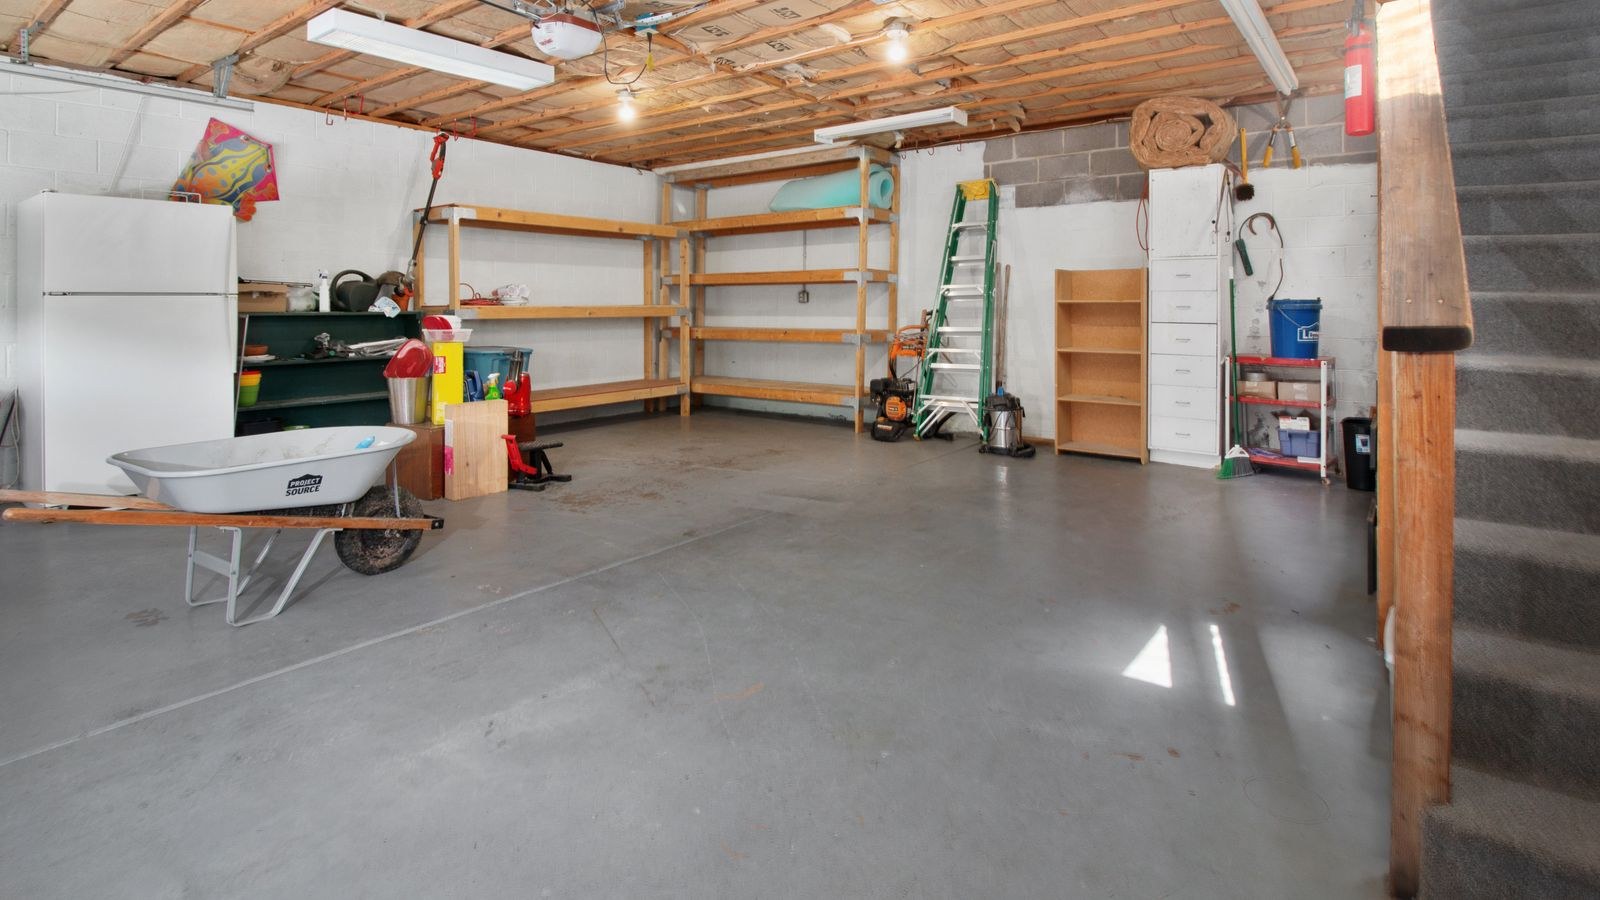
Troubleshooting
- One fixture in the chain is dark: reseat the link cable at both ends, then test that fixture on its own cord to isolate whether the cable or the unit failed.
- The whole run is dead: check the breaker, the outlet with a tester, and the first connection in the chain.
- Flickering: most often an incompatible dimmer. Confirm the fixture is rated dimmable and matched to the dimmer type, or replace the dimmer with a standard switch.
- Buzzing: usually a loose connector or a driver reacting to a dimmer. Re-seat connections first.
- Uneven brightness: spacing is too wide for the ceiling height, or outer rows sit too far from the walls.
- Delayed or dim startup in winter: check the fixture’s rated minimum operating temperature.
Mistakes to Avoid
The most common error is buying by wattage rather than lumens, since wattage describes consumption and tells you nothing about output. The second is running one row down the center of the ceiling, which puts every wall bench in your own shadow. The third is mounting to drywall between joists with cheap plastic anchors, which works right up until it does not. Finally, do not skip the layout sketch. Ten minutes on paper prevents a row of fixtures that lights the empty floor beautifully and leaves the workbench dim.
Frequently Asked Questions
How many LED shop lights do I need for a two-car garage?
A typical 400 square foot two-car garage needs roughly six 4-foot fixtures at around 5,000 lumens each for comfortable working light. Add more if your ceiling is above 10 feet or the walls are dark.
Can I install LED shop lights myself?
Plug-in fixtures that hang from hooks are a straightforward job with a ladder, a drill, and a stud finder. Hardwiring involves permanent connections to house wiring, so follow local code and bring in an electrician if you are adding a circuit or a switch.
How many shop lights can I link together?
It depends on the fixture, and the manufacturer prints the limit on the unit or in the manual. Common limits run from four to ten fixtures on one chain. Treat that number as a hard ceiling, not a suggestion.
How far apart should shop lights be spaced?
Space rows about the same distance apart as your ceiling height, so roughly 8 feet apart on an 8-foot ceiling, and keep the outer rows a few feet in from the side walls.
Final Thoughts
Installing LED shop lights in a garage is mostly planning and a little wiring. Size the run by lumens rather than wattage, sketch the rows before you drill, mark the joists, and decide up front whether you want a plug-in setup you can rearrange or a hardwired run controlled from a wall switch. Cut the breaker, hang the first fixture, sight the line, then work down the row and link them so a single flip lights the whole shop. An afternoon of careful work buys you years of a garage where you can actually see what you are doing.









