
 Owen Bradley
 Renting does not mean giving up on security. It only means the usual advice, which assumes you can drill anchors into brick and run cable through a wall cavity, no longer applies. A lease normally forbids permanent alterations, and every anchor hole you leave behind is money quietly deducted from your deposit at move-out. The good news is that apartment security cameras have become small, wireless and light enough that adhesive plates, shelves and window ledges hold them perfectly well. This guide walks through planning coverage for a small floor plan, choosing damage-free mounting methods, wiring power without trailing cords across the room, and staying on the right side of both your lease and your neighbours’ privacy in 2026.
What You Need Before You Start
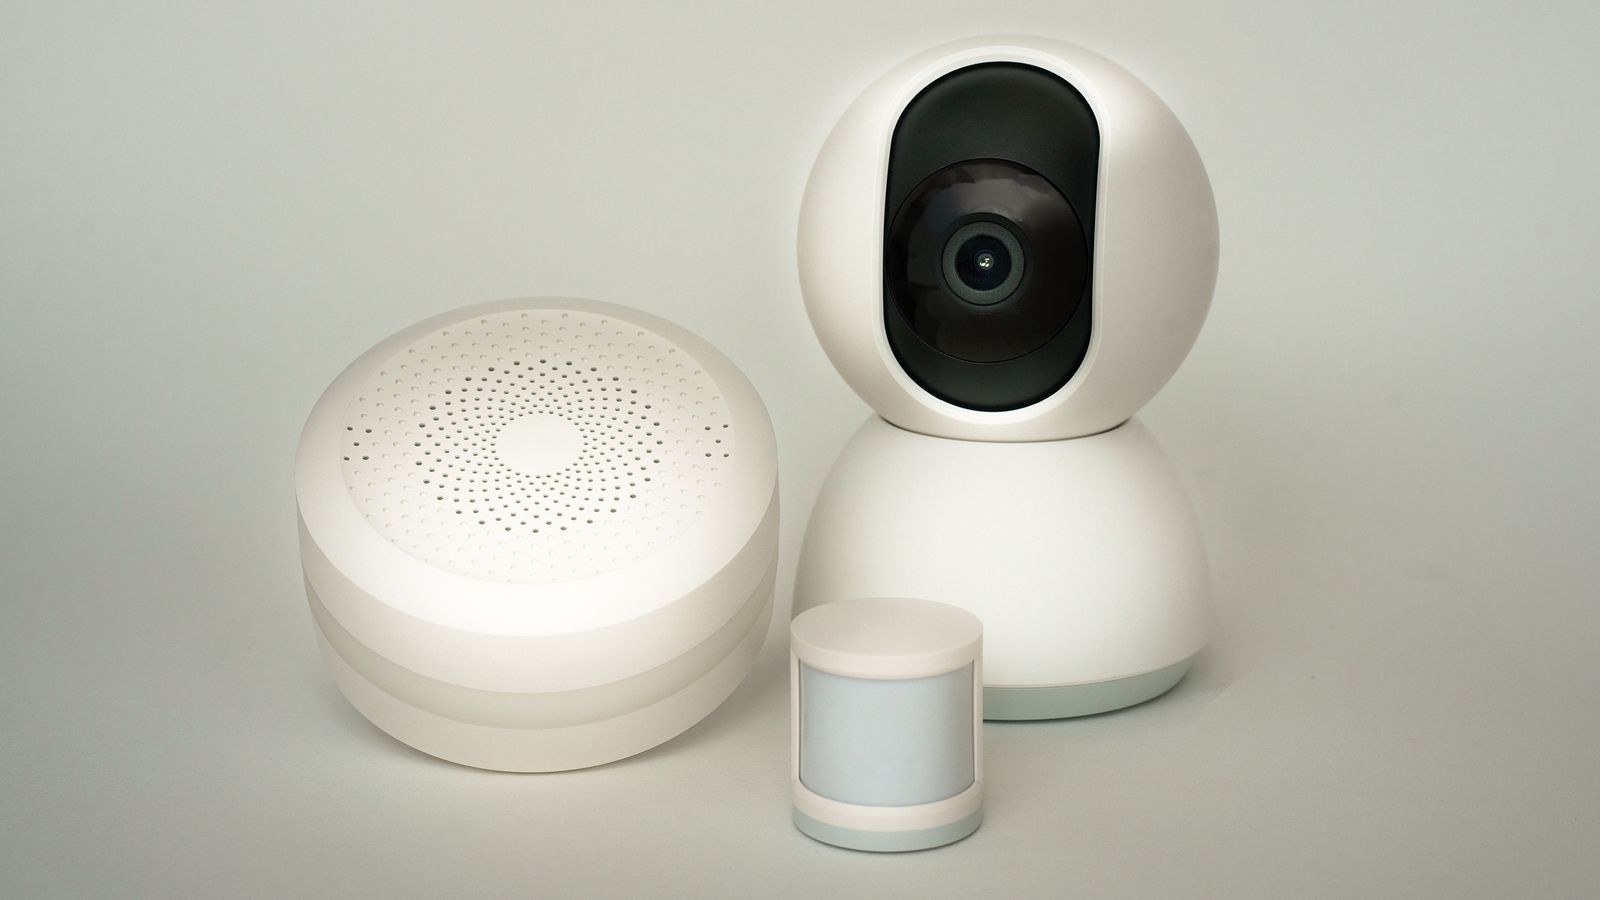
Gather everything first so you are not halfway up a step stool hunting for a cable. Nothing here requires a toolbox full of power tools.
- One to three wireless indoor cameras sized for the rooms you want covered.
- Removable adhesive mounting strips or plates rated well above the camera’s weight.
- Isopropyl alcohol wipes to clean the mounting surface, since dust is the main cause of failed adhesive.
- A tension rod, small shelf or clamp mount if you prefer zero adhesive contact at all.
- USB power adapters and flat cables, ideally 10 ft or longer so you can reach an existing outlet.
- Adhesive cable clips or cord channel to keep the run tidy along a baseboard.
- Your phone with the camera app installed and your Wi-Fi password on hand.
If you are still deciding on hardware, start with a shortlist of the best home indoor security cameras, which favour compact bodies and flexible power options that suit apartments far better than bulky outdoor domes.
Check Your Lease and Local Rules First
Spend ten minutes reading the alterations clause of your lease before you buy anything. Most leases prohibit drilling, adhesive that removes paint, and anything mounted on the building exterior, including hallway walls, the front of your door and shared balconies. Interior cameras that sit on furniture or attach with removable adhesive are almost always permitted because they leave no trace.
Privacy law matters just as much. Recording the inside of your own unit is normally fine, but pointing a camera at a shared corridor, a neighbour’s window or a communal laundry room can create real legal problems. Audio recording is more tightly regulated than video in many places, so if a camera will capture conversations outside your unit, disable the microphone. When in doubt, ask the property manager in writing and keep the reply.
Plan Coverage for a Small Floor Plan
Apartments have fewer entry points than houses, which makes planning easy. Rank the spots that actually matter: the front door from the inside, any ground-floor or fire-escape window, and the main living area where valuables sit. Two well-placed cameras usually beat five scattered ones.
Walk each room and look for a spot roughly 7 to 8 ft high, in a corner, angled slightly downward. Corners give the widest useful field of view because the lens sees two walls at once. Avoid aiming straight at a bright window, since backlighting turns anyone standing in front of it into a silhouette. Check what is behind the camera too, because a lamp or a mirror can bounce infrared light back at night and wash out the whole frame.
Step-by-Step: Installing Cameras Without Damage
- Set the camera up before mounting it. Power it on beside your router, complete the app pairing, update the firmware and confirm the live view works. Debugging a connection is far easier at desk height than on a shelf.
- Test the angle from the intended spot. Hold the camera in place, watch the app preview on your phone, and adjust until the view covers the door or window fully. Mark the final position lightly with a strip of painter’s tape.
- Clean the surface thoroughly. Wipe the wall or shelf with an isopropyl alcohol pad and let it dry for a full minute. Skip this and the adhesive will fail within a week.
- Apply the adhesive plate and wait. Press the mounting plate firmly for 30 seconds, then leave it untouched for at least an hour before hanging any weight. Most removable strips reach full strength after 24 hours, so be patient with heavier cameras.
- Attach the camera and set the final angle. Clip or screw the body onto the plate, then fine-tune the tilt while watching the live view. Lock any adjustment collar so the camera cannot droop over time.
- Run and hide the power cable. Drop the cable straight down the corner, then follow the baseboard to the nearest outlet. Adhesive cable clips every 12 in keep it flat and almost invisible.
- Configure motion zones and schedules. Draw an activity zone around the door and exclude the window facing the street, or you will get a notification every time a car passes. Set a schedule that arms recording when you leave.
- Verify night performance. Come back after dark and check the infrared view. Reflections off glass and glossy paint are the most common night-time problem, and a small angle change usually fixes them.
No-Drill Mounting Options That Actually Hold
Adhesive is not your only choice. Match the method to the camera’s weight and the surface you have.
- Removable adhesive strips. Best for cameras under about 8 oz on smooth painted drywall. Choose a strip rated for at least double the weight and pull the release tab straight down when moving out.
- Bookshelf or ledge placement. The simplest option of all. Push the camera to the back of a high shelf so the front edge does not clip the field of view, and use a small non-slip pad underneath.
- Tension rod mounts. A spring-loaded rod wedged in a window recess or between two cabinets gives you a solid vertical post with zero surface contact.
- Clamp arms. A padded clamp grips a shelf edge, a curtain rail or a headboard, and repositions in seconds. Ideal if you rearrange furniture often.
- Magnetic bases on a steel plate. Stick a thin steel disc to the wall with adhesive and let the camera magnet hold it, which makes recharging a battery model painless.
Textured wallpaper, limewash and freshly painted walls are the three surfaces where adhesive most often lifts paint on removal, so favour a shelf or clamp there. Compact models weigh least and forgive the most, which is why the best mini security cameras are so popular with renters working around fragile surfaces.
Powering and Connecting Without Cable Clutter
Every camera needs either a battery or a power cord, and in a rental the cord is what gives you away. Position cameras within reach of an existing outlet rather than adding an extension lead, and choose a long flat cable that hugs the baseboard. If you must cross a doorway, run the cable over the top of the frame instead of across the floor, where it becomes a trip hazard.
Battery models remove the cable question entirely but need recharging every few months, so mount them where you can lift them down without a ladder. Wi-Fi strength is the other constraint: apartment buildings are dense with competing networks, and a camera two rooms from the router may show a strong signal yet still stutter on live view. Prefer the 2.4 GHz band for range, place the router centrally, and if a corner room struggles, a mesh node solves it more reliably than moving the camera. Models chosen for stable wireless performance in crowded buildings, such as the best WiFi home security cameras, cope with this far better than budget units.
Safety and Privacy Notes
Change the default password on every camera and enable two-factor authentication on the account. A camera with a reused password is a window into your home for anyone who has seen that password in a breach. Keep firmware updated, because most fixes address exactly this kind of exposure.
Respect the boundary of your unit. Angle cameras inward, use privacy masking on any part of the frame catching a neighbour’s door, and switch off audio near shared walls. Tell flatmates where cameras are, keep bedrooms and bathrooms clear, and never block a fire exit or smoke detector.
Troubleshooting Common Problems
The adhesive plate keeps falling. Almost always surface preparation. Remove old residue, clean with alcohol rather than a household spray, and let the new strip cure a full day.
Night vision shows a bright white haze. Infrared is reflecting off glass, a glossy wall or the camera’s own housing. Move the camera away from windows or tilt it a few degrees so the beam does not bounce straight back.
Constant false alerts. Tighten the motion zone, lower sensitivity a step, and enable person detection. Ceiling fans, curtains and pets are the usual culprits.
Live view lags or drops. Check signal strength in the app first, then reduce streaming resolution or add a mesh point.
Mistakes Renters Make Most Often
The biggest one is buying an outdoor camera for an indoor job. Outdoor units are heavier, need weatherproof mounting hardware and are the exact thing your lease prohibits on exterior walls. The second is over-covering: renters often install a camera in every room, then ignore the flood of notifications until the system is effectively off. Two cameras you actually check beat five you mute.
Mounting too low is another classic. Aim for above head height, and when you move out, pull the adhesive release tab slowly straight down the wall rather than yanking outward, which tears paint.
Frequently Asked Questions
Can my landlord stop me installing a camera inside my unit?
Generally no, provided the camera causes no permanent damage and does not record shared areas. Exterior mounting and anything requiring drilling is a different matter and usually needs written permission.
Do I need a subscription to record footage?
Not always. Many cameras store clips on a microSD card or a local hub at no cost, while cloud storage and longer history are the paid tier. If recurring fees bother you, confirm local storage support before buying.
Will adhesive mounts survive a whole lease?
Yes, when the strip is rated well above the camera weight and the surface was cleaned properly. Failures trace back to dust or an under-rated strip rather than time.
How many cameras does a one-bedroom apartment need?
Usually one or two. Cover the front door from inside and the main living space, and add a third only if you have a vulnerable ground-floor window. Options across the range are compared in our guide to the best indoor surveillance cameras.
Final Thoughts
Installing apartment security cameras is less about hardware skill than about restraint and planning. Read the lease, pick the two or three angles that genuinely matter, mount with adhesive or a shelf rather than a drill, and route power along a baseboard so nothing looks temporary. Lock the account down with a strong password and keep every lens inside your own four walls. Done that way, the whole setup takes an afternoon, leaves no mark when you hand back the keys, and travels with you to the next place. If you want a system that also ties into lights, locks and sensors as you move, browsing the best smart home cameras is a sensible next step before you commit.









