
 Owen Bradley
 Plenty of homes have no doorbell wiring at all, or the wiring that exists died decades ago behind a layer of paint. That does not disqualify you from owning a video doorbell. Battery-powered and plug-in models were designed specifically for apartments, rentals, brick facades, and older houses where running low-voltage cable is impractical. This guide walks through the whole job of installing a video doorbell without an existing wired doorbell, from checking your Wi-Fi signal at the front door to mounting the bracket on brick and configuring motion zones so the camera stops alerting you about passing cars.
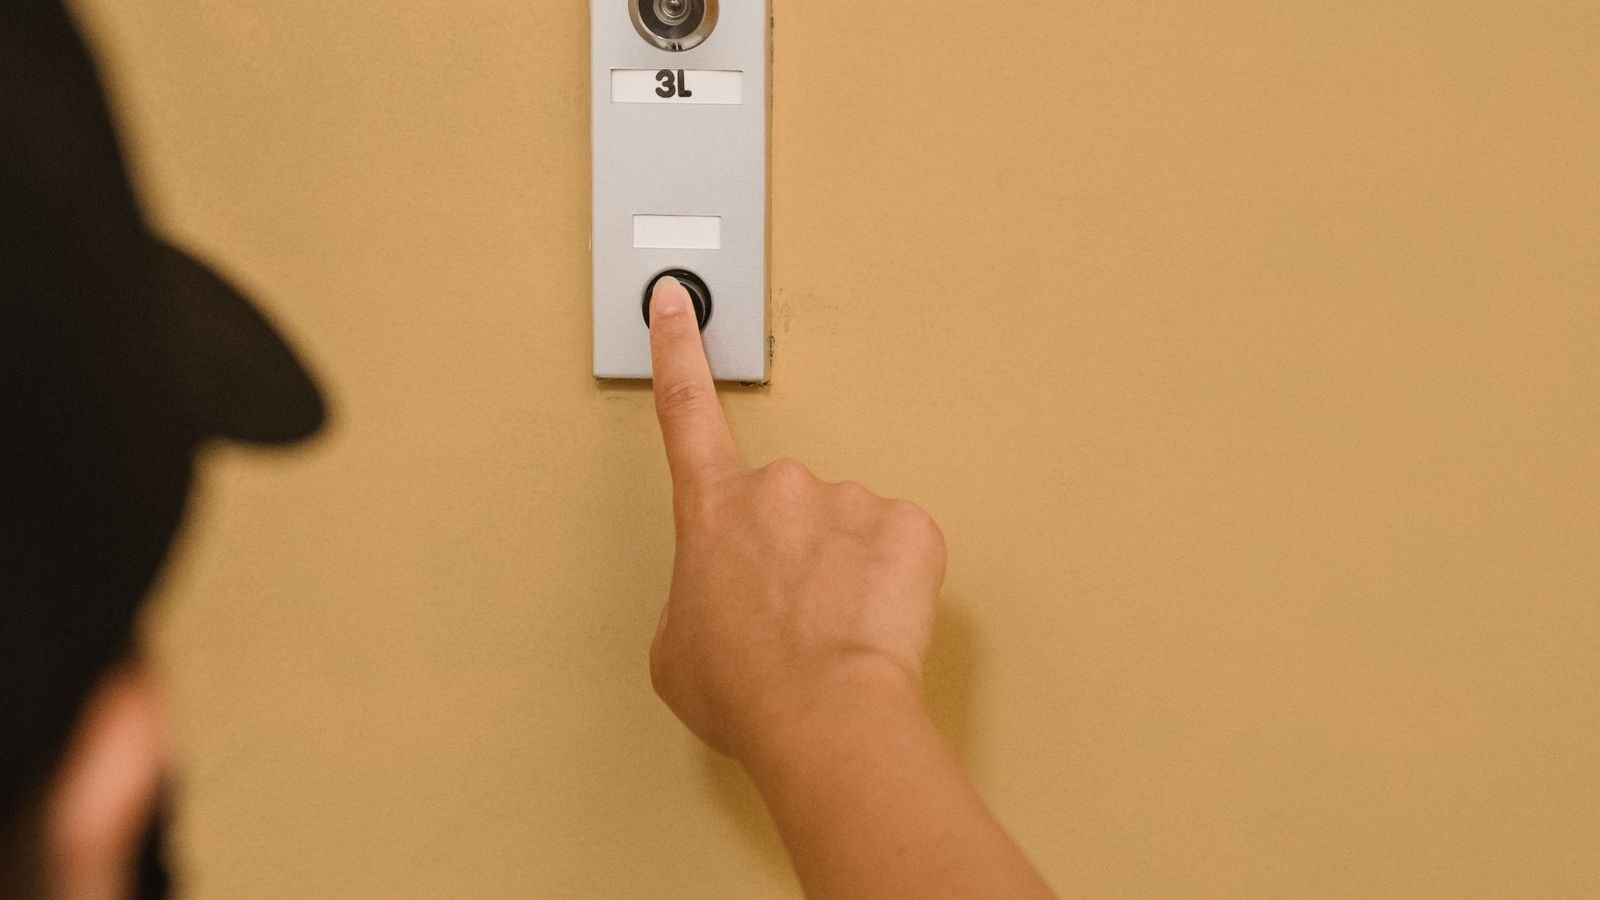
Understand What “No Existing Doorbell” Actually Means
Before you buy anything, work out which of three situations you are in, because each one changes the hardware you need.
- No wiring whatsoever. There is no button, no transformer, no chime. A fully battery-powered doorbell is the answer, paired with a plug-in wireless chime so you can hear visitors from inside.
- Dead wiring. A button exists but nothing happens when pressed. The transformer may have failed, or a wire may be broken inside the wall. You can still install a battery model and ignore the old wiring entirely.
- Wiring exists but is too weak. Some older transformers deliver only 8V, below the 16V many wired video doorbells expect. Rather than replacing the transformer, a battery unit sidesteps the problem.
In all three cases the installation path is the same, which is why battery models have become the default recommendation for anyone who does not want to touch mains voltage. If you are still choosing hardware, compare the current crop of best battery doorbells against the wider field of best wireless doorbells, since the two categories overlap but differ in whether a camera is included.
Check Wi-Fi at the Front Door First
This is the single step most people skip, and it causes more failed installations than any mounting problem. Your router might blanket the living room, but a front door on the far side of a brick or stucco wall can sit in a dead zone.
Stand exactly where the doorbell will go, hold your phone against the wall, and run a speed test. You want at least 2 Mbps upload and, more importantly, a stable connection with no dropouts over a minute or two of testing. Note whether your phone is on the 2.4 GHz band, because the vast majority of video doorbells only join 2.4 GHz networks. If your router broadcasts a single merged network name, you may need to temporarily split the bands or use your router app’s guest network on 2.4 GHz during setup.
If the signal is marginal, fix it before mounting anything. A mesh node or Wi-Fi extender placed in the room nearest the front door usually solves it. A doorbell with a weak connection produces the classic complaint: alerts arrive ninety seconds late, by which time the visitor has gone.
Gather Your Tools and Parts
- Cordless drill with a masonry bit if you are mounting on brick, stone, or stucco, or a standard bit for wood and siding
- The wall anchors and screws included in the doorbell box
- A small level, or a level app on your phone
- Pencil for marking holes
- The supplied mounting bracket and any wedge or corner kit
- A plug-in wireless chime, if the doorbell did not include one
- A screwdriver, usually the tiny security bit supplied with the unit
No wire strippers, no voltage tester, no breaker trip. That is the entire appeal of this installation.
Step-by-Step Installation
- Charge the battery fully before you mount anything. Most units ship at partial charge and take three to six hours to fill. Doing this first means you can test the device indoors, near the router, before it is bolted to a wall.
- Install the app and create your account. Add the device while it is still in your hands. Scan the QR code on the back or press the setup button, then join it to your 2.4 GHz network. Confirm you get a live video feed on your phone.
- Choose the mounting height. Aim for roughly 48 inches above the porch floor. Higher than that and the camera frames faces poorly, showing the tops of heads and a lot of sky. Lower and you get a great view of torsos and packages but poor facial detail.
- Test the framing before drilling. Hold the doorbell at your chosen spot and have someone check the app feed, or prop your phone where you can see it. Walk to where visitors normally stand. Adjust position until the frame captures the doorstep and a reasonable slice of the approach path.
- Decide whether you need a wedge. If the door sits in a recess, or the unit will mount on a narrow trim board, an angled wedge tilts the camera outward or downward. Most kits include one; corner kits are sold separately for mounting on a perpendicular wall.
- Mark and drill the holes. Hold the bracket level against the wall, mark through the screw holes with a pencil, set it aside, and drill. On brick, drill into the mortar line where possible: it is softer, and a future repair is invisible. Tap in the supplied anchors flush with the surface.
- Fasten the bracket. Drive the screws snug but do not overtighten into plastic anchors or you will strip them. Check level one more time before the final quarter turn.
- Attach the doorbell body. Most units hook over the top of the bracket and then secure with a single screw at the bottom edge. That screw is the only thing preventing casual theft, so do not leave it out.
- Plug in the indoor chime. Put it in a hallway outlet roughly central to the house, pair it in the app, and set a volume you can hear from the kitchen and the bedroom.
- Press the button and confirm the full chain. Doorbell press should trigger the chime, a phone notification, and a two-way audio session. Test all three.
Mounting on Difficult Surfaces
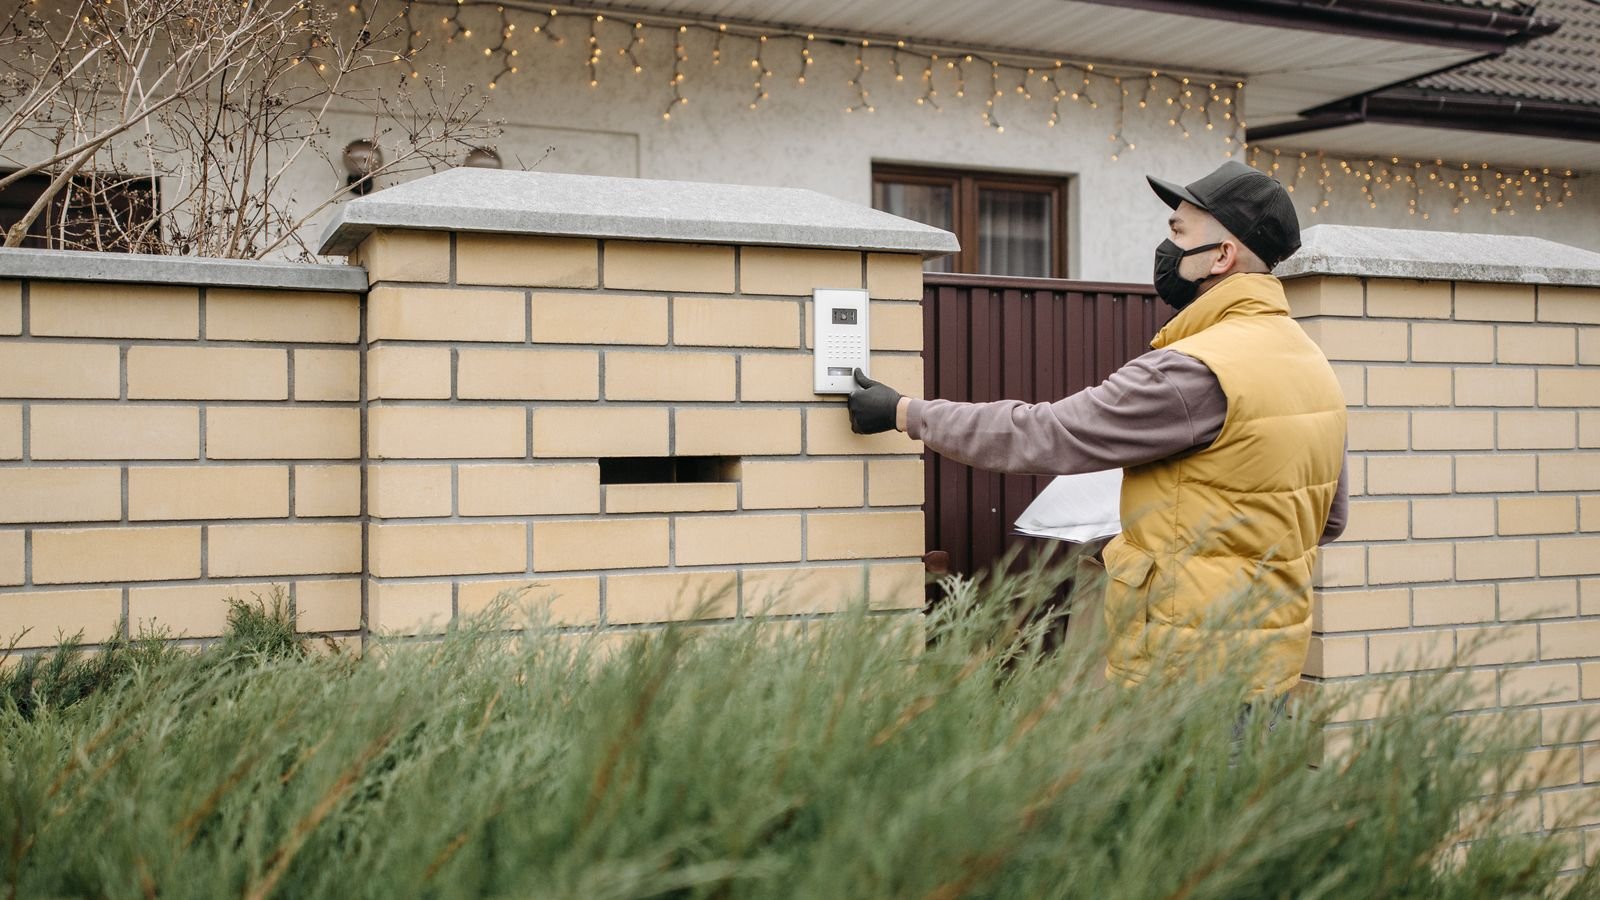
Brick, stucco, and fiber cement each need slightly different handling. On brick, use a masonry bit sized to the anchor and let the drill do the work rather than leaning on it. On stucco, drill slowly to avoid cracking the surface coat, and expect to hit sheathing behind it. On vinyl siding, a no-hole mounting block or heavy-duty exterior tape avoids puncturing the weather barrier, though tape mounting is only advisable in sheltered locations and mild climates.
Renters have two options worth knowing. A door-mounted bracket clamps over the top edge of the door itself with no holes at all. Alternatively, a peephole-style unit replaces the existing peephole. Both trade some camera angle flexibility for a completely reversible installation.
Configure Motion Detection So You Are Not Buried in Alerts
A freshly installed doorbell in default configuration will notify you about every car, cat, and gust of wind. Spend ten minutes taming it.
- Draw activity zones. Exclude the street and the sidewalk. Include the walkway, the porch, and the area where couriers set packages down.
- Reduce sensitivity gradually. Drop it a notch, wait a day, and see whether real events are still captured. Overcorrecting means missing the delivery you actually cared about.
- Enable person detection if offered. Filtering to human-shaped motion eliminates the majority of nuisance alerts on its own.
- Set a schedule. Many people mute motion alerts during the workday and rely on the event history instead, keeping doorbell-press alerts always on.
Managing Battery Life
Expect anywhere from six weeks to six months on a charge, and the spread depends almost entirely on how much the camera wakes up. A doorbell facing a busy street with wide-open motion zones can drain in under a month. The same unit with tight zones and person filtering can run half a year.
Cold weather matters too. Lithium cells lose capacity below freezing, so a doorbell that lasted four months in summer may need charging every six weeks in a hard winter. Buying a second battery pack, where the design allows swapping, means you charge one indoors while the other stays on duty and you never lose coverage.
Set a low-battery notification in the app rather than relying on memory.
Common Mistakes to Avoid
- Mounting too high. The most frequent regret. Faces get cut off and the camera stares at the horizon.
- Ignoring direct sunlight. A doorbell facing due west will be washed out every afternoon. Angle it slightly or accept degraded evening footage.
- Skipping the pre-mount video test. Drilling into brick and then discovering the angle is wrong is a bad afternoon.
- Forgetting the chime. Without a wired chime in the circuit, phone notifications are your only alert unless you add a plug-in unit. Visitors will stand outside wondering why nothing happened.
- Leaving default motion sensitivity. Alert fatigue leads people to mute notifications entirely, which defeats the purpose of the device.
Frequently Asked Questions
Do I need a transformer for a battery video doorbell?
No. That is the entire point of the category. The unit runs from an internal rechargeable pack and communicates over Wi-Fi, so there is no low-voltage circuit and no transformer involved anywhere in the installation.
Will it work if my only Wi-Fi is 5 GHz?
Most video doorbells require a 2.4 GHz network because that band penetrates exterior walls far better. If your router is broadcasting only 5 GHz, enable the 2.4 GHz band in the router settings before you begin setup.
Can I install one in a rental without permission problems?
Usually yes, if you choose a no-drill mounting method. Door-clamp brackets and peephole replacements leave no marks. If you do drill, four small anchor holes are typically easy to patch, but check your lease first.
How do I hear the doorbell inside the house?
Add a plug-in wireless chime paired to the doorbell. Many kits include one. If your house is large, a second chime on another floor is worth the small extra cost.
Does the doorbell keep recording if my internet goes down?
Most battery models rely on the cloud and will stop recording during an outage, though a few offer local storage on a microSD card or a base station. If outages are common where you live, prioritize a model with local backup storage.
Final Thoughts
Installing a video doorbell with no existing wiring is a genuinely straightforward job, an hour at most once the battery is charged. The parts that determine whether you are happy six months from now are not the drilling: they are the Wi-Fi check you did beforehand, the mounting height you chose, and the ten minutes you spent trimming motion zones. Get those three right and the hardware quietly does its job.









