
 Owen Bradley
 A tension shower curtain rod is one of the few home fixes that costs less than a takeaway meal, takes ten minutes, and leaves no trace when you remove it. There are no anchors to drill, no tile to crack, and no landlord to apologise to. The catch is that a badly installed tension rod is notorious for the two-in-the-morning crash — the rod slipping, the curtain collapsing into the tub, and a scuff mark left on the paint. Almost every one of those failures traces back to the same handful of mistakes at installation. This guide covers measuring properly, choosing the right rod for your wall surface, tensioning it correctly, and the small tricks that stop a rod from creeping down the wall over the following weeks.
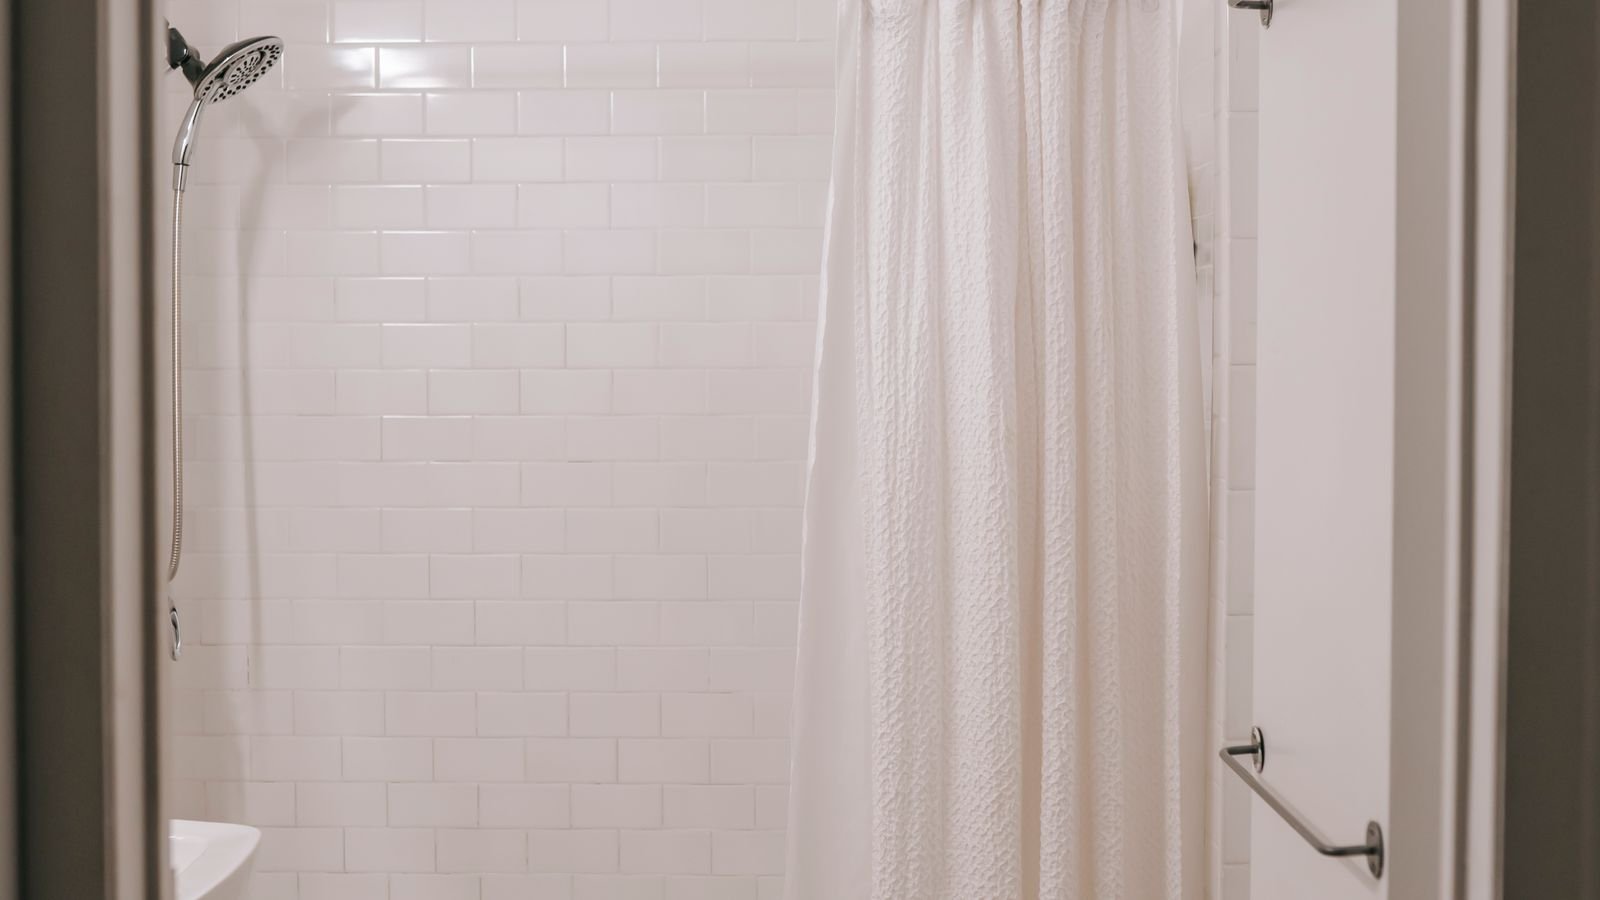
How a Tension Rod Actually Holds
Understanding the mechanism explains every rule that follows. A tension rod is two tubes, one sliding inside the other, with a spring or a threaded expansion mechanism between them. Twisting the rod extends it; the spring pushes outward against both walls. The rubber or plastic end caps convert that outward push into friction against the wall surface.
The load is therefore carried entirely by friction, and friction depends on three things: how hard the rod presses outward, how much grip the end caps have on the surface, and whether the two walls are parallel. Get any of them wrong and the rod will eventually slide. Notice that none of them involve strength — cranking the rod tighter beyond a point does not help, and can actually make it worse by bowing the tube so the end caps sit at an angle and touch the wall on only one edge.
What You Will Need
- A tension rod whose adjustment range brackets your opening width, ideally with your measurement near the middle of the range rather than the extreme end.
- A tape measure and a pencil.
- A small level, or a level app on a phone.
- Rubbing alcohol and a cloth for degreasing the wall contact points.
- A step stool — installing at arm’s length above your head is how rods end up crooked.
- Optional: clear silicone bumpers or rubber shelf liner to boost grip on glossy tile.
Step 1: Measure the Opening Correctly
Measure the wall-to-wall distance at the exact height you intend to mount, not at the tub rim. Bathroom walls are rarely perfectly plumb, and a difference of half an inch between the width at tub level and the width at rod level is common in older homes.
Take three measurements — at the intended height, a few inches above it, and a few inches below — and use the smallest. A rod sized to the widest point will not have enough spring travel left at the narrowest.
Then check the rod’s stated range. If your opening is 60 inches and you are choosing between a rod rated 43–72 inches and one rated 56–72 inches, take the second. A rod sitting near the middle of its range has the spring compressed to a healthy working point. A rod at the very end of its extension has almost no spring compression left and will barely grip.
Step 2: Choose the Right Height
Standard practice puts the rod between 75 and 78 inches from the floor, which usually lands three to six inches above the top of the tub surround tile. A few considerations refine that:
- The curtain should clear the floor or hang an inch or two inside the tub, not puddle. Measure your curtain and work backwards.
- Mount onto tile rather than painted drywall wherever possible. Tile is harder, flatter, and far less likely to be marked or dented by the end caps.
- Avoid mounting directly over a grout line if you can. A recessed grout joint means the end cap contacts only part of its face.
- Keep clear of soap dishes, tile trim, and shampoo niches — the end cap needs a flat surface at least as wide as itself.
Mark the height lightly in pencil on both walls, then check them against each other with the level before you commit.
Step 3: Prepare the Wall Surface
This step is skipped more often than any other and it is the difference between a rod that holds for years and one that slides in a fortnight. Bathroom walls accumulate an invisible film of soap residue, body oils, hairspray, and cleaning-product surfactant. All of these are lubricants. A rubber end cap pressed against a soapy tile has a fraction of the grip it would have on a clean one.
Wipe both contact areas with rubbing alcohol on a clean cloth and let them dry completely. Wipe the rubber end caps themselves too — they pick up dust and mould-release residue in the packaging. Two minutes here is worth more than any amount of extra twisting later.
Step 4: Install the Rod
- Pre-extend the rod on the floor. Twist it until it is roughly one inch longer than your measured opening. Doing this at ground level is far easier than fighting it overhead.
- Thread the curtain and liner on first. Sliding rings onto an installed rod is possible but awkward, and wrestling with it is a common way to knock a freshly tensioned rod loose. Rings first, then mount.
- Position one end against its pencil mark and hold it flat against the wall. Angle the other end up into place — you should feel real resistance as the spring compresses.
- Level it. Rest a level on top of the rod and adjust before you finish tightening. A rod that looks level by eye is often not, and a sloped rod lets the curtain drift steadily toward the low end.
- Twist to tension. Rotate the outer tube to expand the rod while holding the inner tube steady. Tighten until the rod feels firmly locked and you cannot push it up or down by hand, then stop. Over-tightening bows the tube and reduces contact area.
- Test it. Hang your full weight on it for a moment — not to prove it will take that load in service, but to reveal a weak grip immediately rather than at 2am. Then push down firmly on the centre. If it moves, take it down, re-clean, and reset.
- Check again after a day. Springs settle, and walls expand and contract with bathroom humidity. A quarter-turn of extra tension the next morning is normal and worth doing.
Stopping a Rod That Keeps Slipping
If the rod holds initially but creeps down over days, work through these:
- Re-clean both surfaces. Residue is the culprit far more often than a faulty rod.
- Add grip. Cut two small discs from rubber shelf liner or a non-slip mat and place one behind each end cap. This dramatically increases friction on glossy tile without leaving a mark.
- Check the end caps for wear. Rubber hardens and glazes over time. Replacement caps are inexpensive and restore grip instantly.
- Reduce the load. A heavy fabric curtain plus a vinyl liner plus a hanging caddy can exceed what a lightweight rod was designed for. Move the caddy to a suction mount or the tub rim.
- Reconsider the rod itself. Thin, hollow, spring-only rods have a limited grip ceiling. A heavier-gauge rod with a threaded expansion mechanism holds substantially more. Browsing a comparison of the best shower curtain rods is useful for seeing which tension designs are built for heavier curtain loads and wide openings.
- Verify the walls are parallel. If the opening is genuinely tapered, no tension rod will hold reliably and a permanently mounted rod is the honest answer.
Curved and Specialty Tension Rods
A curved rod bows outward over the tub, adding several inches of elbow room at shoulder height — a small change that makes a standard tub feel noticeably less claustrophobic. Two things change with a curved tension rod. First, it needs a longer curtain, typically 72 by 72 inches rather than a standard width, because the arc adds length to the path. Second, the outward bow puts a slight twisting force on the end caps, so cleaning and grip preparation matter even more.
For a stall shower or a corner enclosure, an L-shaped or straight rod may need a ceiling support at one end, which does mean a fastener. And in a wet room or an opening wider than about 72 inches, tension alone is generally not enough — the spring simply cannot generate sufficient force across that span.
Mistakes to Avoid
- Installing before cleaning. The number one cause of failure.
- Buying a rod at the top of its range. Leaves no spring compression and almost guarantees slipping.
- Over-tightening. Bows the tube, tilts the caps, and reduces the very contact area you need.
- Mounting on soft or freshly painted drywall. The caps will dent the surface and the rod will settle into the dent, losing tension.
- Threading the curtain after installation and knocking the rod loose in the process.
- Hanging heavy caddies or wet towels from the rod, which is a load it was never designed to carry.
Frequently Asked Questions
Will a tension rod damage my walls?
On tile, no. On painted drywall it can leave a faint circular mark or a slight compression dent over time. A small felt or rubber pad behind each cap spreads the load and prevents it.
How much weight can a tension rod hold?
A typical lightweight rod handles a curtain and liner comfortably — roughly two to five pounds. Heavier threaded rods manage considerably more. None of them are designed for a person’s weight or for hanging laundry.
Can I use one in a tiled shower stall?
Yes, provided the two walls are parallel and both offer a flat contact area. Tile is actually the ideal surface once it has been degreased.
Why does my rod keep spinning instead of tightening?
The internal mechanism has reached the end of its thread, or the two tubes have seized. Collapse the rod fully, extend it again slowly, and check that the spring returns freely.
Should I choose a curved or straight rod?
Curved if the tub feels cramped and you can accommodate a wider curtain. Straight if your opening is narrow, the walls are less than perfectly parallel, or you want the simplest, most secure fit.
Final Thoughts
A tension shower curtain rod is one of the highest-return ten-minute jobs in a home, but only when the basics are respected. Measure at the mounting height and take the smallest reading, buy a rod that puts your opening near the middle of its range, degrease both contact points before touching the rod to the wall, level it before final tightening, and stop tightening once it locks. Check it again the following day and add a quarter turn if the spring has settled. Done that way, a drill-free rod will hang quietly and reliably for years and lift off cleanly the day you move out.









