
 Owen Bradley
 If you cannot hear your doorbell from the back bedroom, the kitchen extension, or the garden, the usual assumption is that you need an electrician to run new low-voltage cable through the walls. You almost certainly do not. Modern wireless chimes pair with a transmitter at the door and simply plug into any mains socket, and there are also clever workarounds that let an existing wired button drive a new wireless chime. This guide covers every no-rewiring route, the tools you need, the step-by-step installation, and the range and interference problems that trip people up after the box is open.
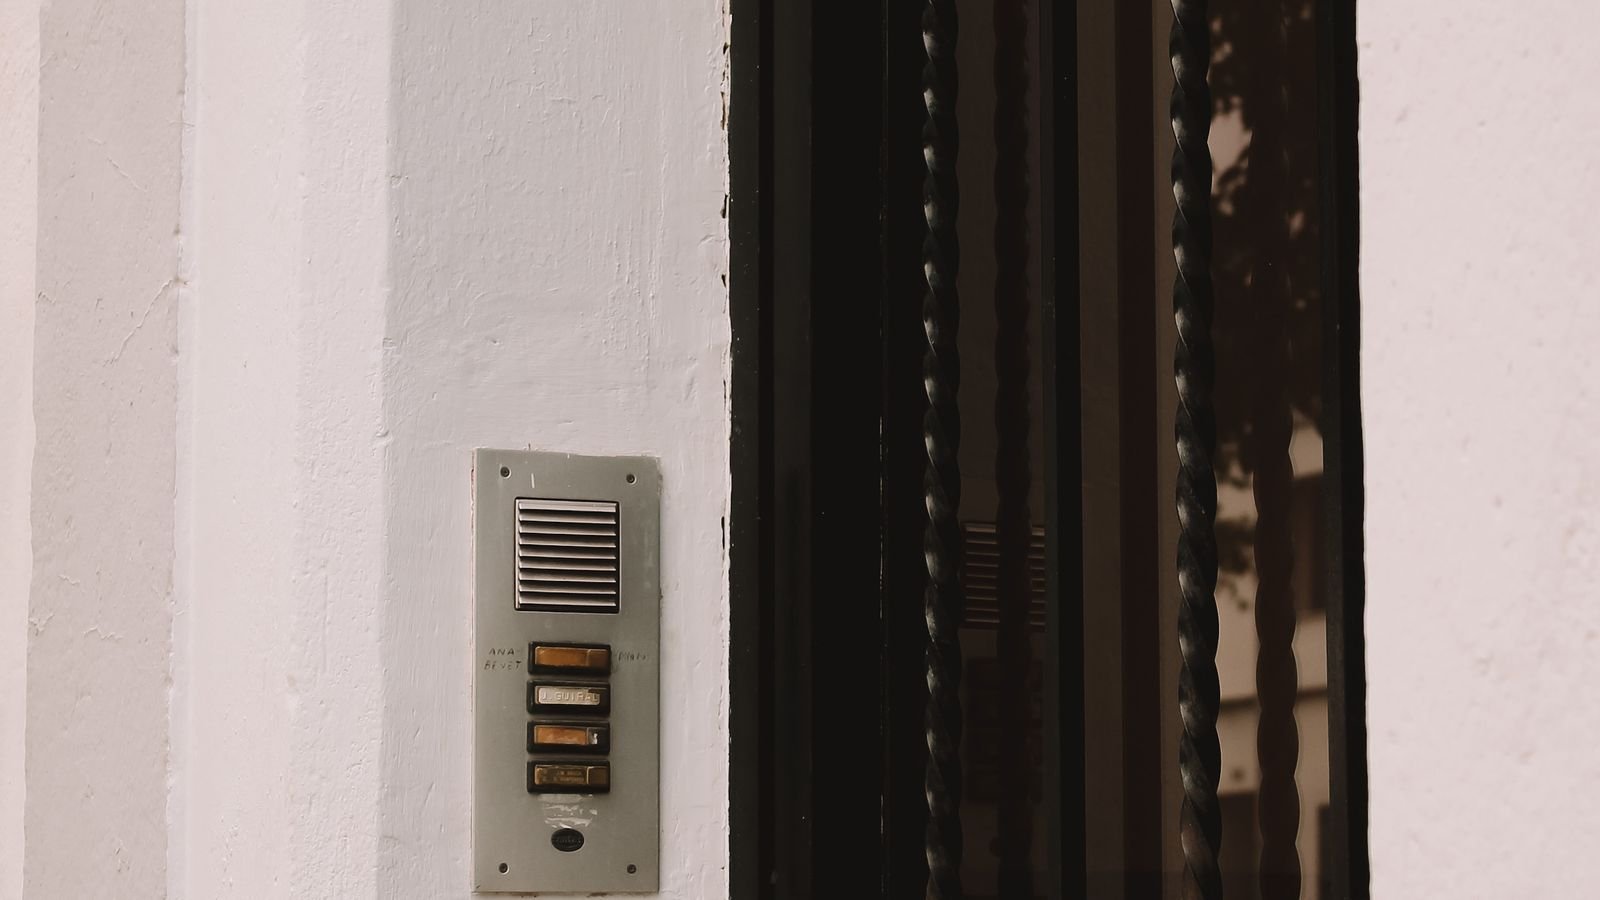
Three Ways to Add a Chime Without Running Cable
Work out which situation you are in first, because the hardware differs.
- Fully wireless kit. A battery-powered push button at the door talks by radio to one or more plug-in chime units indoors. Nothing is wired at all. This is the simplest route and works in rentals, flats, and brick-fronted houses.
- Existing wired button, new wireless chime. Keep the button and its low-voltage wiring, and fit a small wireless transmitter inside the old chime housing or at the transformer. Pressing the button triggers the transmitter, which rings plug-in receivers anywhere in the house.
- Chime extender for a smart doorbell. Video doorbells generally offer a matching plug-in chime that pairs over your home network or by radio, extending audible coverage without touching wiring.
Tools and Parts to Have Ready
- A cordless drill with masonry and wood bits, if you are mounting a new button.
- Screwdrivers, both flat and cross-head, plus the small screws supplied in the kit.
- Exterior-grade double-sided mounting tape as an alternative to drilling brick.
- Fresh batteries for the push button — the ones in the box are often years old.
- A voltage tester if you are working near an existing transformer.
- A free mains socket in a central hallway for the receiver.
Step-by-Step: Installing a Plug-In Wireless Chime
- Unbox and pair on the kitchen table first. Insert batteries in the push button, plug the receiver into a nearby socket, and confirm they ring together before anything is mounted. Set the tune and volume you want at this stage — fiddling with tiny buttons once the unit is on a wall is miserable.
- Test the range at the real distance. Carry the push button to the exact spot beside your front door and press it while the receiver sits where you intend to plug it in. Advertised range figures are measured in open air with no walls. Thick masonry, foil-backed insulation, and metal door frames can cut usable range dramatically, so verify before drilling.
- Choose the receiver socket carefully. A hallway socket roughly central to the house usually gives the best coverage. Avoid plugging the receiver into a socket behind furniture, inside a cupboard, or on the far side of a metal consumer unit.
- Mark and mount the push button. Hold the backplate against the door frame or wall at roughly waist to chest height, mark the screw holes with a pencil, then drill and plug if you are into masonry. On uPVC frames or painted brick, quality exterior tape is a perfectly sound alternative and leaves no holes in a rented property.
- Seal against weather. Run a thin bead of exterior silicone along the top edge of the button backplate so rain cannot track behind it. Leave the bottom edge open so any moisture that does get in can drain out rather than pooling around the battery.
- Clip the button on and test again. Press it, walk to every room where you need to hear the chime, and confirm audibility. If a room is dead, add a second receiver — most kits support multiple plug-in units paired to one button.
- Label the batteries with the fitting date. A small piece of tape inside the button with the month written on it saves you guessing when the chime starts behaving erratically two years from now.
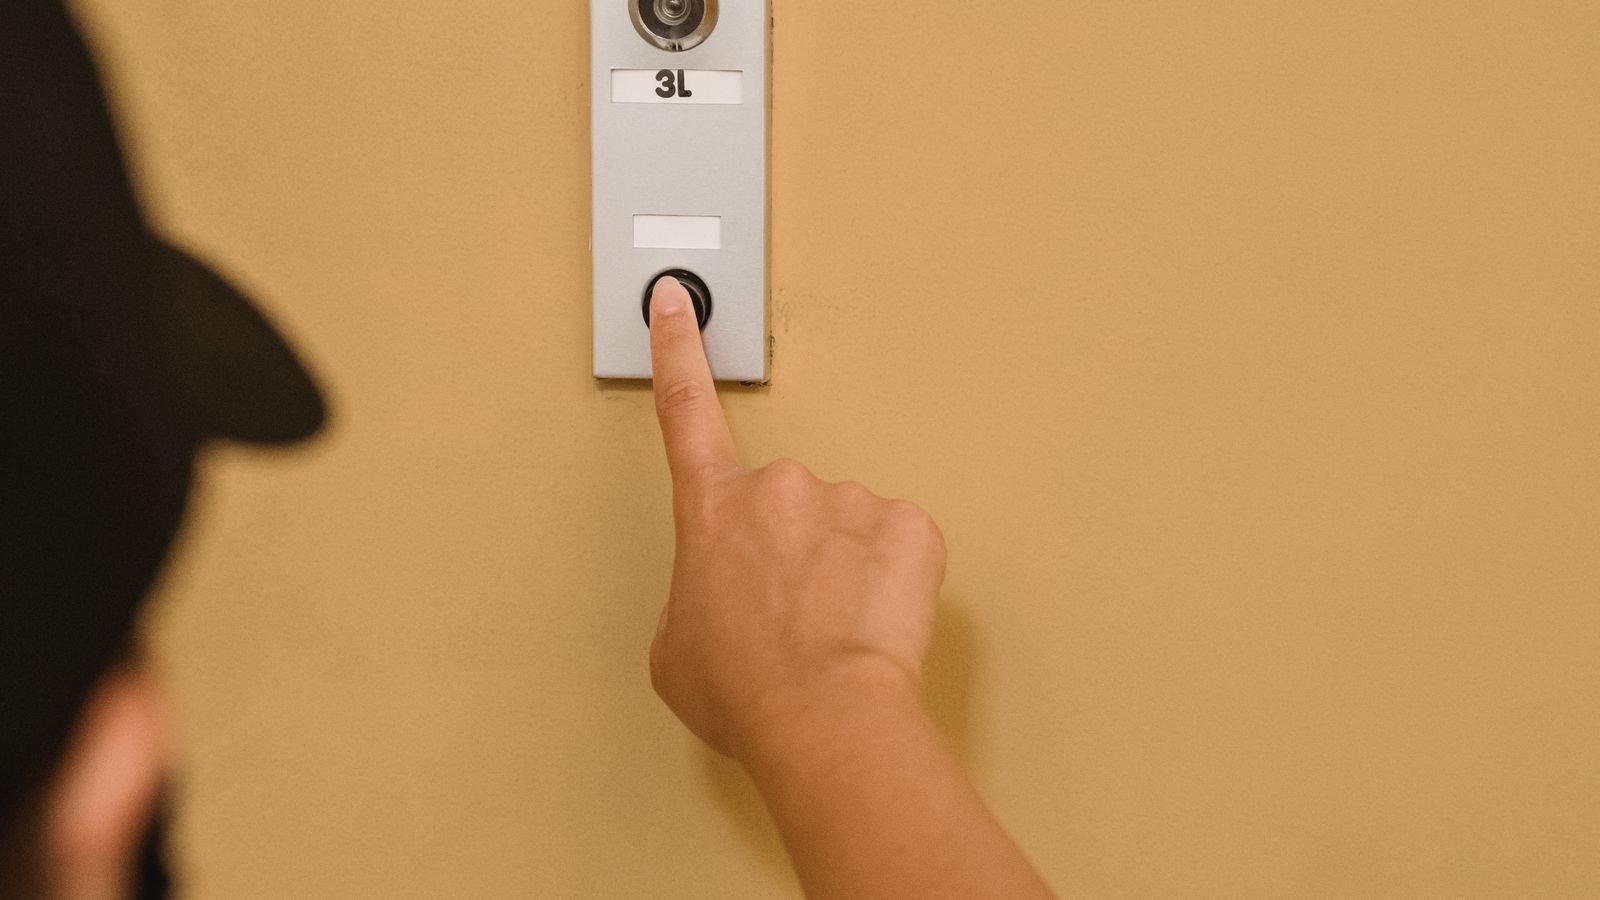
Keeping an Existing Wired Button
If you already have a working button and transformer but the old mechanical chime is dead or inaudible, you do not need to abandon the wiring. Switch off the circuit at the consumer unit, remove the cover from the old chime, and fit a small wireless transmitter module across the same terminals the chime was connected to. When the button is pressed, the transmitter fires and any paired plug-in receivers ring. You keep the original button, gain unlimited placement for the chimes, and never touch a wall. This approach is particularly good in larger houses where one central chime was never going to reach the top floor.
Choosing the Right Chime Hardware
The specification that matters most is not the number of melodies, it is real-world range and volume. Look for a stated range comfortably above the distance you measured, an adjustable volume that goes genuinely loud, and support for multiple receivers so you can cover a large or awkwardly shaped home. Weather rating on the push button matters if it sits in an exposed porch. Comparing the current best doorbell chimes is a sensible starting point for the plug-in receiver, while a survey of the best wireless door chimes helps if you want a complete battery-button kit with no wiring at all. Visual flash alerts are worth seeking out if anyone in the household is hard of hearing.
Range and Interference Problems
- Reinforced concrete and foil insulation block radio far more than plasterboard. Move the receiver closer to the door rather than accepting a marginal link.
- Neighbours on the same frequency can trigger your chime, or you can trigger theirs. Kits with a learning or code-pairing function let you set a unique code and stop phantom rings.
- Metal security doors and gates mounted right behind the push button detune the tiny antenna. Fit a plastic or wooden spacer behind the backplate to lift it off the metal.
- Weak batteries cut transmit power long before the button stops working entirely. Intermittent ringing at the edge of range is almost always a battery symptom.
Common Mistakes to Avoid
- Drilling before testing. Always confirm the link works at the intended distance while everything is still loose.
- Mounting the button too high or too low. Waist to chest height suits both adults and delivery drivers carrying parcels.
- Sealing all four edges with silicone. Trapped condensation corrodes the contacts. Leave the bottom edge open.
- Using indoor tape outdoors. Ordinary double-sided tape fails within one wet winter. Buy exterior-grade.
- Forgetting the garden. If you spend time outside, add a receiver near a back door or in a conservatory so you do not miss deliveries.
Frequently Asked Questions
Can I have more than one chime unit?
Most kits support several receivers paired to a single button, and this is the standard fix for a house where one chime cannot cover every floor. Check the maximum receiver count before buying if you have a large property.
How long do the batteries last in the push button?
Typically one to two years in normal use. Cold weather shortens it noticeably, and a button in an unheated exposed porch will need replacing more often than one in a sheltered entrance.
Will a wireless chime work through a solid brick wall?
Usually yes for a single wall, but each additional wall costs range. Test in position before mounting, and if the link is marginal, move the receiver to a socket nearer the front of the house.
Can I replace just the chime and keep my old button?
Yes. Fit a wireless transmitter module at the old chime terminals or at the transformer. The existing button then triggers plug-in receivers anywhere in the house without any new cable.
Do wireless chimes need Wi-Fi?
Standard kits use their own dedicated radio link and work with no internet at all, which makes them very reliable. Only smart or video doorbell chimes require a home network.
Final Thoughts
Adding an audible doorbell chime without rewiring is a genuinely simple job that most people finish in under an hour. The two decisions that determine whether you are happy with it are honest range testing before you drill and choosing hardware that supports enough receivers to cover your actual floor plan. Get those right, add exterior sealing at the top edge of the button, and diarise a battery change every couple of years. Done properly in 2026, a wireless chime is every bit as dependable as the wired system it replaces, and it leaves your walls untouched.









