
 Owen Bradley
 A thermostat that reads wrong is more than an annoyance. If the display insists the room is 72 degrees while you are reaching for a sweater at 67, the system is heating to the wrong target every hour of every day — wasting energy in one direction or leaving you uncomfortable in the other. Most of the time the sensor itself is fine and the reading is being corrupted by something around it: a draft, a sunbeam, a warm wall cavity or a lamp. Learning how to calibrate a thermostat means working through those environmental causes first, then applying a software offset only when the hardware genuinely disagrees with reality. This guide covers both, plus the older mechanical adjustments that still apply to dial units.
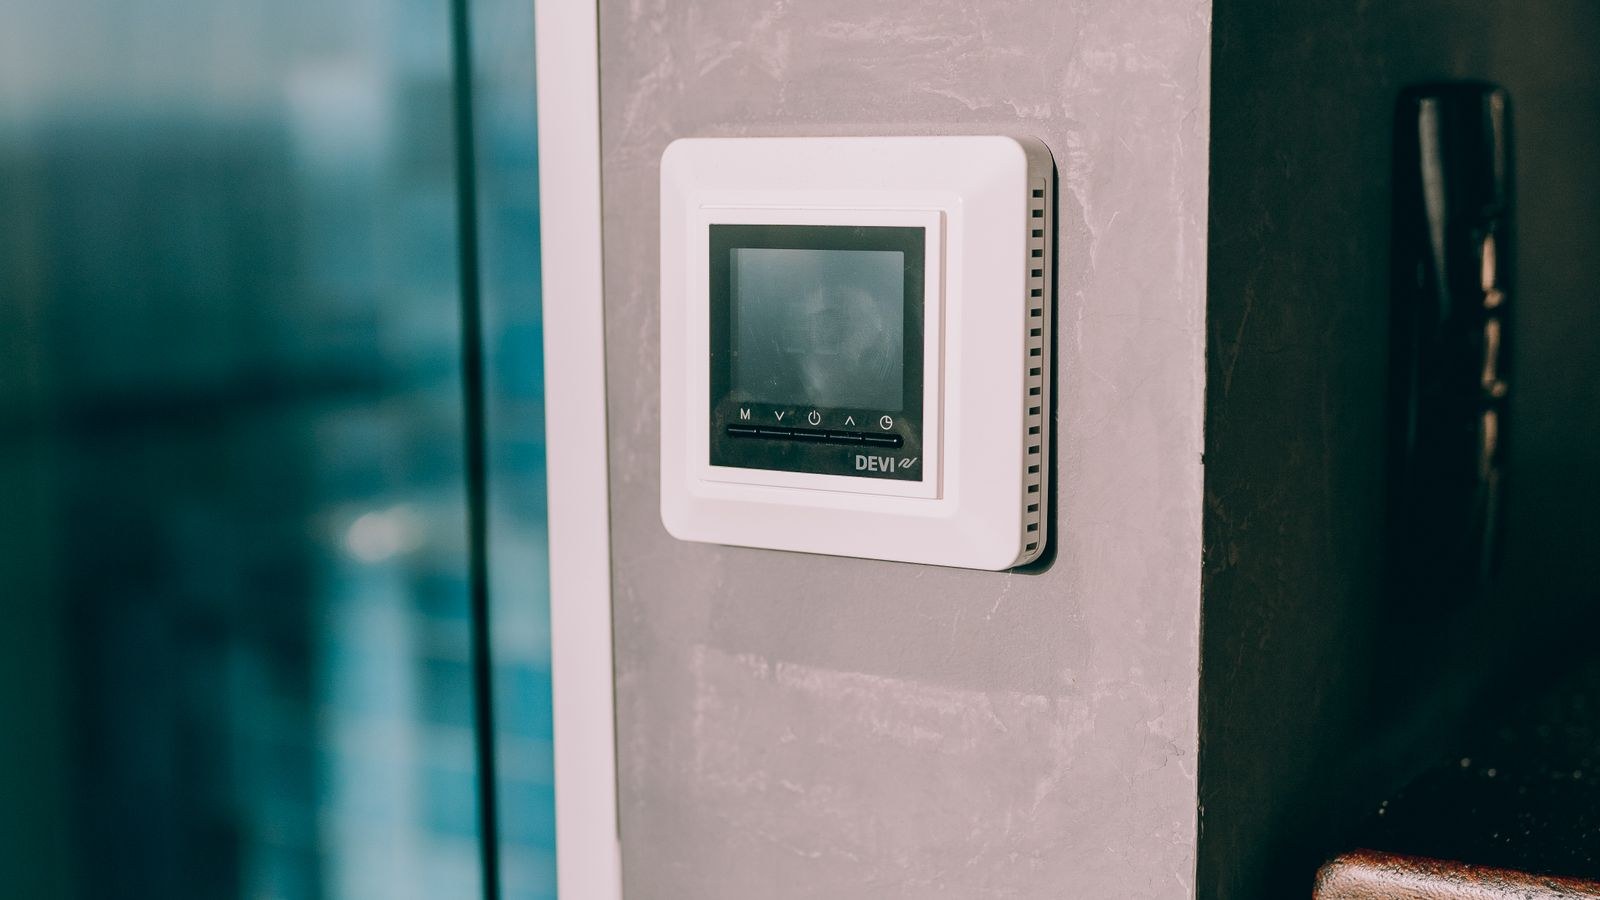
How to Tell If Your Thermostat Is Really Off
Before adjusting anything, confirm there is an error worth correcting. Thermostats are not laboratory instruments, and a discrepancy of one degree is within the normal tolerance of nearly every residential unit. What you are looking for is a consistent gap of two degrees or more that persists over hours rather than appearing briefly after the system runs.
Note also that the thermostat measures air at one spot on one wall, roughly five feet off the floor. A room stratifies, so the ceiling can be several degrees warmer than the floor and a corner several degrees cooler than the centre. The thermostat is not wrong simply because a different part of the room feels different.
Tools You Will Need
- A reliable reference thermometer — a digital indoor unit or a glass lab thermometer works well.
- Masking tape to hold the reference beside the thermostat.
- Small flat screwdriver for opening the case or adjusting an anticipator.
- Soft brush or compressed air to clean dust from the sensor.
- Fresh batteries if the unit is battery powered.
- A can of non-expanding foam or a scrap of insulation to seal the wall opening.
- Your thermostat’s manual, or the model number so you can find the offset menu.
Step by Step: Calibrating a Thermostat
- Set up a fair comparison. Tape your reference thermometer to the wall directly beside the thermostat, at the same height, with the sensing element an inch or two clear of the wall surface. Do not lay it on top of the thermostat, since the display and electronics generate a small amount of heat of their own. Leave both alone for at least one hour with the HVAC system idle so the air around them settles.
- Read both instruments and record the gap. Take your readings without breathing on either device or standing close to them for long. Repeat the comparison two or three times across a day — morning, afternoon and evening — and note whether the error is constant or changes with sun and outdoor temperature. A gap that only appears in the afternoon points at solar gain, not calibration.
- Replace the batteries and clean the unit. Weak batteries cause erratic readings on many digital models long before the low-battery icon appears. Fit fresh cells, then pull the face off and blow or brush dust away from the circuit board and the small sensor component, usually a bead or chip near the bottom vents. Dust insulates the sensor and slows its response.
- Seal the wall opening behind the thermostat. This is the single most common cause of a permanently wrong reading. The hole where the cable enters connects the thermostat directly to a wall cavity that may be near attic or outdoor temperature, and air moves through it constantly. Pull the base off, pack the opening with insulation or a small bead of non-expanding foam, and reassemble. Many thermostats that appear miscalibrated come back into agreement after this alone.
- Check for local heat and cold sources. Walk the wall and look for anything that changes the air at that spot: a table lamp or television below, a supply register blowing across it, a kitchen doorway, direct sun through a window at any time of day, or a hot water pipe or chimney chase inside the wall behind it. Exterior walls are a classic offender because the wall surface itself sits below room temperature in winter.
- Confirm the mounting is level and firm. Older mechanical thermostats use a coiled bimetal strip and a mercury switch or magnetic contact, and both depend on gravity. A base mounted even a few degrees off plumb will read and switch incorrectly. Digital units are indifferent to level but still need a solid, flat mounting so the case does not flex.
- Apply the software offset on a digital thermostat. If a genuine two-degree-or-greater gap survives all of the above, most digital and connected models have a temperature offset or calibration setting buried in the installer or advanced menu. It typically allows plus or minus three to five degrees in one-degree or half-degree steps. Enter the correction needed to match your reference — if the thermostat reads 72 while the reference says 69, apply a negative three offset. Save and let the unit settle for fifteen minutes before rechecking.
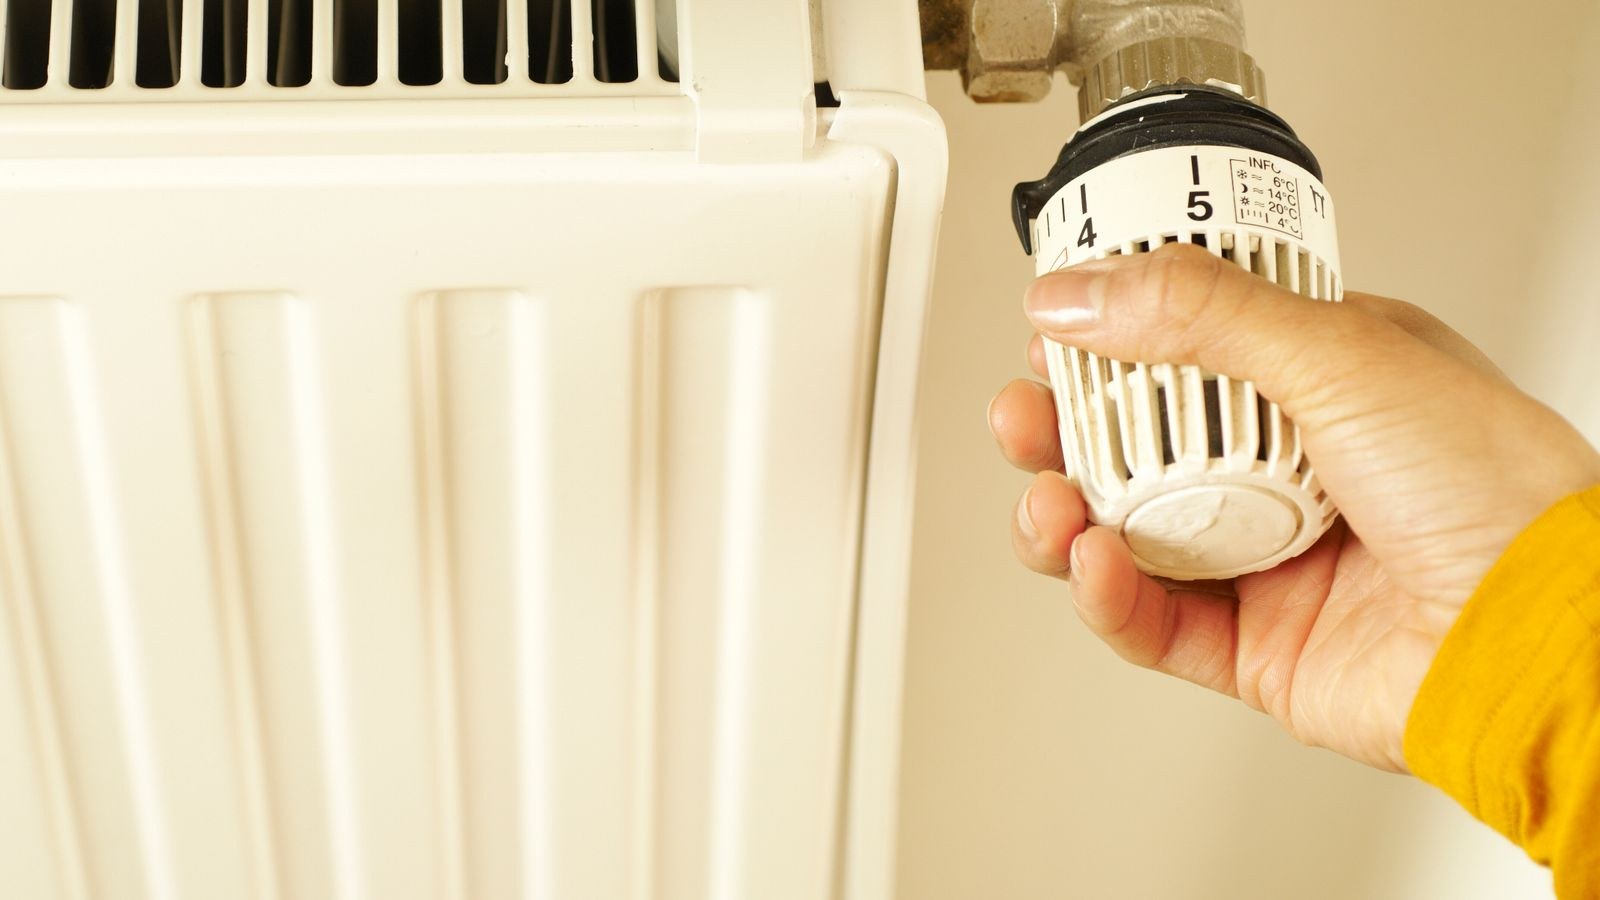
- Adjust a mechanical thermostat instead. Dial thermostats have no menus. On many, the coiled bimetal spring can be nudged with a small screwdriver against a calibration screw or by gently rotating the coil a fraction while the dial is held at a known setting. Work in tiny increments and test between each. If the unit contains a mercury vial, handle it gently and never invert it.
- Set the heat anticipator if your system short cycles. Older thermostats include a small adjustable pointer marked in amps. Setting it too low makes the burner cut out early and the room feel cool; too high lets the room overshoot. Match it to the current draw stamped on the gas valve, usually somewhere around 0.4 amps, and adjust by one mark at a time.
- Retest over a full day. Leave the reference thermometer in place for another 24 hours and compare readings morning and evening. You are looking for agreement within a degree at both ends. If the gap now flips direction depending on time of day, the cause is environmental and no offset will fix it — the thermostat needs relocating.
- Consider relocation or a remote sensor. If the thermostat sits in a hallway, above a heat source, or on a sunny exterior wall, moving it to an interior wall in a room you actually occupy solves the problem properly. Where running new cable is impractical, many modern thermostats accept a wireless remote sensor you can place in a bedroom or living room and use as the controlling temperature.
When Calibration Is Not the Answer
Some symptoms look like a calibration error but are not. A thermostat that reads correctly yet lets the room swing four or five degrees has a cycle-rate or differential problem, not a sensing problem, and the fix lives in the cycles-per-hour setting. A unit whose reading jumps around erratically usually has a failing sensor or a loose connection, and no offset will stabilise it.
Age matters too. Sensors drift slowly, and a thermostat past fifteen years old that now needs a four-degree correction is telling you something. At that point replacement costs less than the energy wasted, and a current model brings scheduling and better differential control. Our roundup of the best digital home thermostats covers accurate, straightforward units, while the broader best thermostats comparison spans every control style. If cooling accuracy is your main frustration in summer, the best AC thermostats guide focuses on units that handle compressor staging and humidity well.
Keep the Power Supply Healthy
Battery-powered thermostats drift and misread long before they die outright, and a surprising share of calibration complaints resolve with a fresh set of cells. Use good alkaline or lithium batteries rather than the cheapest multipack, and replace them on a schedule — once a year, at the same time you test smoke alarms, is easy to remember. Our notes on the best batteries for thermostats explain which chemistries hold voltage longest in a low-drain device. Once your readings are trustworthy again, revisit your setbacks using our guide to how to choose a thermostat schedule, since accurate sensing is what makes a schedule actually deliver savings.
Common Mistakes to Avoid
- Comparing against an unreliable reference. A cheap novelty thermometer can be further off than the thermostat.
- Testing while the system is running. Let the air settle for an hour first.
- Applying an offset before sealing the wall hole. You will be correcting for a draft that varies with the weather.
- Adjusting a mechanical coil aggressively. Tiny movements produce large swings.
- Ignoring sun exposure. An afternoon-only error is almost always solar gain.
- Chasing a one-degree difference. That is within normal tolerance for residential equipment.
Frequently Asked Questions
How far off can a thermostat be before it matters?
One degree is normal tolerance. Two to three degrees is worth correcting because it shifts every setpoint you use. Beyond about five degrees, suspect a failing sensor or a serious placement problem rather than drift.
Can every thermostat be calibrated?
Most digital models include an offset setting in the advanced or installer menu, and mechanical dial units can be trimmed physically. A few basic budget models offer no adjustment at all, in which case relocation or replacement is the only route.
Why does my thermostat read higher than the room feels?
Common causes are a nearby lamp or television, direct sunlight, warm air rising from a register, heat from an interior chase, or the thermostat’s own electronics in a poorly ventilated case. Check all of these before assuming the sensor is faulty.
Does a smart thermostat need calibrating too?
Yes. Connected models drift for the same physical reasons and offer the same offset setting, though many can also use a remote room sensor as the controlling temperature, which sidesteps a bad wall location entirely.
Final Thoughts
Calibrating a thermostat is mostly detective work. Set up a fair comparison against a trustworthy reference, seal the wall opening, fit fresh batteries and clean the sensor, then look hard at what surrounds the unit before you touch a single setting. If a real gap of two degrees or more survives all of that, apply the offset in the advanced menu and verify it over a full day rather than a single reading. Follow that order and you will fix the cause rather than paper over it — and the schedule you set in 2026 will finally hold the temperature the display promises.









