
 Owen Bradley
 A home safe that is not bolted down is really just a locked box with a handle on it. Burglars almost never crack a safe on site, because that takes tools, noise and time they do not have. What they do instead is far simpler: they pick the whole thing up, carry it to the vehicle and open it later in private with an angle grinder and all the time in the world. Bolting the safe to the structure of your house removes that option entirely and turns a portable target into a fixed obstacle. This guide walks through choosing an anchoring method, drilling into concrete or timber, fitting the right hardware and checking the result, so your safe stays exactly where you put it.

Why Anchoring Matters More Than Steel Thickness
Most residential safes weigh between 40 and 300 pounds, which sounds heavy until you realise two people with a hand truck move appliances of that weight every day. Loss reports consistently show that small and mid-sized safes are stolen intact rather than opened in place. Every fire rating and hardened plate in the box is wasted if the box itself leaves the property.
Anchoring also improves fire performance. A safe fixed flat to a floor cannot topple when a floor above collapses, and a safe that stays upright keeps its door seal geometry intact, which is exactly what the fire rating assumes. If you want models that arrive with pre-drilled anchor holes, our roundup of the best fireproof safes flags which units include mounting hardware in the box.
Check Your Safe for Pre-Drilled Anchor Holes
Open the door and look at the base. Almost every quality safe ships with two or four knockout or pre-drilled holes in the floor of the cabinet, often covered by the carpeted liner. Some models add holes in the back panel for wall mounting. Peel back the liner carefully with a utility knife rather than tearing it, because you will want to re-seat it afterwards.
If the base has no holes, read the manual before drilling your own. On fire-rated safes the walls and floor contain a poured insulating layer, and drilling in the wrong spot can breach it or hit the boltwork. When in doubt, choose a different mounting approach rather than compromising the fire barrier.
Tools and Hardware You Will Need
- Hammer drill with masonry bits for concrete, or a standard drill with wood bits for a timber floor.
- Anchors sized to the holes — typically 3/8 inch or 1/2 inch wedge anchors or sleeve anchors for concrete, or 3/8 inch lag screws at least 3 inches long for wood joists.
- Socket wrench or torque wrench with the matching socket, plus a long extension to reach through the safe body.
- Shop vacuum or blow-out bulb to clear dust from masonry holes, which matters more than most people think.
- Stud finder and a joist-locating awl if you are fixing into a wooden floor.
- Safety glasses, gloves, ear protection and a dust mask for concrete work.
- Furniture dolly and moving straps so you are not lifting the safe by hand.
Choosing the Right Spot Before You Drill
You get one chance at hole placement, so think it through. A closet floor on a concrete slab is close to ideal: concrete gives the strongest anchor, and the closet keeps the safe out of casual view. A basement corner works well for the same reason. Avoid placing a safe in the master bedroom closet directly, since that is the first room burglars search, though a bolted safe there still beats an unbolted one anywhere.
Consider access as well as security. Leave enough clearance for the door to swing fully open and for you to kneel comfortably in front of it. Keep the safe off exterior walls in humid climates to reduce condensation, and away from water heaters, washing machines and anything else that could leak onto the base. If you are choosing a location for a business unit rather than a household one, the placement notes in our guide to the best office safes cover foot traffic and staff visibility as well.
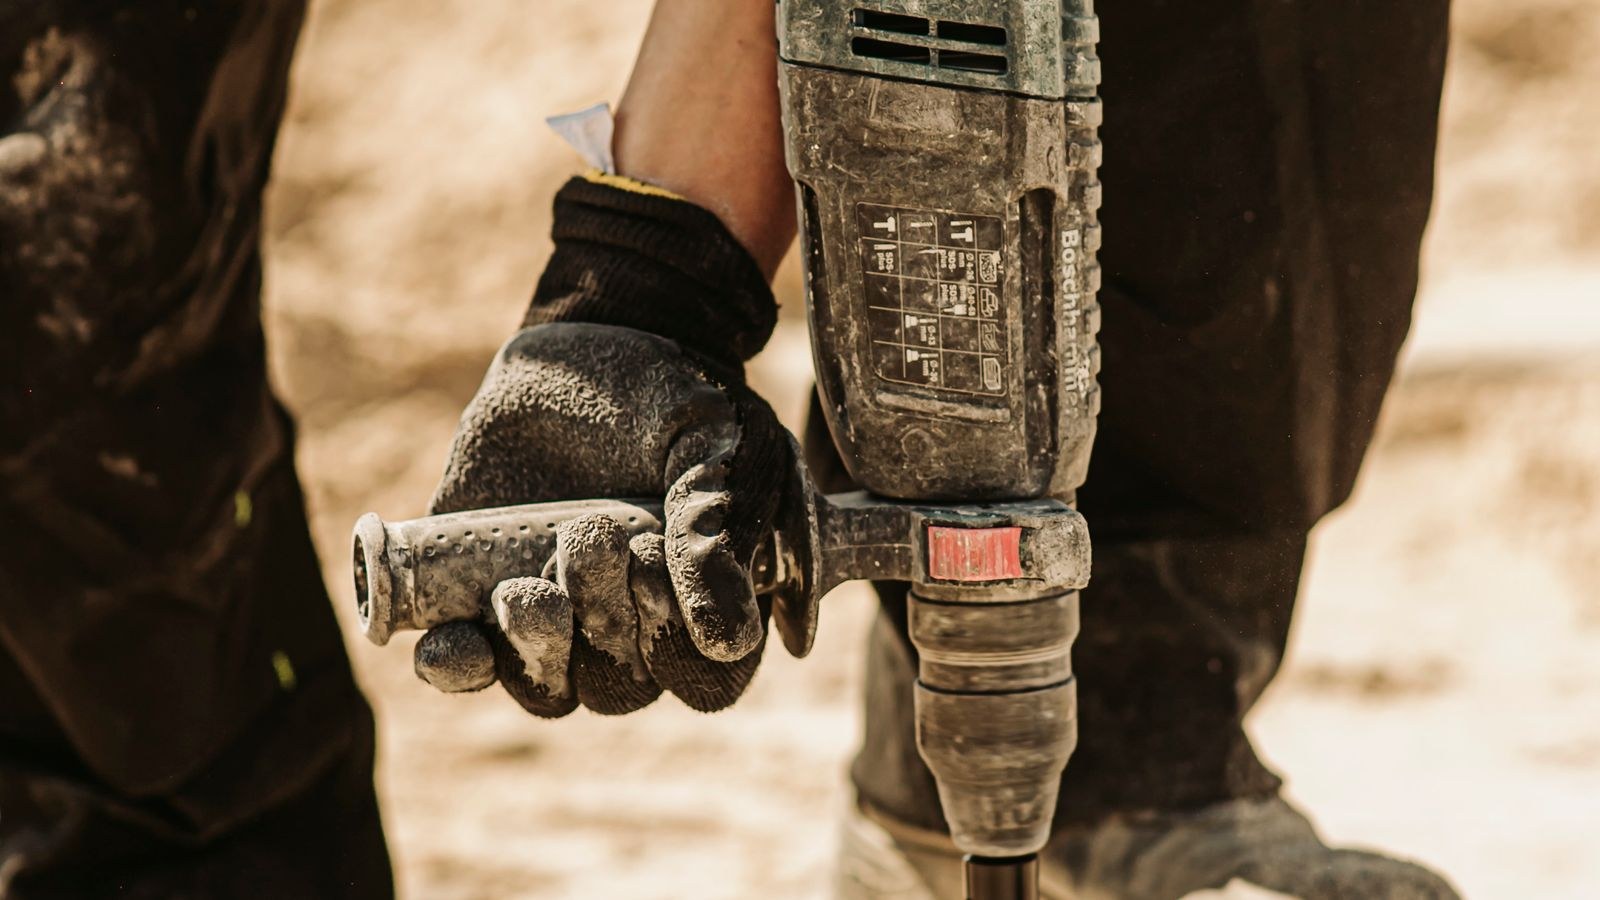
Step-by-Step: Bolting a Safe Into a Concrete Floor
- Position the safe exactly where it will live. Open the door, check the swing clearance and adjust until you are satisfied. Once the holes are drilled you are committed.
- Mark through the anchor holes. Use a marker or a nail set through each pre-drilled hole to transfer the pattern onto the concrete. Mark all holes before moving anything.
- Move the safe aside. Slide or dolly it a few feet clear so you have room to drill and so concrete dust does not settle inside the cabinet.
- Drill the holes. Fit the masonry bit specified by your anchor packaging and set the drill to hammer mode. Drill perpendicular to the floor, going about half an inch deeper than the anchor length so debris has somewhere to fall.
- Clean every hole thoroughly. Vacuum out the dust, then blow the hole clear. Concrete dust left in the hole is the single most common reason an anchor fails to grip properly.
- Reposition the safe over the holes. Line up carefully. A helper looking through the holes from inside makes this much quicker than guessing.
- Drive the anchors. Drop a wedge anchor through each safe hole into the concrete, then tap it down with a hammer until the washer sits flush against the safe floor.
- Tighten to spec. Use the socket wrench to draw each nut down evenly, alternating between anchors like tightening wheel nuts. Snug them firmly, then give roughly three or four more turns, or follow the torque figure on the anchor packaging.
- Test the result. Push the safe hard from the top corners in every direction. There should be no rock, no shift and no rattle.
- Re-seat the liner or floor mat over the bolt heads so contents do not rest directly on exposed hardware.
Step-by-Step: Anchoring to a Wooden Floor
Timber floors need a different approach because plywood subfloor alone will tear out under load. The bolts must reach solid framing.
- Locate the joists with a stud finder, then confirm with a small test hole. Joists usually run at 16 inch centres, so mark two adjacent ones and check they line up with your safe footprint.
- Reposition the safe so at least two anchor holes sit over joist centrelines. Rotating the safe 90 degrees is often all it takes.
- Drill pilot holes slightly narrower than the lag screw shank, straight down through the floor into the joist, roughly 2.5 inches deep.
- Fit the lag screws with a washer under each head, driving them down with the socket wrench until the washer bites the safe floor.
- Do not overtighten. Wood strips far more easily than concrete. Stop as soon as the safe is immovable rather than chasing extra turns.
If you rent and cannot drill at all, a heavy safe on a steel mounting plate secured with construction adhesive is a compromise, though it will never match a bolted installation. Smaller cash boxes are better hidden than anchored; see the placement ideas in our list of the best safes for cash.

Safety Precautions While You Work
Before a bit touches the floor, check what is underneath. Radiant heating pipes, post-tension cables in slab construction, and electrical conduit all live inside or below concrete floors, and hitting any of them is expensive at best and dangerous at worst. If your home has in-floor heating, get the layout drawings or use a scanner. In upstairs rooms, remember that a lag screw can emerge through the ceiling below if you misjudge depth.
Wear eye protection throughout, because masonry chips travel. Use a dust extraction attachment or a mask, since silica dust from concrete is a genuine respiratory hazard. Finally, never lift a safe over 100 pounds by hand. Use a dolly, keep the load low, and get help. Crushed fingers are the most common injury in this entire job.
Common Mistakes That Undermine the Job
The first mistake is using only one anchor. A single bolt lets a thief pivot the safe and work the anchor loose in minutes. Use every hole the manufacturer provided, and at least two if you have a choice.
The second is choosing anchors that are too short. A wedge anchor needs meaningful embedment in solid concrete to reach its rated pull-out strength; a stubby anchor in a thin slab topping will simply lift out.
The third is skipping hole cleanout, which cuts holding power dramatically. The fourth is bolting through a fire-rated floor at an unapproved point, which lets heat bypass the insulation. The fifth is forgetting to re-check the anchors after a year.
Troubleshooting Anchor Problems
The anchor spins and will not tighten
The hole is oversized or the concrete has crumbled. Move an inch or two away if the safe holes allow, or step up to a larger anchor. Epoxy anchors are the reliable fix in weak concrete.
The safe still rocks slightly after tightening
The floor is uneven rather than the anchors being loose. Slip thin steel shims under the low corner before final tightening, then re-torque.
I cannot line the safe up with the drilled holes
Use a transfer punch through each safe hole rather than a marker, which is far more accurate. A second pair of hands to guide the safe down helps more than any tool.
Frequently Asked Questions
Does bolting down void the fire rating?
Not when you use the manufacturer’s pre-drilled holes, which are engineered to pass through the insulation without creating a heat path. Drilling your own holes in a fire-rated body can compromise the rating.
How heavy does a safe need to be before anchoring is optional?
There is no real threshold. Even units over 500 pounds have been rolled onto dollies and taken, and anchoring costs under $30 in hardware.
Can I bolt a safe to a wall instead of the floor?
Yes, if the safe has rear mounting holes and the wall has solid framing or masonry behind it. Wall mounting suits smaller units and biometric models; several designs in our guide to the best fingerprint safes are built for it.
What if I move house later?
Remove the nuts, lift the safe clear and cut the protruding anchor studs flush with a grinder or angle cutter. Patch the holes with concrete filler. It is a 20 minute job and no reason to leave a safe loose in the meantime.
Should a small fire box be bolted too?
Absolutely, since lightweight document boxes are the easiest of all to carry off. Look for models with base anchor points, which many of the units in our roundup of the best fire safe boxes include.
Final Thoughts
Bolting down a home safe is a one-afternoon job with a modest tool list, and it delivers more real security than any upgrade you could buy for the same money. Pick the location carefully, drill clean holes into concrete or straight into a joist, use every anchor point the manufacturer provided, and torque the hardware evenly. Then push the safe hard and confirm it does not budge. Do that once and the box that holds your passports, cash and irreplaceable records stops being something a stranger can pick up and walk away with, which was the whole point of buying it.









