
 Owen Bradley
 Flat-pack furniture has a reputation it only half deserves. Most assembly failures are not caused by bad instructions or missing parts; they come from rushing the first ten minutes. Panels get scratched on a hard floor, cam locks go in backwards, the back panel ends up facing outward, and by the time anyone notices, screws have already bitten into particle board that will not forgive a second attempt. This guide covers how to assemble flat-pack furniture cleanly the first time: sorting hardware before you start, dry-fitting joints, working on the right surface, and avoiding the specific cam-lock and dowel errors that ruin panels permanently.
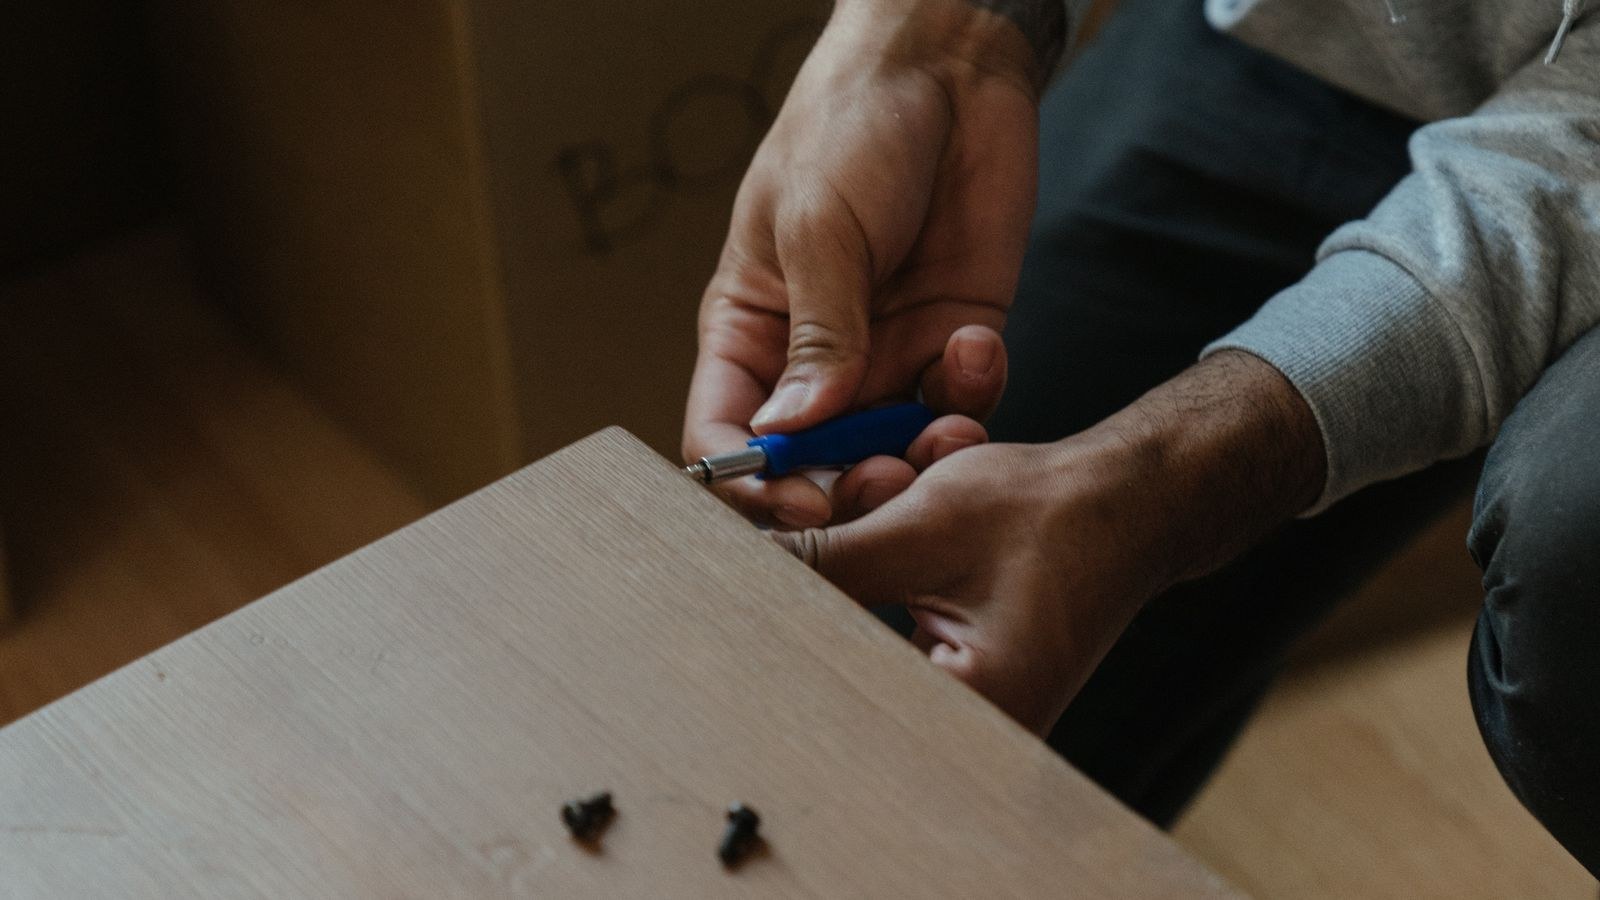
Tools and Setup You Need
- A manual screwdriver, Phillips and flat. The single most useful tool in the job, because it gives you the feel that a drill removes.
- A cordless drill with a clutch, set low. Optional but useful for long screws, provided you set the torque to the lowest usable setting.
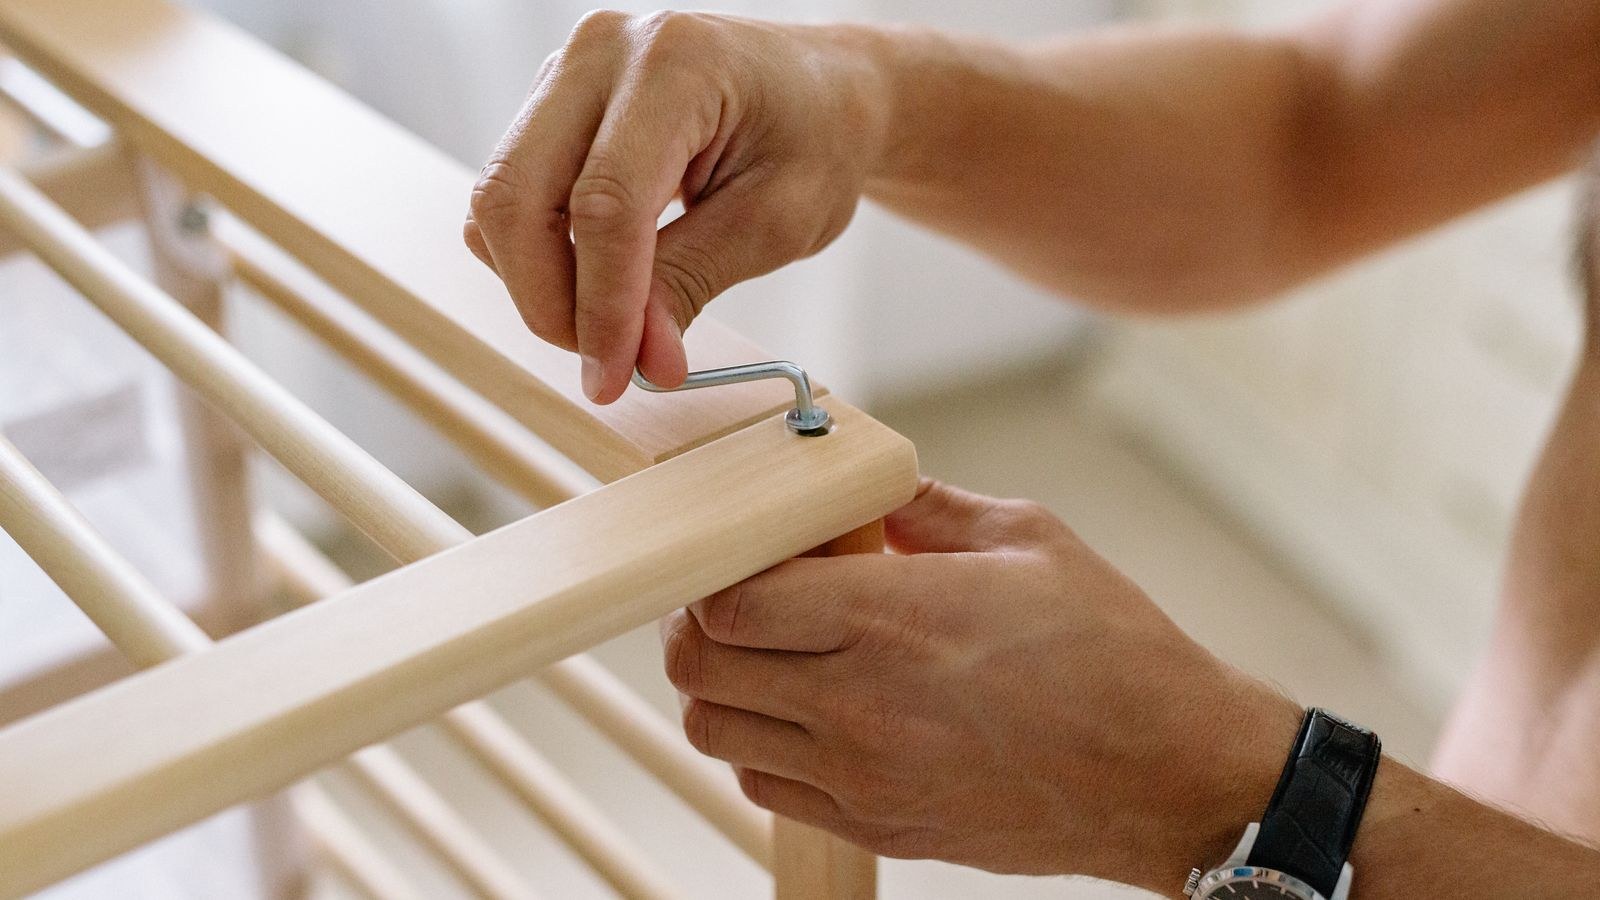
- The supplied Allen key, plus a proper hex driver if you own one. The stamped key works; a real driver saves your knuckles.
- A rubber mallet for seating dowels without denting veneer.
- A tape measure and a small square for checking the carcass is not racked.
- A blanket, rug or the flattened cardboard box to work on.
- Small containers or a muffin tray for sorting hardware.
Give yourself roughly twice the floor area of the finished piece. Cramped space is why panels get leaned against walls, and leaning panels are why they fall over and chip.
Prepare Before You Open a Single Bag
- Read the whole instruction booklet first. Not step one, all of it. Five minutes here tells you where the tricky reversals are.
- Lay out the flattened cardboard as your work surface, or a thick blanket on carpet. Never assemble directly on tile, laminate or hardwood.
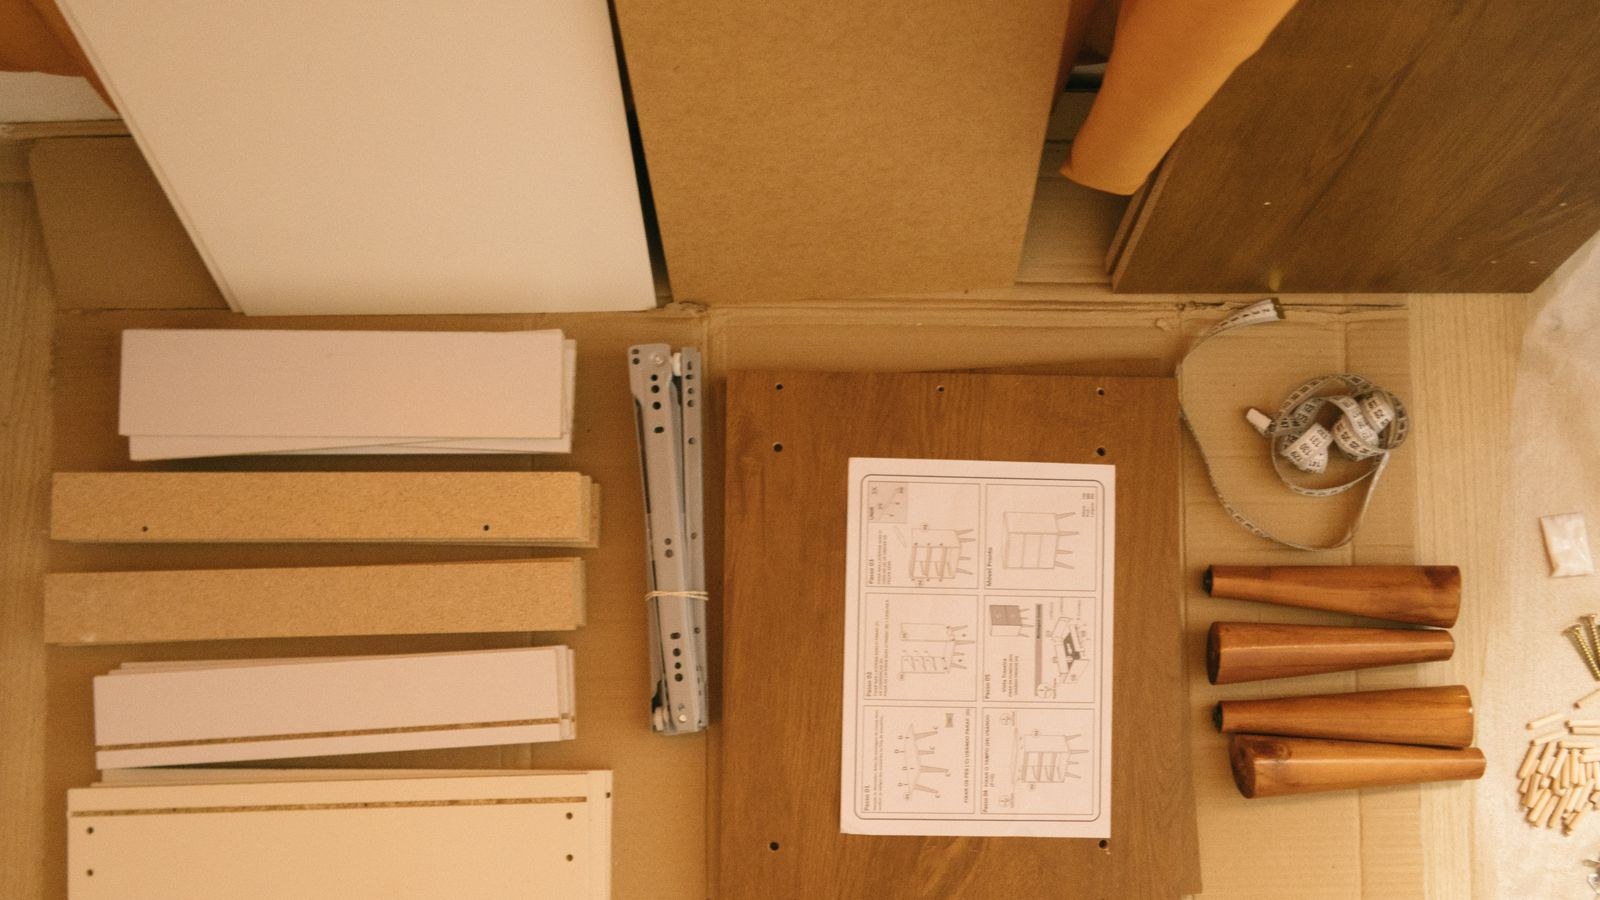
- Count every panel and identify it against the parts diagram. Most booklets letter or number the panels; find each one and stack them in reverse build order so the first piece needed sits on top.
- Sort the hardware. Open each bag into a separate container and match the count to the parts list. Missing hardware discovered at step three is an inconvenience; discovered at step eleven it is a wasted afternoon.
- Identify which face is which. Find the pre-drilled holes for the back panel and mark the inside face of each side panel lightly in pencil. Fitting a carcass inside out is the most common irreversible error.
- Check for damage now. Chipped corners and swollen edges are far easier to claim before assembly than after.
Why the Work Surface Matters
Particle board and MDF have soft faces under a thin melamine or veneer layer. Sliding a panel a few inches across grit on a hard floor puts a permanent scratch across a visible surface, and the panel is usually face-down at that moment so you will not see it until the end. Carpet, a blanket or the cardboard box eliminates the problem entirely and also stops small hardware bouncing away into the room.
Step by Step Assembly
- Fit the dowels first. Tap wooden dowels into their holes with a mallet until roughly half the length remains exposed. They must sit straight; a leaning dowel will not enter the mating panel.
- Insert cam bolts, not cam locks. The threaded post screws into the panel face. Drive it until the shoulder is flush and stop. Overdriving strips the hole immediately.
- Drop cam locks into their round housings the right way up. The arrow or slot on the cam disc must point toward the hole the bolt will enter. This is the single most common cam-lock mistake, and a cam facing the wrong way simply will not grip.
- Dry-fit the carcass. Bring the panels together without tightening anything. Confirm every dowel lines up, the back-panel grooves face inward, and the piece looks like the diagram. Only then commit.
- Tighten cams a half turn at a time, working around the piece. Do not fully lock one joint before starting the next; snug them all, then go round again. Uneven tightening racks the frame.
- Square the carcass before the back goes on. Measure both diagonals. If they match, the frame is square. If not, push the long diagonal gently until they do.
- Fit the back panel. The back is what holds the piece square permanently. Slide it into its grooves or nail it on with the supplied pins, starting from one corner and working around so it stays aligned.
- Add drawers, doors and shelves last. Fit drawer runners with the piece upright, and check the drawer slides fully before moving on.
- Adjust the hinges and runners. Cabinet hinges have two or three adjustment screws for depth, height and side-to-side. Use them; factory alignment is rarely correct out of the box.
- Anchor tall pieces to the wall. Any unit taller than it is wide should be strapped to a stud before you load it.
Cam Locks, Dowels and Screws: What Goes Wrong
Three fasteners cause nearly every assembly problem. Cam locks fail when the disc is inserted upside down or rotated past its stop. Turn the cam no more than a half turn from where it first grips; forcing it further shears the internal cam and the joint never tightens. Dowels fail when they are hammered fully home into the wrong panel or seated crooked, so always start them by hand and finish with light mallet taps. Confirmat and coarse screws fail when driven with a power drill at full torque, which spins them past the point where the threads bite and hollows out the hole. Finish every screw by hand.
If a joint feels loose after tightening, stop and diagnose it rather than applying more force. Nine times out of ten the cam is facing the wrong way or the bolt has not been driven deep enough for the cam to catch its groove.
Pieces That Deserve Extra Care
Some categories are harder than others. Wardrobes and tall bookcases are usually assembled flat on the floor and then stood up, which needs two people and a clear path; standing one alone almost always racks the frame. Sofas with bolt-together frames, including the modular designs among the best IKEA sofas, want every bolt started loosely before any of them is tightened, because the frame needs freedom to settle into alignment.
Bedroom sets are the most common multi-piece build, and the drawers are where accuracy shows. Take the extra minute to square each drawer box before fitting the front, since a racked box binds in the runner forever. Larger pieces from the best bedroom furniture ranges often share the same runner system across a whole set, so getting the first drawer right teaches you the rest.
Small items are deceptively fiddly. Children’s sets such as the best kids table and chairs use short screws in thin panels, which strip with almost no provocation, so hand-tighten everything. Seating takes real load: the joints on dining chairs should be checked and re-tightened after the first couple of weeks of use. Height-adjustable desks are a category of their own, and our walkthrough on how to assemble a standing desk frame yourself covers the frame-squaring sequence those need before the top goes on.
Common Mistakes to Avoid
- Skipping the parts count. Discovering a missing bolt halfway through costs far more time than counting up front.
- Assembling on a hard floor. Scratches on the finished face are permanent and entirely avoidable.
- Using a drill at full torque. Stripped holes in particle board are the number one flat-pack failure.
- Fitting a side panel inside out. Check the back-panel groove and the pre-drilled shelf holes before committing.
- Fully tightening as you go. Snug everything, square the piece, then final-tighten.
- Leaving the back panel off. It is not cosmetic; it is the only thing keeping the carcass square.
- Building it in the wrong room. Measure the doorway before you start, not after.
Frequently Asked Questions
Can I use a power drill on flat-pack furniture?
Yes, with the clutch set to its lowest usable setting and only for driving screws most of the way. Always finish by hand so you can feel the moment the fastener seats.
What do I do if a part is missing?
Stop assembling and contact the retailer with the part number from the parts diagram. Most manufacturers ship replacement hardware free, and continuing without it usually means partial disassembly later.
Why does my cabinet rock after assembly?
Almost always a racked carcass caused by uneven tightening or a missing back panel. Loosen the cams, square the diagonals, refit the back, then retighten evenly.
How long should a flat-pack piece take to build?
A bedside table takes twenty minutes, a chest of drawers about an hour, and a large wardrobe two to three hours with two people. Budget generously; rushing is what creates rework during any project in 2026.
Final Thoughts
Good flat-pack assembly is front-loaded. Read the full booklet, lay down cardboard, count and sort the hardware, and mark which face of each panel points inward before a single fastener goes in. From there, seat dowels straight, point cam discs the right way, dry-fit before committing, snug everything before final tightening, and square the frame before the back goes on. Finish every screw by hand so nothing strips, adjust the hinges rather than accepting factory alignment, and anchor anything tall to the wall. Follow that sequence and the piece goes together once, sits square, and stays tight.









