
 Owen Bradley
 Almost no closet comes with decent light. Builders treat the space as storage, so you get a dark box where black trousers and navy trousers look identical and the shelf above eye level is pure guesswork. The good news is that fixing it no longer means calling an electrician or fishing cable through a wall. Battery and rechargeable lighting has become genuinely good, and a solid setup takes about twenty minutes with nothing more than a tape measure and some adhesive. This guide covers how to add closet lighting without wiring, which type suits which closet, exactly where to place each fixture, and how to keep the whole thing from turning into a monthly battery chore.
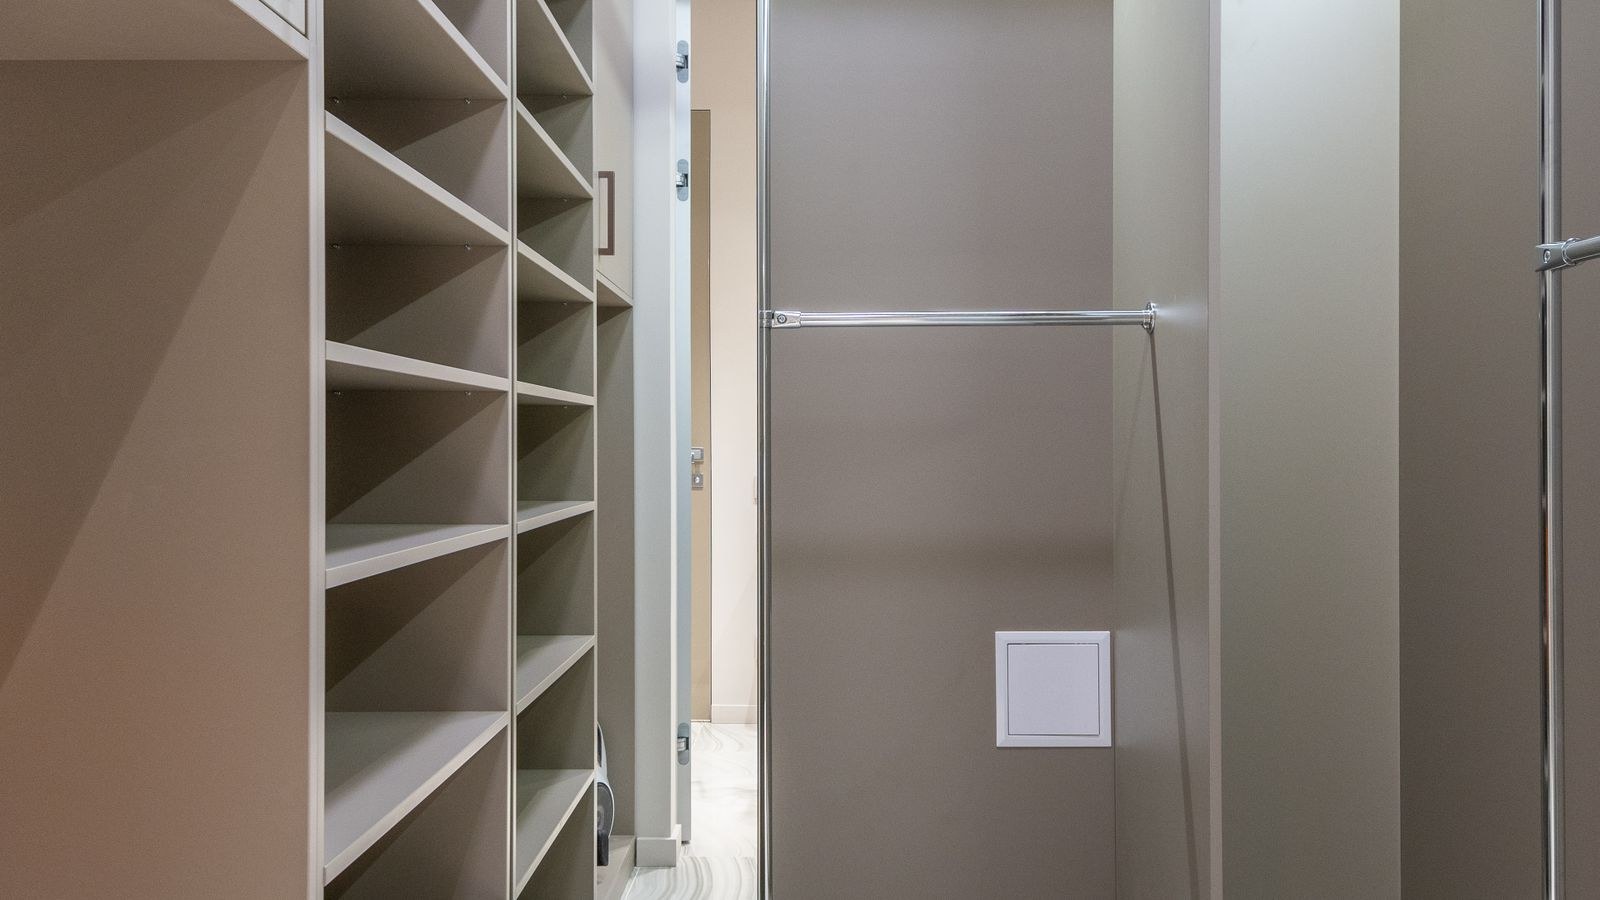
What You Will Need
- The fixtures themselves: rechargeable bar lights, stick-on puck lights, or a battery LED strip, depending on the closet.
- Mounting method: the included magnetic strips or adhesive pads, plus a few extra 3M-style command strips as backup.
- Isopropyl alcohol and a cloth to clean mounting surfaces so adhesive actually holds.
- Tape measure and pencil for marking positions.
- Batteries or a charging cable matched to your fixtures.
- Optional: scissors for cutting strip light to length, and small cable clips to tidy any charging leads.
Pick the Right Type of Wireless Light
Rechargeable bar lights are the workhorse. They typically run 10 to 20 inches long, mount magnetically to a metal backplate you stick to the wall or shelf, and pull off in one motion when it is time to charge over USB. They throw a wide, even wash rather than a spot, which is exactly what a hanging rod needs. Browse the best rechargeable LED lights to see the length and runtime options.
Puck lights are small discs that stick anywhere and either tap on or trigger on motion. They are ideal for shelves, cubbies, and the top of a reach-in closet where you need a pool of light in one specific spot rather than a whole wall lit.
Battery LED strips run along the underside of a shelf or inside the frame of a wardrobe, giving a continuous line of light with almost no visible hardware. They suit long runs and tight recesses. The battery powered LED strip lights category covers the adhesive-backed versions that need no fasteners at all.
Screw-in options deserve a mention. If your closet already has a socket but a weak or wrong-colored bulb, the cheapest possible fix is a better bulb. Our comparison of light bulbs for a closet covers brightness and color temperature for that case.
How Much Light a Closet Actually Needs
Closets need less total output than people assume, but better placement than they usually get. A small reach-in closet is well served by 200 to 400 lumens. A standard double-door closet wants 400 to 800. A walk-in closet needs 800 to 1,500 lumens spread across multiple fixtures, never one bright source.
Color temperature matters more here than raw brightness. Aim for 4000K neutral white. Warm 2700K light flatters skin tone but shifts how fabric colors read, which is the exact thing you are trying to avoid. Very cool 6000K light is harsh in a small enclosed space. If you can, choose fixtures with a CRI of 90 or above so navy stops masquerading as black.
Step-by-Step: Installing Wireless Closet Lighting
- Stand in the closet and find the dark spots. Open the door, look at what you actually reach for, and note where your own body casts a shadow. Those shadow zones, not the ceiling, are what you are lighting.
- Choose fixture positions. For a reach-in closet, one bar above the door frame on the inside, facing in, covers the whole space. For a walk-in, plan a bar above each hanging rod plus a puck over any deep shelf.
- Test before you commit. Hold each light in position by hand, switch it on, and check the spread. Adhesive is far easier to place correctly than to remove and reposition.
- Measure and mark. Use the tape measure to center each fixture and mark the ends with a pencil. Symmetry reads as intentional; eyeballed placement reads as an afterthought.
- Clean the mounting surface. Wipe with isopropyl alcohol and let it dry fully. Dust, wood polish, and paint residue are the reason most stick-on lights fall down within a week.
- Charge or install batteries first. Do this before mounting so you are not pulling a brand-new fixture off fresh adhesive.
- Mount the backplate or fixture. Press firmly for 30 seconds and, if the adhesive instructions call for it, leave it an hour before hanging any weight on it. On painted drywall, use removable command strips rather than permanent tape.
- Aim the light down and inward. Fixtures should point at the clothes or shelf contents, not out into the room and not straight into your eyes as you enter.
- Run strip light in a continuous line. If you are using a strip, peel the backing a few inches at a time and press as you go rather than exposing the whole length at once.
- Set the trigger mode. Most fixtures offer manual, motion, and always-on modes. Motion is the right default for a closet, since it means you never leave a light burning behind a closed door.
- Close the door and open it again. Confirm the motion sensor triggers on the door swing, that the light covers what you need, and that nothing shines directly at your face.
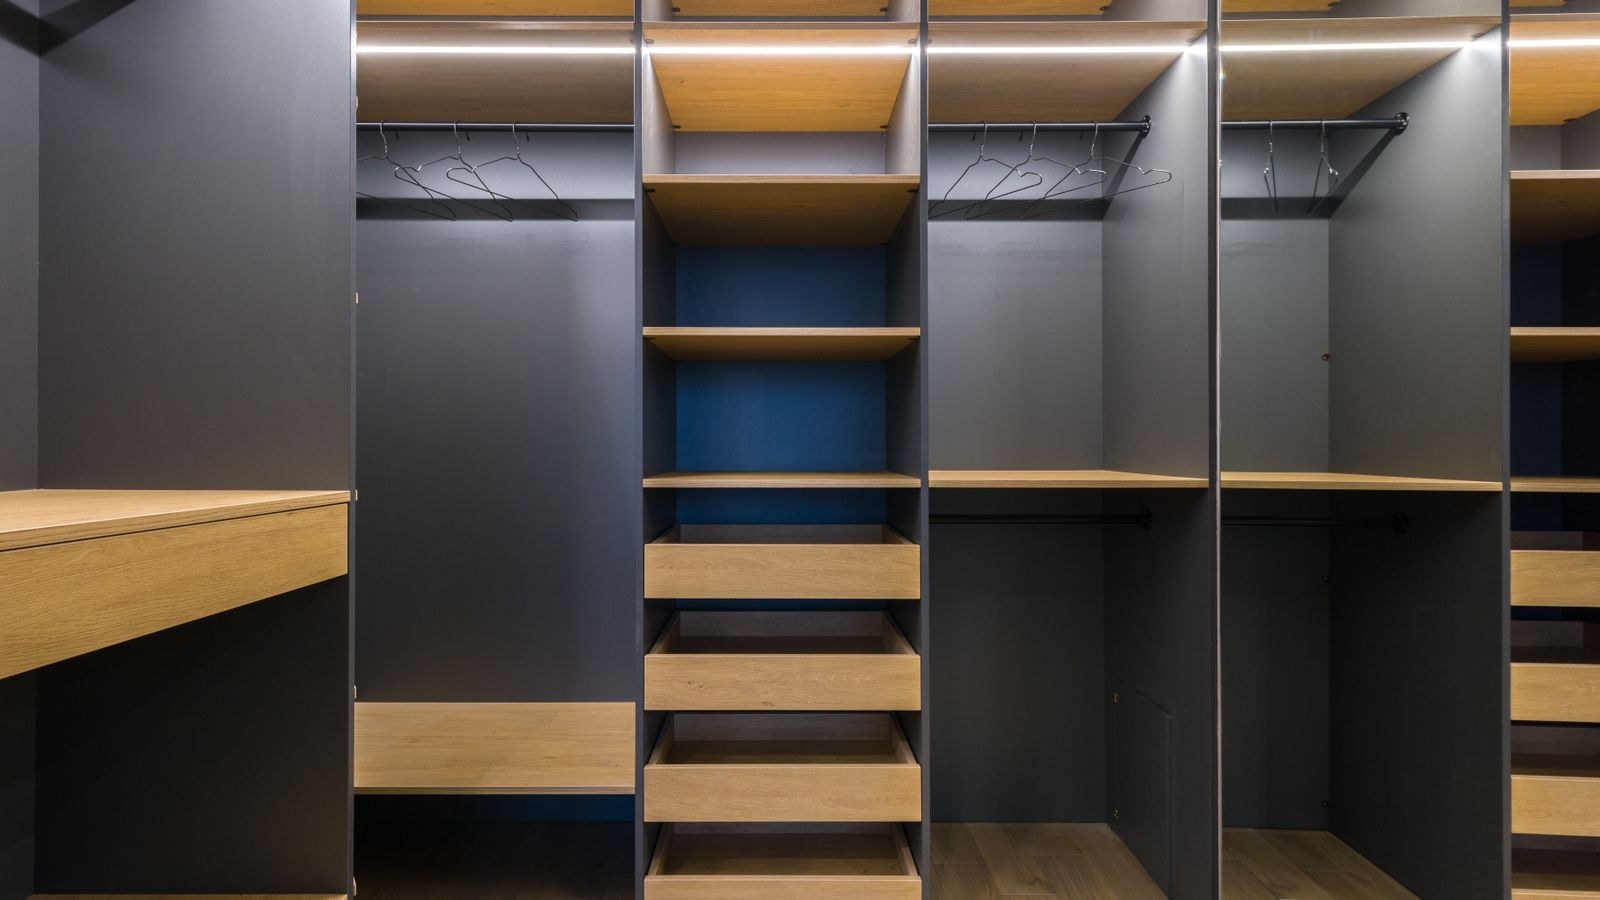
Placement That Actually Works
The single most useful position in a reach-in closet is on the inside face of the header above the door, aimed inward. That puts the source behind you as you stand in the doorway, so your body does not block it. Mounting on the back wall does the opposite and guarantees a shadow.
For hanging rods, mount the bar on the underside of the shelf directly above the rod, set toward the front edge. This lights the face of the garments rather than their tops. In a walk-in with rods on both sides, use one bar per side rather than a single central fixture.
For deep shelves, a puck near the front lip of each shelf lights the items behind it. A single fixture at the top of a stack lights only the top shelf and leaves everything below it darker than before.
In a wardrobe or armoire, run a strip inside the top of the frame, tucked behind the lip so the diodes are not directly visible. Hidden sources look far more finished than exposed ones.
Keeping Battery Life Manageable
The complaint that kills most wireless closet lighting is recharging. Manage it up front.
- Use motion mode. A fixture that runs only for the 30 seconds you are in the closet can go months on a charge, versus days on always-on.
- Choose fixtures with a magnetic backplate so charging means lifting the bar off, not unscrewing anything.
- Standardize your fixtures. Matching units mean one charging cable and one battery size for the whole house.
- Charge on a schedule rather than waiting for a failure. Pair it with something monthly you already do.
- Prefer rechargeable over disposable in any closet you use daily; save disposables for the linen closet you open twice a month.
Troubleshooting
- The light keeps falling off: the surface was not clean or the adhesive did not cure. Clean with alcohol, re-mount, and wait an hour before loading it.
- Motion sensor triggers randomly: hanging clothes swaying past the sensor is the usual cause. Move the fixture or angle it away from the rod.
- Motion sensor will not trigger: many sensors need a dark environment to activate. If ambient room light spills in, the fixture may be deciding it is not needed.
- Light dies quickly: check whether it is stuck in always-on mode, and confirm you are not running a high-output setting for a small space.
- Colors still look wrong: the fixture likely has low CRI. Replace with a 90 CRI or higher unit rather than adding more of the same.
- Glare in your eyes: the fixture is aimed outward. Tilt it down toward the contents or move it behind the door header.
Mistakes to Avoid
Mounting on the back wall is the classic error, because it puts your own silhouette between the light and everything you want to see. Skipping the surface prep is a close second, and it is why so many stick-on lights end up in a drawer. Buying one very bright fixture instead of two modest ones creates hot spots and deep shadows in equal measure. Choosing warm 2700K light in a clothes closet undermines the whole point of the project. And picking cheap disposable-battery pucks for a closet you open ten times a day guarantees you will resent them by month two. If you want a portable option you can also carry elsewhere, the best cordless lights cover models that work in a closet and double as a utility light.
Frequently Asked Questions
Can I really light a closet with no electrician?
Yes. Rechargeable bars, puck lights, and battery strips all mount with adhesive or magnets and need no wiring, no junction box, and no permits. Nothing about the install is permanent, which makes it ideal for renters.
How many lumens does a closet need?
Roughly 200 to 400 for a small reach-in, 400 to 800 for a standard double-door closet, and 800 to 1,500 spread across several fixtures for a walk-in.
What color temperature is best for a clothes closet?
4000K neutral white with a CRI of 90 or higher. It renders fabric colors close to how they will look in daylight, which is the whole reason to add closet lighting in the first place.
Will adhesive lights damage the paint?
Permanent foam tape can lift paint on removal. Use removable command-style strips on painted drywall and you can take everything down cleanly when you move.
Motion sensor or manual switch?
Motion for anything with a door, since it saves battery and means you never leave the light on. Manual for open shelving or a walk-in you might want lit continuously while you get dressed.
Final Thoughts
Adding closet lighting without wiring is a short project with a disproportionate payoff. Pick fixture types by closet shape, rechargeable bars for hanging rods, pucks for shelves, strips for wardrobe frames, then mount them where your body will not block the beam, which usually means above the door aimed inward. Choose 4000K light with high CRI so colors read true, clean every mounting surface before it touches adhesive, and set the fixtures to motion mode so battery life stops being a chore. Twenty minutes of work, no tools beyond a tape measure, and you never dig blindly through a dark closet again.









