
 Owen Bradley
 Wi-Fi that works perfectly in the living room often dies the moment you step through the patio doors. Outdoor speakers cut out mid-track, the doorbell camera at the side gate misses events, and a laptop on the deck drops its connection every few minutes. The reason is simple physics: exterior walls, low-emissivity glass, and brick all attenuate a signal badly, and once you are outside there is nothing left to bounce off. Extending Wi-Fi to your backyard is therefore less about buying a more powerful router and more about getting a radio past the wall in the first place. This guide walks through window-facing placement, choosing gear that survives weather, and building a garden network that stays up in July heat and January frost.
Why the Signal Stops at the Door
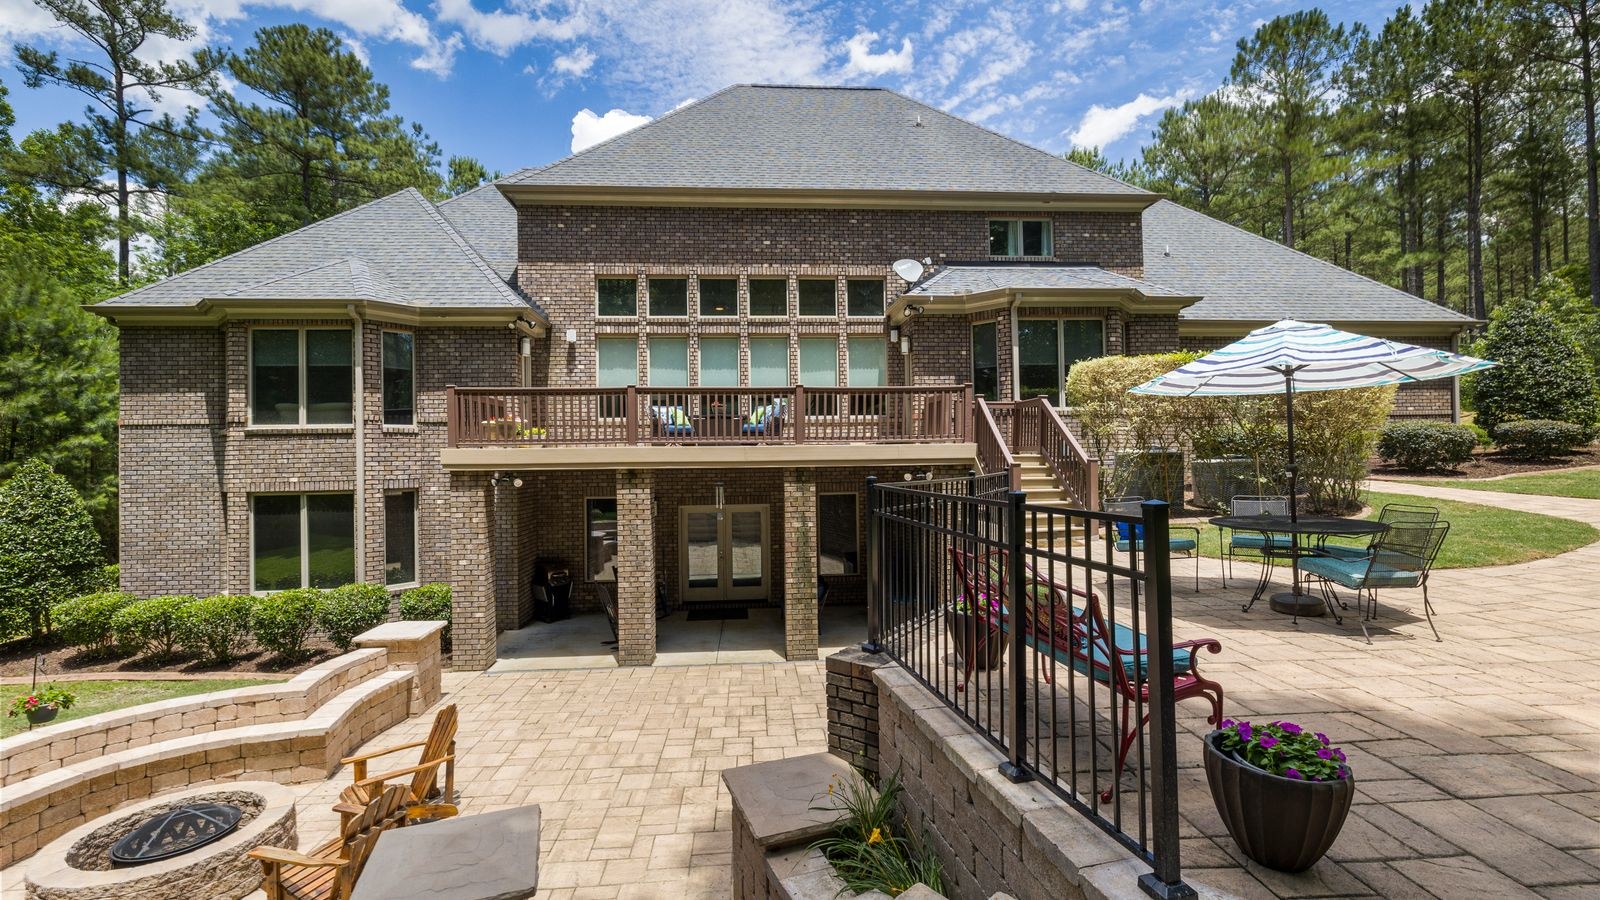
Every barrier costs you signal, measured in decibels, and the losses stack. A single interior stud wall might take 3 to 5 dB. A cavity brick or block exterior wall commonly takes 10 to 15 dB. Modern double glazing with a low-emissivity metallic coating can take 15 dB or more on its own, which is why a patio door often blocks Wi-Fi better than the wall beside it. Add stucco over wire mesh, foil-backed insulation, or a metal-framed conservatory and you are effectively inside a shield.
The band matters too. 5 GHz carries more data but penetrates walls poorly and fades faster over distance. 2.4 GHz travels further and copes better with obstacles, though it is far more crowded. Outdoors, where distance dominates, 2.4 GHz frequently wins even though it looks slower on paper.
Work Out What You Actually Need Covered
Sketch the garden and mark what needs signal. A camera at the gate, speakers on the deck, a laptop at the table, and lights along the fence all have different demands. Cameras and lights need modest bandwidth but constant availability. Streaming audio needs steady throughput. Video calls from a garden chair need low jitter. Knowing the map prevents you from over-buying for a space you use twice a year.
Start With Placement, Because It Is Free
- Survey the current coverage. Walk the garden with a Wi-Fi analyser app and note the signal strength at each spot you care about. Anything stronger than -67 dBm is comfortable, -70 dBm is marginal, and below -75 dBm is unusable in practice. Record the numbers so you can prove any later change helped.
- Move the router toward the garden side. Routers are usually installed wherever the internet line enters, which is often the front of the house, the worst possible position for backyard coverage. Relocating it toward the rear, even by one room, can transform outdoor signal at zero cost.
- Put a radio at a window facing the yard. Glass without a metallic coating is far more transparent to Wi-Fi than any wall. Positioning the router or a node on a shelf beside a rear window, with a clear line to the patio, often does more than doubling the transmit power would.
- Raise it and clear the surroundings. Get the unit off the floor and away from metal shelving, mirrors, aquariums, and appliances. A radio at chest height with clear air around it beats a more expensive one wedged behind a television.
- Orient the antennas deliberately. On units with external aerials, a vertical antenna spreads signal horizontally, which suits a flat garden. Angling one aerial toward the outdoor area helps when the patio sits below or above the room the router is in.
- Re-measure and compare. Repeat the walk-around with the analyser and check the numbers against your first survey. Only buy hardware once free placement changes have been exhausted.
Choosing the Right Kind of Extension
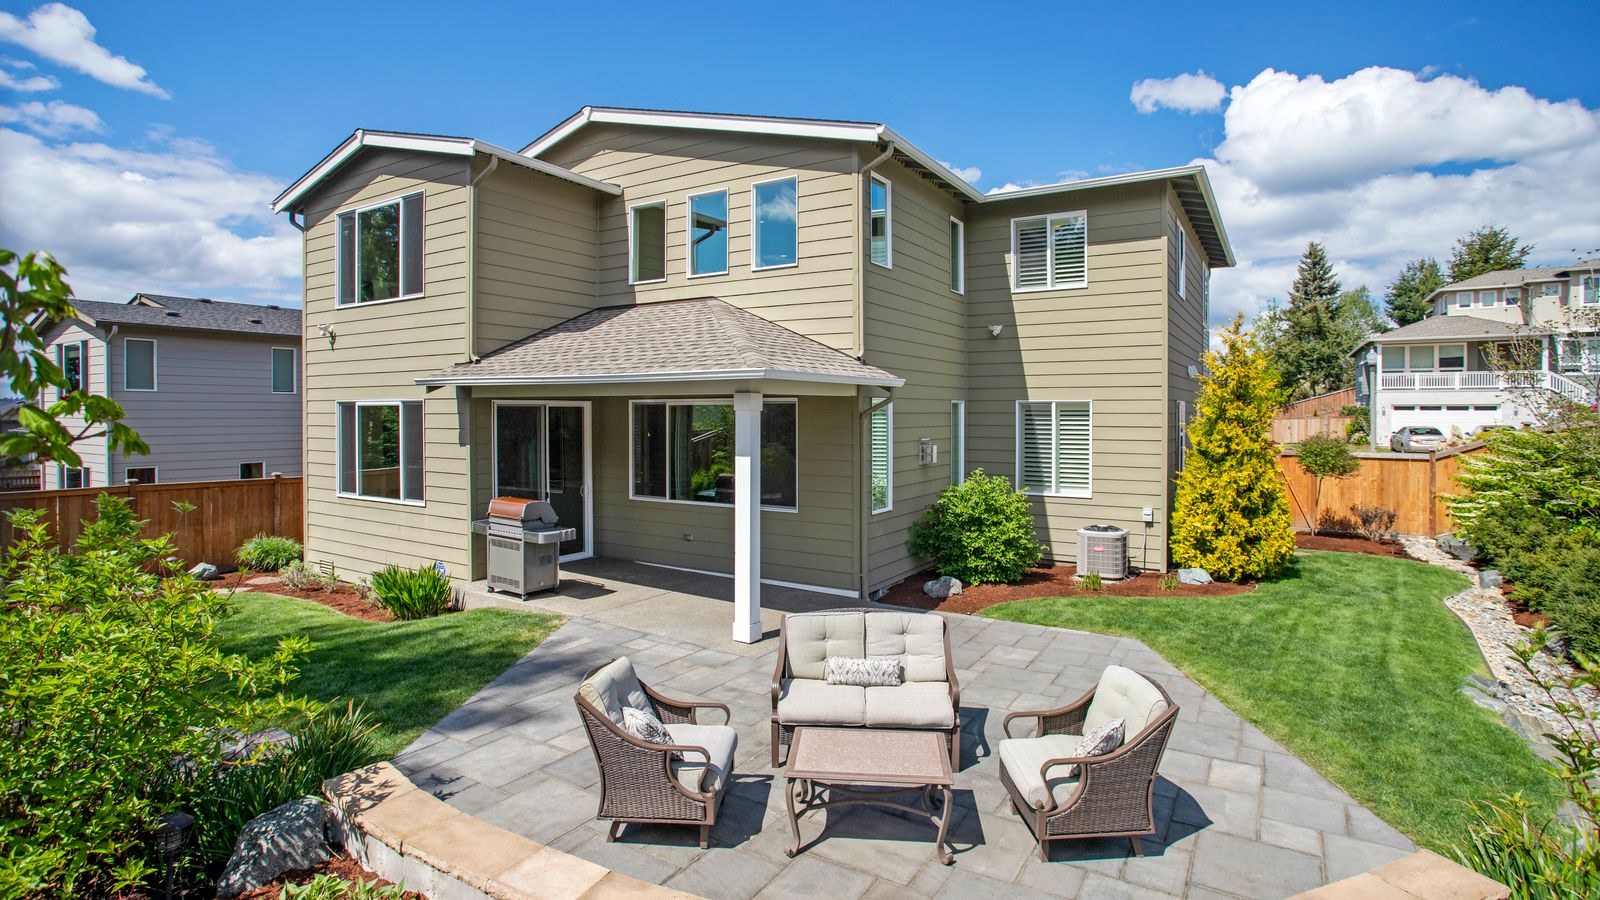
If placement alone is not enough, there are three sensible paths. A mesh node placed indoors at a rear window is the easiest, since it needs no outdoor wiring and simply projects its signal through the glass onto the patio. It suits decks and seating areas within thirty or forty feet of the house.
An outdoor-rated access point mounted on the exterior wall is the proper solution for larger gardens. It removes the wall from the equation altogether and is built to survive rain, sun, and temperature swings. It needs an Ethernet run from inside, usually with power delivered over that same cable.
A wired node in an outbuilding makes sense when a garage or garden room already has a cable and can host a second radio, pushing coverage from the far end of the garden back toward the house.
For the router itself, models in our roundup of the best long range routers and the best routers for distance offer the strongest chance of covering a modest garden without additional hardware. Where you need a second unit outdoors, the best home Wi-Fi access points include weather-rated options, while the best mesh extenders and best internet extenders cover the simpler indoor-node approach for smaller patios.
Gear That Survives the Weather
Outdoor equipment fails for predictable reasons, so buy against them. Check the ingress protection rating: IP65 resists dust and water jets and is a sensible minimum under an eave; IP66 or IP67 suits fully exposed positions. Check the operating temperature range too, because a unit rated only to 104°F will throttle or shut down on a south-facing wall in midsummer, and one with a lower limit of 32°F will misbehave the first frosty night.
Mount under an eave or overhang wherever possible. Shade halves the thermal stress and keeps driving rain off the connectors. Use outdoor-rated UV-resistant cable, fit weatherproof boots on every RJ45 connector, and leave a drip loop below the wall entry so water drops off rather than tracking indoors. Angle any drilled hole slightly downward toward the outside and seal it with exterior silicone once testing is complete.
Indoor mesh nodes must stay indoors. A standard node inside a plastic box in the garden will cook in summer sun and fill with condensation by autumn, and no amount of tape makes it weatherproof.
Tuning the Network for Outdoor Use
Once the hardware is in place, a few settings changes make a measurable difference. Keep both bands enabled and let devices choose; forcing everything onto 5 GHz kills range exactly where you need it. On 2.4 GHz, stick to channels 1, 6, or 11 and pick whichever is least crowded, since these are the only three that do not overlap. Keep 2.4 GHz channel width at 20 MHz, which sounds restrictive but improves range and cuts interference substantially.
Use one network name across all units so phones roam automatically as you walk out. If cameras and smart lights struggle, check whether they are 2.4 GHz only, as many are, and make sure that band is broadcast under a name they can find. Finally, place any outdoor camera within comfortable range of a node rather than at the very edge of coverage, because a camera clinging to a marginal signal drops recordings precisely when they matter.
Safety Notes
Switch off the relevant circuit before drilling through an exterior wall where cable may run, and check for pipes and wiring on both faces first. Set ladders on firm level ground and have someone foot them. Never run Ethernet in the same conduit as mains cable. If you are cabling to a separate structure, fit surge protection at both ends, since a cable between two buildings can carry a lightning-induced surge straight into your router.
Common Mistakes
- Buying an extender before trying placement. Free changes often solve the problem entirely.
- Putting the extender halfway down a hallway. It must sit where it can hear the router well and see the garden.
- Using indoor hardware outside. Heat and condensation kill it within a season.
- Forcing 5 GHz only. The band with the best speed has the worst outdoor range.
- Ignoring the coating on modern glass. Low-emissivity double glazing can block signal as effectively as a wall.
- Placing cameras at the edge of coverage. Marginal signal means missed events and endless false alerts.
Frequently Asked Questions
How far outdoors can normal Wi-Fi reach?
With clear line of sight from a window-facing router, roughly 60 to 100 feet on 2.4 GHz at usable strength, and considerably less on 5 GHz. Every wall or dense hedge in the path cuts that sharply.
Is a mesh node better than an extender?
Generally yes. Mesh systems use one network name and hand devices between nodes automatically, while basic extenders often create a separate network that devices cling to long after a better signal is available.
Can I put a node inside a waterproof box outside?
It is a poor idea. Sealed boxes trap heat and condensation, and the plastic or metal enclosure attenuates the signal it is meant to be spreading. Buy hardware designed for outdoor use instead.
Will a bigger antenna fix everything?
A high-gain antenna concentrates signal in a chosen direction rather than creating more of it. That helps when the garden lies in one direction from the house, but it reduces coverage elsewhere, so use it deliberately.
Final Thoughts
Outdoor Wi-Fi is a placement problem before it is a purchasing one. Measure what you have, move the router toward the garden side, and put a radio at a rear window with a clear view of the patio. If the space is larger than that can serve, mount a properly weather-rated access point under an eave and feed it with outdoor cable. Keep 2.4 GHz available for range and for cameras, use one network name throughout, and site anything critical comfortably inside coverage rather than at its ragged edge. Get those basics right and the patio stops being a dead zone for good.









