
 Owen Bradley
 Graphics driver installers are far better than they used to be, but they still leave debris behind. Old registry keys, orphaned profiles, stale shader caches, and half-removed control panel components accumulate over years of upgrades, and the result shows up as micro-stutter, black screens on wake, crashing overlays, or an installer that refuses to run at all. A clean GPU driver install with Display Driver Uninstaller, universally known as DDU, strips all of that out and lets a fresh driver build its own configuration from scratch. This tutorial covers when to do it, how to prepare, the safe-mode procedure step by step, and the specific order to follow when you are physically swapping between AMD and NVIDIA cards.
When a Clean Install Is Worth the Effort
You do not need DDU for every driver update. Standard updates over a healthy installation work fine and take two minutes. Reach for a clean install when you see one of these situations:
- You are changing GPU brand, in either direction, so two competing driver stacks would otherwise coexist.
- The driver installer fails partway or reports that it cannot continue.
- You get black screens, TDR timeouts, or driver crashes that survive a normal reinstall.
- Games stutter inconsistently despite good average frame rates, or settings refuse to save.
- The control panel is missing or reports that no compatible hardware is installed.
- You are rolling back to an older driver version after a bad release.
Preparation Checklist
- Download the driver package you intend to install first, before removing anything. Once the current driver is gone, network adapters still work, but downloading with a basic display driver is unpleasant.
- Download DDU and extract it to a folder you can reach without a browser.
- Note your exact GPU model and Windows version so you pick the right package.
- Disable automatic driver updates temporarily so Windows Update does not reinstall a generic driver the moment you reboot.
- Create a restore point. It takes a minute and gives you an exit route.
- Disconnect from the internet, or at least be ready to, during the removal phase.
- Close overlay software: recording tools, monitoring utilities, and RGB suites that hook the display driver.
Step-by-Step: The Clean Install Procedure
- Stage the new driver. Save the installer to your desktop or another easy path. Verify the file size looks complete; a truncated download will waste the whole exercise.
- Stop Windows from helpfully reinstalling drivers. Open System Properties, go to Advanced system settings, then Hardware, then Device Installation Settings, and choose the option that prevents automatic manufacturer software downloads. This is the single most common reason a clean install does not stay clean.
- Extract DDU. Run the self-extracting archive and open the resulting folder. Do not run it from inside a compressed file, since it needs to write logs alongside itself.
- Boot into Safe Mode. Press Windows key and R, type msconfig, go to the Boot tab, tick Safe boot with Minimal selected, and restart. DDU can offer to do this for you, but doing it manually is more reliable. Safe Mode matters because the driver files are not locked by a running display stack.
- Run DDU and pick the right device type. On the right-hand panel choose GPU, then select the vendor of the driver currently installed, not the card you are moving to. If you are removing NVIDIA before fitting an AMD card, select NVIDIA at this stage.
- Choose Clean and restart. This is the standard option and it removes drivers, registry entries, folders, and control panel software, then reboots. Use “Clean and shutdown” instead only when you are about to physically swap the card.
- Swap the hardware if applicable. With the machine shut down and the power supply switched off at the wall, remove the old card and fit the new one. Seat it firmly, secure the bracket screws, and connect the correct power cables.
- Leave Safe Mode. Reopen msconfig, untick Safe boot, and restart into normal Windows. The screen will run at a basic resolution with a generic Microsoft display driver, which is expected.
- Install the new driver. Run the package you downloaded. Where the installer offers a custom option, choose it and tick the clean installation box, which resets profiles and settings. Install only the components you actually use rather than the whole bundled suite.
- Reboot and verify. Open Device Manager and confirm the adapter is listed by name with no warning icon. Open the vendor control panel and check the driver version matches what you installed. Run a game or a short benchmark and watch for stutter.
- Re-enable automatic updates. Reverse the Device Installation Settings change once everything is stable, then reinstate any monitoring or overlay tools one at a time so you can spot which one causes trouble if problems return.
Switching Between AMD and NVIDIA
Brand swaps are where a clean install earns its reputation. The safest order is: remove the old driver in Safe Mode with “Clean and shutdown”, physically fit the new card, boot to Windows on the generic driver, then install the new vendor’s package. Doing it that way means the old stack is gone before the new hardware ever appears, so Windows never tries to reconcile two competing sets of display components.
If you have already fitted the new card before removing the old driver, do not panic. Boot into Safe Mode, run DDU against the old vendor, reboot, and install the new driver. The result is the same; you have simply done the steps out of order.
If You Are Also Upgrading the Card
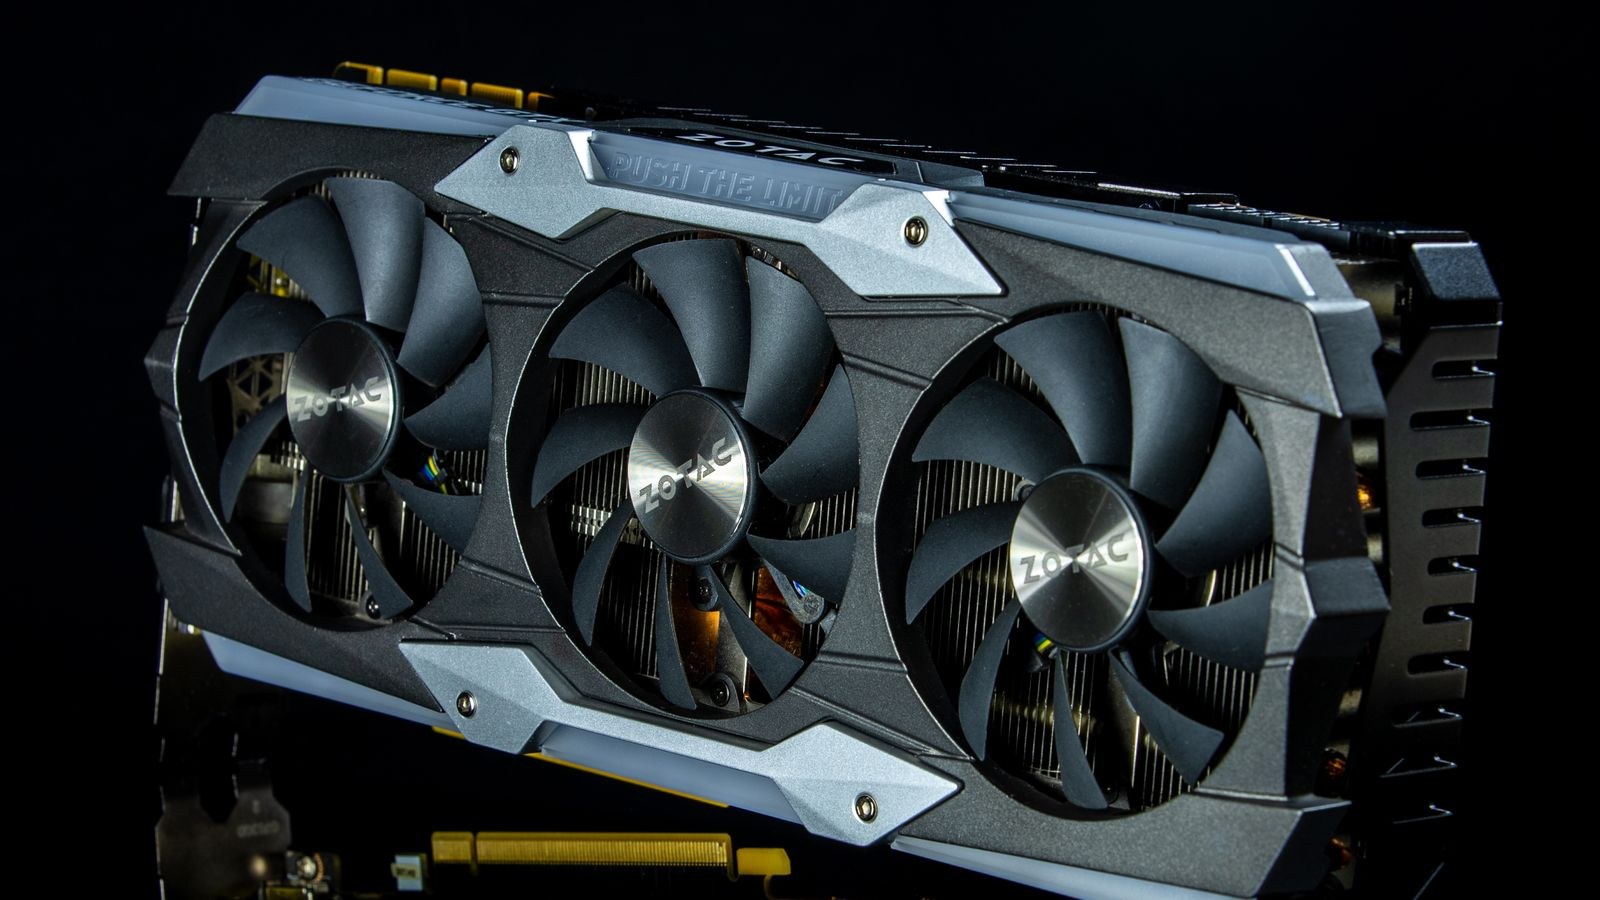
A driver problem sometimes turns out to be an ageing card that no longer receives optimised releases. If you are shopping while you have the case open, check power supply headroom, connector type, and physical clearance before committing. Our overview of the best GPUs for gaming groups current cards by the resolution and frame rate they realistically hit. For team-specific shortlists, the best AMD graphics cards and the best RTX series GPUs compare the two ecosystems directly.
If upscaling matters to you, the best GPUs with DLSS covers cards that support the newest reconstruction features, while creators who broadcast should look at encoder quality in the best GPUs for streaming.
Safety and Data Notes
DDU removes drivers, not files, so your documents and games are untouched. It will, however, wipe saved graphics profiles, custom colour calibration, per-game settings, and overclocking presets held in the vendor control panel. Export or screenshot anything you want to recreate. When handling a card, hold it by the bracket and PCB edges, keep it in an antistatic bag until the moment of installation, and never force it into the slot; if it does not seat easily, check the retention clip and the case bracket alignment first.
Common Mistakes to Avoid
- Running DDU in normal Windows. It may appear to work, but locked files survive and the whole point is lost.
- Forgetting to download the driver first. Browsing on a generic display driver at low resolution is avoidable pain.
- Leaving automatic driver installation enabled. Windows will race you to install its own version on the next boot.
- Selecting the wrong vendor in DDU. Removing the new brand instead of the old one leaves the actual problem in place.
- Installing the entire vendor suite. Extra telemetry and experience components are frequent sources of overlay conflicts.
- Skipping the custom clean installation checkbox. The installer will otherwise import the very profiles you were trying to reset.
Troubleshooting After the Install
If the screen stays black after installing the new driver, boot into Safe Mode and confirm the monitor is plugged into the card rather than the motherboard’s display output. If the installer reports that no compatible hardware was found, the card is not seated properly or the driver package is for a different generation. If stutter persists after a genuinely clean install, look past the driver: check that the card is in the primary PCIe slot, that resizable BAR is configured consistently, that the power supply is adequate under transient load, and that background monitoring tools are not polling sensors aggressively during gameplay.
Frequently Asked Questions
Is DDU safe to use?
Yes, when used as intended in Safe Mode. It only removes display driver components and their registry entries. Create a restore point first as a matter of routine, and avoid running it while other driver installers are open.
Do I need a clean install for every driver update?
No. Normal updates are fine on a healthy system. Save the full procedure for brand changes, failed installs, or persistent graphical faults that survive a standard reinstall.
Will I lose my game settings?
Game settings stored by the game itself remain. Settings held in the vendor control panel, such as custom resolutions, colour profiles, and per-title overrides, are reset and must be recreated.
What if Windows installs its own driver before I can?
Disable automatic driver installation in Device Installation Settings before rebooting out of Safe Mode, then install your chosen package. Re-enable the setting once you are finished.
Final Thoughts
A clean GPU driver install is not a magic fix for every graphical problem, but it eliminates an entire category of them in about fifteen minutes. Download the driver first, block Windows from intervening, run DDU from Safe Mode against the outgoing vendor, then install fresh with the custom clean option ticked. Follow that order every time you change cards or chase a stubborn crash, and you will spend far less of 2026 wondering whether leftover files are the reason your frame times refuse to settle.









